

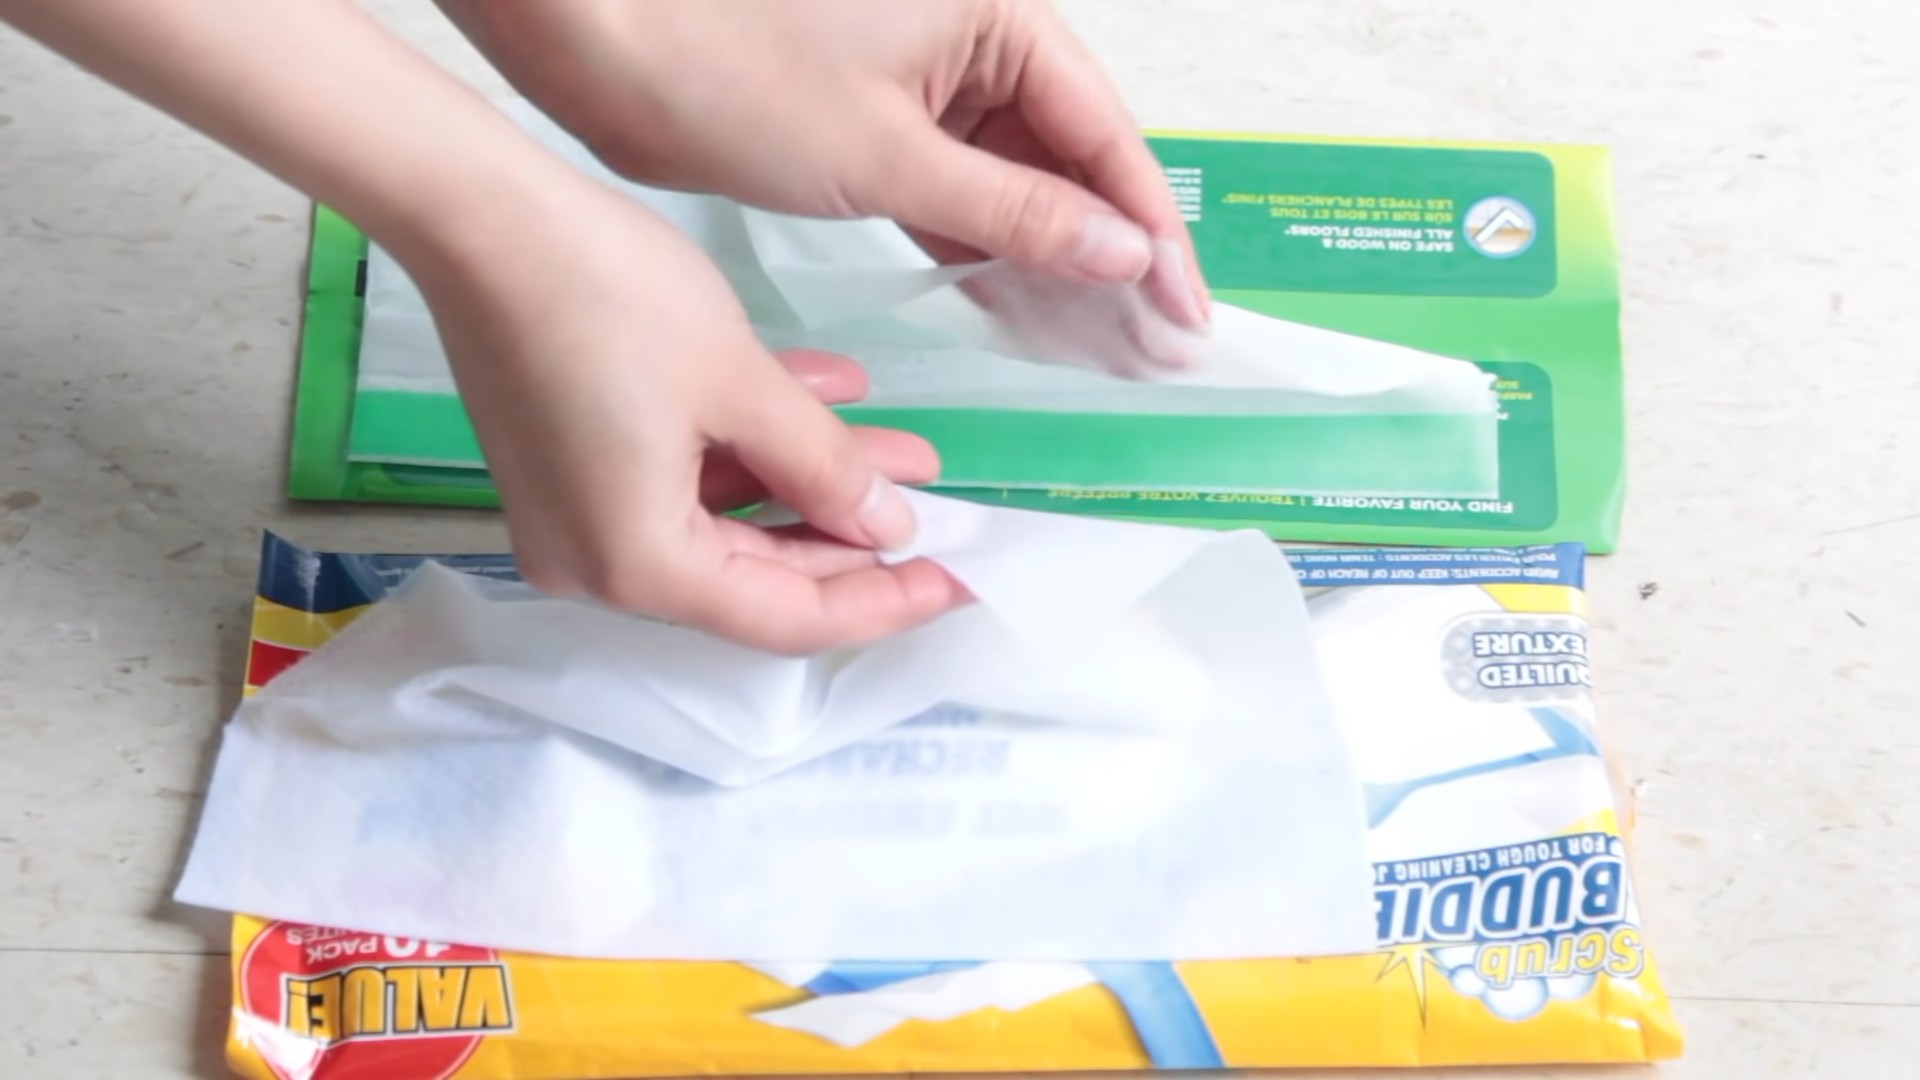
Wet Mopping Cloths DIY: Say goodbye to expensive, single-use mopping pads and hello to a sparkling clean floor with a clear conscience! I’m so excited to share this incredibly easy and budget-friendly DIY project that will revolutionize your cleaning routine. Are you tired of constantly buying disposable wet mopping cloths, only to toss them in the trash after a single use? I know I was! Not only is it wasteful, but it also adds up financially over time.
The concept of reusable cleaning cloths isn’t new. In fact, our grandmothers and great-grandmothers relied on simple, washable cloths for all their cleaning needs. They understood the value of resourcefulness and minimizing waste. We’re simply bringing that wisdom into the modern era with a touch of DIY magic!
This Wet Mopping Cloths DIY is a game-changer because it allows you to create your own eco-friendly and cost-effective cleaning solution. You can customize the size, material, and even the cleaning solution to perfectly suit your floors and preferences. Plus, it’s incredibly satisfying to know you’re reducing your environmental impact while keeping your home spotless. Who wouldn’t want to save money, reduce waste, and have gleaming floors all at the same time? Let’s get started!
DIY Wet Mopping Cloths: Save Money and the Environment!
Hey there, fellow cleaning enthusiasts! Are you tired of constantly buying those disposable wet mopping cloths? They can be expensive, and honestly, they’re not the most eco-friendly option. I’ve got a fantastic solution for you: making your own reusable wet mopping cloths! It’s super easy, cost-effective, and you can customize them to your liking. Let’s dive in!
What You’ll Need
Before we get started, let’s gather all the necessary supplies. This will make the process smooth and efficient.
* **Old T-shirts or Microfiber Cloths:** These will be the base of your mopping cloths. I prefer using old t-shirts because they’re readily available and absorbent. Microfiber cloths are also a great option, especially if you want extra scrubbing power.
* **Scissors:** For cutting the fabric to the right size.
* **Sewing Machine (Optional):** While not essential, a sewing machine will help create more durable and professional-looking cloths. You can also hand-sew them if you prefer.
* **Thread (Optional):** If you’re using a sewing machine, you’ll need thread that matches your fabric.
* **Essential Oils (Optional):** For adding a pleasant scent and some extra cleaning power. Lavender, tea tree, and lemon are all great choices.
* **White Vinegar:** A natural disinfectant and deodorizer.
* **Rubbing Alcohol (Isopropyl Alcohol):** Helps the solution dry faster and adds extra cleaning power.
* **Dish Soap (Optional):** A small amount of dish soap can help cut through grease and grime.
* **Water:** To dilute the cleaning solution.
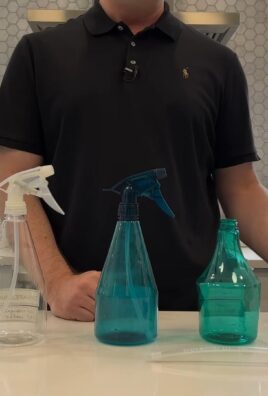
* **Airtight Container:** To store your wet mopping cloths. I use a plastic container with a lid, but you can also use a resealable bag.
* **Measuring Cups and Spoons:** For accurately measuring the ingredients for the cleaning solution.
Making the Mopping Cloths
This is the first step, and it’s pretty straightforward. We’re basically just cutting the fabric to the right size and optionally hemming the edges.
1. **Cut the Fabric:** Lay your old t-shirt or microfiber cloth flat on a clean surface. Using your scissors, cut the fabric into squares or rectangles that are slightly larger than the head of your mop. I usually aim for around 12×12 inches, but you can adjust the size to fit your specific mop.
2. **Hem the Edges (Optional):** If you want your cloths to be more durable and prevent fraying, you can hem the edges. If you have a sewing machine, simply fold over the edges about 1/4 inch and sew a straight stitch all the way around. If you’re hand-sewing, use a simple running stitch or backstitch. Don’t worry if your sewing skills aren’t perfect; the goal is just to reinforce the edges.
3. **Repeat:** Repeat steps 1 and 2 until you have the desired number of mopping cloths. I usually make around 10-12 cloths so I always have some on hand.
Preparing the Cleaning Solution
Now for the fun part: creating the cleaning solution! This is where you can really customize things to suit your needs and preferences.
1. **Gather Your Ingredients:** Make sure you have all your ingredients ready: white vinegar, rubbing alcohol, water, essential oils (if using), and dish soap (if using).
2. **Mix the Solution:** In a measuring cup or bowl, combine the following ingredients:
* 1 cup of water
* 1/2 cup of white vinegar
* 1/4 cup of rubbing alcohol
* 5-10 drops of essential oil (optional)
* 1/2 teaspoon of dish soap (optional)
3. **Stir Well:** Use a spoon or whisk to thoroughly mix all the ingredients together. Make sure the dish soap (if using) is fully dissolved.
Assembling the Wet Mopping Cloths
This is where we bring everything together!
1. **Place Cloths in Container:** Take your airtight container and place the mopping cloths inside. Arrange them neatly so they’re easy to grab when you need them.
2. **Pour the Solution:** Carefully pour the cleaning solution over the cloths, making sure they’re evenly saturated. You don’t want them dripping wet, but they should be thoroughly moistened.
3. **Seal the Container:** Close the lid of the container tightly to prevent the cloths from drying out.
4. **Let Them Soak:** Allow the cloths to soak in the solution for at least 30 minutes before using them. This will ensure they’re fully saturated and ready to clean.
Using Your DIY Wet Mopping Cloths
Now that your wet mopping cloths are ready, it’s time to put them to work!
1. **Attach to Mop:** Take one of the wet mopping cloths and attach it to the head of your mop. Most mops have Velcro or clips that make this easy.
2. **Mop Your Floors:** Start mopping your floors as you normally would. The wet cloth will pick up dirt, dust, and grime, leaving your floors clean and shiny.
3. **Rinse and Repeat (If Necessary):** If the cloth becomes too dirty, remove it from the mop and rinse it under running water. Wring out the excess water and reattach it to the mop. You may need to use multiple cloths depending on how dirty your floors are.
4. **Wash and Reuse:** After you’re finished mopping, remove the used cloths from the mop and toss them in the washing machine. Wash them with your regular laundry and dry them on low heat. Avoid using fabric softener, as it can reduce the absorbency of the cloths.
5. **Replenish the Container:** Once you’ve used all the cloths in your container, simply repeat the process of preparing the cleaning solution and soaking the cloths.
Tips and Tricks for Success
Here are a few extra tips to help you get the most out of your DIY wet mopping cloths:
* Adjust the Solution to Your Needs: Feel free to experiment with the cleaning solution to find the perfect combination for your floors. If you have particularly dirty floors, you may want to add more vinegar or dish soap. If you have sensitive skin, you may want to reduce the amount of rubbing alcohol.
* Choose the Right Essential Oils: Essential oils not only add a pleasant scent but also have antibacterial and antifungal properties. Lavender is known for its calming scent, tea tree is a powerful disinfectant, and lemon is a great degreaser.
* Store the Cloths Properly: Make sure to store your wet mopping cloths in an airtight container to prevent them from drying out. If you live in a humid climate, you may want to add a desiccant packet to the container to absorb excess moisture.
* Pre-Treat Stains: For stubborn stains, you can pre-treat them with a stain remover before mopping. This will help loosen the stain and make it easier to remove.
* Use Different Cloths for Different Areas: Consider using different colored cloths for different areas of your home to prevent cross-contamination. For example, you could use blue cloths for the bathrooms and green cloths for the kitchen.
* Consider the Floor Type: Different floor types require different cleaning solutions. For example, hardwood floors should be cleaned with a pH-neutral cleaner to prevent damage. Always test your cleaning solution in an inconspicuous area before using it on your entire floor.
* Don’t Over-Saturate the Cloths: While you want the cloths to be thoroughly moistened, you don’t want them dripping wet. Too much moisture can damage your floors and leave streaks.
* Regularly Clean Your Mop Head: To keep your mop working effectively, it’s important to clean the mop head regularly. You can do this by rinsing it under running water or washing it in the washing machine.
* Air Dry After Mopping: After mopping, open windows and doors to allow your floors to air dry. This will help prevent streaks and ensure that your floors are completely dry.
* Safety First: Always wear gloves when handling cleaning solutions, especially if you have sensitive skin. Keep cleaning solutions out of reach of children and pets.
Benefits of DIY Wet Mopping Cloths
Making your own wet mopping cloths offers a ton of advantages:
* Cost-Effective: You’ll save money by not having to buy disposable cloths.
* Eco-Friendly: You’re reducing waste by reusing old t-shirts and microfiber cloths.
* Customizable: You can tailor the cleaning solution to your specific needs and preferences.
* Convenient: You’ll always have wet mopping cloths on hand when you need them.
* Effective: These DIY cloths clean just as well as, if not better than, store-bought ones.
I hope you found this guide helpful! Making your own wet mopping cloths is a simple and rewarding project that

Conclusion
So, there you have it! Creating your own DIY wet mopping cloths is not just a cost-effective alternative to store-bought versions; it’s a game-changer for your cleaning routine. Think about it: no more last-minute runs to the store when you’re ready to mop, no more wondering about the harsh chemicals lurking in those pre-soaked pads, and a significant reduction in waste. This simple trick empowers you to take control of your cleaning process, tailoring it to your specific needs and preferences.
Why is this a must-try? Because it’s efficient, eco-friendly, and economical. You’re essentially creating a customized cleaning solution that works perfectly for your floors and your lifestyle. Plus, the satisfaction of knowing you’re reducing your environmental footprint while saving money is a reward in itself.
But the beauty of this DIY project lies in its versatility. Feel free to experiment with different essential oils to create your signature scent. Lavender for a calming aroma, lemon for a fresh and invigorating clean, or tea tree oil for its antibacterial properties – the possibilities are endless! You can also adjust the ratio of water to vinegar or rubbing alcohol depending on the type of flooring you have and the level of cleaning power you need. For instance, if you have delicate hardwood floors, you might want to reduce the amount of vinegar or rubbing alcohol and add a bit of mild dish soap instead.
Consider using different types of cloths as well. Microfiber cloths are excellent for trapping dirt and grime, while terry cloth towels are more absorbent and ideal for larger spills. Old t-shirts or flannel shirts can also be repurposed into effective and eco-friendly mopping cloths.
Don’t be afraid to get creative with your cleaning solution. Add a few drops of your favorite all-purpose cleaner for an extra boost of cleaning power. Or, if you’re dealing with stubborn stains, try adding a small amount of baking soda to the mixture.
The key is to find what works best for you and your home. This DIY wet mopping cloths method is a starting point, a foundation upon which you can build your own personalized cleaning routine.
We wholeheartedly encourage you to give this DIY trick a try. It’s a simple, effective, and rewarding way to keep your floors sparkling clean. And most importantly, we want to hear about your experience! Share your tips, variations, and results in the comments below. Let’s create a community of DIY cleaning enthusiasts and inspire each other to make our homes cleaner, greener, and more sustainable. What essential oil blends did you find most effective? What type of cloth worked best for your floors? We’re eager to learn from your experiences and share them with others. So, grab your supplies, get creative, and let’s get mopping!
Frequently Asked Questions (FAQ)
What type of container is best for storing the DIY wet mopping cloths?
The ideal container for storing your DIY wet mopping cloths is an airtight container. This will prevent the cloths from drying out and maintain their cleaning power. A plastic container with a tight-fitting lid works well, as does a reusable zipper-lock bag. You can also repurpose an old container from store-bought wet mopping cloths, ensuring it’s thoroughly cleaned before use. Make sure the container is appropriately sized to hold the number of cloths you typically prepare.
How long will the DIY wet mopping cloths stay fresh?
Generally, your DIY wet mopping cloths will stay fresh for about 1-2 weeks when stored properly in an airtight container. After this time, the cleaning solution may start to lose its effectiveness, and the cloths may develop an unpleasant odor. To maximize their freshness, store the container in a cool, dark place. If you notice any signs of mold or mildew, discard the cloths immediately. It’s always best to make a fresh batch of cloths every week or two to ensure optimal cleaning performance.
Can I use these DIY wet mopping cloths on all types of floors?
While these DIY wet mopping cloths are generally safe for most floor types, it’s essential to consider the specific needs of your flooring. For hardwood floors, avoid using excessive amounts of water or harsh chemicals like vinegar or rubbing alcohol, as they can damage the finish. Instead, opt for a milder solution with a higher water-to-vinegar ratio or use a specialized hardwood floor cleaner. For laminate floors, avoid using abrasive cleaners or excessive moisture, as they can cause swelling and warping. Tile and vinyl floors are generally more durable and can withstand stronger cleaning solutions. Always test the solution on a small, inconspicuous area of your floor before cleaning the entire surface to ensure it doesn’t cause any damage or discoloration.
What essential oils are safe to use in the cleaning solution?
Many essential oils have antibacterial, antiviral, and antifungal properties, making them excellent additions to your DIY cleaning solution. Some popular and safe options include:
* **Lavender:** Known for its calming aroma and antibacterial properties.
* **Lemon:** A natural degreaser with a fresh, invigorating scent.
* **Tea Tree:** A powerful antiseptic and antifungal agent.
* **Eucalyptus:** Effective against bacteria and viruses, with a refreshing scent.
* **Peppermint:** Provides a cooling sensation and helps to repel insects.
When using essential oils, always dilute them properly with water and other ingredients. A few drops are usually sufficient for a batch of DIY wet mopping cloths. Avoid using essential oils that are known to be toxic to pets or children.
How do I dispose of the used DIY wet mopping cloths?
The disposal method for your used DIY wet mopping cloths depends on the type of cloth you used. If you used reusable microfiber cloths or terry cloth towels, simply wash them in your washing machine with your regular laundry. Avoid using fabric softener, as it can reduce the absorbency of the cloths. If you used disposable cloths, check the manufacturer’s instructions for proper disposal. Some disposable cloths are biodegradable and can be composted, while others should be discarded in the trash. Never flush used wet mopping cloths down the toilet, as they can clog your plumbing system.
Can I use these DIY wet mopping cloths on other surfaces besides floors?
While these DIY wet mopping cloths are primarily designed for cleaning floors, they can also be used on other surfaces, such as countertops, cabinets, and walls. However, it’s essential to use caution and test the solution on a small, inconspicuous area first to ensure it doesn’t damage the surface. Avoid using harsh chemicals or abrasive cleaners on delicate surfaces like wood or painted walls. For countertops, be sure to wipe away any excess moisture to prevent water damage.
What if I don’t have vinegar or rubbing alcohol? Can I use something else?
If you don’t have vinegar or rubbing alcohol on hand, you can substitute them with other cleaning agents. For vinegar, you can use lemon juice, which has similar acidic properties. For rubbing alcohol, you can use hydrogen peroxide, which is a natural disinfectant. However, be sure to dilute hydrogen peroxide properly with water to avoid bleaching or damaging surfaces. You can also use a mild dish soap as an alternative, but be sure to rinse the surface thoroughly with water to remove any soap residue.
How can I make these DIY wet mopping cloths more eco-friendly?
There are several ways to make your DIY wet mopping cloths more eco-friendly:
* **Use reusable cloths:** Opt for microfiber cloths or terry cloth towels instead of disposable cloths.
* **Use natural cleaning ingredients:** Choose vinegar, lemon juice, and essential oils over harsh chemicals.
* **Repurpose old materials:** Use old t-shirts or flannel shirts as mopping cloths.
* **Reduce waste:** Make only the amount of cleaning solution you need to avoid unnecessary waste.
* **Compost biodegradable cloths:** If you use disposable cloths, choose biodegradable options and compost them if possible.
By making these small changes, you can significantly reduce your environmental impact and create a more sustainable cleaning routine.
Leave a Comment