

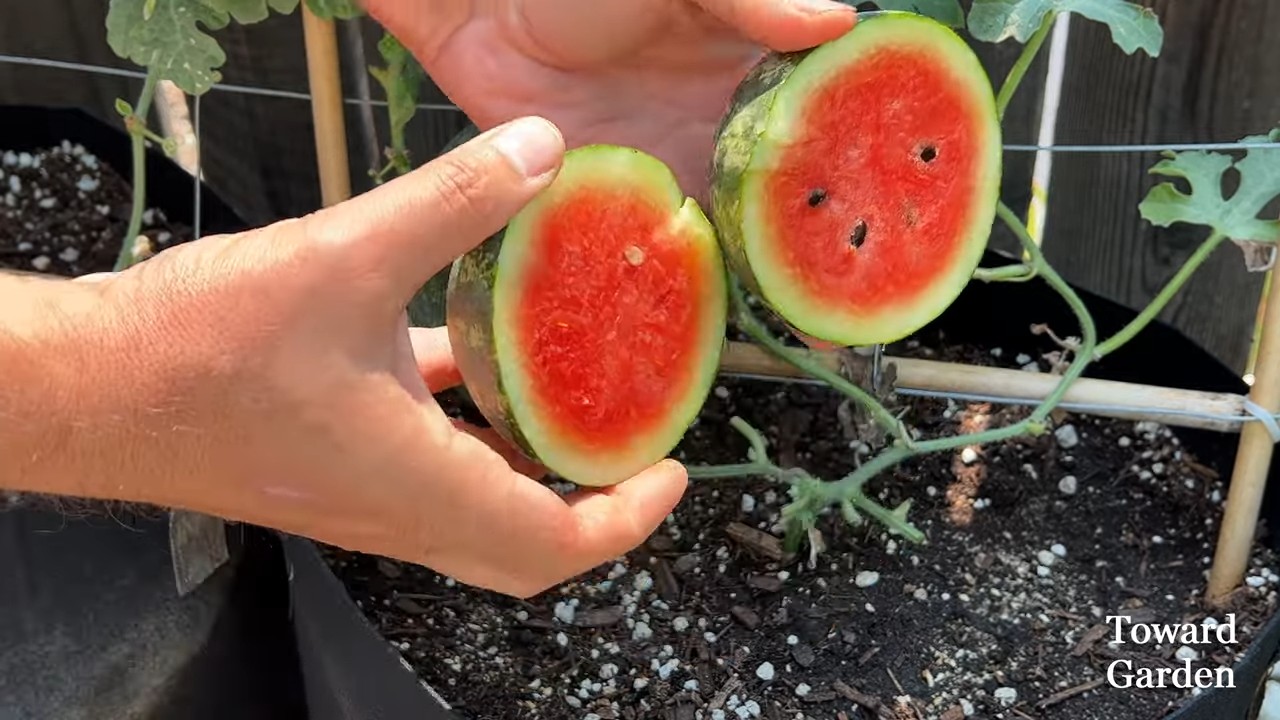
Watermelon planter DIY projects are taking the gardening world by storm, and for good reason! Imagine transforming a simple, juicy watermelon into a vibrant, eye-catching planter that adds a touch of whimsy and sustainability to your garden. Forget those boring terracotta pots; we’re diving headfirst into a creative adventure that’s as rewarding as it is fun.
The idea of repurposing natural materials for planting isn’t new, of course. Throughout history, various cultures have utilized gourds, hollowed-out logs, and even discarded shells as makeshift containers for nurturing plants. This resourceful approach reflects a deep connection to nature and a commitment to minimizing waste. Now, we’re bringing that spirit into the 21st century with a modern twist!
Why should you try a watermelon planter DIY? Well, besides being incredibly Instagrammable, it’s a fantastic way to reduce your environmental footprint. Instead of tossing that watermelon rind into the compost bin, you’re giving it a second life. Plus, it’s a budget-friendly option that allows you to express your creativity and personalize your garden space. I think you’ll find that creating your own watermelon planter is easier than you think, and the results are simply stunning. Let’s get started and transform that leftover watermelon into a thriving home for your favorite plants!
DIY Watermelon Planter: From Fruit to Fabulous!
Hey there, fellow plant lovers! Ever thought about giving your garden a quirky, eco-friendly makeover? Well, I’ve got just the project for you: a watermelon planter! It’s surprisingly easy, super fun, and a fantastic way to reuse those leftover watermelon rinds. Plus, it adds a touch of whimsy to any space. Let’s dive in!
What You’ll Need
Before we get our hands dirty, let’s gather our supplies. This is a pretty straightforward project, so you probably have most of these items lying around already.
* A large watermelon (obviously!)
* A large knife (serrated works best)
* A spoon or melon baller
* Drill (optional, but recommended for drainage)
* Potting soil
* Your chosen plants (herbs, succulents, flowers – the possibilities are endless!)
* Gloves (optional, but helpful for keeping your hands clean)
* A marker or pen
* Measuring tape or ruler
* Sandpaper (optional, for smoothing edges)
* Waterproof sealant (optional, to prolong the planter’s life)
* Small rocks or gravel (for drainage)
Preparing the Watermelon
Okay, this is where the fun begins! We’re going to transform this juicy fruit into a stylish home for our plants.
1. Mark the Cutting Line: First, decide how tall you want your planter to be. I usually aim for about half the watermelon’s height, but you can adjust this to your liking. Use your marker or pen to draw a line around the watermelon at your desired height. Make sure the line is even all the way around – nobody wants a lopsided planter! Use the measuring tape to ensure the line is consistent.
2. Cut the Watermelon: Now, carefully use your large knife to cut along the line you just drew. I find that a serrated knife works best because it grips the rind and makes the cutting process smoother. Go slowly and steadily, and don’t be afraid to take breaks if your arm gets tired. Safety first!
3. Scoop Out the Flesh: Once you’ve cut the watermelon in half, it’s time to scoop out all that delicious red flesh. Use your spoon or melon baller to remove as much of the watermelon as possible. The cleaner you get it, the longer your planter will last. Don’t worry about getting every single bit – just focus on removing the bulk of it. This is a great opportunity to enjoy a healthy snack!
4. Smooth the Edges (Optional): If you want a more polished look, you can use sandpaper to smooth the cut edges of the watermelon rind. This step is totally optional, but it can make your planter look a bit more refined. I usually just give it a quick once-over to remove any sharp or jagged edges.
5. Drill Drainage Holes: This is a crucial step! Your plants need drainage to thrive, so you’ll need to drill a few holes in the bottom of the watermelon rind. Use your drill to create 3-5 holes, depending on the size of your planter. Make sure the holes are large enough to allow water to drain freely. If you don’t have a drill, you can use a sharp knife or skewer to poke holes, but be careful!
6. Apply Waterproof Sealant (Optional): To help your watermelon planter last longer, you can apply a waterproof sealant to the inside and outside of the rind. This will help prevent the rind from rotting too quickly. Follow the instructions on the sealant carefully, and make sure to let it dry completely before moving on to the next step. I usually skip this step because I like the natural look, and I don’t mind replacing the planter every few weeks.
Planting Your Garden
Alright, we’ve got our watermelon rind prepped and ready to go. Now for the fun part – planting!
1. Add Drainage Material: Before adding soil, place a layer of small rocks or gravel at the bottom of the watermelon planter. This will further improve drainage and prevent the soil from becoming waterlogged. I usually use about an inch or two of rocks or gravel.
2. Fill with Potting Soil: Now, fill the watermelon planter with potting soil. Use a good quality potting soil that is well-draining and nutrient-rich. Leave about an inch or two of space at the top of the planter.
3. Plant Your Plants: Carefully remove your chosen plants from their containers and plant them in the potting soil. Make sure to space them out evenly and give them enough room to grow. Gently pat the soil around the plants to secure them in place.
4. Water Thoroughly: After planting, water your plants thoroughly. This will help settle the soil and encourage the roots to grow. Water until the water drains out of the drainage holes at the bottom of the planter.
5. Find the Perfect Spot: Place your watermelon planter in a sunny spot where your plants will get plenty of light. Remember that watermelon rinds will decompose over time, so it’s best to place your planter on a surface that can withstand moisture.
Choosing the Right Plants
The beauty of this project is that you can plant just about anything in your watermelon planter! Here are a few ideas to get you started:
* Herbs: Herbs like basil, mint, parsley, and thyme are perfect for watermelon planters. They’re easy to grow, smell amazing, and you can use them in your cooking!
* Succulents: Succulents are low-maintenance and drought-tolerant, making them a great choice for beginner gardeners. They also come in a wide variety of shapes and colors, so you can create a really interesting display.
* Flowers: Add a pop of color to your garden with flowers like petunias, pansies, or marigolds. Choose flowers that are compact and don’t require a lot of space.
* Vegetables: You can even grow small vegetables like lettuce, spinach, or radishes in your watermelon planter. Just make sure to choose varieties that are suitable for container gardening.
Tips for Success
Here are a few extra tips to help you create the perfect watermelon planter:
* Choose a ripe watermelon: A ripe watermelon will be easier to cut and scoop out. Look for a watermelon that is heavy for its size and has a dull, slightly rough rind.
* Don’t overwater: Watermelon rinds don’t drain as well as traditional pots, so it’s important not to overwater your plants. Check the soil moisture before watering, and only water when the top inch or two of soil is dry.
* Fertilize regularly: Watermelon planters don’t contain a lot of nutrients, so you’ll need to fertilize your plants regularly to keep them healthy and thriving. Use a balanced fertilizer according to the instructions on the package.
* Replace the planter as needed: Watermelon rinds will eventually decompose, so you’ll need to replace your planter every few weeks or months. This is a great opportunity to try out different plants and create new designs!
* Get creative with decorations: You can decorate your watermelon planter with paint, markers, or other embellishments. Let your imagination run wild and create a planter that reflects your personal style.
Troubleshooting
Even with the best planning, sometimes things don’t go exactly as expected. Here are a few common problems you might encounter and how to fix them:
* Mold: If you notice mold growing on your watermelon planter, it’s usually a sign that the soil is too wet or that the planter isn’t getting enough air circulation. Try reducing the amount of water you’re giving your plants and moving the planter to a sunnier location. You can also try spraying the mold with a diluted solution of vinegar and water.
* Rotting: If your watermelon planter starts to rot, it’s time to replace it. Remove the plants carefully and transplant them into a new container.
* Pests: Watermelon planters can attract pests like aphids, slugs, and snails. Inspect your plants regularly for signs of pests and take action to control them if necessary. You can use organic pest control methods like insecticidal soap or neem oil.
* Wilting Plants: If your plants are wilting, it could be a sign of overwatering, underwatering, or nutrient deficiency. Check the soil moisture and adjust your watering schedule accordingly. You may also need to fertilize your plants to provide them with the nutrients they need.
Alternative Ideas
Want to take your watermelon planter game to the next level? Here are a few alternative ideas to try:
* Hanging Watermelon Planter: Create a hanging watermelon planter by attaching ropes or chains to the rind. This is a great way to add a touch of whimsy to your porch or patio.
* Watermelon Bird Feeder: Turn your watermelon rind into a bird feeder by filling it with birdseed. Hang it from a tree branch and watch the birds flock to your garden.
* Watermelon Compost Bin: Use your watermelon rind as a compost bin
Conclusion
So, there you have it! Transforming a humble watermelon into a vibrant and unique planter is not just a fun summer activity; it’s a testament to sustainable creativity and a fantastic way to add a personal touch to your garden or indoor space. This watermelon planter DIY project is more than just a craft; it’s an experience that connects you with nature, reduces waste, and allows you to showcase your green thumb in an unexpected and delightful way.
Why is this a must-try? Because it’s incredibly easy, budget-friendly, and yields stunning results. Forget those generic plastic pots – a watermelon planter offers a natural, biodegradable alternative that adds character and charm to any setting. Plus, the process itself is incredibly rewarding. From carefully scooping out the juicy flesh (which, let’s be honest, is a delicious bonus!) to meticulously carving your design and planting your chosen flora, each step is a chance to express your creativity and connect with the earth.
But the beauty of this project lies in its versatility. Feel free to experiment with different carving designs. Go beyond simple geometric shapes and try intricate floral patterns, whimsical animal figures, or even personalized monograms. The only limit is your imagination!
Consider these variations to truly make your watermelon planter your own:
* Succulent Oasis: Watermelons are perfect for creating a mini succulent garden. The shallow roots of succulents thrive in the well-draining environment, and the contrasting textures and colors create a visually stunning display.
* Herb Haven: Plant your favorite herbs like basil, mint, or rosemary for a fragrant and functional planter. Imagine stepping outside to snip fresh herbs directly from your repurposed watermelon!
* Seasonal Blooms: Change up your planting with the seasons. Opt for vibrant petunias in the summer, cheerful pansies in the fall, or delicate violas in the spring. This allows you to enjoy a constantly evolving display of color and beauty.
* Painted Perfection: Once your watermelon planter is carved, consider painting it with non-toxic acrylic paints. This adds an extra layer of personalization and allows you to match your planter to your existing décor. Just be sure to seal the paint with a waterproof sealant to protect it from the elements.
* Hanging Basket Alternative: With some sturdy rope or macrame, you can transform your watermelon planter into a unique hanging basket. This is a great way to add vertical interest to your garden or patio.
We wholeheartedly encourage you to give this watermelon planter DIY a try. It’s a fantastic project for individuals, families, and anyone looking to add a touch of whimsy and sustainability to their lives. Don’t be afraid to get creative, experiment with different designs, and most importantly, have fun!
Once you’ve created your masterpiece, we’d love to see it! Share your photos and experiences with us on social media using #WatermelonPlanterDIY. We can’t wait to see the amazing creations you come up with! Let’s inspire each other to embrace sustainable crafting and celebrate the beauty of nature.
Frequently Asked Questions (FAQ)
How long will my watermelon planter last?
The lifespan of your watermelon planter depends on several factors, including the climate, the thickness of the rind, and how well you care for it. Generally, you can expect it to last for several weeks to a couple of months. To prolong its life, keep it in a shaded area, avoid overwatering, and consider applying a sealant to the inside of the rind. Remember, it’s a biodegradable planter, so eventually, it will decompose, enriching the soil around it. Think of it as a temporary, eco-friendly home for your plants!
What kind of plants are best suited for a watermelon planter?
The best plants for your watermelon planter are those with shallow root systems and that don’t require excessive watering. Succulents, herbs (like basil, mint, and thyme), and small flowering plants (like petunias, pansies, and violas) are all excellent choices. Avoid plants with deep root systems, as they may not have enough room to thrive. Consider the mature size of the plant as well, ensuring it won’t outgrow the planter too quickly.
How do I prevent my watermelon planter from rotting?
To minimize the risk of rotting, ensure proper drainage. Drill several drainage holes in the bottom of the planter to allow excess water to escape. Avoid overwatering, as this can accelerate decomposition. Applying a sealant to the inside of the rind can also help to prolong its life. Choose a well-draining potting mix and avoid placing the planter in direct sunlight, which can cause the rind to dry out and crack.
Can I use any type of watermelon for this project?
While any watermelon can technically be used, larger watermelons with thicker rinds are generally better suited for this project. They provide more space for planting and are more durable. Seedless watermelons are also a good option, as they eliminate the need to remove seeds from the flesh. Ultimately, the choice is yours, but consider the size and thickness of the rind when selecting your watermelon.
What kind of tools do I need for this DIY project?
You’ll need a few basic tools to create your watermelon planter:
* A large knife for cutting the watermelon in half.
* A spoon or ice cream scoop for removing the flesh.
* A smaller knife or carving tools for creating your design.
* A drill or skewer for creating drainage holes.
* Potting mix.
* Your chosen plants.
* Optional: Non-toxic acrylic paints and a waterproof sealant for decoration.
Is this project safe for kids?
With proper supervision, this project can be a fun and educational activity for kids. However, adult supervision is essential, especially when using knives or carving tools. Consider allowing children to help with scooping out the flesh or painting the planter, while adults handle the more dangerous tasks.
What should I do with the watermelon flesh?
Don’t let that delicious watermelon flesh go to waste! You can enjoy it as a refreshing snack, blend it into a smoothie, or use it to make watermelon juice. You can also freeze it for later use. Get creative and find ways to incorporate the watermelon flesh into your favorite recipes.
How do I dispose of the watermelon planter once it starts to decompose?
Since the watermelon planter is biodegradable, you can simply compost it! Break it into smaller pieces and add it to your compost bin or pile. It will decompose naturally, enriching your soil with valuable nutrients. Alternatively, you can bury it directly in your garden, where it will break down and provide nourishment for your plants.
Can I use this planter indoors?
Yes, you can definitely use your watermelon planter indoors! Just be sure to place it on a saucer or tray to catch any excess water that drains from the bottom. This will prevent water damage to your furniture or flooring. Also, consider the lighting requirements of your chosen plants and place the planter in a location that provides adequate sunlight.
How often should I water the plants in my watermelon planter?
The watering frequency will depend on the type of plants you’ve chosen and the climate. Generally, it’s best to water when the top inch of soil feels dry to the touch. Avoid overwatering, as this can lead to root rot and accelerate the decomposition of the planter. Check the soil moisture regularly and adjust your watering schedule accordingly.

Leave a Comment