

Baking Soda Cleaning Hacks for Your Home Garden
I’ve always loved the feeling of getting my hands dirty in the garden, but let’s be honest, sometimes the aftermath can be less than idyllic. Muddy shoes, stained tools, and stubbornly persistent grime on pots and planters are just a few of the challenges we gardeners face. That’s why I’m so excited to share some amazing Baking Soda Cleaning Hacks that will revolutionize your gardening routine! Forget harsh chemicals and expensive cleaning products; this versatile pantry staple is your secret weapon for a sparkling clean garden.
The use of baking soda for cleaning isn’t a newfangled trend; in fact, its cleaning power has been appreciated for generations. Our grandmothers knew the magic of this simple ingredient, using it for everything from laundry to deodorizing. Now, we’re uncovering its incredible potential for keeping our gardening tools and spaces pristine.
Why You Need These Baking Soda Cleaning Hacks
These Baking Soda Cleaning Hacks aren’t just about aesthetics; they’re about maintaining a healthy and productive garden. Clean tools prevent the spread of diseases and pests between plants. Clean pots ensure your seedlings have the best possible start. And a clean garden shed simply makes for a more enjoyable gardening experience. Plus, using baking soda is a budget-friendly and environmentally friendly alternative to harsh chemicals, making it a win-win for you and your garden.
So, get ready to discover how this simple ingredient can transform your gardening chores. From cleaning your pots and tools to tackling stubborn stains, these baking soda cleaning hacks will leave your garden sparkling and ready for its next blooming season. Let’s dive in and unlock the power of baking soda!
Building a Custom Bookshelf from Reclaimed Wood
I love the look of reclaimed wood, and I’ve always wanted a unique bookshelf. So, I decided to build my own! This project took a bit of time, but the result is a beautiful, one-of-a-kind piece of furniture that I’m incredibly proud of. Here’s how I did it:
Gathering Your Materials
- Reclaimed wood planks (I used about 10, varying in width and length – aim for a total length sufficient for your desired shelf dimensions). Make sure the wood is clean and relatively dry.
- Wood glue
- Wood screws (various lengths, depending on the thickness of your planks)
- Wood filler
- Sandpaper (various grits, starting with coarser and moving to finer)
- Wood stain (your choice of color – I used a dark walnut)
- Polyurethane sealant (to protect the finish)
- Measuring tape
- Level
- Drill with drill bits (matching your screws)
- Safety glasses
- Work gloves
- Clamps (several, to hold planks together while the glue dries)
- Putty knife
- Brushes (for stain and sealant)
- Drop cloths or newspaper to protect your work area
Preparing the Wood
1. Clean the wood: Before starting, thoroughly clean your reclaimed wood planks. I used a stiff brush and a damp cloth to remove any dirt, debris, or loose pieces of bark. Let them dry completely.
2. Assess and plan: Lay out your planks to visualize the overall design of your bookshelf. Consider the varying widths and lengths to create a visually interesting and balanced look. I decided on three shelves of varying depths, creating a staggered effect. Measure carefully and sketch your design. This step is crucial for success.
3. Cut the wood (if necessary): Some of my planks needed trimming to fit my design. Use a saw (circular saw or hand saw, depending on your comfort level and the wood’s thickness) to make precise cuts. Remember to wear safety glasses!
4. Sand the wood: Sand each plank thoroughly, starting with a coarser grit sandpaper (around 80 grit) to remove any rough spots or splinters. Gradually move to finer grits (120, then 220) for a smooth finish. Sanding is key for a professional-looking result.
Assembling the Bookshelf
1. Apply glue and assemble the shelves: Following your design, apply wood glue to the ends of the planks that will form each shelf. Clamp the planks together firmly, ensuring they are aligned and level. Let the glue dry completely according to the manufacturer’s instructions (usually at least 30 minutes).
2. Attach the shelves to the sides: Once the glue is dry, use wood screws to attach the shelves to the vertical side pieces. Pre-drill pilot holes to prevent the wood from splitting. Use a level to ensure the shelves are perfectly horizontal.
3. Fill any gaps: After screwing everything together, you might notice small gaps between the planks. Use wood filler to fill these gaps, smoothing it out with a putty knife. Let the filler dry completely.
4. Sand the filler: Once the filler is dry, sand it down smooth using fine-grit sandpaper. This ensures a seamless finish.
Finishing the Bookshelf
1. Apply wood stain: Apply your chosen wood stain according to the manufacturer’s instructions. I applied two coats, allowing each coat to dry completely before applying the next. Work in a well-ventilated area.
2. Apply sealant: Once the stain is dry, apply a polyurethane sealant to protect the wood and enhance its durability. Again, apply two coats, allowing each to dry completely. This step is essential for protecting your beautiful bookshelf from spills and wear.
3. Final touch-ups: After the sealant is dry, inspect your bookshelf for any imperfections. You might need to do some light sanding or touch up the stain or sealant in certain areas.
4. Let it cure: Allow the sealant to cure completely before placing any books on the shelves. This usually takes a few days.
Optional Enhancements
- Add decorative elements: Consider adding metal brackets or other decorative hardware to further enhance the look of your bookshelf.
- Use different wood types: Experiment with different types of reclaimed wood to create a more eclectic look.
- Incorporate lighting: Add small LED lights to highlight your books and create a cozy ambiance.
And there you have it! Your very own custom bookshelf made from reclaimed wood. Enjoy the process and the beautiful, unique piece you’ve created!
Conclusion
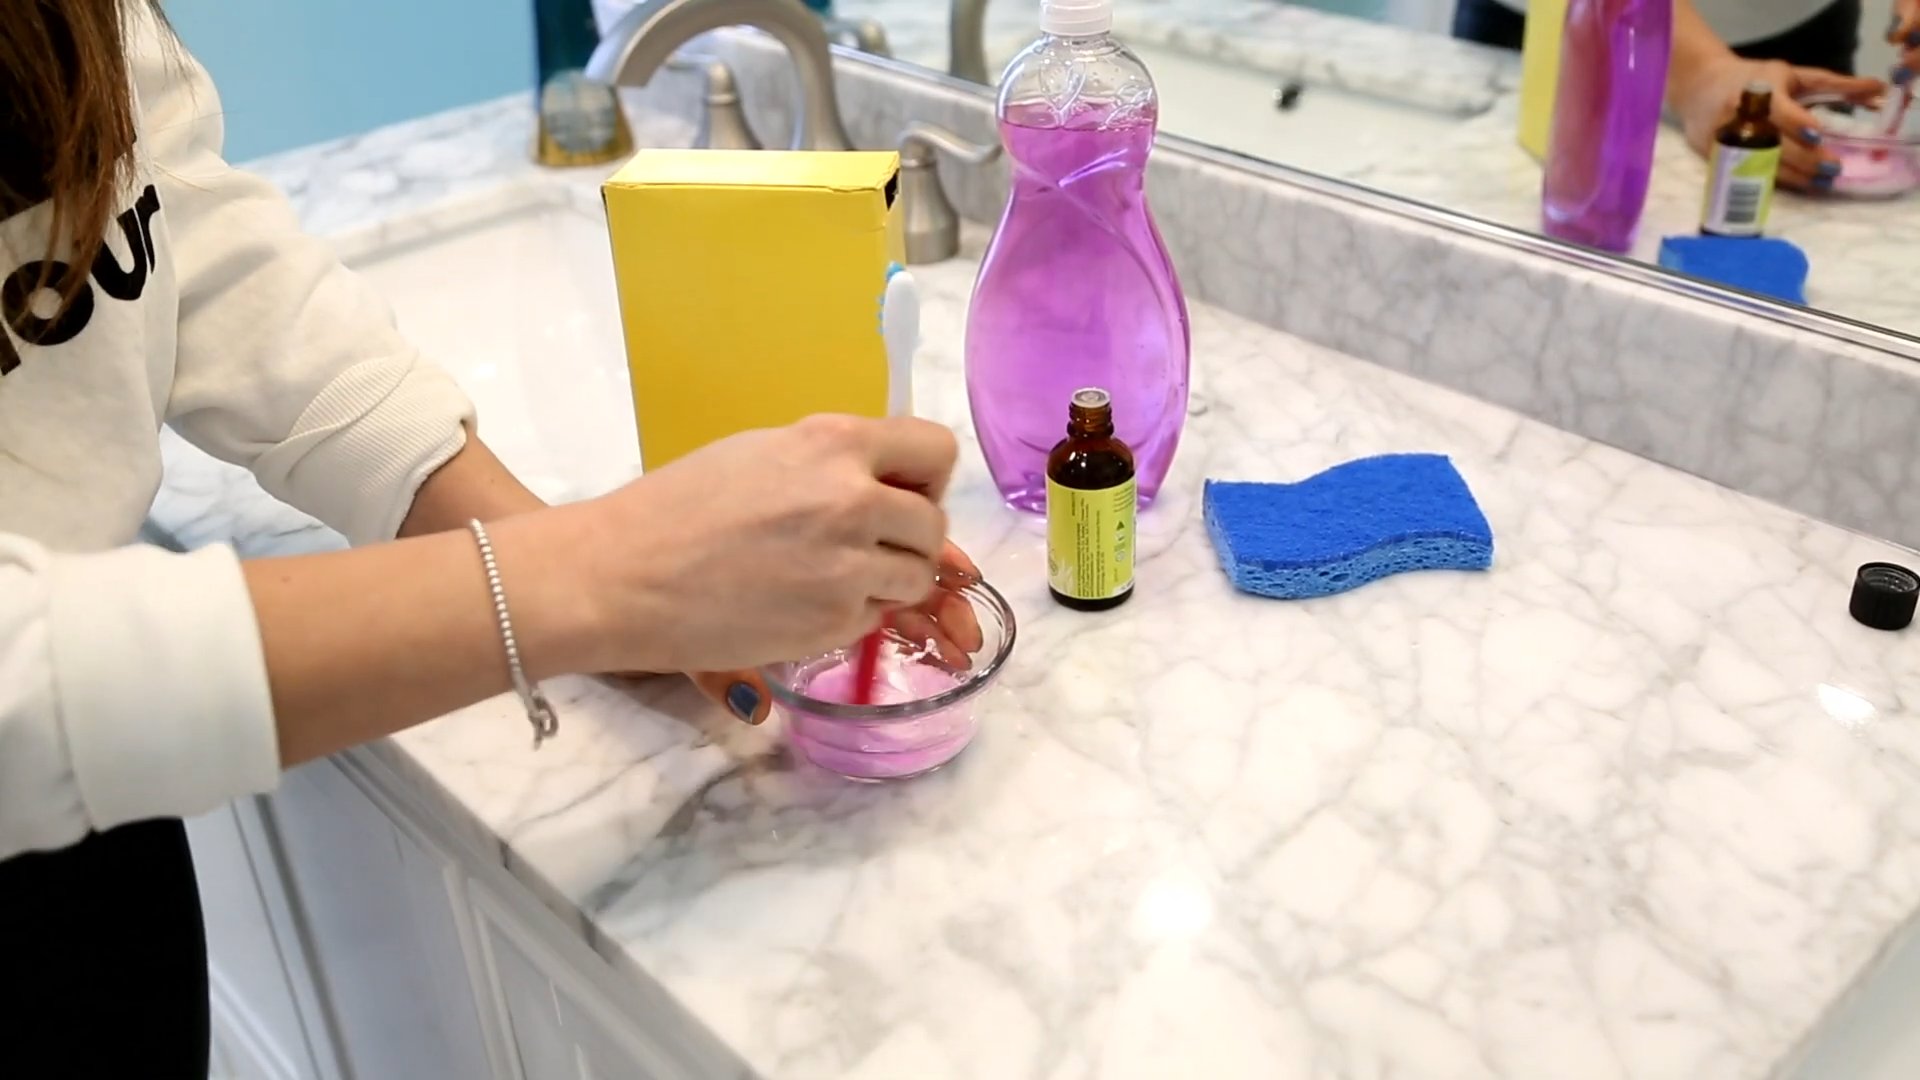
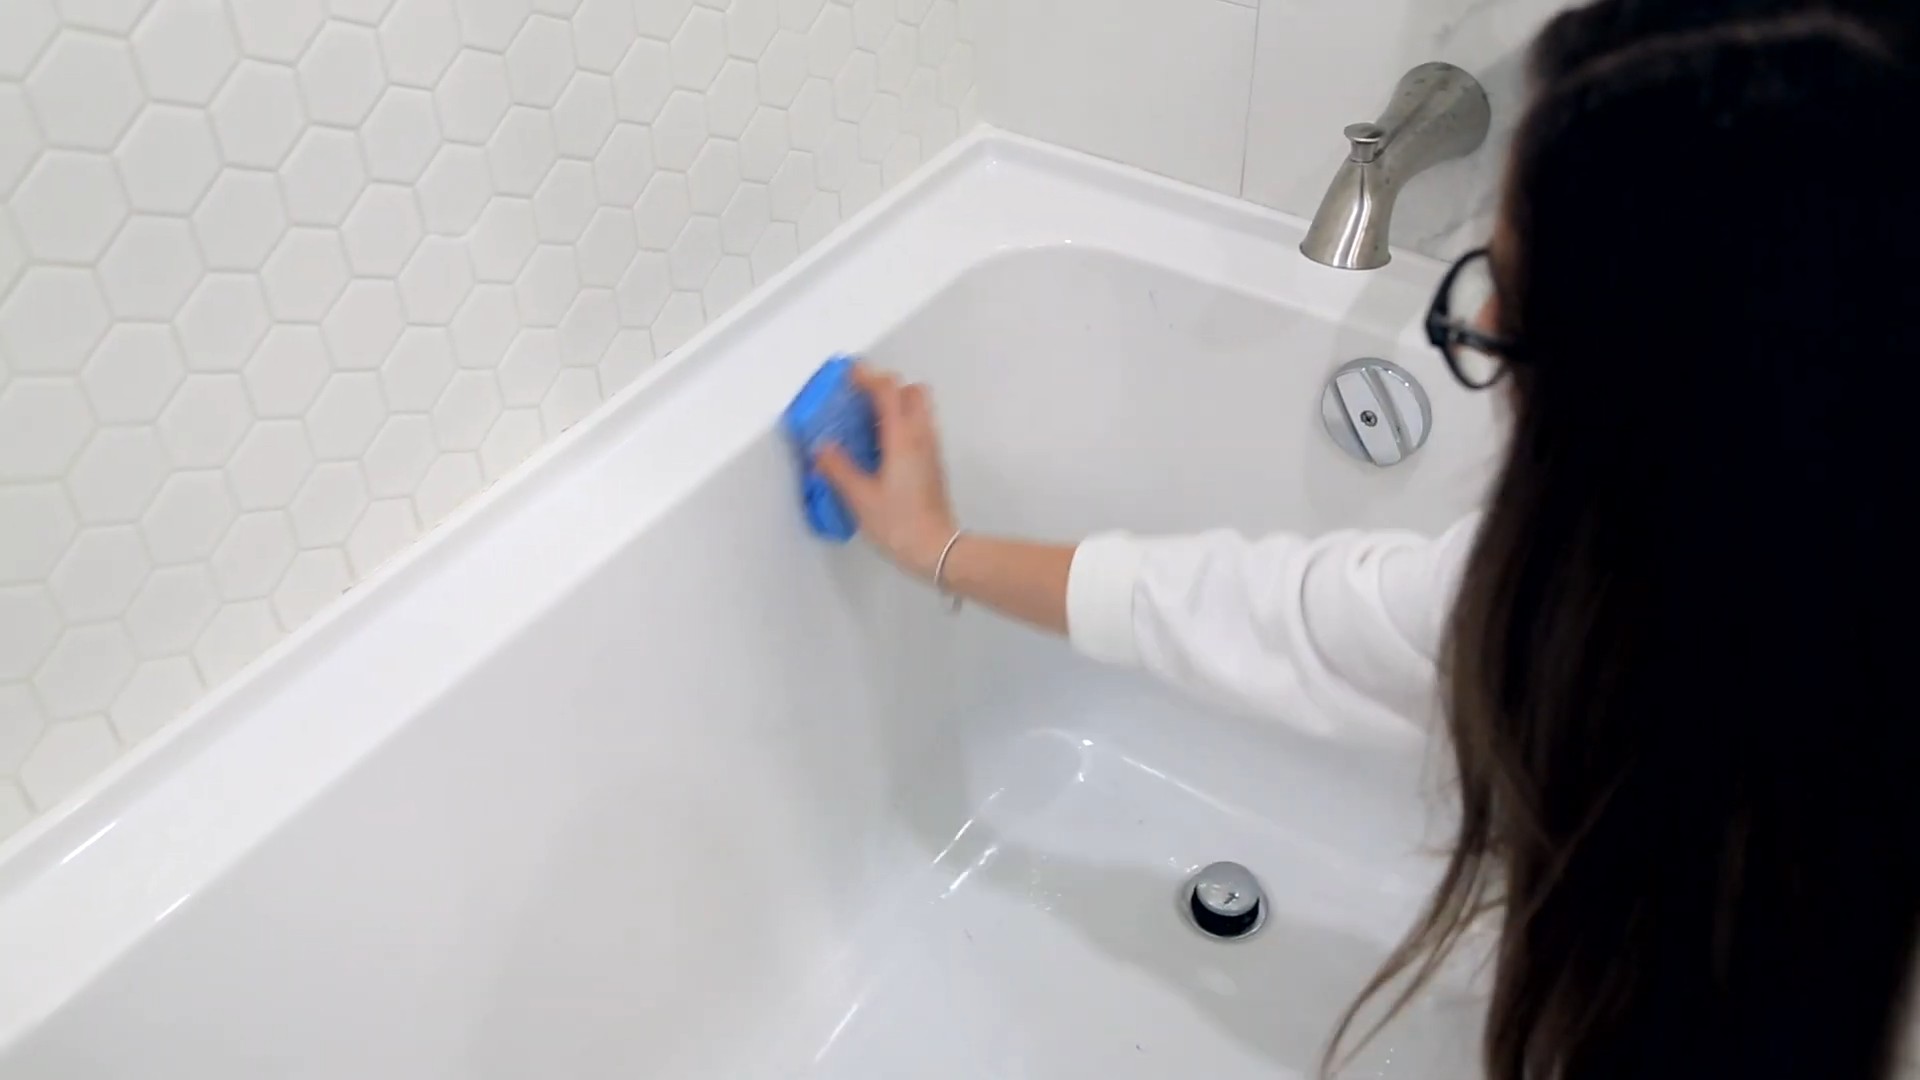
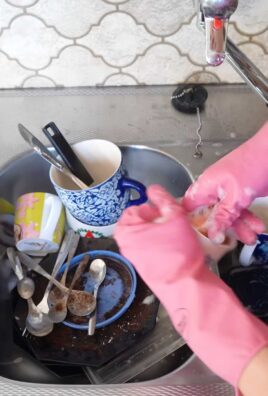
So there you have it! A comprehensive guide to unlocking the amazing cleaning power of baking soda. This versatile, inexpensive household staple truly deserves a place in your cleaning arsenal. From tackling stubborn grease in your oven to brightening your whites and eliminating odors from your refrigerator, the baking soda cleaning hacks detailed above offer a natural, effective, and budget-friendly alternative to harsh chemical cleaners. The satisfying results you’ll achieve – sparkling surfaces, fresh-smelling rooms, and a healthier home environment – make these DIY tricks a must-try for anyone looking to simplify their cleaning routine and reduce their environmental impact. Beyond the specific applications we’ve covered, the possibilities are truly endless. Experiment with different combinations and ratios to find what works best for your specific needs and surfaces.
Remember, a little baking soda goes a long way. Start with smaller amounts and gradually increase as needed. Always test a small, inconspicuous area first to ensure the baking soda doesn’t damage or discolor your surfaces. With a little patience and experimentation, you’ll be amazed at what you can achieve with this simple, yet powerful, cleaning agent. Don’t be afraid to get creative! Try adding essential oils to your baking soda paste for a pleasant aroma, or combine it with other natural cleaning agents like vinegar or lemon juice for even more effective cleaning power. The key is to embrace the versatility of baking soda and let your imagination run wild.
We encourage you to try these baking soda cleaning hacks and share your experiences with us! Let us know which tricks worked best for you, what variations you experimented with, and any other innovative uses you discover. Your feedback will help inspire others and further expand the possibilities of this incredible cleaning powerhouse. Join the growing community of DIY cleaning enthusiasts and experience the joy of a sparkling clean home achieved with simple, natural, and effective methods. Share your success stories and tips on social media using #BakingSodaCleaningHacks – let’s build a collective knowledge base of baking soda cleaning wisdom! We can’t wait to see what you create!
Frequently Asked Questions
What are the safety precautions when using baking soda for cleaning?
While baking soda is generally safe, it’s crucial to take some precautions. Avoid inhaling large amounts of baking soda powder, especially in enclosed spaces. Always ensure adequate ventilation when using baking soda for cleaning. For sensitive skin, wear gloves to prevent potential irritation. If baking soda gets into your eyes, rinse immediately with plenty of water. Finally, always test a small, inconspicuous area before applying baking soda to a larger surface to check for any adverse reactions.
Can baking soda scratch surfaces?
Baking soda is generally considered a non-abrasive cleaner, but it can still scratch delicate surfaces if used aggressively. Avoid using baking soda on polished wood, marble, or other easily scratched materials. For these surfaces, opt for gentler cleaning methods. When using baking soda on more durable surfaces, apply it gently using a soft cloth or sponge to minimize the risk of scratching.
How do I store baking soda for optimal freshness?
To maintain the effectiveness of your baking soda, store it in an airtight container in a cool, dry place. Avoid storing it in damp or humid environments, as this can reduce its potency. A properly stored container of baking soda can last for several months, even up to a year or more, depending on the storage conditions.
Can baking soda be used on all types of stains?
Baking soda is effective on a wide range of stains, but its effectiveness varies depending on the type and age of the stain. It works particularly well on grease, grime, and odors. However, it may not be as effective on deeply set stains or certain types of dyes. For stubborn stains, you may need to combine baking soda with other cleaning agents or pre-treat the stain before applying the baking soda.
Is baking soda environmentally friendly?
Yes, baking soda is considered an environmentally friendly cleaning agent. Unlike many commercial cleaners, it’s non-toxic, biodegradable, and doesn’t contain harsh chemicals that can harm the environment. Using baking soda for cleaning reduces your reliance on chemical-based products, contributing to a more sustainable and eco-conscious lifestyle.
What are some alternative uses for baking soda beyond cleaning?
Baking soda’s versatility extends far beyond cleaning. It can be used as a natural deodorizer for refrigerators, carpets, and shoes. It can also be used as a baking ingredient, a toothpaste additive, and even as a remedy for heartburn. Its diverse applications make it a truly indispensable household item.
Can I mix baking soda with other cleaning products?
Yes, baking soda can be effectively combined with other cleaning agents, such as vinegar or lemon juice, to enhance its cleaning power. However, it’s important to note that mixing baking soda with certain chemicals, such as bleach, can create harmful gases. Always exercise caution when mixing cleaning products and refer to the safety instructions on the product labels.
How often should I use baking soda for cleaning?
The frequency of using baking soda for cleaning depends on your specific needs and the surfaces you’re cleaning. For regular cleaning tasks, such as wiping down countertops or cleaning the sink, you can use baking soda daily or as needed. For more intensive cleaning tasks, such as cleaning the oven or scrubbing stubborn stains, you may use baking soda less frequently.
Leave a Comment