

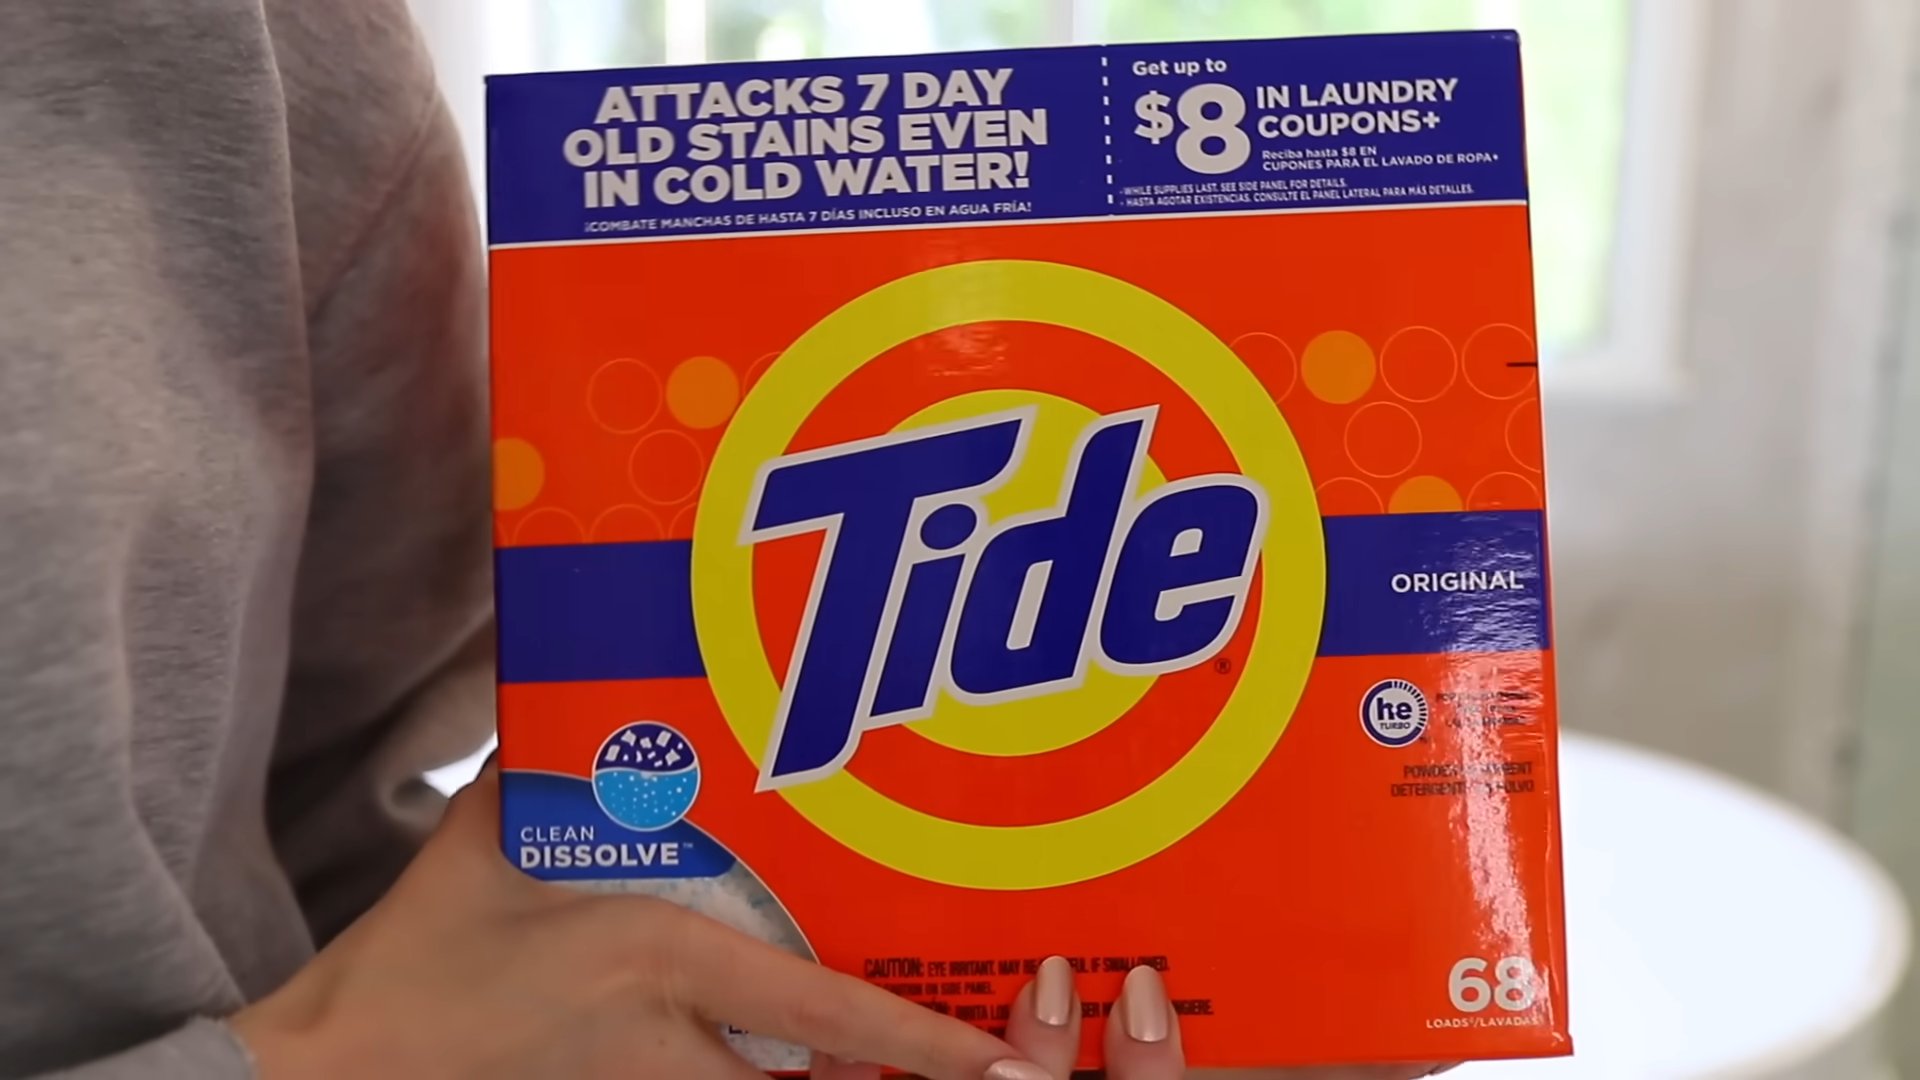
Professional cleaning tips – ever wished you had them at your fingertips? I know I have! We all crave that sparkling, fresh home, but sometimes the thought of tackling the mess feels overwhelming. For generations, keeping a clean home has been a cornerstone of healthy living and a reflection of our personal pride. Think back to your grandmother’s meticulously kept house – a testament to the power of simple, effective cleaning methods.
But let’s be honest, modern life is busy! Who has time to spend hours scrubbing? That’s where these DIY cleaning hacks come in. I’m going to share some of the best professional cleaning tips that will save you time, money, and energy. These aren’t just random tricks; they’re tried-and-true methods used by cleaning professionals to achieve amazing results with minimal effort. Imagine having a spotless home without breaking a sweat – that’s the promise of these easy-to-follow DIY cleaning solutions. Get ready to transform your cleaning routine and enjoy a cleaner, happier home!
DIY Power Cleaner: Unleash the Cleaning Potential of Harpic!
Hey there, fellow cleaning enthusiasts! Are you ready to take your cleaning game to the next level? I’m going to share some amazing DIY hacks that will help you get the most out of your trusty bottle of Harpic. We’re not just talking about basic toilet cleaning here; we’re diving deep into the world of grime-busting, stain-removing, and overall home-refreshing magic!
Understanding Harpic’s Power
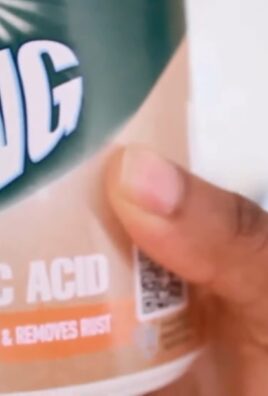
Before we jump into the DIY projects, let’s quickly understand what makes Harpic so effective. It’s primarily designed for toilet cleaning, and its powerful formula is excellent at dissolving limescale, rust, and stubborn stains. The key ingredients are usually hydrochloric acid and surfactants, which work together to break down and lift away dirt. Always remember to handle Harpic with care and wear gloves and eye protection when working with it.
DIY Hack 1: Supercharged Toilet Bowl Cleaner
This is where Harpic shines, but we can make it even better!
What you’ll need:
* Harpic toilet cleaner (original or any variant)
* Baking soda
* White vinegar
* Toilet brush
* Gloves
* Eye protection
Step-by-step instructions:
1. Prepare the bowl: Flush the toilet to wet the bowl.
2. Apply baking soda: Sprinkle about half a cup of baking soda evenly around the inside of the toilet bowl. This will act as a mild abrasive and help to loosen grime.
3. Add Harpic: Carefully squirt Harpic around the rim of the bowl, ensuring it coats all surfaces. Let it drip down over the baking soda.
4. Introduce the vinegar: Slowly pour about half a cup of white vinegar into the bowl. You’ll notice a fizzing reaction – this is perfectly normal and helps to lift away stains.
5. Let it sit: Allow the mixture to sit for at least 30 minutes, or even better, overnight for really tough stains. The longer it sits, the more effective it will be.
6. Scrub thoroughly: Use a toilet brush to scrub the entire bowl, paying extra attention to areas with stains or buildup.
7. Flush and admire: Flush the toilet to rinse away the cleaner and reveal a sparkling clean bowl! You might need to repeat the process for extremely stubborn stains.
DIY Hack 2: Grout Cleaner Extraordinaire
Grout can be a real pain to clean, but Harpic can help!
What you’ll need:
* Harpic toilet cleaner (original or any variant)
* Old toothbrush or grout brush
* Spray bottle (optional)
* Water
* Gloves
* Eye protection
Step-by-step instructions:
1. Prepare the area: Make sure the area you’re cleaning is well-ventilated. Open a window or turn on a fan.
2. Dilute (optional): For less stubborn grout, you can dilute Harpic with water in a spray bottle (1 part Harpic to 3 parts water). This helps to control the strength and prevent damage to sensitive surfaces. For tougher stains, use Harpic undiluted.
3. Apply the cleaner: Carefully apply the Harpic (diluted or undiluted) directly to the grout lines. If using a spray bottle, spray directly onto the grout.
4. Let it sit: Allow the cleaner to sit for 5-10 minutes. Don’t let it dry completely.
5. Scrub vigorously: Use an old toothbrush or grout brush to scrub the grout lines thoroughly. You’ll see the grime start to lift away.
6. Rinse thoroughly: Rinse the area thoroughly with water to remove all traces of Harpic. Use a sponge or cloth to wipe away any residue.
7. Dry the area: Dry the area with a clean towel to prevent water spots.
Important Note: Always test Harpic on a small, inconspicuous area of your grout first to ensure it doesn’t damage the tiles. Some tiles are more sensitive than others.
DIY Hack 3: Rust Stain Remover
Rust stains can be unsightly and difficult to remove, but Harpic can help break them down.
What you’ll need:
* Harpic toilet cleaner (original or any variant)
* Old cloth or sponge
* Water
* Gloves
* Eye protection
Step-by-step instructions:
1. Prepare the area: Make sure the area is well-ventilated.
2. Apply Harpic: Apply a small amount of Harpic directly to the rust stain.
3. Let it sit: Allow it to sit for 5-10 minutes. Keep a close eye on it and don’t let it dry.
4. Wipe away: Use an old cloth or sponge to gently wipe away the rust stain. You should see it lifting away.
5. Rinse thoroughly: Rinse the area thoroughly with water to remove all traces of Harpic.
6. Repeat if necessary: If the stain is still visible, repeat the process.
Important Note: This method is best for rust stains on hard, non-porous surfaces like metal or porcelain. Avoid using it on fabrics or delicate surfaces. Always test on an inconspicuous area first.
DIY Hack 4: Reviving Shower Heads
Hard water deposits can clog shower heads, reducing water pressure. Harpic can help dissolve these deposits.
What you’ll need:
* Harpic toilet cleaner (original or any variant)
* Plastic bag
* Rubber band or zip tie
* Water
* Gloves
* Eye protection
Step-by-step instructions:
1. Prepare the solution: Pour enough Harpic into a plastic bag to fully submerge the shower head.
2. Submerge the shower head: Place the shower head inside the bag, ensuring it’s completely submerged in the Harpic.
3. Secure the bag: Use a rubber band or zip tie to secure the bag around the shower head, preventing leaks.
4. Let it soak: Let the shower head soak in the Harpic for at least 30 minutes, or even overnight for heavily clogged shower heads.
5. Remove and rinse: Carefully remove the shower head from the bag and rinse it thoroughly with water.
6. Reinstall and test: Reinstall the shower head and test the water pressure. You should notice a significant improvement.
DIY Hack 5: Cleaning Ceramic Plant Pots
Over time, ceramic plant pots can develop unsightly mineral deposits and stains. Harpic can help restore them to their former glory.
What you’ll need:
* Harpic toilet cleaner (original or any variant)
* Water
* Scrub brush
* Gloves
* Eye protection
Step-by-step instructions:
1. Prepare the pot: Remove any plants or soil from the pot.
2. Dilute Harpic: In a bucket or container, dilute Harpic with water (1 part Harpic to 5 parts water).
3. Soak the pot: Submerge the plant pot in the diluted Harpic solution.
4. Let it soak: Let the pot soak for 30 minutes to an hour, depending on the severity of the stains.
5. Scrub the pot: Use a scrub brush to scrub the pot, removing any remaining stains or deposits.
6. Rinse thoroughly: Rinse the pot thoroughly with water to remove all traces of Harpic.
7. Dry the pot: Allow the pot to dry completely before replanting.
Safety First!
I can’t stress this enough: Harpic is a powerful cleaner and should be handled with care. Always wear gloves and eye protection when working with it. Avoid contact with skin and eyes. If contact occurs, rinse immediately with plenty of water and seek medical attention. Never mix Harpic with bleach or other cleaning products, as this can create dangerous fumes. Keep Harpic out of reach of children and pets. Always use in a well-ventilated area.
Final Thoughts
With a little creativity and caution, you can unlock the full cleaning potential of Harpic and tackle a variety of household cleaning challenges. Remember to always prioritize safety and test on an inconspicuous area first. Happy cleaning!
Conclusion
So, there you have it! This simple yet incredibly effective DIY cleaning trick is a game-changer for anyone looking to maintain a sparkling clean home without breaking the bank or relying on harsh chemicals. We’ve shown you how to leverage readily available household items to achieve professional-level results, and we’re confident that once you try it, you’ll wonder how you ever lived without it.
The beauty of this method lies in its versatility. Feel free to experiment with different essential oils to customize the scent and add extra cleaning power. For instance, a few drops of tea tree oil can boost the antibacterial properties, while lemon oil adds a refreshing citrusy aroma and helps cut through grease. You can also adjust the ratio of ingredients to suit your specific cleaning needs. If you’re tackling a particularly stubborn stain, consider increasing the concentration of vinegar or baking soda.
Don’t limit yourself to just one area of your home. This DIY cleaning solution is perfect for cleaning countertops, sinks, showers, toilets, and even floors (always test a small, inconspicuous area first, especially on delicate surfaces like hardwood). It’s a truly all-purpose cleaner that can simplify your cleaning routine and save you time and money.
We understand that switching to a DIY cleaning approach might seem daunting at first, but we promise it’s easier than you think. The ingredients are inexpensive and readily available, the process is straightforward, and the results are undeniable. Plus, you’ll have the peace of mind knowing that you’re using a safe and eco-friendly cleaning solution that won’t harm your family or the environment.
This DIY cleaning trick isn’t just about saving money; it’s about taking control of your cleaning routine and creating a healthier, more sustainable home. It’s about empowering yourself to achieve professional cleaning results without relying on expensive and potentially harmful commercial products.
We wholeheartedly encourage you to give this DIY cleaning trick a try. We’re confident that you’ll be amazed by the results. And more importantly, we want to hear about your experience! Share your tips, variations, and before-and-after photos in the comments below. Let’s build a community of DIY cleaning enthusiasts and help each other create cleaner, healthier homes. Your insights could inspire others to ditch the harsh chemicals and embrace a more natural approach to cleaning.
Remember, a clean home is a happy home, and with this simple DIY cleaning trick, you can achieve a sparkling clean home without breaking the bank or compromising your health. So, what are you waiting for? Grab your ingredients and get cleaning! We can’t wait to hear about your success stories. Let us know how this **professional cleaning tips** helped you.
Frequently Asked Questions
What types of surfaces can I use this DIY cleaner on?
This DIY cleaner is generally safe for a wide variety of surfaces, including countertops (granite, quartz, laminate), sinks (stainless steel, porcelain), showers (tile, fiberglass), toilets, and even floors (tile, linoleum). However, it’s crucial to **always test the cleaner on a small, inconspicuous area first**, especially on delicate surfaces like hardwood, marble, or painted surfaces. Avoid using it on porous surfaces that could absorb the cleaner and potentially become stained or damaged. If you’re unsure about a particular surface, consult the manufacturer’s instructions or a professional cleaner.
Can I use this cleaner on hardwood floors?
While some people have successfully used diluted versions of this DIY cleaner on hardwood floors, it’s generally **not recommended** due to the potential for damage. The acidity of vinegar can strip the finish and dull the shine of hardwood floors over time. If you choose to use it, dilute the cleaner significantly with water (e.g., 1/4 cup vinegar per gallon of water) and use a microfiber mop to avoid over-wetting the floor. Always test in an inconspicuous area first. Consider using a cleaner specifically designed for hardwood floors for optimal results and to protect your investment.
How long does the DIY cleaner last?
This DIY cleaner is best used within **one to two weeks** for optimal effectiveness. Since it doesn’t contain any preservatives, it can eventually become contaminated with bacteria or mold. To extend its shelf life, store it in a cool, dark place in an airtight container. You can also add a few drops of grapefruit seed extract, which acts as a natural preservative. If the cleaner develops an unusual odor or appearance, discard it immediately. It’s always best to make a fresh batch of cleaner as needed to ensure its potency and safety.
Can I use different essential oils?
Absolutely! Essential oils not only add a pleasant scent but also offer additional cleaning benefits. Some popular choices include:
* **Tea tree oil:** Known for its antibacterial and antifungal properties.
* **Lemon oil:** A natural degreaser and disinfectant with a refreshing citrusy aroma.
* **Lavender oil:** Provides a calming scent and has antiseptic properties.
* **Eucalyptus oil:** Helps to disinfect and deodorize, with a strong, invigorating scent.
* **Peppermint oil:** Offers a refreshing scent and can help to repel insects.
Experiment with different essential oils to find your favorite combination. Start with a few drops and adjust the amount to your preference. Be sure to use pure, therapeutic-grade essential oils for the best results.
Is this cleaner safe for pets and children?
While this DIY cleaner is generally safer than commercial cleaning products, it’s still important to exercise caution when using it around pets and children. Vinegar can be irritating if ingested, and some essential oils can be toxic to animals. Keep the cleaner out of reach of children and pets, and ensure that surfaces are thoroughly dry before allowing them to come into contact with them. If your pet or child ingests the cleaner, contact your veterinarian or poison control center immediately. Consider using pet-safe essential oils like lavender or chamomile in very diluted amounts.
What if I don’t have vinegar? Can I substitute it with something else?
While vinegar is a key ingredient in this DIY cleaner due to its acidity and cleaning properties, you can try substituting it with lemon juice in a pinch. Lemon juice also has acidic properties and can help to cut through grease and grime. Use the same amount of lemon juice as you would vinegar. However, keep in mind that lemon juice may not be as effective as vinegar for certain cleaning tasks.
My cleaner is leaving streaks. What am I doing wrong?
Streaking can occur if you’re using too much cleaner or if the surface is not properly rinsed. Try diluting the cleaner further with water and using a clean microfiber cloth to wipe the surface dry. You can also try adding a small amount of rubbing alcohol to the cleaner, which can help to prevent streaking. Ensure that you’re using a clean mop or cloth each time you clean to avoid spreading dirt and grime.
Can I use this cleaner to remove mold?
While this DIY cleaner can help to prevent mold growth, it may not be effective for removing existing mold. For mold removal, it’s best to use a dedicated mold and mildew remover or a solution of bleach and water (always use caution when working with bleach and follow the manufacturer’s instructions). If you have a significant mold problem, it’s best to consult with a professional mold remediation specialist.
How does this compare to commercial cleaning products?
This DIY cleaner offers several advantages over commercial cleaning products. It’s more affordable, environmentally friendly, and free of harsh chemicals that can be harmful to your health. It’s also customizable, allowing you to tailor the scent and cleaning power to your specific needs. However, commercial cleaning products may be more effective for certain cleaning tasks, such as removing stubborn stains or disinfecting surfaces. Ultimately, the best choice depends on your individual preferences and priorities.
Leave a Comment