

Sparkling kitchen sink cleaning – who doesn’t dream of that? Let’s be honest, the kitchen sink is often the unsung hero (or perhaps the overworked victim!) of our homes. It battles food scraps, greasy pans, and countless coffee cups daily. But achieving that gleaming, fresh-smelling sink doesn’t have to involve harsh chemicals or endless scrubbing.
For generations, resourceful homemakers have passed down clever tips and tricks for keeping their sinks pristine. Think of your grandmother’s secret weapon – perhaps a lemon half and some baking soda! These time-tested methods often rely on simple, natural ingredients, reflecting a deeper connection to sustainable living and resourcefulness. In a world increasingly concerned with environmental impact, rediscovering these DIY solutions feels more relevant than ever.
I know, I know, the thought of cleaning the sink might not be the most exciting thing on your to-do list. But trust me, a sparkling clean sink can instantly brighten your entire kitchen and make you feel so much better. Plus, it’s not just about aesthetics; a clean sink is a healthier sink, free from bacteria and unpleasant odors. This DIY article is packed with easy-to-follow steps and clever hacks that will transform your sink from drab to fab in no time. We’ll explore everything from tackling stubborn stains to banishing lingering smells, all while using ingredients you probably already have in your pantry. So, get ready to say goodbye to grime and hello to a sparkling kitchen sink cleaning experience that’s both effective and enjoyable!
DIY Sparkling Kitchen Sink Cleaning: My Secret Weapon!
Okay, friends, let’s be honest. The kitchen sink. It’s the unsung hero (or maybe villain?) of the kitchen. It sees everything – food scraps, greasy pans, coffee grounds… the works! And let’s face it, it can get pretty gross. But fear not! I’m going to share my tried-and-true method for getting your kitchen sink sparkling clean, naturally, and without breaking the bank. Get ready to say goodbye to grime and hello to a gleaming sink!
What You’ll Need: My Arsenal of Cleaning Goodness
Before we dive in, let’s gather our supplies. This is a pretty simple list, and you probably already have most of these items in your pantry:
* Baking Soda: This is our gentle abrasive and deodorizer.
* White Vinegar: The acid in vinegar cuts through grease and grime like a champ.
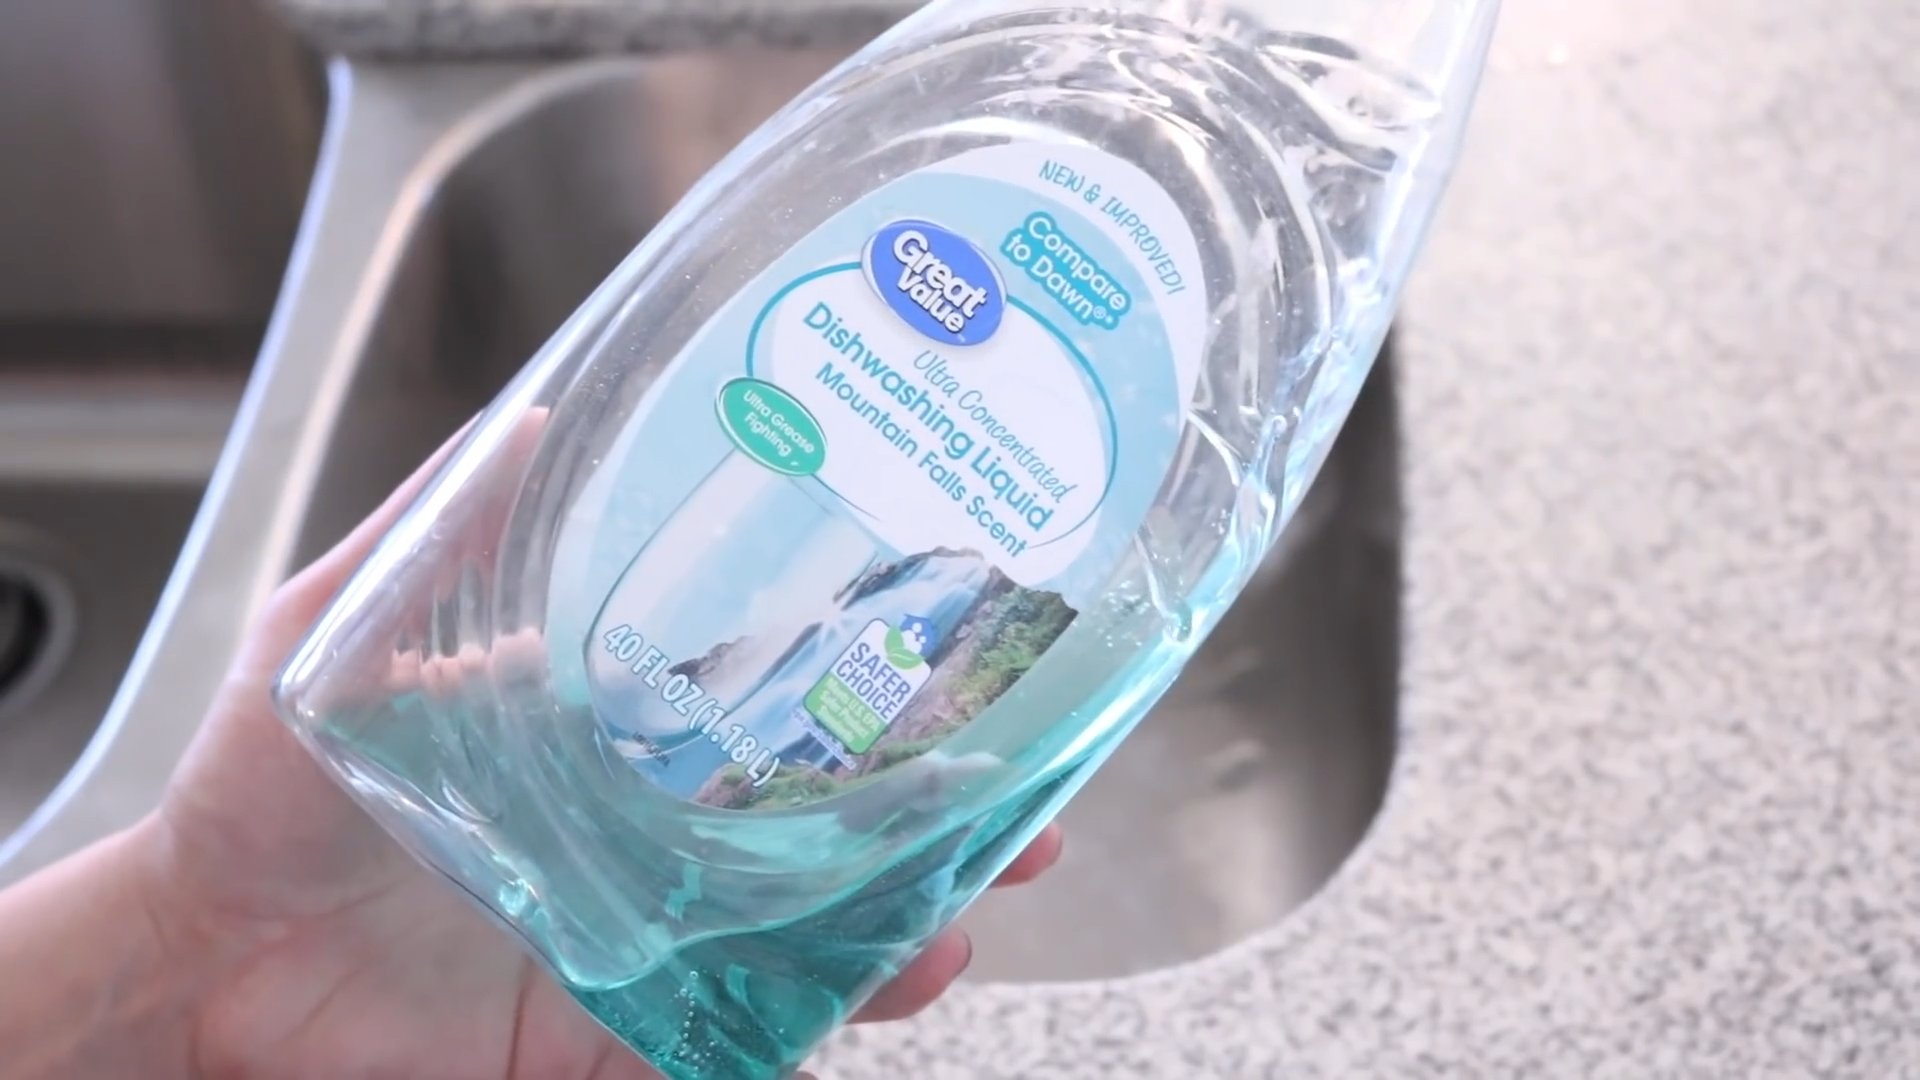
* Dish Soap: A classic for a reason! It helps lift dirt and grease.
* Lemon (Optional, but highly recommended!): Adds a fresh scent and extra cleaning power.
* Salt (Coarse): Another gentle abrasive, great for scrubbing.
* Old Toothbrush: Perfect for getting into those hard-to-reach crevices.
* Microfiber Cloths or Sponges: For wiping and scrubbing.
* Boiling Water: Helps loosen stubborn grime.
* Rubber Gloves (Optional): Protect your hands, especially if you have sensitive skin.
* Spray Bottle (Optional): For easier vinegar application.
Phase 1: The Initial Scrub Down – Let’s Get the Grime Off!
This first phase is all about removing the surface-level gunk and prepping the sink for a deeper clean.
1. Rinse the Sink: Start by giving your sink a good rinse with warm water. This will help loosen any loose debris and make the next steps easier.
2. Baking Soda Power: Generously sprinkle baking soda all over the sink, including the sides, bottom, and around the drain. Don’t be shy! The more, the merrier.
3. Scrub-a-dub-dub: Using a damp sponge or microfiber cloth, scrub the baking soda into the sink. Pay special attention to any stained areas or stubborn spots. I like to use circular motions for a more thorough clean.
4. Rinse Again: Rinse away the baking soda with warm water. You should already see a noticeable difference!
Phase 2: Vinegar’s Time to Shine – Dissolving the Stubborn Stuff
Now it’s time to bring in the big guns – vinegar! This is where the magic happens.
1. Vinegar Shower: Pour or spray white vinegar all over the sink, covering all surfaces. You’ll notice a fizzing reaction when the vinegar comes into contact with the remaining baking soda. This is good! It means it’s working!
2. Let it Fizz: Let the vinegar sit for about 5-10 minutes. This allows the acid to break down any remaining grease, grime, and mineral deposits.
3. Scrub Again (with a Twist!): After the vinegar has had its time to work, scrub the sink again with your sponge or microfiber cloth. This time, add a sprinkle of coarse salt to your sponge for extra scrubbing power. Be gentle, though! You don’t want to scratch your sink.
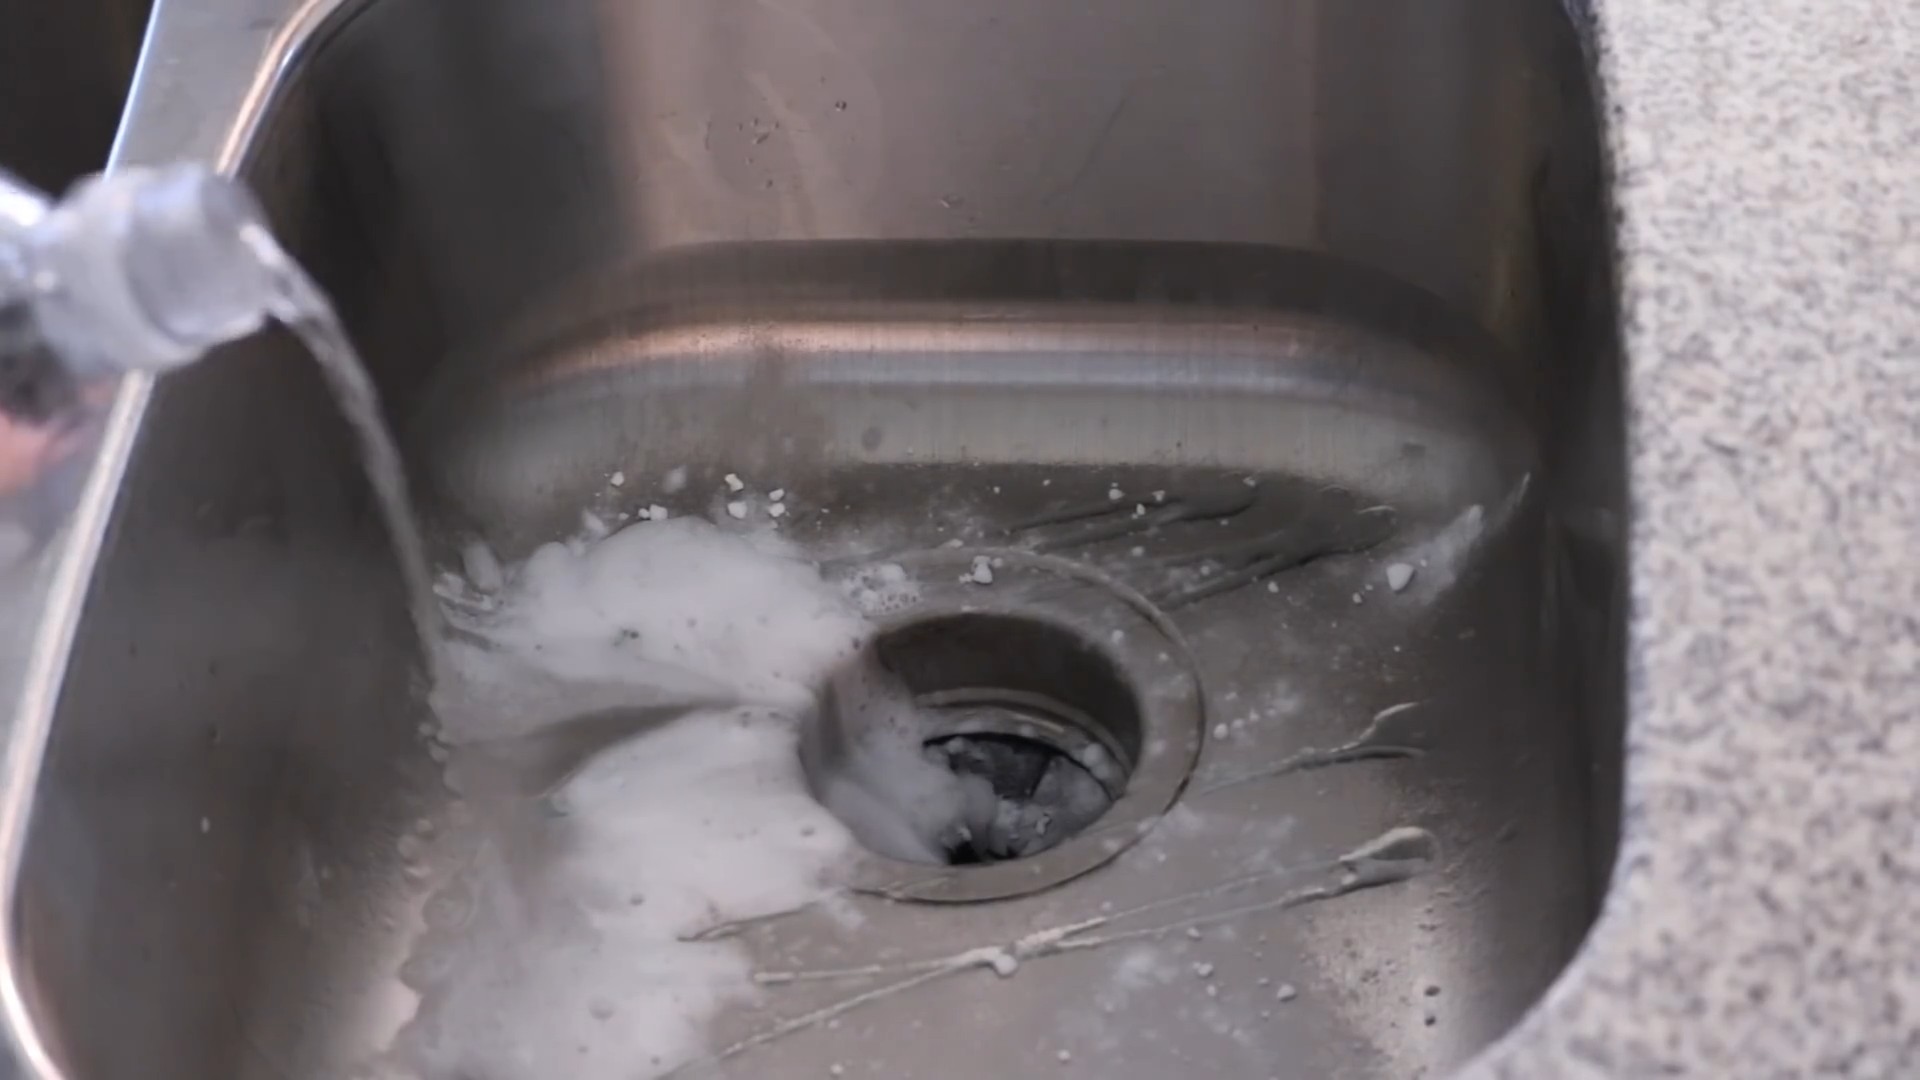
4. Target the Drain: Pour about a cup of baking soda down the drain, followed by two cups of hot vinegar. Let it fizz for about 30 minutes. This will help deodorize and unclog the drain.
5. Boiling Water Flush: After the 30 minutes, carefully pour a kettle of boiling water down the drain to flush away any remaining debris. Be careful not to splash yourself with the boiling water!
Phase 3: The Finishing Touches – Making it Sparkle!
We’re almost there! Now it’s time to add those final touches that will make your sink truly shine.
1. Dish Soap Cleanse: Squirt a small amount of dish soap onto your sponge and wash the entire sink, just like you would wash dishes. This will remove any lingering vinegar smell and leave your sink smelling fresh and clean.
2. Lemon Power (Optional, but Awesome!): Cut a lemon in half and rub it all over the sink. The lemon juice will help brighten the stainless steel and leave a lovely citrus scent. You can also squeeze some lemon juice down the drain for extra deodorizing power.
3. Rinse Thoroughly: Rinse the sink thoroughly with warm water, making sure to remove all traces of soap and lemon juice.
4. Dry and Buff: Use a clean, dry microfiber cloth to dry the sink completely. Buff the stainless steel to a brilliant shine. This step is crucial for preventing water spots and keeping your sink looking its best.
Bonus Tips and Tricks: My Secret Weapons for a Super Clean Sink
* Hard Water Stains: If you have hard water, you may notice stubborn white stains on your sink. To remove these, soak a paper towel in white vinegar and place it over the stained area for about an hour. Then, scrub with a sponge and rinse.
* Preventative Measures: To keep your sink clean and prevent buildup, rinse it out after each use and wipe it down with a dry cloth.
* Drain Maintenance: Regularly flush your drain with boiling water to prevent clogs. You can also use a drain cleaner every few months to keep it running smoothly.
* Stainless Steel Polish: For an extra shine, you can use a stainless steel polish after cleaning. Just be sure to follow the instructions on the product label.
* Don’t Forget the Faucet! Use the old toothbrush and a bit of baking soda paste to scrub around the base of the faucet and remove any buildup. Rinse well.
* Clean Your Sink Strainer: Remove the sink strainer and clean it regularly to prevent food scraps from clogging the drain. You can soak it in hot, soapy water or even run it through the dishwasher.
* Dealing with Scratches: For minor scratches on stainless steel sinks, you can try using a stainless steel scratch remover. Follow the instructions carefully and test it on an inconspicuous area first.
* The Power of Prevention: Avoid pouring grease down the drain, as it can solidify and cause clogs. Instead, pour grease into a container and dispose of it properly.
* Baking Soda Paste for Tough Stains: For really stubborn stains, make a paste of baking soda and water. Apply the paste to the stain, let it sit for a few minutes, and then scrub with a sponge.
* Keep it Dry: After each use, try to dry your sink. This will prevent water spots and mineral buildup, keeping it looking cleaner for longer.
Troubleshooting: What if it’s Still Not Sparkling?
Sometimes, even with all our hard work, the sink might not be as sparkling as we’d hoped. Here are a few troubleshooting tips:
* Stubborn Stains: If you have really stubborn stains, you may need to repeat the cleaning process or try a stronger cleaning solution. Be careful when using harsh chemicals, though, and always follow the instructions on the product label.
* Clogged Drain: If your drain is still clogged after flushing it with boiling water, you may need to use a drain snake or call a plumber.
* Rust Spots: If you notice rust spots on your stainless steel sink, you can try using a rust remover or a paste of baking soda and lemon juice.
Frequency: How Often Should I Clean My Sink?
I recommend giving your sink a quick clean every day after you’re done with the dishes. This will help prevent buildup and keep it looking its best. A deeper clean, like the one I’ve described above, should be done at least once a week, or more often if needed.
And there you have it! My complete guide to cleaning your kitchen sink and making it sparkle. It might seem like a lot of steps, but once you get the hang of it, it’s actually a pretty quick and easy process. Plus, the satisfaction of seeing a gleaming, clean sink is totally worth it! Happy cleaning!
Conclusion
So, there you have it! Achieving a sparkling kitchen sink doesn’t require harsh chemicals or expensive cleaning services. This simple, DIY trick leverages the power of readily available ingredients to deliver professional-level results right in your own home. We’ve shown you how to banish grime, eliminate odors, and restore the shine to your sink, all with minimal effort and maximum impact.
Why is this a must-try? Because it’s effective, economical, and environmentally friendly. You’re not just cleaning; you’re contributing to a healthier home and a more sustainable lifestyle. Plus, the satisfaction of seeing your sink gleam after using your own homemade solution is incredibly rewarding.
But don’t stop there! Feel free to experiment with variations to tailor the cleaning power to your specific needs. For instance, if you have particularly stubborn stains, consider adding a tablespoon of baking soda to the vinegar paste for extra scrubbing power. For a refreshing scent boost, a few drops of your favorite essential oil, like lemon or tea tree, can be added to the final rinse. If you have a stainless steel sink, you can use a microfiber cloth to buff it after cleaning for an extra shine. Remember to always test any new cleaning solution in an inconspicuous area first to ensure it doesn’t damage your sink’s surface.
We are confident that this DIY sparkling kitchen sink cleaning method will become a staple in your cleaning routine. It’s a game-changer for maintaining a clean and inviting kitchen space.
Now, it’s your turn! We encourage you to give this DIY trick a try and experience the difference for yourself. We’re eager to hear about your results and any variations you discover along the way. Share your experiences, tips, and photos in the comments below. Let’s build a community of sparkling sink enthusiasts! Your feedback will not only help others but also inspire us to continue sharing effective and eco-friendly cleaning solutions. Let’s make every kitchen sink a source of pride!
Frequently Asked Questions (FAQs)
Q: What type of sink is this DIY cleaning method suitable for?
A: This method is generally safe and effective for most common kitchen sink materials, including stainless steel, porcelain, and enamel. However, it’s crucial to exercise caution when cleaning more delicate materials like natural stone (granite, marble) or composite sinks. The acidity of vinegar could potentially etch or damage these surfaces over time. Always test the cleaning solution in an inconspicuous area first to ensure compatibility. For stone sinks, consider using a pH-neutral cleaner specifically designed for natural stone. For composite sinks, avoid abrasive scrubbers that could scratch the surface.
Q: How often should I use this DIY cleaning method?
A: The frequency depends on how often you use your sink and how quickly it gets dirty. For general maintenance, cleaning your sink once or twice a week with this method should be sufficient to keep it sparkling. If you notice stains, odors, or buildup more frequently, you may need to clean it more often. After particularly messy tasks, such as preparing raw meat or dealing with greasy dishes, it’s a good idea to give your sink a quick clean to prevent bacteria growth and lingering odors.
Q: Can I use bleach instead of vinegar?
A: While bleach is a powerful disinfectant, we strongly advise against using it in combination with other cleaning agents, especially vinegar. Mixing bleach with vinegar creates chlorine gas, which is highly toxic and can cause serious respiratory problems. Furthermore, bleach can damage certain sink materials, such as stainless steel, over time. Our DIY method focuses on safe and natural ingredients that are effective without posing health risks. If you’re concerned about disinfecting your sink, consider using hydrogen peroxide or a commercial disinfectant spray specifically designed for kitchen surfaces, following the manufacturer’s instructions carefully.
Q: What if I don’t have baking soda? Can I use something else?
A: Baking soda is a key ingredient in this DIY cleaning method due to its mild abrasive properties and ability to neutralize odors. However, if you don’t have baking soda on hand, you can try using a paste made from cream of tartar and water as a substitute. Cream of tartar also has mild abrasive qualities and can help remove stains. Alternatively, you can use a commercial non-abrasive cleaner specifically designed for your sink material. Avoid using harsh scouring powders or abrasive pads, as they can scratch the surface.
Q: How do I get rid of stubborn water spots on my stainless steel sink?
A: Water spots can be a common problem on stainless steel sinks. After cleaning your sink with the DIY method, try buffing it with a clean, dry microfiber cloth to remove water spots and restore its shine. You can also use a commercial stainless steel cleaner and polish specifically designed to prevent water spots and fingerprints. Another effective trick is to rub the sink with a small amount of olive oil or baby oil on a soft cloth, then buff it dry. This will create a protective barrier that helps repel water and prevent spots from forming.
Q: My sink has a lingering odor. Will this DIY method eliminate it?
A: Yes, this DIY method is effective at eliminating most common sink odors. The combination of vinegar and baking soda helps neutralize odor-causing bacteria and break down food particles that may be trapped in the drain. For particularly stubborn odors, try pouring a cup of baking soda down the drain, followed by a cup of vinegar. Let it fizz for 30 minutes, then flush with hot water. You can also try running lemon or orange peels through your garbage disposal to freshen the drain. If the odor persists, it may indicate a more serious plumbing issue that requires professional attention.
Q: Can I use this method to clean my garbage disposal?
A: Yes, this DIY method can also help clean and freshen your garbage disposal. After cleaning your sink, pour the baking soda and vinegar mixture down the drain and let it fizz for 30 minutes. Then, flush with hot water while running the garbage disposal. This will help dislodge food particles and eliminate odors. To further clean your garbage disposal, you can also grind ice cubes with lemon or lime wedges. The ice will help scrub the blades, while the citrus will freshen the disposal. Avoid pouring grease or oil down the garbage disposal, as it can clog the drain.
Q: Is this DIY cleaner safe for septic systems?
A: Yes, this DIY cleaner is generally safe for septic systems. The ingredients used, vinegar and baking soda, are natural and biodegradable and won’t harm the beneficial bacteria in your septic tank. However, it’s important to avoid pouring excessive amounts of any cleaning product down the drain, as this could disrupt the balance of your septic system. Stick to the recommended amounts in the recipe and avoid using harsh chemicals or antibacterial cleaners that can kill the beneficial bacteria.
Q: What are some other tips for keeping my kitchen sink clean?
A: In addition to using this DIY cleaning method, there are several other things you can do to keep your kitchen sink clean and prevent buildup. Rinse your sink after each use to remove food particles and prevent stains. Avoid leaving dirty dishes in the sink for extended periods. Use a sink strainer to catch food scraps and prevent them from going down the drain. Regularly clean your sink drain and garbage disposal to prevent odors and clogs. And finally, wipe down your sink with a clean cloth after each use to keep it dry and prevent water spots.


Leave a Comment