

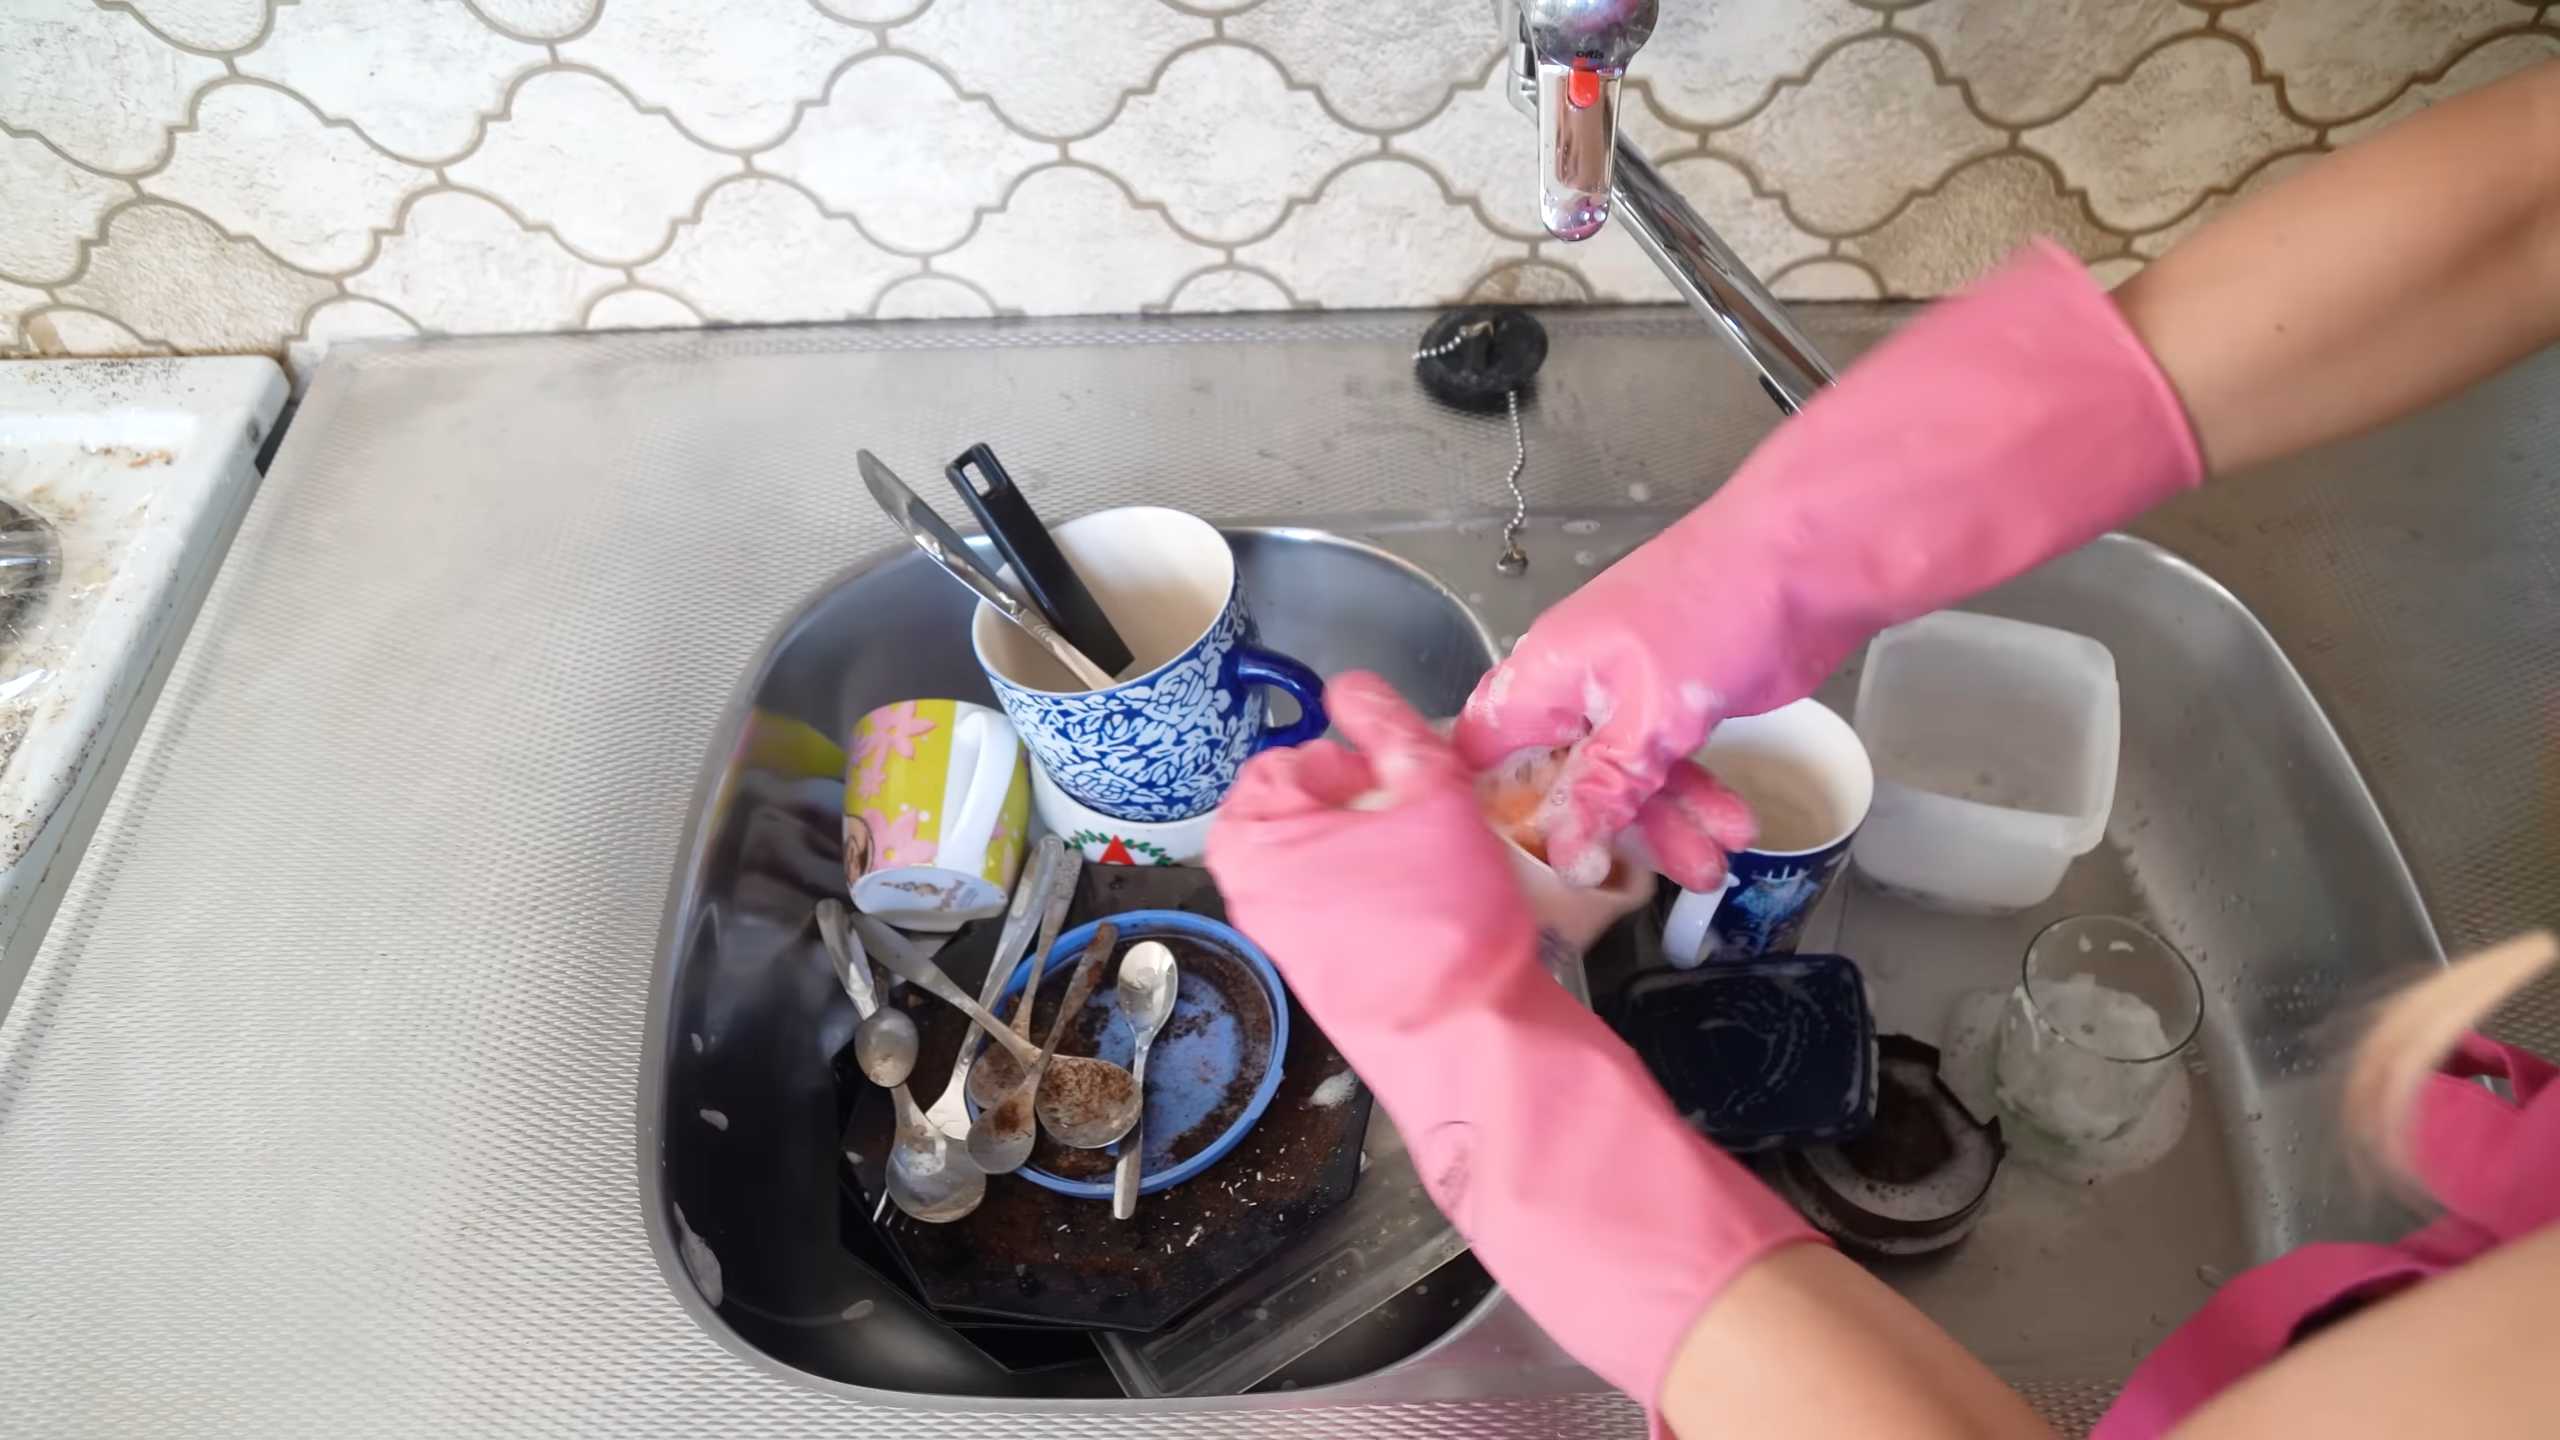
Scrub Daddy Dish Washing Tips: Who knew a smiley-faced sponge could revolutionize your kitchen cleaning routine? I’m always on the lookout for ways to make chores easier and, dare I say, more enjoyable. Let’s be honest, nobody *loves* doing dishes, but with the right tools and techniques, it can become a much less daunting task.
The Scrub Daddy has taken the cleaning world by storm, and for good reason! Its unique FlexTexture material changes based on water temperature, becoming soft in warm water for gentle cleaning and firm in cold water for tougher scrubbing. But are you *really* maximizing its potential? That’s where these DIY tricks and hacks come in.
From tackling stubborn baked-on food to keeping your Scrub Daddy fresh and clean, I’m going to share some of my favorite tips that will transform the way you approach dishwashing. We’ll explore creative ways to use its shape to your advantage, discover clever cleaning solutions, and even learn how to extend its lifespan. Because let’s face it, saving money while keeping our kitchens sparkling is always a win-win! So, grab your Scrub Daddy, and let’s dive into these game-changing Scrub Daddy dish washing tips!
Unlock the Cleaning Power of Your Scrub Daddy: Amazing DIY Hacks!
Hey there, fellow cleaning enthusiasts! I’m so excited to share some of my favorite DIY hacks that will transform your humble Scrub Daddy into a cleaning superhero. We all know and love the Scrub Daddy for its unique texture-changing abilities, but trust me, there’s so much more you can do with this smiley-faced sponge. Let’s dive in!
Hack #1: The Stuck-On Food Fighter
This hack is all about tackling those stubborn, baked-on messes that seem impossible to remove. We’re talking about casserole dishes, burnt pots, and anything else that’s seen better days.
What you’ll need:
* Your trusty Scrub Daddy
* Baking soda
* White vinegar
* Hot water
* A non-abrasive scouring pad (optional, for REALLY tough spots)
Step-by-step instructions:
1. Prepare the paste: In a small bowl, mix baking soda with just enough white vinegar to form a thick paste. It should have a consistency similar to toothpaste. The fizzing action is a good sign – it means the baking soda and vinegar are working their magic!
2. Apply the paste: Generously apply the baking soda paste to the affected areas of your dish or pot. Make sure to cover all the stuck-on food completely.
3. Let it sit: This is the crucial part. Allow the paste to sit for at least 30 minutes, or even longer for really stubborn messes. I often leave it overnight for the worst offenders. The baking soda and vinegar will help to loosen the baked-on food.
4. Scrub with your Scrub Daddy: After the soaking time, wet your Scrub Daddy with hot water. Remember, warm water makes the Scrub Daddy softer and more pliable, perfect for getting into those nooks and crannies. Now, scrub the affected areas with firm, circular motions. You’ll be amazed at how easily the food starts to lift away.
5. Rinse thoroughly: Once you’ve scrubbed away the majority of the mess, rinse the dish or pot thoroughly with hot water. Make sure to remove all traces of the baking soda paste.
6. Optional: Extra scrubbing power: If there are still some stubborn spots remaining, you can use a non-abrasive scouring pad in conjunction with your Scrub Daddy. Just be careful not to scratch the surface of your cookware.
7. Dry and admire: Dry your sparkling clean dish or pot with a clean towel and admire your handiwork! You’ve successfully conquered that stuck-on food.
Hack #2: The Grout Guru
Grout can be a real pain to clean. It’s porous and easily absorbs dirt and grime, making it look dingy and discolored. But fear not, the Scrub Daddy is here to help!
What you’ll need:
* Your trusty Scrub Daddy
* Baking soda
* Hydrogen peroxide
* An old toothbrush (optional, for extra precision)
* Spray bottle
Step-by-step instructions:
1. Create the cleaning solution: In a small bowl, mix baking soda with just enough hydrogen peroxide to form a paste. Again, aim for a toothpaste-like consistency. The hydrogen peroxide will help to bleach and disinfect the grout.
2. Apply the paste to the grout: Using your finger or an old toothbrush, carefully apply the baking soda paste to the grout lines. Make sure to cover all the dirty grout completely.
3. Let it sit: Allow the paste to sit for at least 5-10 minutes. This will give the hydrogen peroxide time to work its magic.
4. Scrub with your Scrub Daddy: Wet your Scrub Daddy with warm water and scrub the grout lines with firm, back-and-forth motions. The textured surface of the Scrub Daddy will help to dislodge the dirt and grime from the grout.
5. Rinse thoroughly: Rinse the area thoroughly with clean water. You can use a spray bottle to help flush out the loosened dirt and baking soda paste.
6. Dry and admire: Dry the area with a clean towel and admire your sparkling clean grout! You’ve successfully banished the dirt and grime.
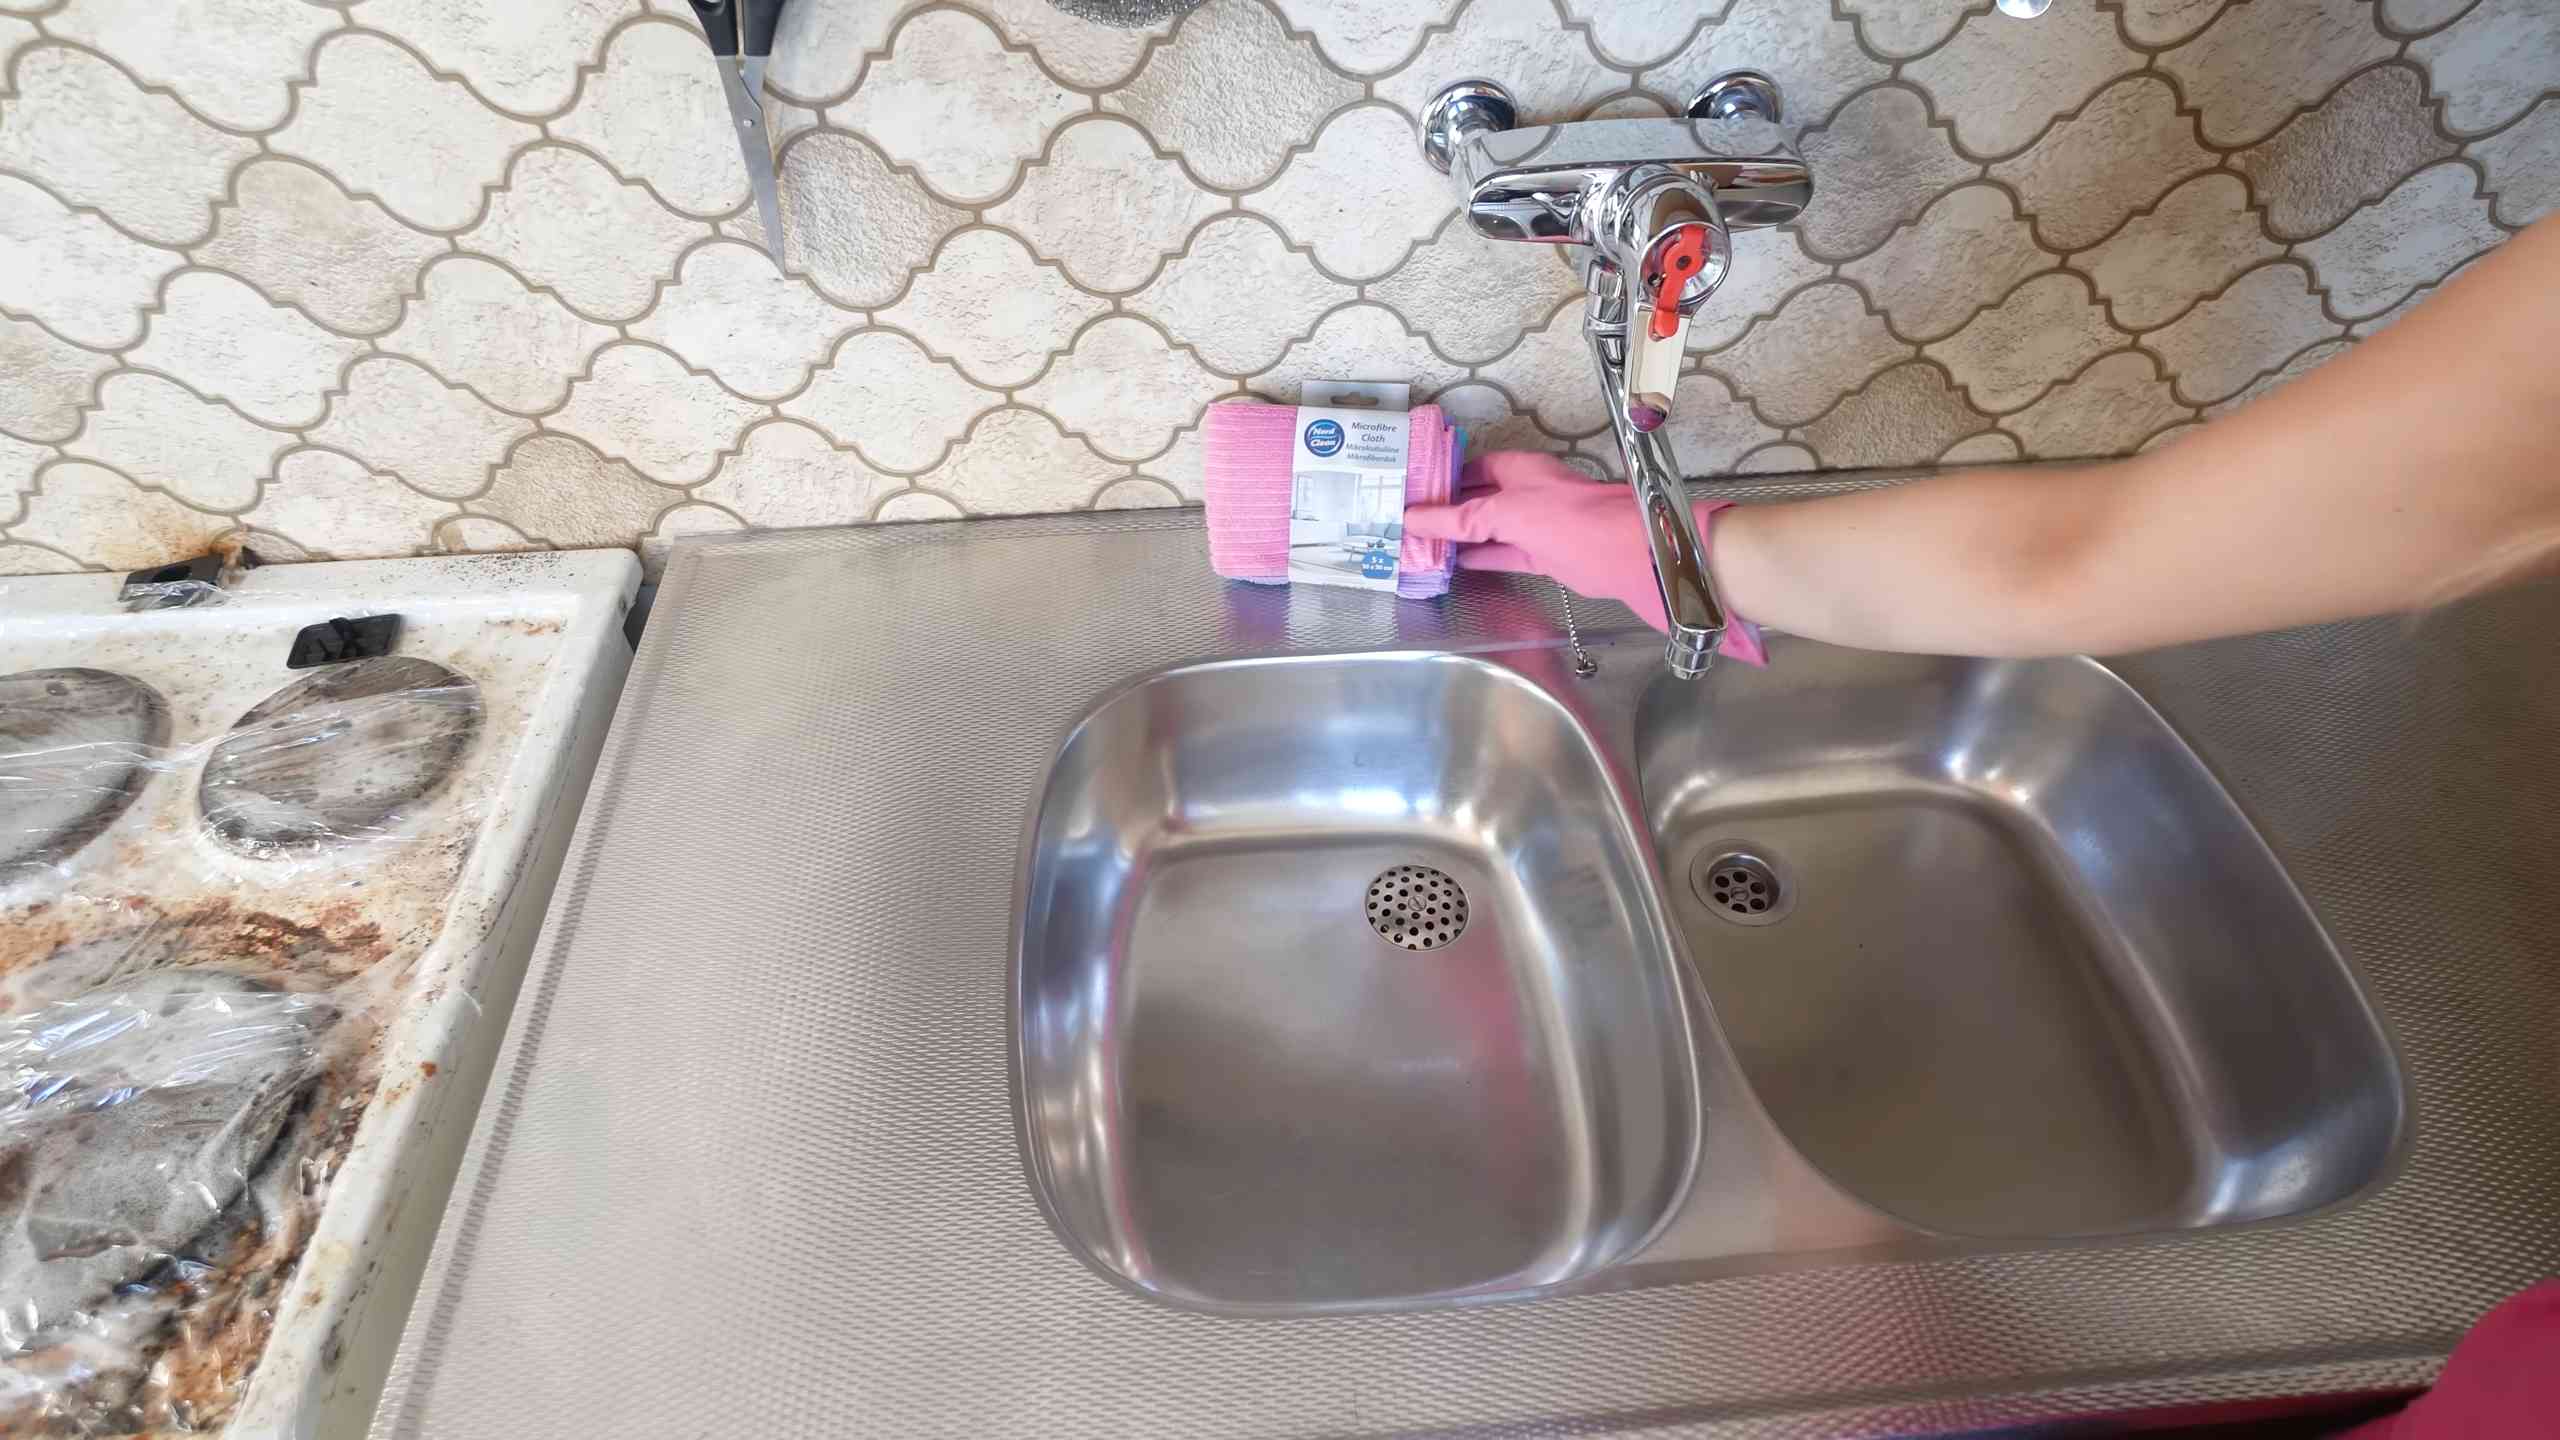
Hack #3: The Shower Scum Slayer
Shower scum is a common problem, caused by the buildup of soap, shampoo, and hard water minerals. It can be tough to remove, but with the right tools and techniques, you can keep your shower sparkling clean.
What you’ll need:
* Your trusty Scrub Daddy
* White vinegar
* Dish soap
* Spray bottle
* Microfiber cloth
Step-by-step instructions:
1. Prepare the cleaning solution: In a spray bottle, mix equal parts white vinegar and dish soap. The vinegar will help to dissolve the mineral deposits, while the dish soap will help to cut through the soap scum.
2. Spray the shower surfaces: Generously spray the shower walls, floor, and fixtures with the vinegar and dish soap solution. Make sure to cover all the areas affected by shower scum.
3. Let it sit: Allow the solution to sit for at least 15-20 minutes. This will give the vinegar and dish soap time to loosen the shower scum.
4. Scrub with your Scrub Daddy: Wet your Scrub Daddy with warm water and scrub the shower surfaces with firm, circular motions. Pay special attention to areas with heavy scum buildup.
5. Rinse thoroughly: Rinse the shower surfaces thoroughly with clean water.
6. Wipe dry: Use a microfiber cloth to wipe the shower surfaces dry. This will help to prevent water spots and keep your shower looking sparkling clean.
Hack #4: The Oven Overhaul
Cleaning the oven is one of those chores that everyone dreads. But with this hack, you can make it a little less painful.
What you’ll need:
* Your trusty Scrub Daddy
* Baking soda
* Water
* White vinegar
* Spray bottle
* Rubber gloves
Step-by-step instructions:
1. Prepare the baking soda paste: In a bowl, mix 1/2 cup of baking soda with enough water to form a spreadable paste.
2. Coat the oven: Wearing rubber gloves, spread the baking soda paste all over the interior surfaces of your oven, avoiding the heating elements. Be generous with the application, especially on areas with baked-on grease and food.
3. Let it sit overnight: This is the key to success. Allow the baking soda paste to sit overnight (or for at least 12 hours). This will give the baking soda time to loosen the grime.
4. Wipe away the paste: The next day, use a damp Scrub Daddy to wipe away the baking soda paste. You may need to use some elbow grease to remove stubborn spots.
5. Spray with vinegar: Fill a spray bottle with white vinegar and spray it all over the interior of the oven. The vinegar will react with any remaining baking soda, creating a fizzing action that helps to further loosen the grime.
6. Wipe clean: Use your Scrub Daddy to wipe away the vinegar and any remaining grime.
7. Rinse and dry: Rinse the oven interior with clean water and dry with a clean cloth.
Hack #5: The Veggie Washer
Did you know your Scrub Daddy can also help you clean your fruits and vegetables? Its unique texture is perfect for removing dirt and pesticides.
What you’ll need:
* Your trusty Scrub Daddy (dedicated solely for this purpose!)
* Water
* Vegetable wash (optional)
Step-by-step instructions:
1. Rinse the produce: Rinse your fruits and vegetables under cool running water to remove any loose dirt or debris.
2. Scrub gently: Wet your Scrub Daddy and gently scrub the surface of the produce. Pay special attention to areas with crevices or wrinkles, where dirt can accumulate.
3. Optional: Use vegetable wash: If desired, you can add a small amount of vegetable wash to the Scrub Daddy for extra cleaning power.
4. Rinse thoroughly: Rinse the produce thoroughly under cool running water to remove any remaining dirt, pesticides, or vegetable wash.
5. Dry and enjoy: Dry the produce with a clean towel and enjoy!
Important Note: Make sure to use a separate Scrub Daddy dedicated solely for cleaning fruits and vegetables to avoid cross-contamination.
Hack #6: The Car Bug Buster
Those pesky bugs that splatter all over your car’s front end can be a real pain to remove. The Scrub Daddy can help!
What you’ll need:
* Your trusty Scrub Daddy
* Car wash soap
* Water
* Two buckets
* Garden hose
Step-by-step instructions:
1. Rinse the car: Rinse your car with a garden hose to
Conclusion
So, there you have it! Transforming your everyday Scrub Daddy into a multi-purpose cleaning powerhouse is not just a clever hack; it’s a game-changer for your cleaning routine. We’ve explored how simple modifications can unlock a whole new level of cleaning efficiency, saving you time, money, and storage space. From tackling stubborn grime on your stovetop to gently scrubbing delicate surfaces, the versatility of a customized Scrub Daddy is truly remarkable.
Why is this DIY trick a must-try? Because it’s incredibly easy, cost-effective, and significantly enhances the functionality of a product you likely already have in your kitchen. Instead of buying a plethora of specialized cleaning tools, you can adapt your trusty Scrub Daddy to handle a wide range of tasks. This not only declutters your cleaning supplies but also reduces waste, making it a more sustainable choice.
But don’t stop there! The beauty of this DIY approach lies in its adaptability. Feel free to experiment with different cutting techniques to create custom shapes that perfectly fit your cleaning needs. For instance, try cutting a small notch in the side for reaching around faucet bases or creating thinner strips for cleaning between tight spaces in your oven rack.
Consider these variations to further personalize your Scrub Daddy:
* Add a handle: Secure a small, ergonomic handle to the back of your Scrub Daddy for improved grip and leverage when tackling tough cleaning jobs. You can use a strong adhesive or even create a simple loop with durable twine.
* Incorporate essential oils: For a refreshing and aromatic cleaning experience, add a few drops of your favorite essential oil (like lemon, tea tree, or lavender) directly onto the Scrub Daddy before using it. This will leave your surfaces smelling clean and fresh.
* Color-code your Scrub Daddies: Use different colored Scrub Daddies for different cleaning tasks to prevent cross-contamination. For example, use a yellow Scrub Daddy for dishes, a green one for the bathroom, and a blue one for general cleaning.
* Attach it to a stick: For cleaning hard-to-reach areas like the inside of tall vases or the bottom of bathtubs, attach your modified Scrub Daddy to a long stick or dowel rod using a strong adhesive or zip ties.
We are confident that once you try these DIY Scrub Daddy dish washing tips, you’ll wonder how you ever cleaned without them. The ability to customize your cleaning tools to perfectly suit your needs is empowering and ultimately makes the chore of cleaning less daunting.
So, go ahead, grab your Scrub Daddy, get creative, and transform it into your ultimate cleaning companion. We encourage you to try these DIY tricks and share your experiences with us! Let us know what modifications worked best for you, what surfaces you found them most effective on, and any other creative uses you discover. Share your photos and tips on social media using #DIYScrubDaddy and let’s build a community of cleaning enthusiasts who are passionate about making cleaning easier and more efficient. We can’t wait to see what innovative ideas you come up with!
Frequently Asked Questions
What is the best way to clean my Scrub Daddy after using it?
Maintaining a clean Scrub Daddy is crucial for hygiene and longevity. After each use, thoroughly rinse the Scrub Daddy under running water to remove any food particles or debris. Squeeze out excess water and allow it to air dry in a well-ventilated area. To further sanitize your Scrub Daddy, you can microwave it for 1-2 minutes (make sure it’s damp), run it through the dishwasher on the top rack, or soak it in a solution of water and vinegar or bleach for a few minutes. Regular cleaning will prevent the buildup of bacteria and odors, ensuring your Scrub Daddy stays fresh and effective.
How long does a Scrub Daddy typically last?
The lifespan of a Scrub Daddy depends on the frequency and intensity of use, as well as the types of surfaces it’s used on. With proper care and cleaning, a Scrub Daddy can typically last for several weeks to a few months. You’ll know it’s time to replace your Scrub Daddy when it starts to lose its shape, becomes excessively worn, or develops a persistent odor despite regular cleaning.
Can I use a Scrub Daddy on non-stick cookware?
Yes, the Scrub Daddy is safe to use on non-stick cookware. Its FlexTexture material is designed to be gentle yet effective, so it won’t scratch or damage delicate surfaces. However, it’s always a good idea to test it on a small, inconspicuous area first to ensure compatibility, especially if you have particularly sensitive non-stick coatings. Use gentle pressure and avoid excessive scrubbing to prolong the life of your cookware.
Will the Scrub Daddy scratch my stainless steel appliances?
While the Scrub Daddy is generally safe for use on stainless steel, it’s important to exercise caution and use the appropriate technique. Always wet the Scrub Daddy thoroughly before using it on stainless steel, and use gentle, circular motions. Avoid applying excessive pressure, as this can potentially cause scratches. For best results, test the Scrub Daddy on a small, hidden area of your appliance first to ensure it doesn’t leave any marks. You can also use a stainless steel cleaner in conjunction with the Scrub Daddy for enhanced cleaning and protection.
Can I use the Scrub Daddy with harsh chemicals or cleaning solutions?
While the Scrub Daddy is compatible with most common household cleaning solutions, it’s generally not recommended to use it with harsh chemicals or abrasive cleaners. These substances can damage the FlexTexture material and shorten the lifespan of your Scrub Daddy. Additionally, harsh chemicals can pose a safety risk if not handled properly. Stick to mild detergents, dish soap, and natural cleaning solutions like vinegar and baking soda for optimal results and safety.
How does the Scrub Daddy change texture in different water temperatures?
The Scrub Daddy’s unique FlexTexture material is what sets it apart from other cleaning sponges. In warm water, the Scrub Daddy becomes softer and more pliable, making it ideal for gentle cleaning tasks like washing dishes or wiping down delicate surfaces. In cold water, the Scrub Daddy becomes firmer and more abrasive, providing extra scrubbing power for tackling stubborn grime and baked-on food. This temperature-activated texture change allows you to customize your cleaning experience based on the task at hand.
Are there any surfaces I should avoid using the Scrub Daddy on?
While the Scrub Daddy is versatile and generally safe for use on a wide range of surfaces, there are a few exceptions to keep in mind. Avoid using the Scrub Daddy on delicate or easily scratched surfaces like polished wood, painted walls, or certain types of plastic. Always test the Scrub Daddy on a small, inconspicuous area first to ensure compatibility. If you’re unsure whether the Scrub Daddy is safe for a particular surface, err on the side of caution and use a softer cleaning tool instead.
Where can I purchase a Scrub Daddy?
Scrub Daddies are widely available at most major retailers, including grocery stores, department stores, and home improvement stores. You can also purchase them online through various e-commerce platforms like Amazon, Walmart, and Target. Check the Scrub Daddy website for a store locator to find retailers near you.
Is the Scrub Daddy environmentally friendly?
Scrub Daddy is committed to sustainability and offers several eco-friendly initiatives. The Scrub Daddy material is recyclable, and the company encourages customers to recycle their used Scrub Daddies through designated recycling programs. Additionally, Scrub Daddy offers a line of biodegradable cleaning products that are made with plant-based ingredients and are safe for the environment. By choosing Scrub Daddy, you can support a company that is dedicated to reducing its environmental impact.

Leave a Comment