

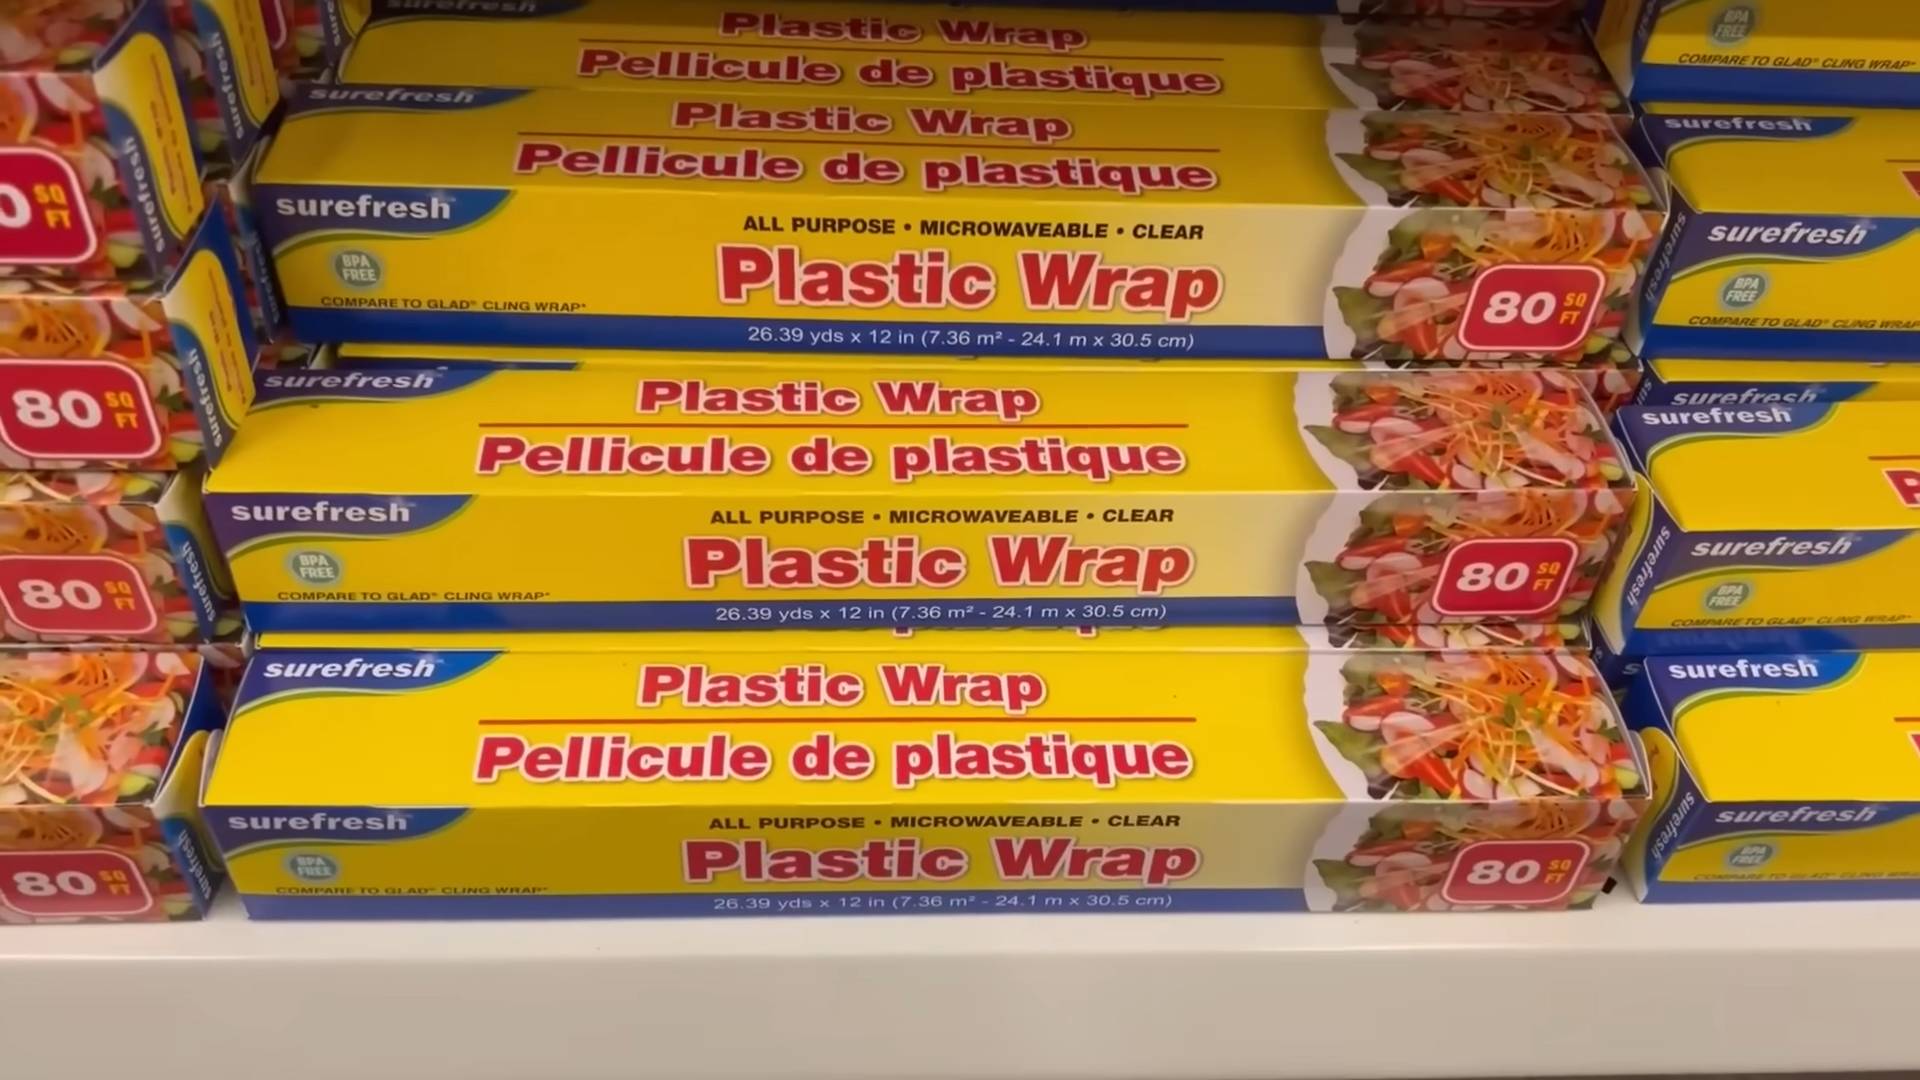
Plastic Wrap Hacks: Who knew that the clingy stuff we use to keep leftovers fresh could be a secret weapon in the garden? I’m always on the lookout for clever, budget-friendly ways to boost my gardening game, and let me tell you, plastic wrap is a total game-changer!
While plastic wrap might seem like a modern invention, the idea of using protective coverings for plants has been around for centuries. Think of early greenhouses and cloches – gardeners have always sought ways to shield their precious plants from the elements and pests. Now, we’re taking that concept and shrinking it down to a DIY, accessible level with simple plastic wrap.
Why should you care about these plastic wrap hacks? Well, for starters, gardening can be expensive! Seed starting kits, fancy tools, and pest control solutions can quickly add up. But with a roll of plastic wrap, you can create mini-greenhouses, protect seedlings from hungry critters, and even help your plants retain moisture during those scorching summer days. I’m excited to share these simple yet effective tricks that will not only save you money but also help you achieve a thriving garden. Get ready to unleash the unexpected power of plastic wrap!
Grow Potatoes Faster: My Foolproof DIY Method
Okay, potato lovers, listen up! I’m going to share my secret weapon for getting a jumpstart on potato season. Forget waiting months for those spuds to mature – with this method, you’ll be digging up delicious new potatoes much sooner than you thought possible. This isn’t just about planting potatoes; it’s about *turbocharging* their growth.
Choosing Your Seed Potatoes
Before we dive into the nitty-gritty, let’s talk seed potatoes. These aren’t just any potatoes you find at the grocery store. Seed potatoes are specifically grown for planting and are certified disease-free.
* Variety Matters: Different potato varieties have different maturity times. For faster results, choose early-maturing varieties like ‘Yukon Gold,’ ‘Irish Cobbler,’ or ‘Red Norland.’ These are generally ready to harvest as new potatoes in about 60-80 days.
* Size Isn’t Everything: You don’t need huge seed potatoes. Medium-sized ones, about the size of a chicken egg, are perfect. Larger potatoes can be cut into pieces, but each piece *must* have at least one “eye” (the little buds that will sprout).
* Certified Seed Potatoes: Always buy certified seed potatoes from a reputable source. This ensures they’re disease-free and haven’t been treated with sprout inhibitors. Trust me, it’s worth the extra cost to avoid potential problems down the line.
Sprouting (Chitting) Your Seed Potatoes
This is where the magic begins! Sprouting, or “chitting,” your seed potatoes gives them a head start. It encourages them to develop strong sprouts before they even go into the ground.
* Why Chit? Chitting warms the potatoes, breaks dormancy, and encourages strong sprout development. This translates to faster emergence and earlier harvests.
* The Setup: You’ll need a cool, bright, frost-free location. An unheated garage, shed, or even a spare room with good light works well. Egg cartons, trays, or even old muffin tins are perfect for holding the potatoes.
* The Process:
1. Place your seed potatoes in the egg cartons or trays, with the end that has the most “eyes” facing upwards.
2. Position them in your chosen location, ensuring they receive indirect sunlight. Direct sunlight can scorch the sprouts.
3. Over the next 4-6 weeks, you’ll see short, green sprouts developing. Turn the potatoes occasionally to ensure even sprout growth.
4. Avoid letting the sprouts get too long and spindly. Ideally, they should be about 1/2 to 1 inch long and sturdy. If they get too long, they’re more likely to break off when you plant them.
Preparing Your Potato Patch
Potatoes need well-drained, slightly acidic soil. Good soil preparation is crucial for a successful harvest.
* Sunlight is Key: Choose a location that receives at least 6-8 hours of direct sunlight per day.
* Soil Testing: Ideally, test your soil pH. Potatoes prefer a pH between 6.0 and 6.8. You can buy a soil testing kit at most garden centers.
* Amendments: Amend your soil with plenty of organic matter, such as compost, well-rotted manure, or leaf mold. This improves drainage, aeration, and fertility.
* Loosening the Soil: Till or dig the soil to a depth of at least 12 inches. This allows the potato roots to penetrate easily. Remove any rocks, stones, or debris.
* Fertilizing: Incorporate a balanced fertilizer into the soil before planting. Look for a fertilizer with an NPK ratio of around 10-10-10. Follow the instructions on the fertilizer package for application rates.
Planting Your Sprouted Seed Potatoes
Now for the exciting part – getting those potatoes in the ground!
* Timing is Everything: Plant your sprouted seed potatoes when the soil temperature reaches at least 45°F (7°C). This is usually a couple of weeks after the last expected frost in your area.
* Trench Warfare: Dig trenches that are about 6-8 inches deep and 2-3 feet apart.
* Spacing: Place the sprouted seed potatoes in the trenches, with the sprouts facing upwards, about 12 inches apart.
* Covering Up: Gently cover the seed potatoes with soil, mounding it slightly over the trench.
* Watering: Water thoroughly after planting.
Hilling Your Potato Plants
Hilling is a crucial step in potato cultivation. It encourages more potato production along the buried stem.
* What is Hilling? Hilling involves gradually mounding soil around the base of the potato plants as they grow.
* Why Hill? Hilling encourages the formation of more tubers along the stem, increasing your yield. It also protects the developing tubers from sunlight, which can cause them to turn green and produce solanine, a toxic compound.
* When to Hill: Start hilling when the potato plants are about 6-8 inches tall.
* How to Hill: Use a hoe or shovel to gently pull soil from between the rows and mound it around the base of the plants, covering the lower part of the stem. Leave the top few inches of the plant exposed.
* Repeat: Repeat the hilling process every 2-3 weeks as the plants grow, until the mounds are about 12 inches high.
Watering and Fertilizing
Consistent watering and fertilization are essential for healthy potato growth.
* Watering: Potatoes need consistent moisture, especially during tuber formation. Water deeply and regularly, especially during dry periods. Avoid overwatering, which can lead to rot.
* Fertilizing: Side-dress your potato plants with a balanced fertilizer every 4-6 weeks. Alternatively, you can use a liquid fertilizer diluted according to the package instructions.
Pest and Disease Control
Potatoes are susceptible to various pests and diseases. Vigilance and preventative measures are key.
* Common Pests: Colorado potato beetles, aphids, flea beetles, and potato leafhoppers are common potato pests.
* Common Diseases: Early blight, late blight, and scab are common potato diseases.
* Prevention:
* Choose disease-resistant varieties.
* Practice crop rotation.
* Maintain good soil drainage.
* Remove and destroy any infected plants.
* Use organic pest control methods, such as insecticidal soap or neem oil.
* Early Detection: Regularly inspect your potato plants for signs of pests or diseases. Early detection and treatment can prevent serious problems.
Harvesting Your New Potatoes
This is the moment you’ve been waiting for!
* When to Harvest: You can start harvesting new potatoes about 60-80 days after planting, or when the plants begin to flower. New potatoes are small, tender, and have thin skins.
* How to Harvest: Gently dig around the base of the plants with a garden fork or shovel. Be careful not to damage the tubers.
* Test Dig: Before harvesting the entire crop, dig up a few plants to check the size and maturity of the potatoes.
* Enjoy! New potatoes are best eaten fresh. They’re delicious boiled, steamed, roasted, or grilled.
Extending the Harvest
If you want to enjoy potatoes for longer, you can harvest some as new potatoes and leave the rest to mature fully.
* For Storage Potatoes: If you want to store potatoes for the winter, wait until the plants have died back completely. This indicates that the tubers have reached full maturity and their skins have thickened.
* Harvesting Storage Potatoes: Dig up the potatoes on a dry day. Handle them carefully to avoid bruising.
* Curing: Cure the potatoes by spreading them out in a cool, dark, well-ventilated place for about 1-2 weeks. This allows the skins to harden and helps prevent rot.
* Storage: Store the cured potatoes in a cool, dark, dry place, such as a root cellar or unheated garage. The ideal storage temperature is between 35°F and 40°F (2°C and 4°C).
Troubleshooting
Even with the best planning, things can sometimes go wrong. Here are a few common potato-growing problems and how to address them:
* Poor Sprout Development: If your seed potatoes aren’t sprouting well, make sure they’re getting enough light and are kept in a cool, but not cold, location.
* Yellowing Leaves: Yellowing leaves can be a sign of nutrient deficiency, overwatering, or disease. Check your soil pH and nutrient levels, and adjust your watering accordingly.
* Potato Beetles: Handpick potato beetles and their larvae, or use an organic insecticide like neem oil.
*
Conclusion
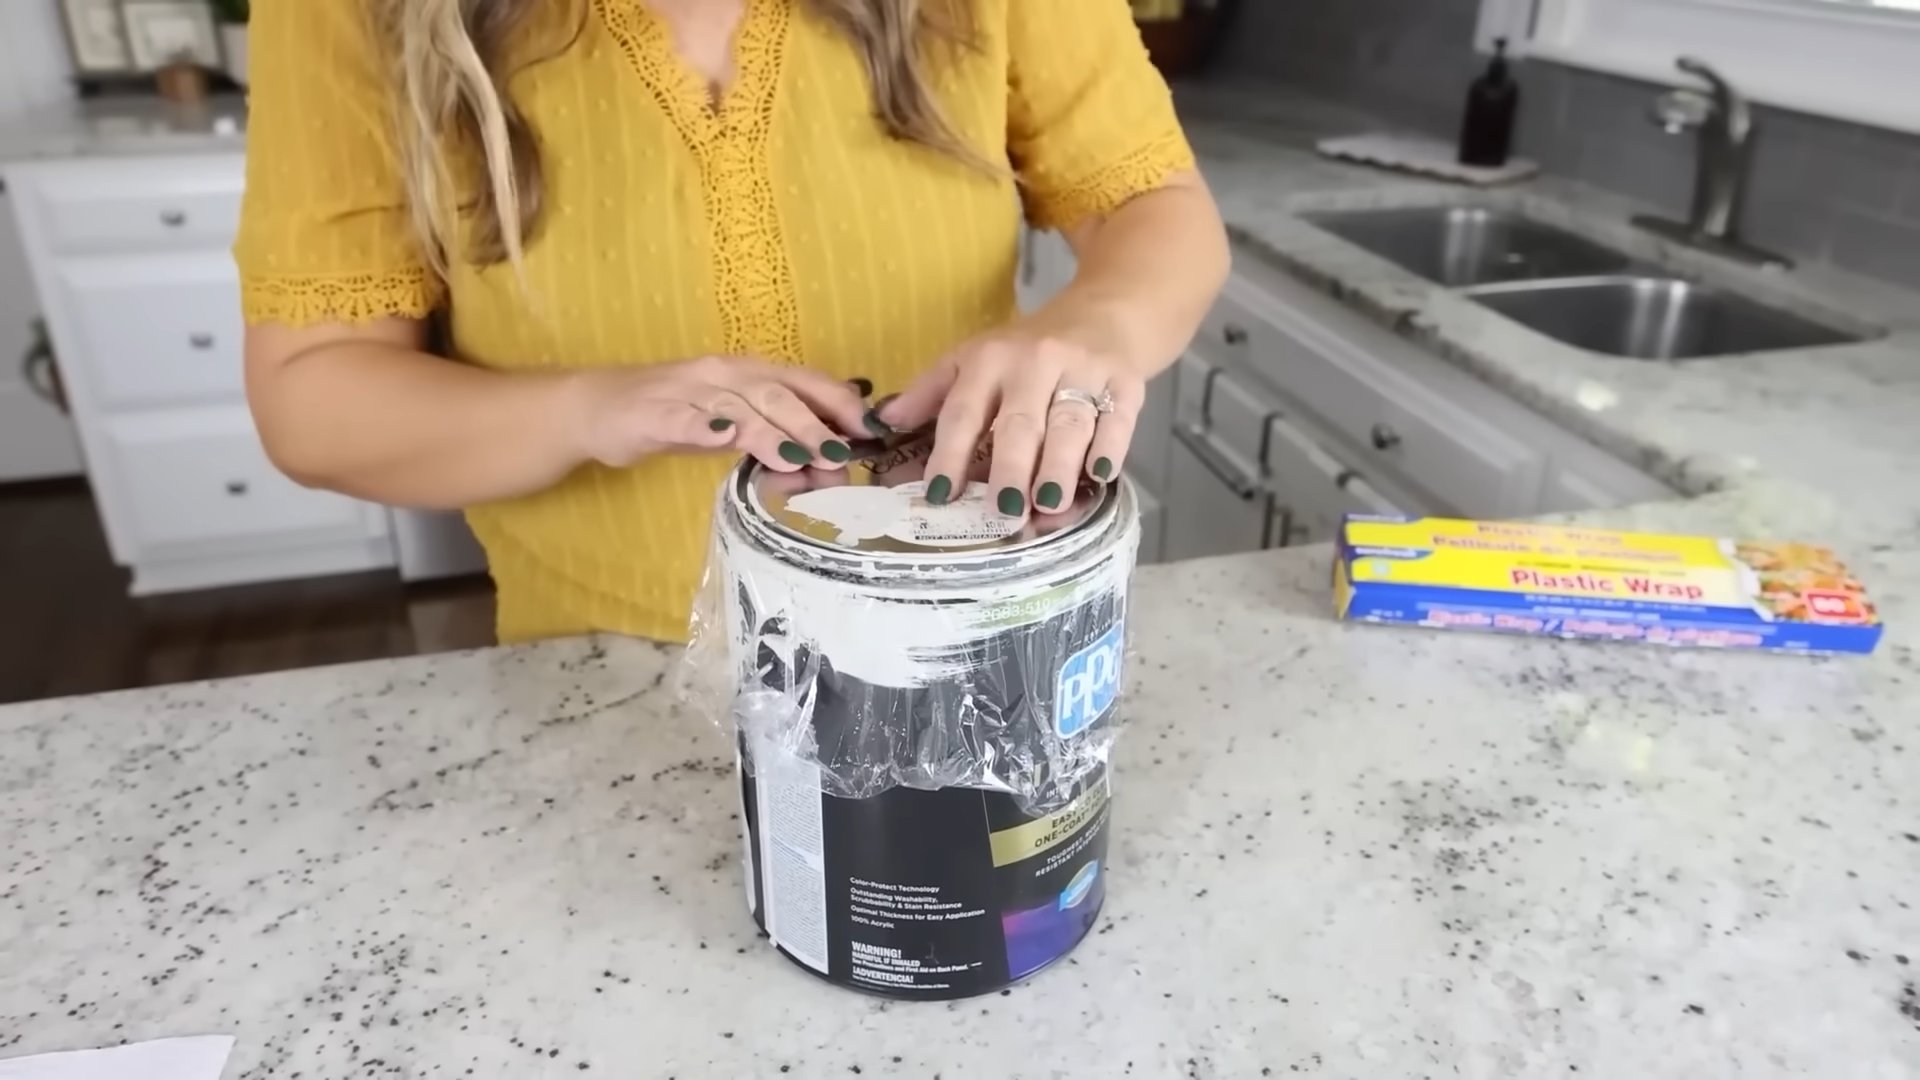
So, there you have it! Mastering these simple plastic wrap hacks can truly revolutionize your kitchen experience. No more wrestling with cling film that refuses to cooperate, no more wasted food due to improper storage, and no more frustrating moments trying to keep your leftovers fresh. This isn’t just about convenience; it’s about efficiency, reducing food waste, and ultimately, saving you time and money.
The beauty of these techniques lies in their simplicity. They require no special equipment, just the humble roll of plastic wrap you likely already have in your drawer. From creating airtight seals on bowls and plates to preventing freezer burn on your precious meals, the possibilities are endless. Think about the perfectly preserved avocado halves, the neatly wrapped sandwiches for your kids’ lunchboxes, or the beautifully organized freezer, all thanks to a few clever folds and stretches.
But don’t stop there! Feel free to experiment and adapt these plastic wrap hacks to your own specific needs. Try using different types of plastic wrap – some are thicker and more durable than others, which might be better suited for certain tasks. Consider using these techniques for non-food items as well. Need to protect delicate artwork during a move? Plastic wrap can be your best friend. Want to keep your paintbrushes from drying out between coats? Wrap them tightly in plastic wrap.
This is more than just a kitchen trick; it’s a lifestyle upgrade. It’s about embracing resourcefulness and finding clever solutions to everyday problems. It’s about making your life a little bit easier, one perfectly wrapped item at a time.
We wholeheartedly encourage you to try these plastic wrap hacks for yourself. Start with the easiest one – perhaps the bowl-sealing technique – and gradually work your way up to the more advanced methods. Pay attention to what works best for you and your kitchen setup. And most importantly, don’t be afraid to get creative!
Once you’ve mastered these techniques, we’d love to hear about your experiences. Share your tips, tricks, and variations in the comments below. Let us know how these plastic wrap hacks have helped you in your kitchen, and inspire others to embrace the power of this versatile kitchen staple. Your insights could be invaluable to someone else who’s struggling with the same old cling film frustrations. Let’s build a community of resourceful cooks who are making the most of every tool in their kitchen arsenal. So go ahead, give it a try, and let us know what you think! You might be surprised at how much you love these simple yet effective solutions.
FAQ
What kind of plastic wrap works best for these hacks?
The type of plastic wrap you use can definitely impact the success of these hacks. Generally, a good quality, multi-purpose plastic wrap will work well for most applications. However, for certain tasks, you might want to consider specific types. For example, if you’re wrapping items for the freezer, a thicker, freezer-grade plastic wrap is recommended to provide a better barrier against moisture and prevent freezer burn. For microwave use, make sure the plastic wrap is labeled as microwave-safe. Avoid using plastic wrap that is very thin or flimsy, as it may tear easily and not provide a good seal. Experiment with different brands and types to find what works best for your needs and preferences. Some people prefer cling wrap that has a good static cling, while others prefer a more durable, stretchable option.
Is plastic wrap safe to use in the microwave?
This is a very important question! Not all plastic wrap is created equal when it comes to microwave safety. Always check the packaging to see if the plastic wrap is specifically labeled as microwave-safe. Microwave-safe plastic wrap is designed to withstand the heat of the microwave without melting or leaching harmful chemicals into your food. If the packaging doesn’t explicitly state that it’s microwave-safe, it’s best to err on the side of caution and avoid using it in the microwave. Even with microwave-safe plastic wrap, it’s a good idea to leave a small vent to allow steam to escape and prevent pressure from building up. Also, avoid letting the plastic wrap come into direct contact with the food, especially fatty foods, as this can increase the risk of chemicals leaching into the food.
How can I prevent plastic wrap from sticking to itself?
Ah, the age-old question! This is a common frustration, but there are a few things you can try. First, make sure your hands are dry before handling the plastic wrap. Moisture can make it stick to itself more easily. Second, try storing your plastic wrap in the refrigerator. The cold temperature can help to reduce its stickiness. Third, when you’re pulling out a sheet of plastic wrap, try to do it in one smooth motion, rather than jerking or pulling it unevenly. This can help to prevent it from bunching up and sticking to itself. Finally, if all else fails, try using a small amount of cooking spray on your hands before handling the plastic wrap. This can create a barrier that prevents it from sticking.
Can I reuse plastic wrap?
While it might be tempting to reuse plastic wrap to save money and reduce waste, it’s generally not recommended, especially if it has been in contact with food. Plastic wrap is typically designed for single-use applications. Once it has been used, it can be difficult to clean thoroughly, and it may harbor bacteria or food particles. Additionally, the plastic wrap may lose its clinginess and become less effective at sealing. For a more sustainable option, consider using reusable food storage containers, silicone lids, or beeswax wraps. These alternatives can be washed and reused multiple times, reducing your reliance on single-use plastic wrap.
What are some eco-friendly alternatives to plastic wrap?
If you’re looking to reduce your environmental impact, there are several excellent alternatives to plastic wrap. Beeswax wraps are a popular choice. They are made from cotton fabric coated in beeswax, tree resin, and jojoba oil. They are reusable, washable, and can be molded to fit various shapes and sizes. Silicone lids are another great option. They come in a variety of sizes and can be used to cover bowls, plates, and containers. They are also reusable, dishwasher-safe, and heat-resistant. Reusable food storage containers are also a versatile alternative. They come in various materials, such as glass, stainless steel, and BPA-free plastic. They are durable, airtight, and can be used for storing leftovers, packing lunches, and freezing food. Finally, you can also use simple things like plates to cover bowls or jars to store food.
How do I keep plastic wrap from tearing when I’m trying to wrap something?
Tearing plastic wrap can be incredibly frustrating! To minimize tearing, try these tips: First, use a good quality plastic wrap that is strong and durable. Second, avoid stretching the plastic wrap too tightly, as this can weaken it and make it more prone to tearing. Third, when wrapping irregularly shaped items, try to work in sections, rather than trying to wrap the entire item at once. This can help to distribute the tension more evenly and prevent tearing. Fourth, make sure your hands are clean and dry, as moisture can make the plastic wrap more slippery and difficult to handle. Finally, if you’re using a plastic wrap dispenser with a cutting edge, make sure the blade is sharp and clean. A dull or dirty blade can cause the plastic wrap to tear unevenly.
Can these plastic wrap hacks be used for freezing food?
Yes, many of these plastic wrap hacks are perfect for freezing food! The key is to ensure that you create an airtight seal to prevent freezer burn. Double-wrapping items in plastic wrap can provide an extra layer of protection. For best results, consider combining plastic wrap with other freezer-safe materials, such as freezer bags or containers. Wrap the food tightly in plastic wrap first, then place it in a freezer bag or container. This will provide a double barrier against moisture and air. Remember to label and date your frozen items so you know what they are and when they were frozen. Using these plastic wrap hacks can significantly extend the shelf life of your frozen food and prevent it from becoming dry and unappetizing.


Leave a Comment