

Grow Arugula Indoors: Your Guide to Year-Round Peppery Greens
I love the peppery bite of arugula, but fresh, vibrant arugula can be surprisingly expensive and sometimes hard to find at the grocery store, especially during the colder months. That’s why I’m so excited to share my secrets on how to Grow Arugula Indoors! This simple guide will transform you from an arugula-consumer to an arugula-grower, providing you with a continuous supply of this delicious leafy green, regardless of the season or weather outside.
While arugula’s origins trace back to the Mediterranean, its cultivation has spread globally, making it a beloved ingredient in countless cuisines. Historically, it was valued not only for its taste but also for its nutritional benefits. Now, you can easily harness its goodness by growing it yourself!
Why Grow Arugula Indoors?
Growing your own arugula offers several compelling advantages. First, you control the quality, ensuring pesticide-free, fresh-picked greens. Second, you save money by avoiding grocery store prices. And third, there’s an undeniable satisfaction in nurturing a plant from seed to harvest. Imagine snipping fresh arugula for your salads or pasta dishes, knowing you cultivated it with your own two hands! This DIY approach to growing arugula indoors is surprisingly easy, even for beginner gardeners.
This article will walk you through everything you need to know, from selecting the right seeds and containers to mastering the art of indoor cultivation. Get ready to experience the joy and flavor of homegrown arugula all year round!
Growing Fennel Indoors: A Step-by-Step Guide
I love the taste of fennel, but it can be expensive to buy, and the quality isn’t always great. So, I decided to try growing my own indoors! It’s surprisingly easy, and now I have a constant supply of fresh fennel. Here’s how I did it:
Phase 1: Preparation and Planting
- Choose the right container: Fennel needs space to develop its root system. I recommend a pot at least 12 inches in diameter and 12 inches deep. Make sure it has drainage holes to prevent root rot.
- Select the perfect potting mix: Use a well-draining potting mix. I prefer a mix specifically designed for herbs or vegetables. Avoid using garden soil, as it can be too heavy and compact for indoor plants.
- Source your fennel seeds: You can find fennel seeds at most garden centers, online retailers, or even some grocery stores. Look for high-quality seeds for the best results. I usually buy organic seeds.
- Soak the seeds (optional but recommended): Soaking the seeds for 12-24 hours in warm water before planting can help improve germination rates. This softens the hard outer shell and allows for quicker sprouting.
- Fill your chosen pot with the potting mix, leaving about an inch of space from the top. Gently loosen the soil with your fingers to create a good environment for root growth.
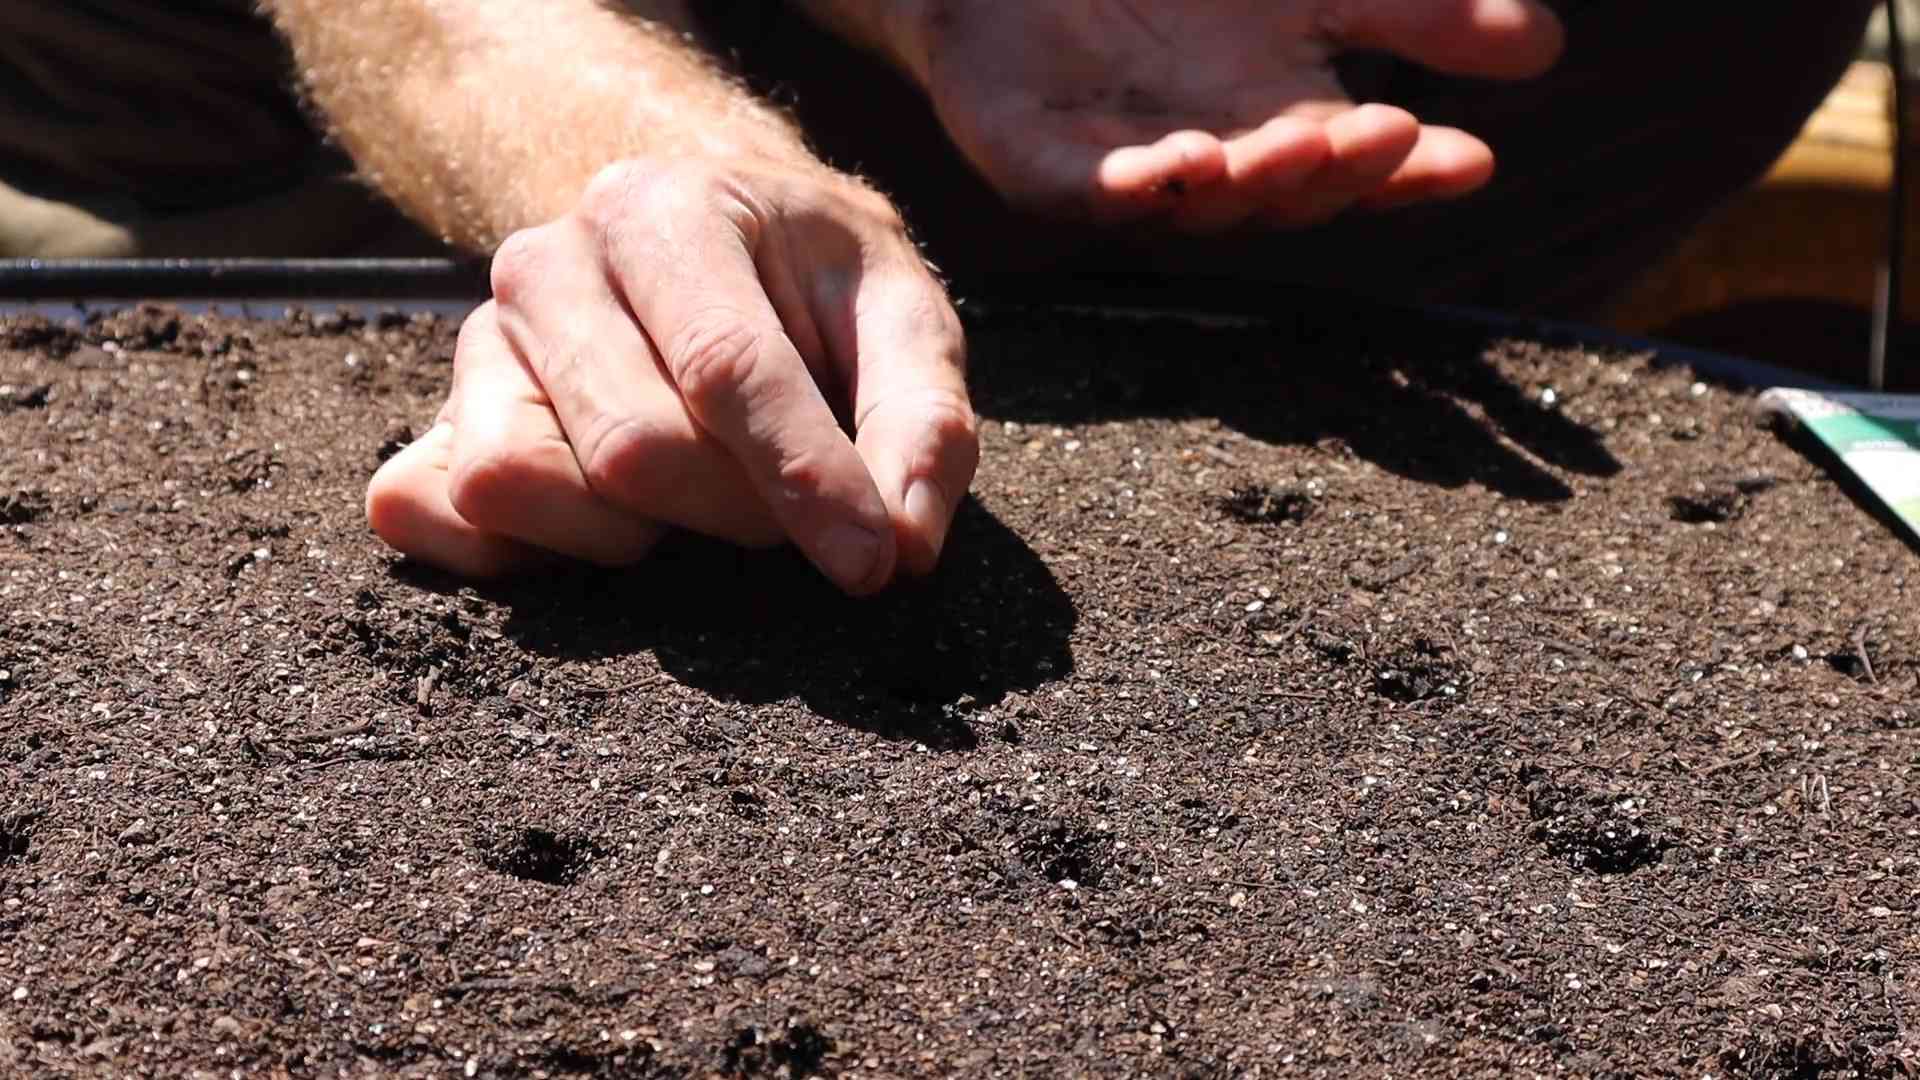
- Sow the seeds: Plant the seeds about ¼ inch deep and 1-2 inches apart. If you’re using multiple seeds per pot, space them evenly to give each plant enough room to grow. I usually plant 2-3 seeds per pot, then thin them later.
- Gently cover the seeds with soil: Don’t pack the soil down too tightly. A light covering is sufficient.
- Water thoroughly: Use a gentle watering can or spray bottle to avoid disturbing the seeds. Water until the soil is evenly moist but not soggy.
- Cover the pot: To maintain humidity and aid germination, cover the pot with plastic wrap or a clear plastic dome. This creates a mini-greenhouse effect.
Phase 2: Germination and Early Growth
- Provide warmth and light: Place the pot in a warm location (ideally between 65-75°F) with plenty of indirect sunlight. A south-facing windowsill is usually a good choice, but avoid direct sunlight, which can scorch the delicate seedlings.
- Maintain humidity: Keep the soil consistently moist but not waterlogged. Check the moisture level daily and water as needed. The plastic wrap or dome will help maintain humidity, but you may need to mist the soil occasionally.
- Monitor for germination: Germination usually takes 1-3 weeks, depending on the seed quality and environmental conditions. Once you see seedlings emerge, remove the plastic wrap or dome.
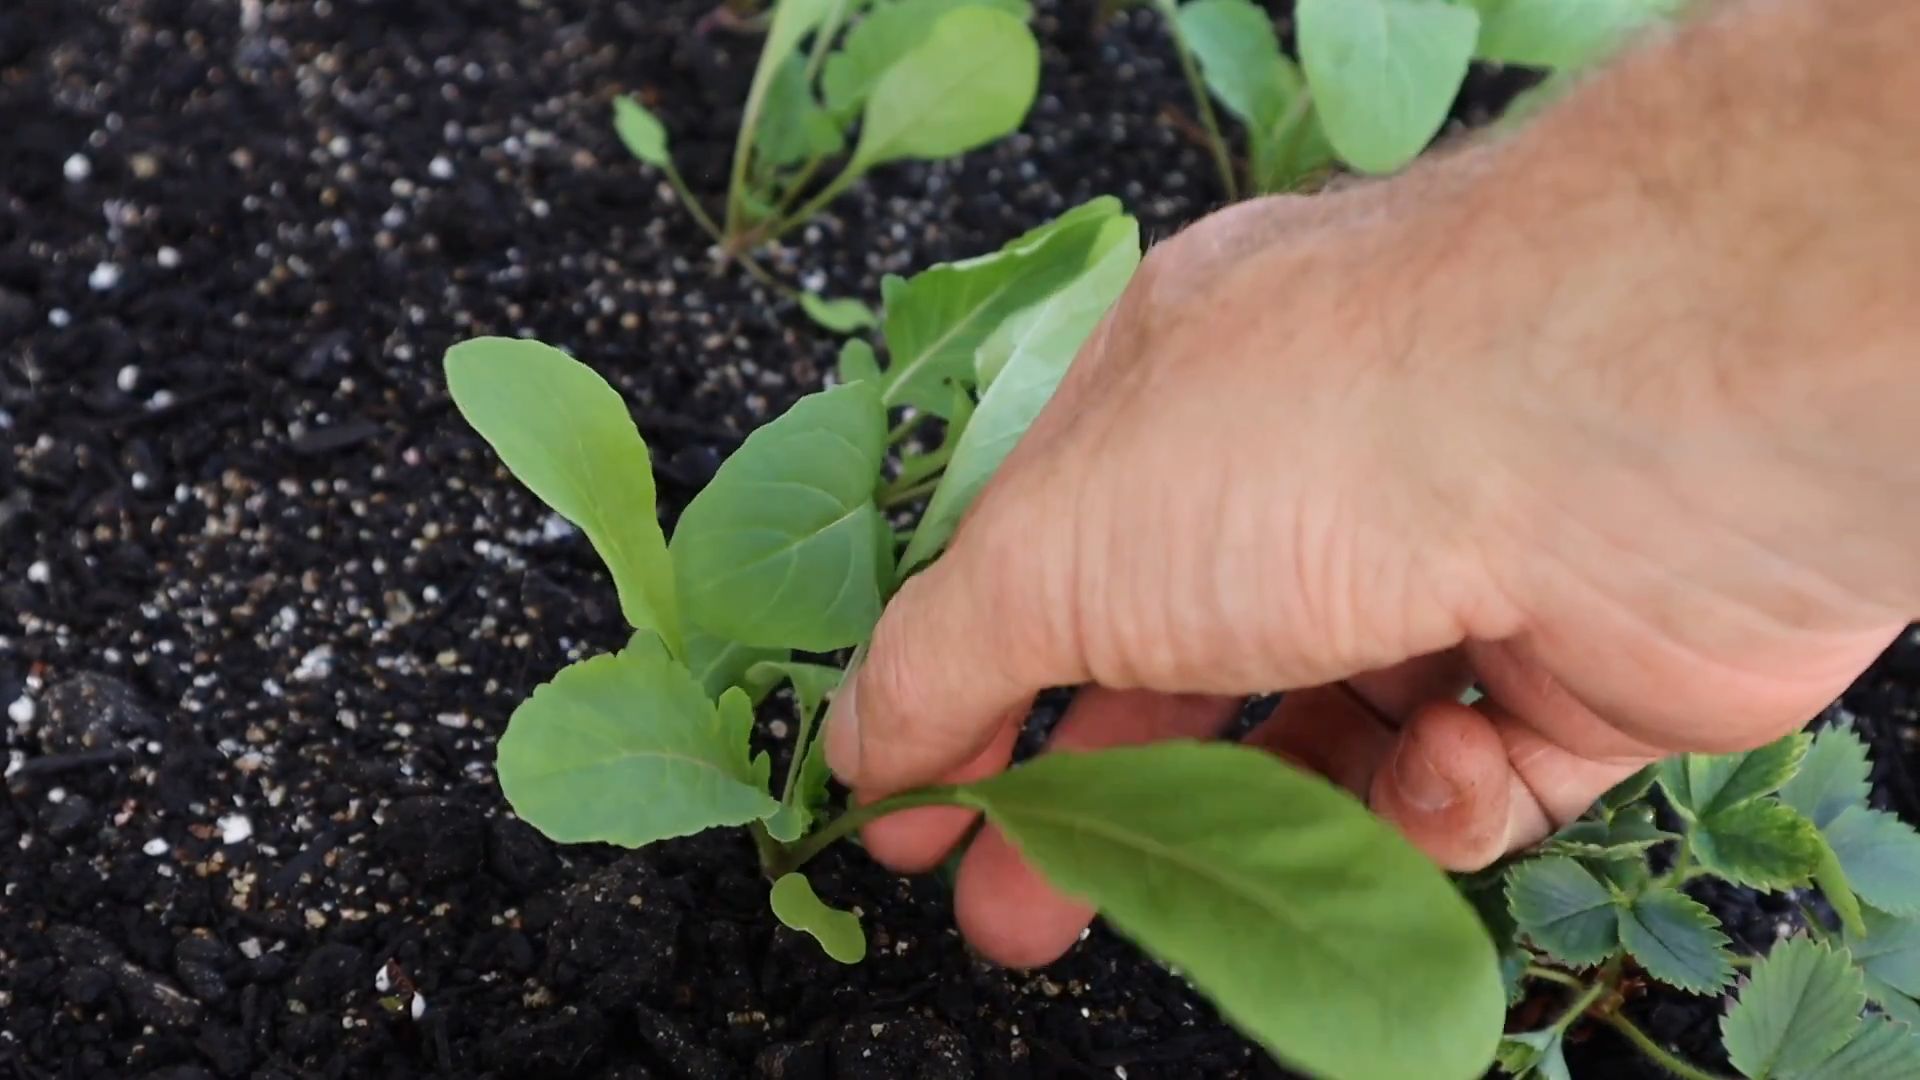
- Thinning: Once the seedlings have developed a few true leaves (the leaves that are different from the seed leaves), thin them out to one or two of the strongest plants per pot. Gently pull out the weaker seedlings, being careful not to disturb the roots of the remaining plants.
- Continue to water regularly, ensuring the soil remains moist but not waterlogged. Overwatering is a common problem with indoor plants, so it’s better to underwater slightly than overwater.
- Observe your plants closely for any signs of disease or pests. Act quickly if you notice any problems. Good air circulation can help prevent many issues.
Phase 3: Growth and Harvesting
- Fertilizing: Once the seedlings are established, start fertilizing every 2-3 weeks with a balanced liquid fertilizer diluted to half strength. Over-fertilizing can harm your plants, so follow the instructions on the fertilizer packaging carefully.
- Light requirements: As your fennel plants grow taller, they may need supplemental light, especially during winter months when natural light is limited. A grow light can be a valuable addition to ensure healthy growth.
- Support (optional): As the fennel plants mature, they may become top-heavy. You can provide support using stakes or plant supports to prevent them from falling over.
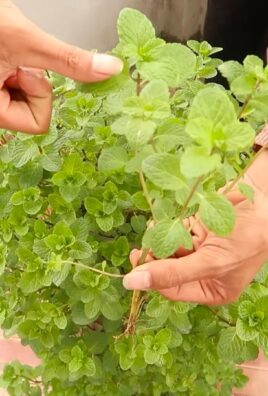
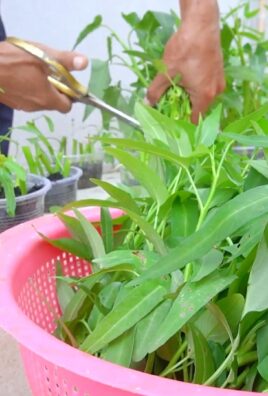
- Harvesting: You can begin harvesting the fennel fronds (leaves) when they are about 6 inches tall. Cut the fronds just above a set of leaves to encourage bushier growth. Harvesting regularly will promote continuous growth.
- Harvesting the bulb: If you want to harvest the bulb, allow the plant to grow for at least 3-4 months. The bulb will be ready to harvest when it’s firm and about 2-3 inches in diameter. Gently dig up the entire plant, being careful not to damage the bulb.
- Regularly inspect your plants for pests or diseases. Act quickly if you notice any problems. A healthy plant is less susceptible to problems.
- Rotate your pot regularly to ensure even growth. This prevents the plant from leaning towards the light source.
- Adjust your watering schedule based on the season and the growth stage of your plants. During hotter months, you may need to water more frequently.
- Consider using a humidity tray to increase humidity around your plants, especially during dry winter months. This can significantly improve growth.
- Enjoy your homegrown fennel! Use it fresh in salads, soups, stews, or as a garnish. The flavor of homegrown fennel is unparalleled.
Phase 4: Troubleshooting
Yellowing Leaves:
This could indicate overwatering, underwatering, nutrient deficiency, or pest infestation. Check the soil moisture, adjust your watering schedule, and consider fertilizing. Inspect for pests.
Leggy Growth:
This usually means the plant isn’t getting enough light. Move it closer to a light source or supplement with a grow light.
Slow Growth:
This could be due to low light, insufficient nutrients, or improper watering. Review your care routine and make adjustments as needed.
Pest Infestation:
Inspect your plants regularly for aphids, spider mites, or other pests. Treat infestations promptly using appropriate organic pest control methods.
Remember:
Patience is key! Growing fennel indoors takes time and attention, but the reward of fresh, flavorful fennel is well worth the effort.
Conclusion
Growing your own arugula indoors is a surprisingly rewarding experience, offering a fresh, peppery punch to your meals year-round, regardless of the weather outside. This DIY method provides a simple, cost-effective way to enjoy the vibrant taste of homegrown arugula, bypassing the often-questionable quality and potentially high cost of store-bought greens. The ease of this technique, coupled with the superior flavor and freshness of the resulting arugula, makes it a must-try for any home cook, regardless of their gardening experience. You’ll be amazed at how quickly you can go from seed to salad! The satisfaction of harvesting your own crisp, flavorful arugula leaves is unparalleled, and the knowledge that you’re consuming a pesticide-free, nutrient-rich product is an added bonus. Beyond the simple satisfaction, growing your own arugula contributes to a more sustainable lifestyle, reducing your carbon footprint associated with transporting produce.
Beyond the basic method outlined, there are numerous ways to customize your indoor arugula garden. Experiment with different types of arugula – some varieties have a milder, sweeter flavor, while others boast a more intense peppery kick. You can also try different growing mediums, such as coco coir or a pre-made seed-starting mix, to find what works best for you. Consider supplementing your indoor grow setup with grow lights to maximize growth, especially during shorter winter days. For a truly unique experience, try incorporating your arugula into a larger indoor herb garden, creating a vibrant and aromatic corner in your kitchen. The possibilities are endless!
We strongly encourage you to try this simple and effective method for growing arugula indoors. Share your experience with us! Post pictures of your thriving arugula plants on social media using #GrowArugulaIndoors and tag us – we’d love to see your success! Let us know what variations you tried and what worked best for you. Your feedback will inspire others to embark on their own indoor gardening adventures. Remember, even a small windowsill can become a thriving arugula farm, bringing the freshness of the garden directly to your kitchen table. So, grab some seeds, get started, and enjoy the delicious rewards of your homegrown harvest!
Frequently Asked Questions
What type of arugula seeds should I use?
You can use any type of arugula seed you prefer! Some varieties are known for their milder flavor, while others are spicier. Experiment to find your favorite. Look for seeds specifically labeled for indoor growing if possible, as these may be more suited to the conditions.
How much sunlight do arugula plants need indoors?
Arugula needs at least 6-8 hours of sunlight per day to thrive. If you don’t have a sunny windowsill, consider supplementing with grow lights. Place the lights close enough to the plants to provide adequate light, but not so close that they burn the leaves.
What kind of container should I use to grow arugula indoors?
Almost any container will work, as long as it has drainage holes to prevent waterlogging. Shallow containers, such as seed trays or small pots, are ideal for arugula. Make sure the container is large enough to accommodate the mature plants, which can spread out somewhat.
How often should I water my indoor arugula?
Keep the soil consistently moist, but not soggy. Water when the top inch of soil feels dry to the touch. Overwatering can lead to root rot, so it’s better to underwater slightly than overwater.
What should I do if my arugula plants are not growing well?
Several factors can affect arugula growth. Ensure your plants are receiving enough sunlight and water. Check for pests or diseases. If your plants are leggy (tall and spindly), they may not be getting enough light. Consider adding a grow light or moving them to a sunnier location.
Can I grow arugula indoors year-round?
Absolutely! With proper lighting and care, you can enjoy fresh arugula all year long, regardless of the outdoor weather conditions. This makes indoor growing arugula a fantastic option for consistent access to this flavorful green.
What are some common problems when growing arugula indoors?
Common problems include pests (aphids, whiteflies), diseases (damping-off, downy mildew), and nutrient deficiencies. Regularly inspect your plants for signs of pests or diseases and address any issues promptly. Use a balanced fertilizer to ensure your plants receive the necessary nutrients.
How long does it take for arugula to grow indoors?
Arugula is a fast-growing crop. You can typically harvest your first leaves in about 3-4 weeks from sowing the seeds. The entire growing cycle, from seed to harvest, usually takes around 4-6 weeks, depending on the variety and growing conditions.
Can I replant the arugula after harvesting?
While you can’t directly replant the harvested leaves, you can encourage further growth by cutting back the plants rather than pulling them out entirely. This will stimulate new leaf growth. However, arugula is generally best treated as a quick-growing crop, and starting new seeds is often more efficient.
What can I do with my homegrown arugula?
The possibilities are endless! Use it in salads, sandwiches, pesto, pasta dishes, or as a garnish. Its peppery flavor adds a delightful kick to many dishes. Enjoy the freshness and superior taste of your homegrown arugula!

Leave a Comment