

Pet hair removal glove hack: Sounds too good to be true, right? I know, I thought so too! But trust me, as a fellow pet parent constantly battling the fur tsunami, this simple DIY trick is a game-changer. We’re talking about reclaiming your furniture, your clothes, and your sanity, all with something you probably already have lying around.
The struggle with pet hair is as old as domestication itself. From ancient Egyptians meticulously grooming their cats to modern-day dog lovers vacuuming daily, keeping our homes fur-free has always been a challenge. While fancy gadgets and expensive cleaning services exist, sometimes the best solutions are the simplest and most affordable. That’s where this pet hair removal glove hack comes in.
Why do you need this? Because let’s face it, pet hair is relentless! It clings to everything, defies vacuums, and seems to multiply overnight. This DIY trick offers a quick, easy, and surprisingly effective way to tackle pet hair on upholstery, clothing, and even car interiors. I’m going to show you how to transform a regular household item into your new secret weapon against the furry invasion. Get ready to say goodbye to endless lint rolling and hello to a cleaner, happier home!
DIY Pet Hair Removal Glove: A Fur-tastic Hack!
Okay, fellow pet lovers, let’s be honest: pet hair is the glitter of the animal kingdom. It gets *everywhere*. On your clothes, your furniture, your car… you name it! I’ve tried countless lint rollers, vacuums, and brushes, but nothing seemed to truly conquer the never-ending battle against fur. That is, until I stumbled upon this ridiculously simple and effective DIY pet hair removal glove hack. Trust me, it’s a game-changer!
This project is super easy, budget-friendly, and uses materials you probably already have lying around. Get ready to say goodbye to those pesky pet hairs!
What You’ll Need:
* A rubber dishwashing glove (the thicker, the better!)
* Scissors
* Hot glue gun and glue sticks (or strong waterproof adhesive)
* Optional: Decorative elements like fabric scraps, buttons, or paint (for personalization!)
Step-by-Step Instructions:
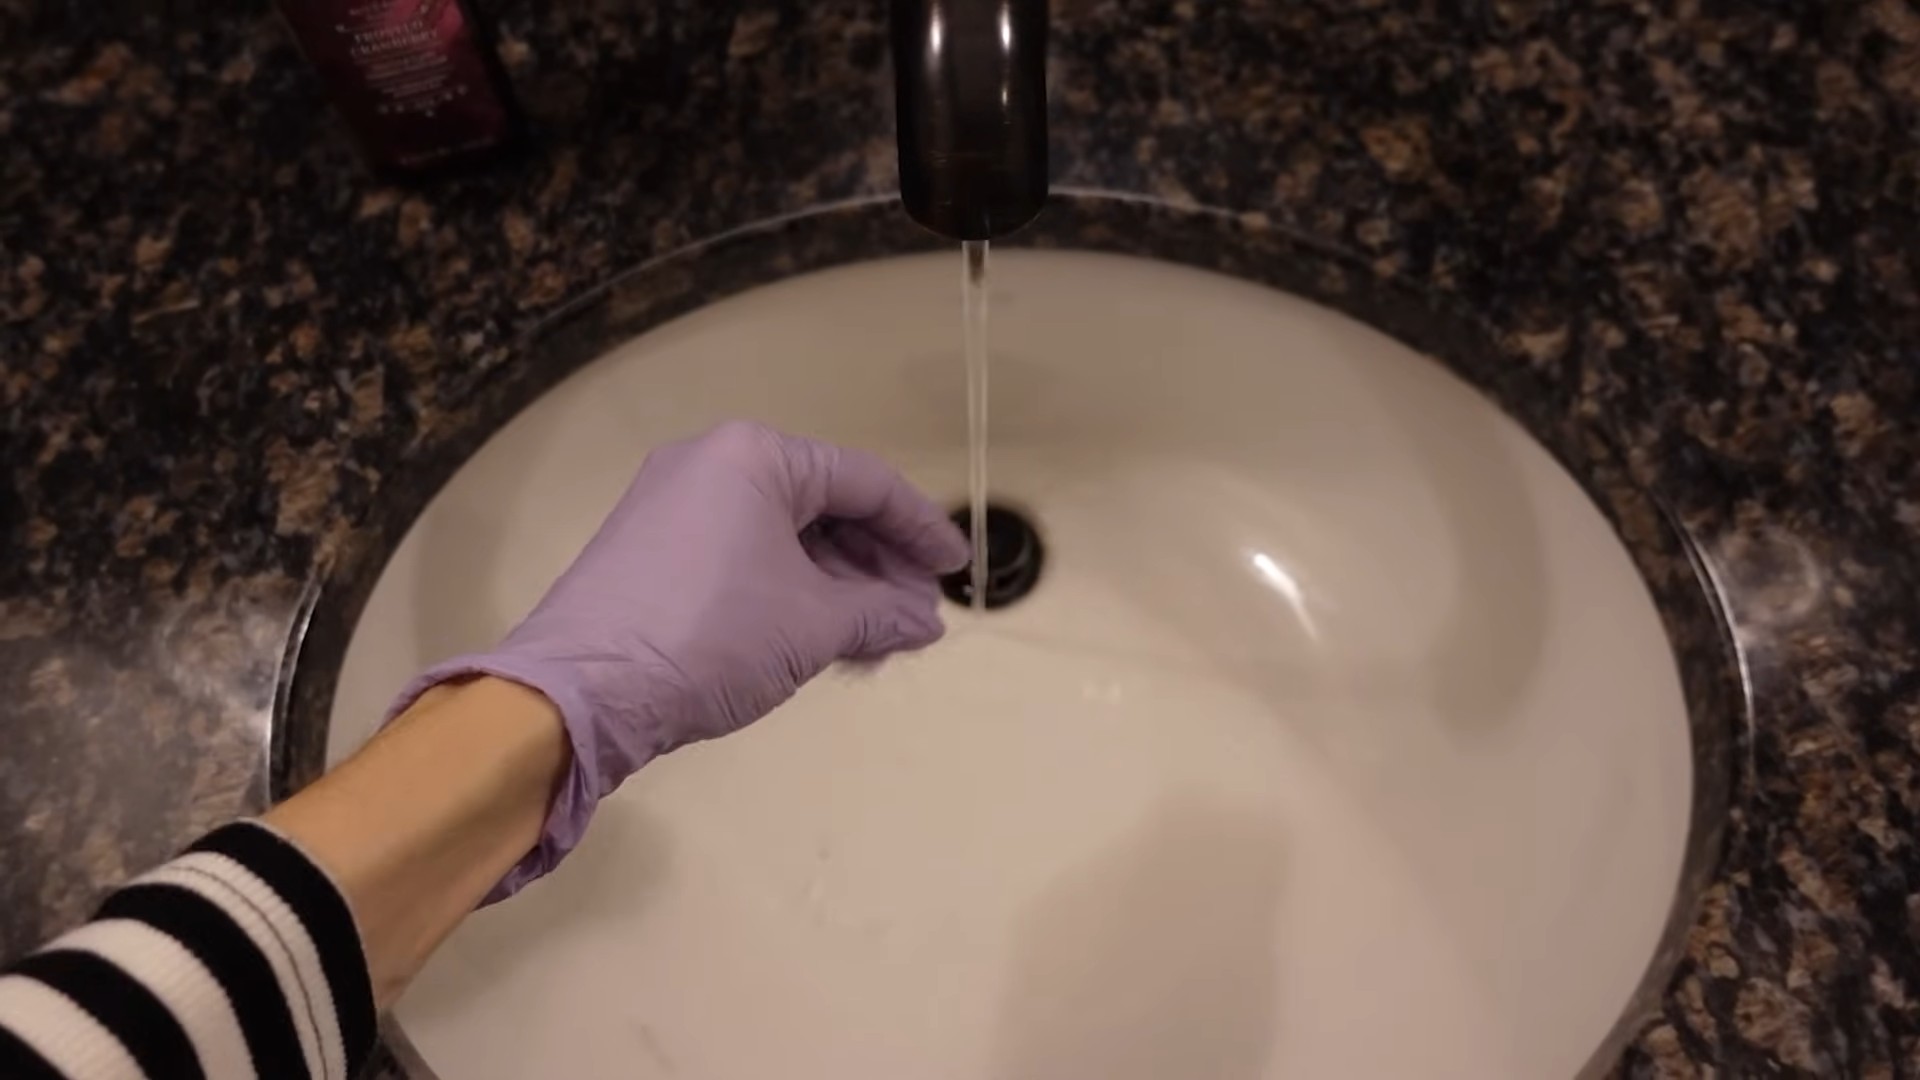
1. **Prepare Your Glove:** Start by thoroughly cleaning your rubber dishwashing glove. Make sure it’s completely dry before moving on to the next step. This will ensure the adhesive sticks properly. I usually wash mine with dish soap and let it air dry overnight.
2. **Cut the Fingers (Strategically!):** This is where the magic happens! We’re going to create little “scrapers” that will grab onto the pet hair. Using your scissors, make small, angled cuts along the fingers of the glove.
* **Important:** Don’t cut straight across! You want the cuts to be at a slight angle, creating a small flap that will lift the hair.
* **Spacing:** Space the cuts about 1/2 inch to 1 inch apart. You don’t need to be perfect; just eyeball it.
* **Depth:** The depth of the cut should be about 1/4 inch to 1/2 inch. Again, no need to be precise.
* **Thumb:** Don’t forget the thumb! It’s a prime area for pet hair removal.
* **Testing:** After making a few cuts, try running your gloved hand over a furry surface (like your couch or a pet bed). You should see the little flaps catching the hair. If not, adjust the angle or depth of your cuts.
3. **Reinforce the Cuts (Optional but Recommended):** To prevent the cuts from tearing or ripping over time, you can reinforce them with a tiny dab of hot glue. This step is optional, but I highly recommend it, especially if you plan on using the glove frequently.
* **How to:** Carefully apply a very small dot of hot glue to the base of each cut, on the inside of the glove. Be careful not to use too much glue, as it can make the glove stiff and uncomfortable.
* **Alternative:** If you don’t have a hot glue gun, you can use a strong waterproof adhesive like E6000. Just be sure to follow the manufacturer’s instructions and allow the adhesive to dry completely before using the glove.
4. **Add Texture (For Extra Grabbing Power!):** This step is also optional, but it can significantly improve the glove’s hair-grabbing abilities. We’re going to add some extra texture to the palm and fingers of the glove.
* **Hot Glue Method:** Using your hot glue gun, create small dots or lines of glue on the palm and fingers of the glove. Don’t cover the entire surface; just add enough texture to help grab the hair.
* **Silicone Caulk Method:** Another option is to use silicone caulk. Apply a thin layer of caulk to the palm and fingers of the glove, then use a toothpick or small brush to create texture. Allow the caulk to dry completely before using the glove.
* Important: Be careful not to add too much texture, as it can make the glove uncomfortable to wear.
5. **Personalize Your Glove (Get Creative!):** Now for the fun part! You can personalize your glove to make it your own.
* **Fabric Scraps:** Cut out small shapes from fabric scraps and glue them onto the glove.
* **Buttons:** Glue buttons onto the glove for a fun and quirky look.
* **Paint:** Use acrylic paint to decorate the glove with your favorite designs.
* Important: Make sure to use waterproof materials, as you’ll likely be washing the glove from time to time.
6. **Let it Dry (Completely!):** If you used hot glue or any other adhesive, allow the glove to dry completely before using it. This will ensure that the adhesive is fully cured and that your decorations are securely attached. I usually let mine dry overnight.
Using Your Pet Hair Removal Glove:
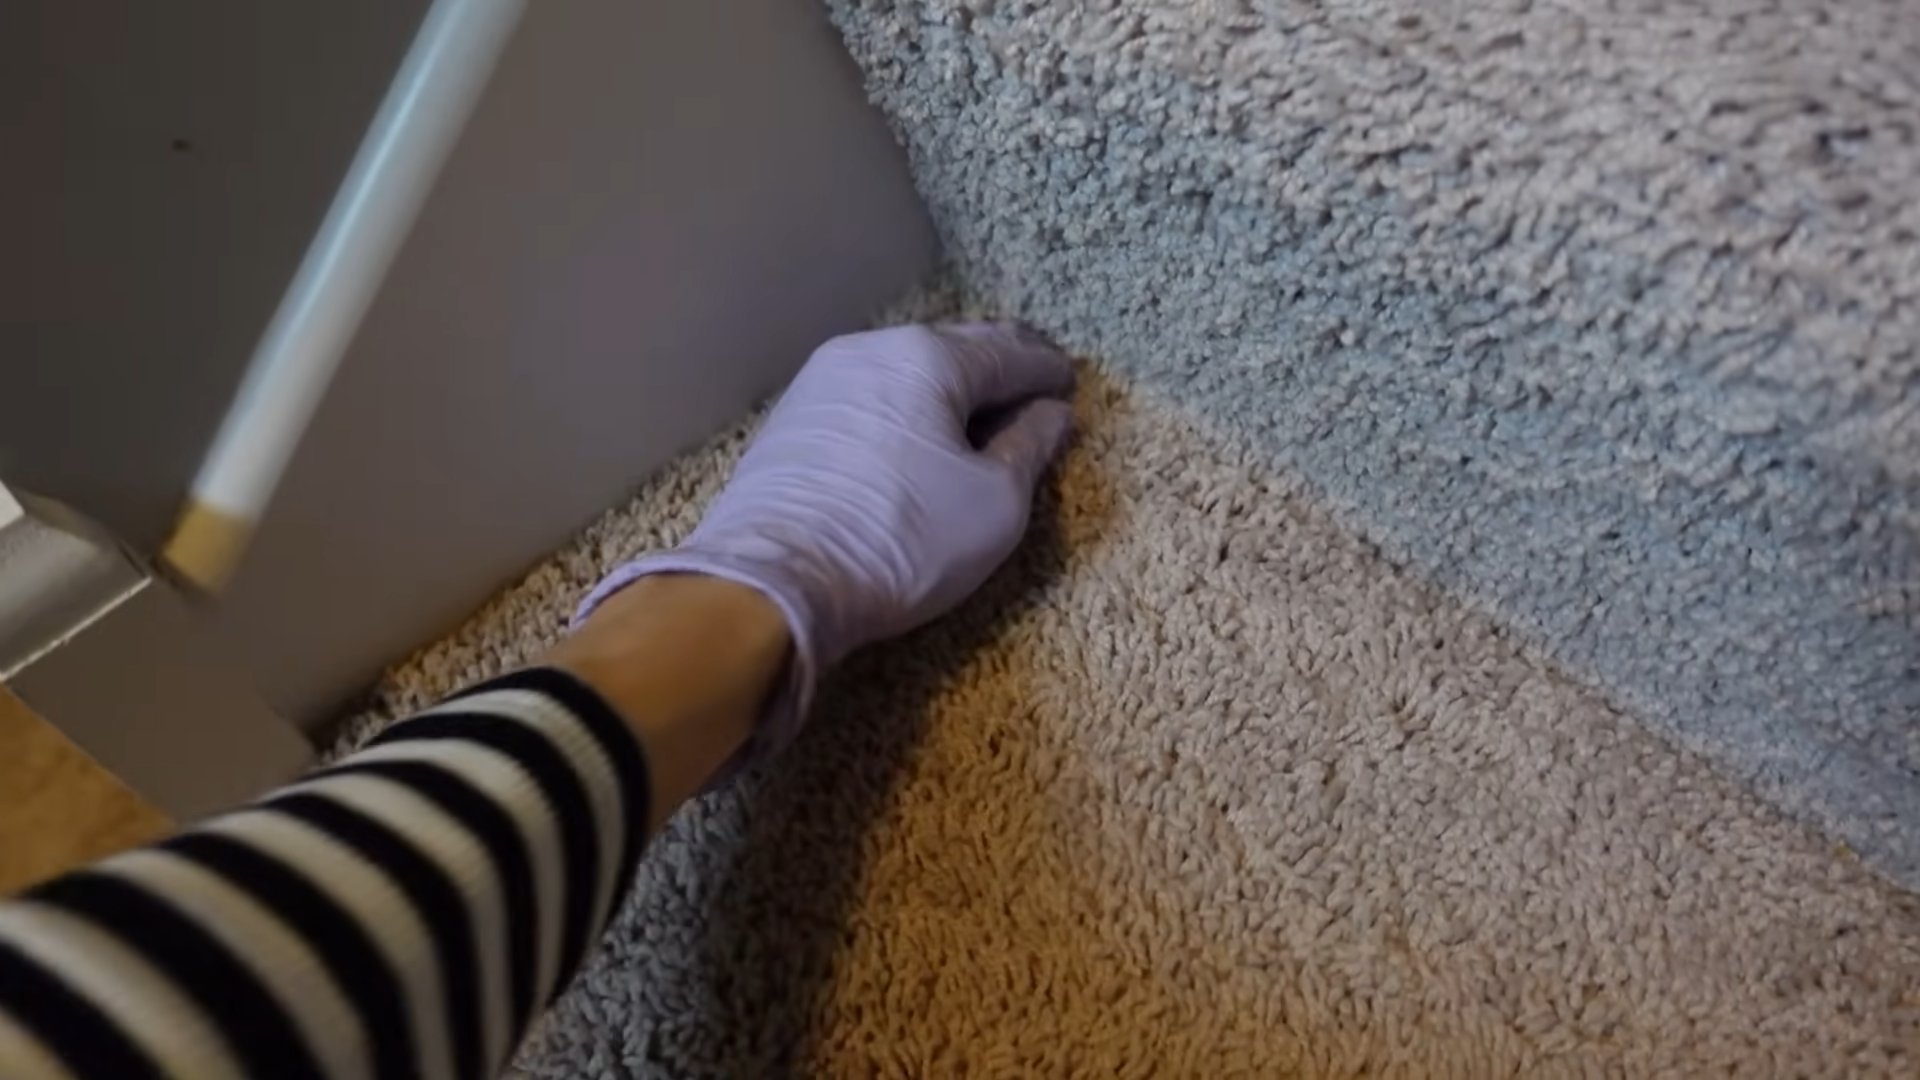
Now that your glove is ready, it’s time to put it to the test! Simply slip it on and run your hand over any surface covered in pet hair. The little flaps you created will grab onto the hair, lifting it away from the fabric.
* **Furniture:** Use the glove to remove pet hair from your couches, chairs, and other upholstered furniture.
* **Clothing:** Run the glove over your clothes to remove loose pet hair.
* **Car Seats:** Use the glove to clean pet hair from your car seats.
* **Pet Beds:** The glove is perfect for removing pet hair from your pet’s bed.
* Important: For best results, use short, sweeping motions.
Cleaning Your Pet Hair Removal Glove:
To clean your glove, simply rinse it with warm water and dish soap. You can also use a mild detergent. Allow the glove to air dry completely before storing it.
* Stubborn Hair: If you have a lot of hair stuck to the glove, you can use a small brush or comb to remove it.
* Washing Machine: You can also wash the glove in the washing machine on a gentle cycle. However, I recommend hand-washing it to prolong its lifespan.
* Drying: Avoid putting the glove in the dryer, as the heat can damage the rubber.
Tips and Tricks for Maximum Fur-Fighting Power:
* Slightly Damp Glove: For even better results, try slightly dampening the glove before using it. The moisture will help the hair cling to the glove.
* Static Cling: If you’re having trouble getting the hair to stick to the glove, try spraying the surface with a static cling spray.
* Regular Use: The more often you use the glove, the less pet hair will accumulate in your home. I try to use mine at least once a week.
* Different Gloves: Experiment with different types of rubber gloves to see which one works best for you. Some people prefer thicker gloves, while others prefer thinner ones.
* Combine with Vacuuming: For really stubborn pet hair, use the glove in combination with vacuuming. First, use the glove to loosen the hair, then vacuum it up.
* Pet Grooming: This glove can also be used to groom your pet! The soft rubber and textured surface are gentle on their skin and help to remove loose fur. Just be sure to be gentle and avoid pulling on their fur.
Troubleshooting:
* **Glove Not Grabbing Hair:** If your glove isn’t grabbing hair effectively, try adjusting the angle or depth of your cuts. You may also need to add more texture to the palm and fingers of the glove.
* **Cuts Tearing:** If your cuts are tearing, reinforce them with hot glue or a strong waterproof adhesive.
* **Glove Uncomfortable:** If your glove is uncomfortable to wear, try using a thinner glove or adding less texture.
Alternative Materials:
While I highly recommend using a rubber dishwashing glove for this project, you can also experiment with other materials.
* **Silicone Gloves:** Silicone gloves are a great alternative to rubber gloves. They’re durable, heat-resistant, and easy to clean.
* **Microfiber Cloth:** You can also use a microfiber cloth to create a pet hair removal glove. Simply wrap the cloth around your hand and secure it with a rubber band.
* **Sponge:** A sponge can also be used to remove pet hair. Just dampen the sponge and run it over the furry surface.
Why This Hack Works:
The secret to this hack’s success lies in the combination of the rubber material and the strategically placed cuts. The rubber provides a slightly tacky surface that helps to grab onto the hair, while the cuts create little flaps that lift the hair away from the fabric. The added texture further enhances the glove’s hair-grabbing abilities.
I’ve found this DIY pet hair removal glove to be incredibly effective, and I hope you do too! It’s a simple, affordable, and eco-friendly way to keep your home free of pet hair. Happy cleaning!
Conclusion
So, there you have it! The pet hair removal glove hack – a simple, cost-effective, and surprisingly efficient way to tackle the never-ending battle against pet fur. We’ve explored how a humble rubber glove can transform into your secret weapon, saving you time, money, and frustration. Forget expensive lint rollers or bulky vacuums; this DIY solution is all about accessibility and ingenuity.
But why is this trick a must-try? Because it works! It’s not just another fleeting internet trend; it’s a practical solution rooted in the simple physics of static electricity and friction. The textured surface of the rubber glove acts like a magnet, effortlessly attracting and lifting pet hair from a variety of surfaces. Think about it: no more struggling to vacuum every nook and cranny, no more peeling endless sheets of sticky paper from a lint roller. This hack offers a quick, targeted, and environmentally friendly alternative.
Beyond its effectiveness, the pet hair removal glove hack is incredibly versatile. While we’ve focused on using it on furniture and carpets, don’t limit yourself! Try it on car upholstery, clothing (especially dark fabrics!), pet bedding, and even hard surfaces like baseboards. You can even dampen the glove slightly for an extra boost in hair-grabbing power.
Looking for variations? Consider using different types of rubber gloves. Thicker gloves might offer better grip and durability, while thinner gloves could provide more flexibility for reaching tight spaces. Experiment with different textures too – some gloves have raised patterns that might be even more effective at trapping hair. You could also try adding a drop or two of fabric softener to the glove for a pleasant scent and enhanced static cling.
The beauty of this DIY trick lies in its simplicity and adaptability. It’s a blank canvas for your own creativity and problem-solving skills. So, ditch the expensive gadgets and embrace the power of the humble rubber glove.
We wholeheartedly encourage you to try this pet hair removal glove hack and experience the difference for yourself. It’s a game-changer for pet owners who are tired of constantly battling fur. But don’t just take our word for it! We want to hear about your experiences. Share your tips, tricks, and variations in the comments below. Let’s create a community of pet-loving DIYers who are conquering the fur frontier, one glove at a time. Let us know what surfaces you found it most effective on, what type of glove worked best for you, and any other insights you might have. Your feedback will help others discover the magic of this simple yet powerful solution. Together, we can make pet hair a little less of a headache and a lot more manageable.
Frequently Asked Questions (FAQ)
Q: What type of rubber glove works best for this hack?
A: While any rubber glove will work to some extent, gloves with a textured surface tend to be the most effective. The texture creates more friction and surface area, allowing the glove to grab more pet hair. Dishwashing gloves are a popular choice because they are readily available and often have a good level of texture. Experiment with different types to see what works best for you and your pet’s hair type. Thicker gloves may be more durable, while thinner gloves offer greater flexibility.
Q: Will this hack work on all types of pet hair?
A: The pet hair removal glove hack is generally effective on most types of pet hair, including short, fine hair and long, thick hair. However, the effectiveness may vary depending on the surface you’re cleaning and the specific type of hair. For example, very fine hair might require a slightly damp glove for better adhesion. For deeply embedded hair, you may need to use a bit more pressure and multiple swipes.
Q: Can I use this hack on delicate fabrics?
A: While the rubber glove is generally gentle, it’s always a good idea to test it on an inconspicuous area of delicate fabrics before using it extensively. Avoid using excessive pressure, as this could potentially damage the fabric. For very delicate materials, consider using a softer glove or dampening the glove very lightly.
Q: How do I clean the pet hair off the glove?
A: Cleaning the hair off the glove is easy. Simply rinse the glove under running water, using your fingers to dislodge the hair. For stubborn clumps of hair, you can use a brush or comb to help remove them. Allow the glove to air dry completely before storing it. You can also turn the glove inside out to clean it more thoroughly.
Q: Is this hack safe for my pets?
A: Yes, this hack is perfectly safe for your pets. You’re simply using a rubber glove to remove hair from surfaces; there are no chemicals or harmful substances involved. However, always supervise your pets when cleaning to ensure they don’t try to chew on the glove.
Q: How often should I use this hack?
A: The frequency of use depends on how much your pet sheds and how often you want to clean. For heavy shedders, you may want to use the glove hack daily or every other day. For pets that shed less, once or twice a week may be sufficient. Incorporate it into your regular cleaning routine to keep pet hair under control.
Q: Can I use this hack on my clothes?
A: Absolutely! The pet hair removal glove hack is excellent for removing pet hair from clothing, especially dark fabrics where hair is more visible. Simply swipe the glove over the fabric to lift away the hair. This is a great alternative to lint rollers, which can be wasteful and expensive.
Q: Does this hack work on car upholstery?
A: Yes, this hack works wonders on car upholstery! Car interiors can be a magnet for pet hair, and the rubber glove is an effective way to remove it. The glove can reach into crevices and contours that are difficult to clean with a vacuum.
Q: Will this hack damage my furniture?
A: No, the pet hair removal glove hack is unlikely to damage your furniture. The rubber glove is relatively soft and gentle. However, as with any cleaning method, it’s always a good idea to test it on an inconspicuous area first, especially on delicate or antique furniture. Avoid using excessive pressure.
Q: Can I use this hack on hard surfaces like baseboards?
A: Yes, you can use this hack on hard surfaces like baseboards. The glove can effectively pick up pet hair that accumulates along baseboards and other hard-to-reach areas. Dampening the glove slightly can help to attract even more hair.
Leave a Comment