

Patio Turnip Growing might sound like a whimsical dream, especially if you’re short on space! But trust me, it’s absolutely achievable, and I’m here to show you how with some clever DIY tricks. For centuries, turnips have been a staple in gardens worldwide, providing nutritious roots and greens. From humble peasant fare to a symbol of resourcefulness during times of scarcity, the turnip boasts a rich history.
But why bother with patio turnip growing in today’s world? Well, imagine stepping outside your door and harvesting fresh, crisp turnips for a delicious salad or hearty stew. No more relying solely on the grocery store! Plus, growing your own food is incredibly rewarding and connects you to nature in a meaningful way.
This DIY guide is packed with simple, effective hacks to help you cultivate a thriving turnip patch, even on the smallest patio. We’ll cover everything from choosing the right containers and soil to mastering watering and pest control. Get ready to unleash your inner gardener and enjoy the satisfaction of growing your own delicious turnips, right outside your door!
Grow Turnips in Containers: A Beginner’s Guide to Patio Turnip Farming
Hey there, fellow gardening enthusiasts! Ever thought about growing your own turnips? They’re not just for root cellars anymore! With a little know-how, you can cultivate these tasty veggies right on your patio, balcony, or even a sunny windowsill. I’m going to walk you through everything you need to know to successfully grow turnips in containers. Get ready for some fresh, homegrown goodness!
Choosing the Right Turnip Variety
First things first, let’s talk turnips. Not all turnips are created equal, especially when it comes to container gardening. You’ll want to choose varieties that are known for their smaller size and quicker maturity. Here are a few of my favorites:
* Tokyo Cross: These are super fast-growing, often ready in just 30 days! They produce small, round, white roots and delicious greens.
* Purple Top White Globe: A classic choice, these turnips have a mild flavor and grow to a decent size, but still manageable in a container.
* Golden Ball: These are known for their sweet flavor and beautiful golden color. They’re also relatively compact.
* Hakurei: This Japanese turnip is incredibly tender and sweet, perfect for eating raw in salads. They mature quickly and are well-suited for containers.
Gathering Your Supplies
Okay, now that we’ve picked our turnip stars, let’s gather the necessary supplies. This is where the fun really begins!
* Containers: Choose containers that are at least 12 inches deep and wide. Turnips need room to grow their roots. Fabric pots, plastic pots, or even repurposed buckets work great, as long as they have drainage holes.
* Potting Mix: Don’t use garden soil! It’s too heavy and compacts easily in containers. Instead, opt for a high-quality potting mix that’s well-draining and contains plenty of organic matter. I like to use a mix of peat moss, perlite, and vermiculite.
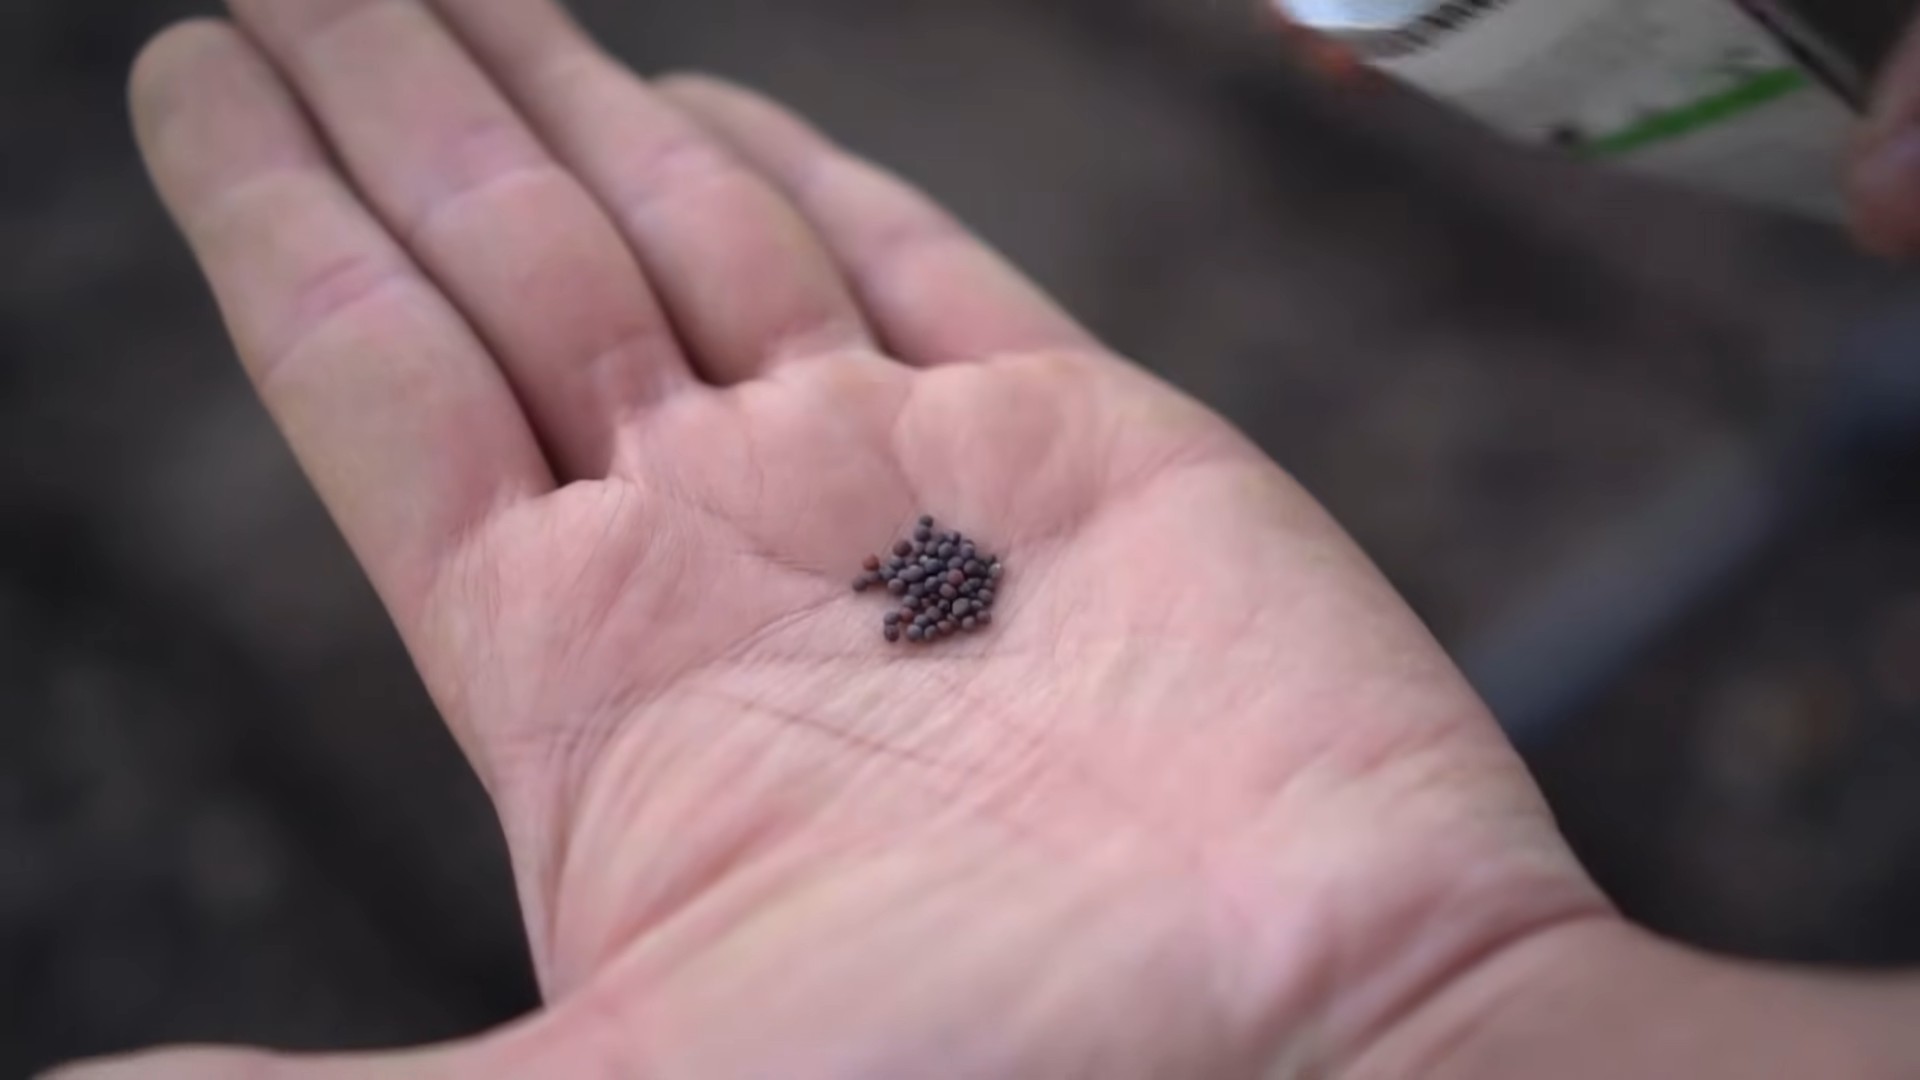
* Turnip Seeds: Obviously! Make sure you get them from a reputable source to ensure good germination rates.
* Fertilizer: A balanced, slow-release fertilizer is ideal. You can also use a liquid fertilizer diluted to half strength every few weeks.
* Watering Can or Hose: For keeping your turnips hydrated.
* Trowel: For planting and transplanting.
* Gardening Gloves: To keep your hands clean and protected.
Planting Your Turnip Seeds
Alright, let’s get our hands dirty! Planting turnip seeds is super easy.
1. Prepare the Container: Fill your container with the potting mix, leaving about an inch of space at the top. Gently pat down the soil to remove any air pockets.
2. Sow the Seeds: Sprinkle the turnip seeds evenly over the surface of the soil. You can sow them quite densely, as you’ll be thinning them out later.
3. Cover the Seeds: Lightly cover the seeds with about ¼ inch of potting mix.
4. Water Gently: Use a watering can or hose with a gentle spray to moisten the soil. Be careful not to wash away the seeds.
5. Label Your Container: Don’t forget to label your container with the turnip variety and the date you planted them. It’s easy to forget otherwise!
Caring for Your Turnip Plants
Now comes the part where you nurture your little turnip seedlings into thriving plants. Here’s what you need to do:
* Watering: Keep the soil consistently moist, but not soggy. Water when the top inch of soil feels dry to the touch. Overwatering can lead to root rot, so be careful!
* Thinning: Once the seedlings emerge and have a few true leaves (the second set of leaves), it’s time to thin them out. This means removing some of the seedlings to give the remaining ones enough space to grow. Aim for about 2-3 inches between plants. Don’t just pull them out! Gently snip them off at the soil line with scissors to avoid disturbing the roots of the remaining plants.
* Fertilizing: Apply a balanced, slow-release fertilizer according to the package instructions. You can also supplement with a liquid fertilizer diluted to half strength every few weeks.
* Sunlight: Turnips need at least 6 hours of sunlight per day. If you’re growing them indoors, place them near a sunny window or use grow lights.
* Weeding: Keep the container free of weeds, which can compete with your turnips for nutrients and water.
* Pest Control: Keep an eye out for pests like aphids, flea beetles, and cabbage worms. You can usually control them with insecticidal soap or neem oil. I prefer organic solutions whenever possible.
Harvesting Your Turnips
The moment you’ve been waiting for! Harvesting turnips is so rewarding.
* Timing: Turnips are typically ready to harvest in 30-60 days, depending on the variety. Check the seed packet for specific maturity dates.
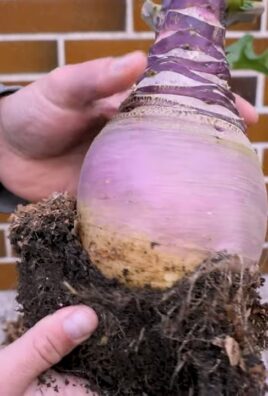
* Size: Harvest the turnips when they reach the desired size. For smaller varieties like Tokyo Cross, you can harvest them when they’re about 1-2 inches in diameter. For larger varieties, wait until they’re 3-4 inches in diameter.
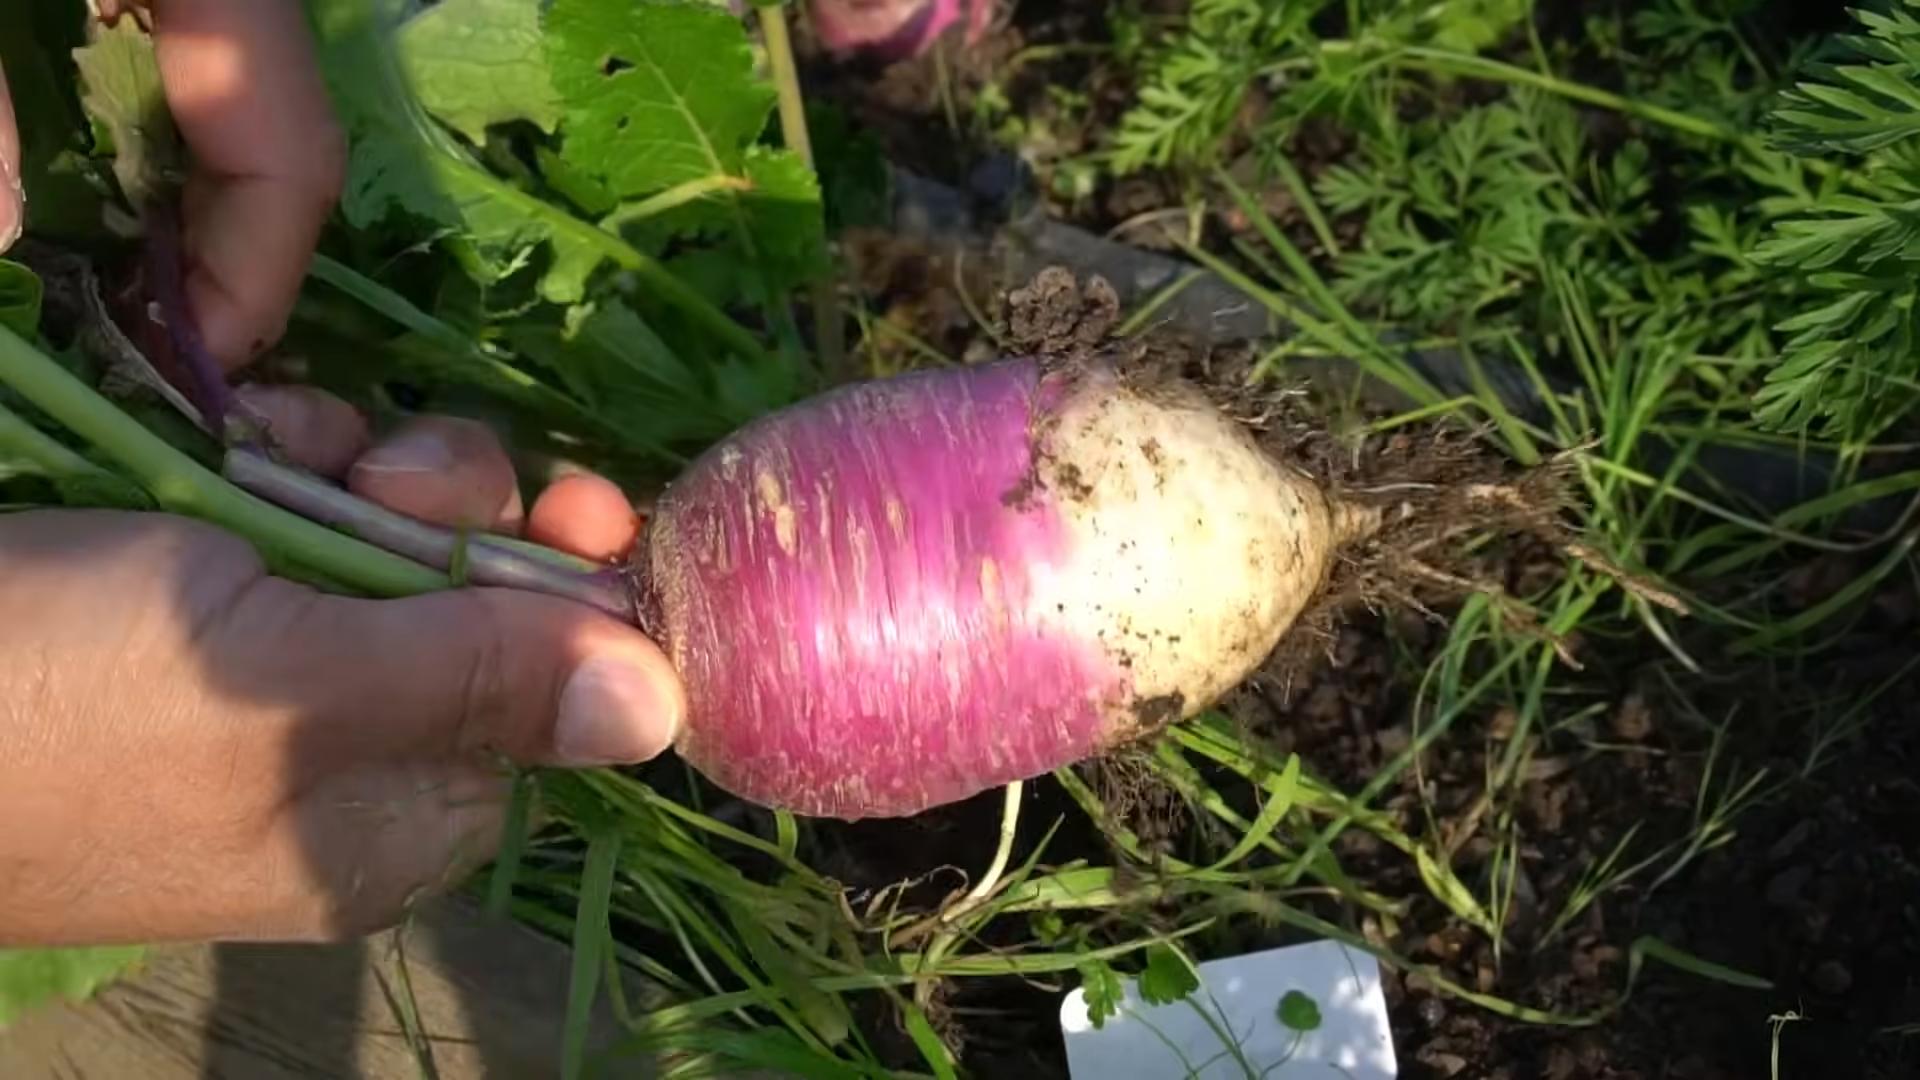
* Harvesting Method: Gently loosen the soil around the turnip with a trowel. Then, grab the greens near the base of the turnip and pull it straight up. If the soil is dry, you may need to water it beforehand to make it easier to pull.
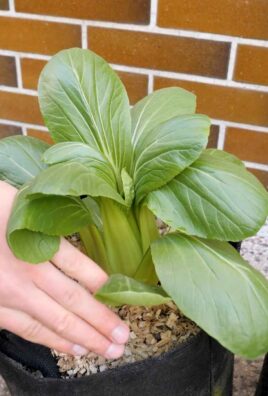
* Greens: Don’t throw away the greens! Turnip greens are delicious and nutritious. You can cook them like spinach or kale.
Troubleshooting Common Problems
Even with the best care, you might encounter a few problems along the way. Here are some common issues and how to deal with them:
* Slow Growth: This could be due to insufficient sunlight, poor soil, or lack of nutrients. Make sure your turnips are getting enough sun, use a good quality potting mix, and fertilize regularly.
* Yellowing Leaves: This could be a sign of overwatering, underwatering, or nutrient deficiency. Check the soil moisture and adjust your watering accordingly. Also, make sure you’re fertilizing regularly.
* Root Rot: This is caused by overwatering and poor drainage. Make sure your container has drainage holes and avoid overwatering. If you suspect root rot, you can try transplanting the turnip to a new container with fresh potting mix.
* Pest Infestations: As mentioned earlier, keep an eye out for pests and treat them with insecticidal soap or neem oil.
Extending Your Turnip Season
Want to enjoy fresh turnips for as long as possible? Here are a few tips for extending your turnip season:
* Succession Planting: Sow a new batch of seeds every few weeks to ensure a continuous harvest.
* Cool Weather: Turnips are cool-weather crops, so they thrive in spring and fall. Avoid planting them during the hottest months of summer.
* Cold Frames: If you live in a colder climate, you can use a cold frame to protect your turnips from frost and extend the growing season.
Enjoying Your Harvest
Now for the best part – enjoying the fruits (or rather, roots) of your labor! Turnips are incredibly versatile and can be used in a variety of dishes.
* Raw: Smaller, sweeter varieties like Hakurei are delicious eaten raw in salads.
* Roasted: Roasting turnips brings out their sweetness and makes them incredibly tender.
* Mashed: Mashed turnips are a great alternative to mashed potatoes.
* Soups and Stews: Turnips add a hearty flavor to soups and stews.
* Pickled: Pickled turnips are a tangy and delicious condiment.
* Greens: Sauté turnip greens with garlic and olive oil for a simple and healthy side dish.
Additional Tips for Success
Here are a few extra tips to help you succeed with container turnip gardening:
* Choose the Right Container Size: As I mentioned earlier, make sure your containers are at least 12 inches deep and wide. Turnips need room to grow their roots.
* Use High-Quality Potting Mix: Don’t skimp on the potting mix! It’s the foundation of your container garden.
* Water Regularly: Keep the soil consistently moist, but not soggy.
* Fertilize Regularly: Turnips are heavy feeders, so make sure you fertilize them regularly.
* Thin Your Seedlings: Thinning is essential for giving your turnips enough space to grow.
* Protect from Pests: Keep an eye out for pests and treat them promptly.
* Harvest at the Right Time: Harvest your
Conclusion
So, there you have it! Growing turnips on your patio isn’t just a quirky gardening experiment; it’s a surprisingly rewarding way to enjoy fresh, homegrown produce, even with limited space. We’ve walked through the simple steps, highlighting the ease and accessibility of this DIY project. From selecting the right container and soil to nurturing your turnip greens and roots, you’re now equipped to transform your patio into a mini-turnip farm.
But why is this DIY trick a must-try? Beyond the sheer satisfaction of harvesting your own food, patio turnip growing offers several compelling advantages. Firstly, it’s incredibly space-efficient. Turnips are relatively compact plants, making them ideal for balconies, small patios, or even sunny windowsills. Secondly, it’s a fast-growing crop. You can expect to harvest turnip greens in as little as a month and the roots within a couple of months, providing a quick return on your gardening efforts. Thirdly, it’s a sustainable and cost-effective way to supplement your diet. Imagine the joy of adding freshly harvested turnip greens to your salads or roasting your own homegrown turnips for a hearty side dish. Plus, you’ll be reducing your reliance on store-bought produce, saving money and minimizing your environmental impact.
Looking for variations to spice things up? Consider experimenting with different turnip varieties. ‘Purple Top White Globe’ is a classic choice, but you could also try ‘Golden Ball’ for a sweeter flavor or ‘Tokyo Cross’ for smaller, more tender roots. You can also companion plant your turnips with other vegetables like radishes or lettuce to maximize space and deter pests. Another fun variation is to focus solely on growing turnip greens. If you’re primarily interested in the leafy greens, you can harvest them repeatedly throughout the growing season, providing a continuous supply of fresh greens for your meals. You can also try growing them in succession, planting new seeds every few weeks to ensure a steady harvest.
Don’t be afraid to get creative with your container gardening setup. Use repurposed containers like old buckets, plastic bins, or even grow bags. Just make sure they have adequate drainage holes to prevent waterlogging. You can also add decorative elements to your patio turnip garden, such as colorful planters, trellises, or even small garden gnomes.
The key takeaway is that patio turnip growing is an accessible, rewarding, and sustainable way to enjoy fresh, homegrown produce, regardless of your gardening experience or available space. So, grab your seeds, potting mix, and a container, and get ready to embark on your own turnip-growing adventure.
We’re confident that you’ll find this DIY trick to be a delightful and enriching experience. But the real magic happens when you share your journey with others. We encourage you to try this DIY trick and share your experiences with us! Post photos of your patio turnip garden on social media using the hashtag #PatioTurnipGrowing. Tell us about your successes, your challenges, and your favorite ways to enjoy your homegrown turnips. Let’s build a community of patio turnip growers and inspire others to embrace the joy of urban gardening. We can’t wait to see what you create!
Frequently Asked Questions (FAQ)
What is the best time of year to start growing turnips on my patio?
The best time to plant turnips depends on your climate. Turnips are a cool-season crop, meaning they thrive in cooler temperatures. In most regions, you can plant turnips in early spring (as soon as the soil can be worked) or late summer/early fall for a fall harvest. Avoid planting during the hottest months of summer, as high temperatures can cause the turnips to bolt (go to seed) and become bitter. For a spring crop, start seeds indoors 4-6 weeks before the last expected frost. For a fall crop, plant seeds directly into your containers in late summer, about 6-8 weeks before the first expected frost. Check your local climate data for specific planting dates.
What kind of soil is best for growing turnips in containers?
Turnips prefer well-draining, fertile soil with a slightly acidic to neutral pH (around 6.0 to 7.0). A good potting mix is essential for container gardening. Avoid using garden soil, as it can be too heavy and compact in containers, hindering drainage and root growth. Instead, opt for a high-quality potting mix that contains a blend of peat moss, perlite, and vermiculite. You can also amend your potting mix with compost or well-rotted manure to improve its fertility and drainage. Ensure the container has adequate drainage holes to prevent waterlogging, which can lead to root rot.
How much sunlight do turnips need when grown on a patio?
Turnips need at least 6 hours of direct sunlight per day to thrive. Choose a sunny location on your patio where your turnip containers will receive ample sunlight. If your patio doesn’t receive enough direct sunlight, you can supplement with grow lights. Position the grow lights a few inches above the plants and provide 12-14 hours of light per day. Rotate your containers regularly to ensure that all sides of the plants receive equal exposure to sunlight.
How often should I water my patio turnips?
Water your patio turnips regularly, keeping the soil consistently moist but not waterlogged. Check the soil moisture level daily by sticking your finger into the soil. If the top inch of soil feels dry, it’s time to water. Water deeply, allowing the water to drain out of the drainage holes. Avoid overhead watering, as this can promote fungal diseases. Instead, water at the base of the plants. During hot, dry weather, you may need to water more frequently.
Do I need to fertilize my patio turnips?
Yes, turnips benefit from regular fertilization, especially when grown in containers. Use a balanced fertilizer with an NPK ratio of 10-10-10 or 5-5-5. Apply the fertilizer according to the package instructions. You can also use organic fertilizers, such as compost tea or fish emulsion. Fertilize your turnips every 2-3 weeks during the growing season. Avoid over-fertilizing, as this can lead to excessive foliage growth and reduced root development.
What are some common pests and diseases that affect patio turnips, and how can I prevent them?
Common pests that can affect patio turnips include aphids, flea beetles, and cabbage loopers. You can prevent pest infestations by inspecting your plants regularly and removing any pests by hand. You can also use insecticidal soap or neem oil to control pests. Common diseases that can affect patio turnips include powdery mildew and root rot. Prevent fungal diseases by providing good air circulation, avoiding overhead watering, and ensuring good drainage. If you notice signs of disease, remove the affected leaves or plants immediately.
When and how do I harvest my patio turnips?
You can harvest turnip greens as soon as they are large enough to eat, typically about 3-4 weeks after planting. Simply cut off the outer leaves, leaving the inner leaves to continue growing. You can harvest turnip roots when they reach the desired size, typically about 5-8 weeks after planting. Gently loosen the soil around the roots and pull them out of the ground. The size of the roots will depend on the variety you are growing.
Can I grow turnips in the same container as other vegetables?
Yes, you can companion plant turnips with other vegetables in the same container. Good companion plants for turnips include radishes, lettuce, spinach, and carrots. These vegetables have different nutrient requirements and growth habits, so they won’t compete with each other. Avoid planting turnips with members of the brassica family, such as cabbage, broccoli, and cauliflower, as they can attract the same pests and diseases.
How do I store my harvested turnips?
Store turnip greens in the refrigerator in a plastic bag for up to a week. Store turnip roots in a cool, dark place, such as a root cellar or refrigerator, for several weeks. Before storing turnip roots, remove the greens and wash the roots thoroughly. You can also freeze turnip greens for longer storage. Blanch the greens in boiling water for 2 minutes, then cool them in ice water. Drain the greens and pack them into freezer bags.
Can I eat both the turnip greens and the roots?
Yes, both the turnip greens and the roots are edible and nutritious. Turnip greens are a good source of vitamins A, C, and K, as well as calcium and fiber. Turnip roots are a good source of vitamin C, potassium, and fiber. You can eat turnip greens raw in salads or cooked in soups, stews, or stir-fries. You can eat turnip roots raw, roasted, mashed, or added to soups and stews.

Leave a Comment