

Paint brush organizer DIY projects are not just about tidying up your art space; they’re about unlocking your creative potential! Have you ever spent more time searching for the right brush than actually painting? I know I have! It’s frustrating, time-consuming, and can really kill your artistic flow.
Historically, artists have always sought ways to streamline their workflow. From Leonardo da Vinci’s meticulously organized studio to the simple brush holders used by ancient cave painters, the need for efficient tool management is timeless. While we might not be painting the Sistine Chapel, a well-organized workspace can make a world of difference in our own creative endeavors.
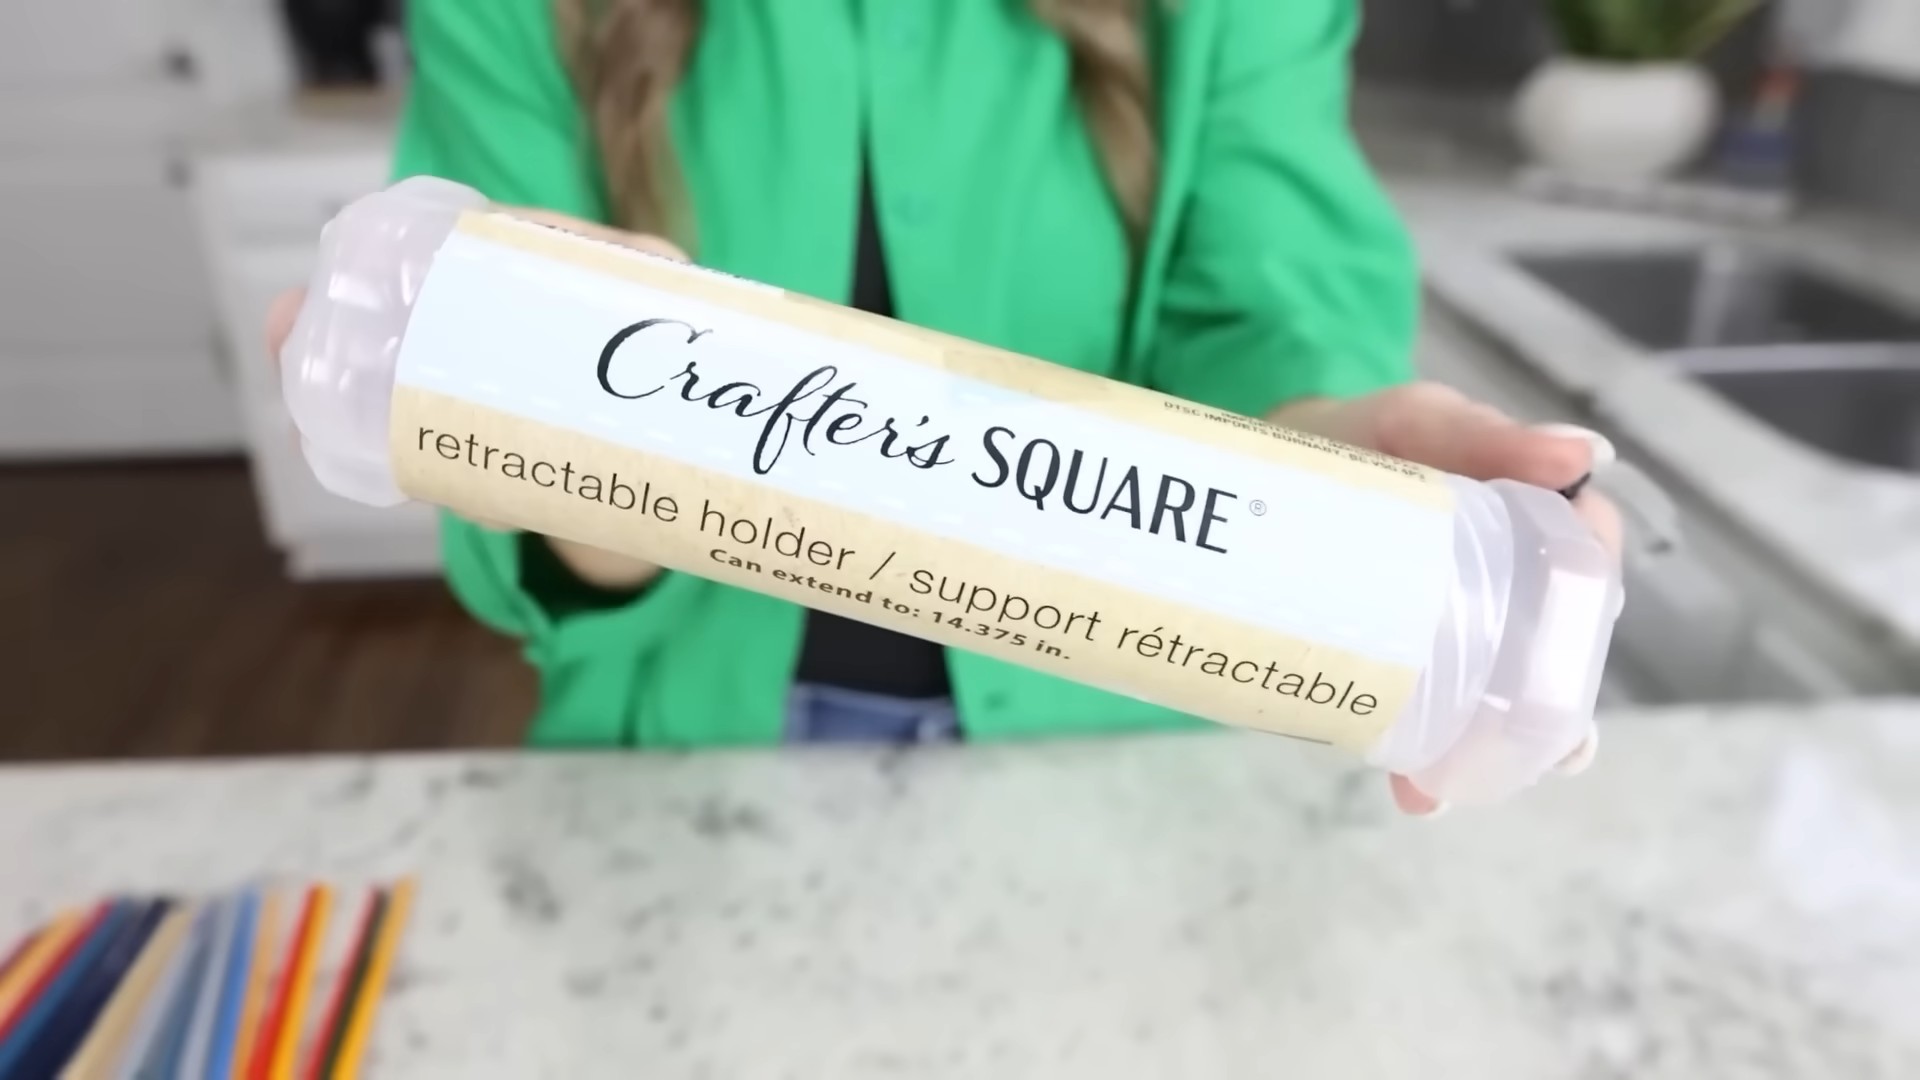
That’s where this paint brush organizer DIY guide comes in. I’m going to show you some super simple, budget-friendly ways to create your own custom brush storage solutions. Whether you’re a seasoned artist or just starting out, these hacks will help you keep your brushes in tip-top shape, easily accessible, and ready for your next masterpiece. Say goodbye to cluttered drawers and hello to a more organized and inspiring art space! Because let’s face it, a happy artist is a productive artist, and a productive artist needs a place for all their brushes!
Growing Eggplants in Pots: A Comprehensive DIY Guide
Hey there, fellow gardening enthusiasts! I’m so excited to share my tried-and-true method for growing beautiful, bountiful eggplants right in pots. Forget needing a huge garden; with this guide, you can enjoy fresh, homegrown eggplants even if you only have a balcony or patio. Let’s get started!
Choosing the Right Eggplant Variety
First things first, not all eggplants are created equal, especially when it comes to container gardening. You’ll want to pick a variety that’s naturally compact and well-suited for pots. Here are a few of my favorites:
* Patio Baby: As the name suggests, this variety is perfect for containers. It produces small, glossy, dark purple eggplants.
* Fairy Tale: These are adorable, striped eggplants that are both beautiful and delicious. They’re also relatively compact.
* Hansel and Gretel: Similar to Fairy Tale, these produce clusters of small, elongated, purple and white eggplants.
* Little Fingers: This variety yields slender, finger-like eggplants that are great for grilling or stir-fries.
Gathering Your Supplies
Before we dive into the planting process, let’s make sure you have everything you need. Here’s a checklist:
* Eggplant Seeds or Seedlings: You can start from seeds indoors or purchase seedlings from a local nursery. I usually prefer seedlings because it gives me a head start.
* Large Pots: Choose pots that are at least 14-16 inches in diameter and depth. Eggplants need plenty of room for their roots to grow. Make sure they have drainage holes!
* High-Quality Potting Mix: Don’t skimp on the potting mix! Use a well-draining mix that’s specifically formulated for containers. Avoid using garden soil, as it can become compacted in pots.
* Slow-Release Fertilizer: Eggplants are heavy feeders, so a slow-release fertilizer will provide them with a steady supply of nutrients.
* Watering Can or Hose: You’ll need a way to water your eggplants regularly.
* Stakes or Cages (Optional): Some eggplant varieties can get quite tall and may need support to prevent them from toppling over.
* Gardening Gloves: Protect your hands!
* Trowel or Small Shovel: For planting.
* Mulch (Optional): Mulch helps retain moisture and suppress weeds.
Planting Your Eggplants
Now for the fun part! Let’s get those eggplants planted.
1. Prepare the Pots: Fill your pots with the high-quality potting mix, leaving a few inches of space at the top.
2. Add Slow-Release Fertilizer: Sprinkle the slow-release fertilizer evenly over the surface of the potting mix, following the instructions on the package. Gently mix it in.
3. Plant the Seedlings: If you’re using seedlings, gently remove them from their containers. Loosen the roots slightly with your fingers. Dig a hole in the potting mix that’s large enough to accommodate the root ball. Place the seedling in the hole and backfill with potting mix. Make sure the top of the root ball is level with the surrounding soil. If you are starting from seeds, follow the instructions on the seed packet for sowing depth and spacing. I usually start my seeds indoors about 6-8 weeks before the last expected frost.
4. Water Thoroughly: Water the newly planted eggplants thoroughly until water drains out of the drainage holes. This helps settle the soil and encourages root growth.
5. Add Mulch (Optional): If you’re using mulch, spread a thin layer around the base of the plants, keeping it away from the stems.
Caring for Your Eggplants
Once your eggplants are planted, it’s important to provide them with the right care to ensure they thrive.
1. Sunlight: Eggplants need at least 6-8 hours of sunlight per day. Place your pots in a sunny location where they’ll receive plenty of direct sunlight.
2. Watering: Water your eggplants regularly, especially during hot, dry weather. The soil should be consistently moist but not waterlogged. Check the soil moisture by sticking your finger into the soil. If the top inch feels dry, it’s time to water. I usually water deeply, allowing the water to soak into the soil.
3. Fertilizing: In addition to the slow-release fertilizer you added at planting time, you may need to supplement with liquid fertilizer every few weeks. Use a balanced fertilizer or one that’s specifically formulated for vegetables. Follow the instructions on the fertilizer package. I like to use fish emulsion or seaweed extract as a natural fertilizer.
4. Staking or Caging: As your eggplants grow, they may need support to prevent them from toppling over. Insert stakes into the pots near the plants and tie the stems to the stakes with soft twine. Alternatively, you can use tomato cages to provide support.
5. Pruning: Pruning can help improve air circulation and encourage fruit production. Remove any yellowing or dead leaves. You can also pinch off suckers (small shoots that grow from the base of the plant) to encourage the plant to focus its energy on fruit production.
6. Pest and Disease Control: Keep an eye out for pests and diseases. Common eggplant pests include aphids, flea beetles, and spider mites. You can control these pests with insecticidal soap or neem oil. Common eggplant diseases include fungal diseases like powdery mildew and blossom-end rot. Prevent fungal diseases by providing good air circulation and avoiding overhead watering. Blossom-end rot is caused by a calcium deficiency, so make sure your soil is rich in calcium. You can also add calcium to the soil by adding crushed eggshells or bone meal. I always inspect my plants regularly for any signs of trouble.
7. Pollination: Eggplants are self-pollinating, but they may need some help, especially if you’re growing them indoors or in a sheltered location. You can hand-pollinate your eggplants by gently shaking the flowers or using a small paintbrush to transfer pollen from one flower to another.
Harvesting Your Eggplants
The moment we’ve all been waiting for! Harvesting your eggplants is the most rewarding part of the process.
1. Timing: Eggplants are typically ready to harvest about 60-80 days after transplanting. The exact timing will depend on the variety and growing conditions. Look for eggplants that are firm, glossy, and have a deep, rich color. The skin should be smooth and unblemished.
2. Technique: Use a sharp knife or pruning shears to cut the eggplants from the plant. Leave a small piece of the stem attached to the eggplant.
3. Storage: Store your harvested eggplants in the refrigerator for up to a week.
Troubleshooting Common Problems
Even with the best care, you may encounter some problems while growing eggplants in pots. Here are a few common issues and how to address them:
* Yellowing Leaves: Yellowing leaves can be caused by a variety of factors, including overwatering, underwatering, nutrient deficiencies, or pests. Check the soil moisture and adjust your watering accordingly. Fertilize your eggplants with a balanced fertilizer. Inspect the plants for pests and treat them as needed.
* Blossom Drop: Blossom drop is when the flowers fall off the plant without producing fruit. This can be caused by temperature stress, poor pollination, or nutrient deficiencies. Make sure your eggplants are getting enough sunlight and water. Hand-pollinate the flowers if necessary. Fertilize your eggplants with a balanced fertilizer.
* Small or Misshapen Fruit: Small or misshapen fruit can be caused by poor pollination, nutrient deficiencies, or pests. Hand-pollinate the flowers if necessary. Fertilize your eggplants with a balanced fertilizer. Inspect the plants for pests and treat them as needed.
* Pests: As mentioned earlier, common eggplant pests include aphids, flea beetles, and spider mites. Control these pests with insecticidal soap or neem oil.
* Diseases: Common eggplant diseases include fungal diseases like powdery mildew and blossom-end rot. Prevent fungal diseases by providing good air circulation and avoiding overhead watering. Blossom-end rot is caused by a calcium deficiency, so make sure your soil is rich in calcium.
Tips for Success
Here are a few extra tips to help you succeed in growing eggplants in pots:
* Choose the Right Pot Size: As I mentioned earlier, eggplants need plenty of room for their roots to grow. Choose pots that are at least 14-16 inches in diameter and depth.
* Use High-Quality Potting Mix: Don’t skimp on the potting mix! Use a well-draining mix that’s specifically formulated for containers.
* Provide Plenty of Sunlight: Eggplants need at least 6-8 hours of sunlight per day.
* Water Regularly:
Conclusion
So, there you have it! Creating your own paint brush organizer DIY solution is not just a fun project; it’s a game-changer for any artist, hobbyist, or DIY enthusiast. Forget rummaging through drawers, battling tangled bristles, and accidentally ruining your favorite brushes. This simple, customizable organizer will transform your workspace into a haven of efficiency and inspiration.
Why is this a must-try? Because it’s practical, cost-effective, and tailored to your specific needs. Store-bought organizers often fall short – they might not be the right size, lack the necessary compartments, or simply not fit your aesthetic. With this DIY approach, you’re in complete control. You can design an organizer that perfectly accommodates your brush collection, your available space, and your personal style.
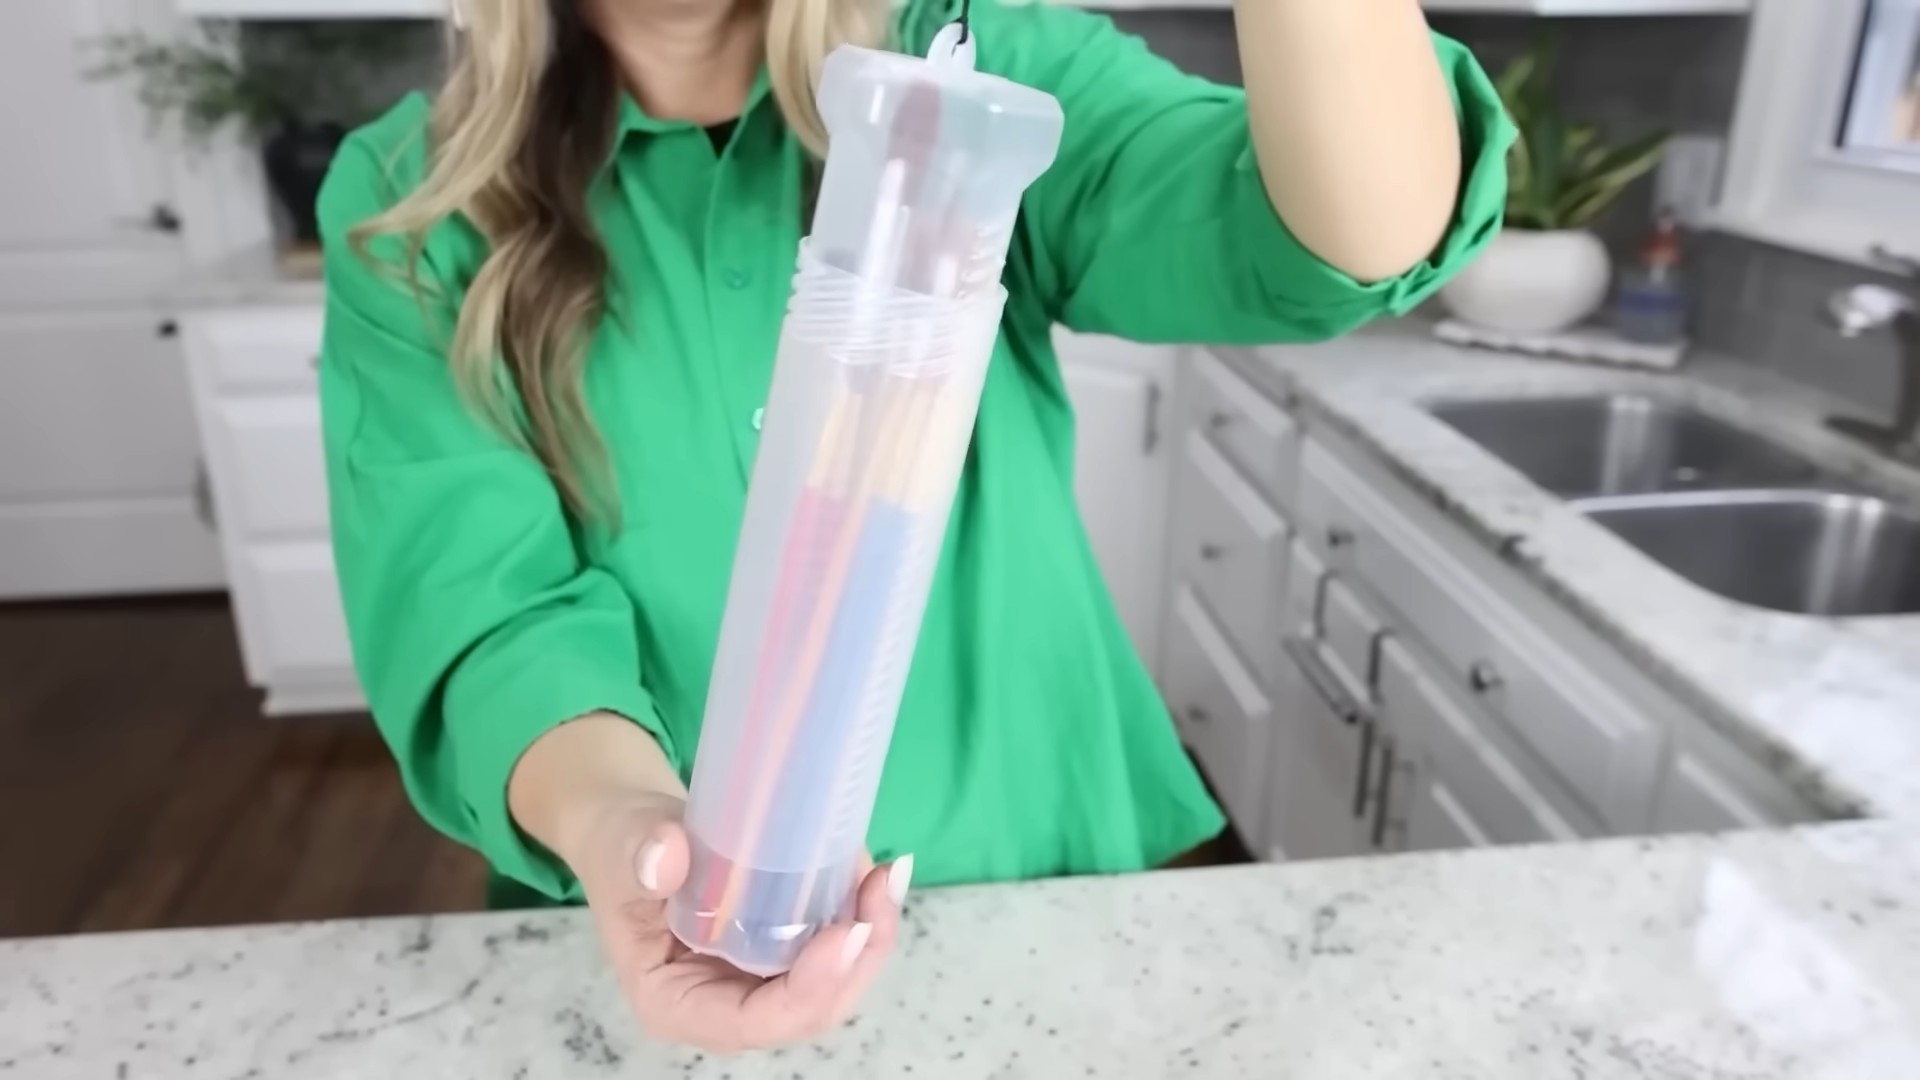
But the benefits extend beyond mere organization. By properly storing your brushes, you’re extending their lifespan. Keeping them upright and separated prevents bristles from bending, fraying, or becoming misshapen. This means you’ll spend less money replacing brushes and more time creating beautiful art.
Looking for variations? Absolutely! If you’re short on space, consider a wall-mounted organizer. A repurposed spice rack or even a series of individual hooks can work wonders. For a more rustic look, use reclaimed wood or upcycled materials. Get creative with the finishing touches – paint it to match your décor, add stencils, or even decoupage it with your favorite images. If you have a large collection, consider building a tiered organizer with multiple levels for different brush sizes. You can also incorporate small drawers or compartments for storing other art supplies like pencils, erasers, and blending stumps.
Don’t be afraid to experiment with different materials. While wood is a popular choice, you could also use cardboard tubes, plastic containers, or even fabric. The key is to find materials that are sturdy, easy to work with, and readily available.
This paint brush organizer DIY project is more than just a storage solution; it’s an opportunity to express your creativity and personalize your workspace. It’s a chance to declutter, streamline your workflow, and ultimately, enhance your artistic experience.
We wholeheartedly encourage you to give this DIY trick a try. It’s a rewarding project that will make a tangible difference in your creative life. And once you’ve created your masterpiece, we’d love to see it! Share your photos and experiences with us in the comments below. Let us know what materials you used, what variations you tried, and how this organizer has transformed your workspace. Your insights and inspiration could help other artists and DIYers create their own perfect brush storage solutions. Happy crafting!
Frequently Asked Questions (FAQ)
What tools do I need for this paint brush organizer DIY project?
The tools you’ll need will depend on the materials you choose and the complexity of your design. However, some common tools include:
* A saw (hand saw or power saw) for cutting wood or other materials
* A drill with various drill bits for creating holes for brush handles
* A measuring tape or ruler for accurate measurements
* A pencil for marking cut lines and drill points
* Sandpaper for smoothing rough edges
* Wood glue or other adhesive for assembling the organizer
* Clamps for holding pieces together while the glue dries
* Paint, stain, or other finishing materials for decorating the organizer
* Safety glasses and gloves for protecting yourself during the project
What kind of wood is best for a paint brush organizer?
The best type of wood depends on your budget, aesthetic preferences, and skill level. Pine is a popular choice because it’s affordable, easy to work with, and readily available. However, it’s relatively soft and may not be as durable as other options. Hardwoods like oak, maple, or cherry are more durable and have a more refined appearance, but they’re also more expensive and can be more challenging to work with. Plywood is another option that’s strong and stable, but it may require more sanding and finishing to achieve a smooth surface. Reclaimed wood is a great eco-friendly option that adds character and charm to your organizer.
How do I determine the right size holes for my paint brushes?
The best way to determine the right size holes is to measure the diameter of the handles of your paint brushes. Use a caliper or ruler to get an accurate measurement. Then, choose drill bits that are slightly larger than the handle diameter to allow for easy insertion and removal of the brushes. It’s always better to err on the side of slightly larger holes than too small, as you can always add shims or padding to tighten the fit if necessary.
Can I use recycled materials for this project?
Absolutely! Using recycled materials is a great way to reduce waste and create a unique and sustainable paint brush organizer. Some ideas for recycled materials include:
* Cardboard tubes from paper towels or toilet paper rolls
* Plastic containers from food packaging
* Tin cans
* Old wooden boxes or crates
* Scrap wood from other projects
* Fabric scraps
Get creative and see what you can repurpose to create your organizer.
How do I prevent my paint brushes from falling out of the organizer?
If your paint brushes are falling out of the organizer, there are a few things you can try:
* Use smaller drill bits to create tighter-fitting holes.
* Add shims or padding to the holes to tighten the fit. You can use small pieces of felt, foam, or even cardboard.
* Angle the holes slightly upward to prevent the brushes from sliding out.
* Use a rubber band or hair tie to secure the brushes in place.
* Create a lip or edge on the organizer to prevent the brushes from falling off.
How do I clean my paint brush organizer?
The best way to clean your paint brush organizer depends on the materials it’s made from. For wood organizers, you can wipe them down with a damp cloth and mild soap. Avoid using harsh chemicals or abrasive cleaners, as they can damage the finish. For plastic or metal organizers, you can wash them with soap and water or even put them in the dishwasher. For fabric organizers, you can spot clean them with a damp cloth or hand wash them in mild detergent.
How long will this paint brush organizer DIY project take?
The time it takes to complete this project will depend on your skill level, the complexity of your design, and the materials you use. A simple organizer made from cardboard tubes or plastic containers could take as little as an hour to complete. A more elaborate organizer made from wood could take several hours or even a few days, depending on the amount of cutting, sanding, and finishing required.
Is this project suitable for beginners?
Yes, this project is suitable for beginners, especially if you choose a simple design and use easy-to-work-with materials. Start with a basic organizer made from cardboard tubes or plastic containers to get a feel for the process. As you gain confidence, you can try more complex designs and materials. There are plenty of tutorials and resources available online to guide you through the process.
How can I customize my paint brush organizer to fit my specific needs?
The beauty of this DIY project is that you can customize it to fit your specific needs and preferences. Consider the following:
* The size and number of brushes you need to store.
* The amount of space you have available.
* Your aesthetic preferences.
* Any other art supplies you want to store in the organizer.
Use these factors to guide your design and material choices. Don’t be afraid to experiment and get creative!
What if I don’t have access to power tools?
No problem! You can still create a fantastic paint brush organizer DIY project without power tools. A hand saw, sandpaper, and wood glue can accomplish a lot. Look for pre-cut wood pieces at craft stores or lumber yards to minimize the need for cutting. Cardboard and other easily manipulated materials are also excellent choices when power tools are unavailable. The key is to adapt your design to the tools you have on hand.

Leave a Comment