

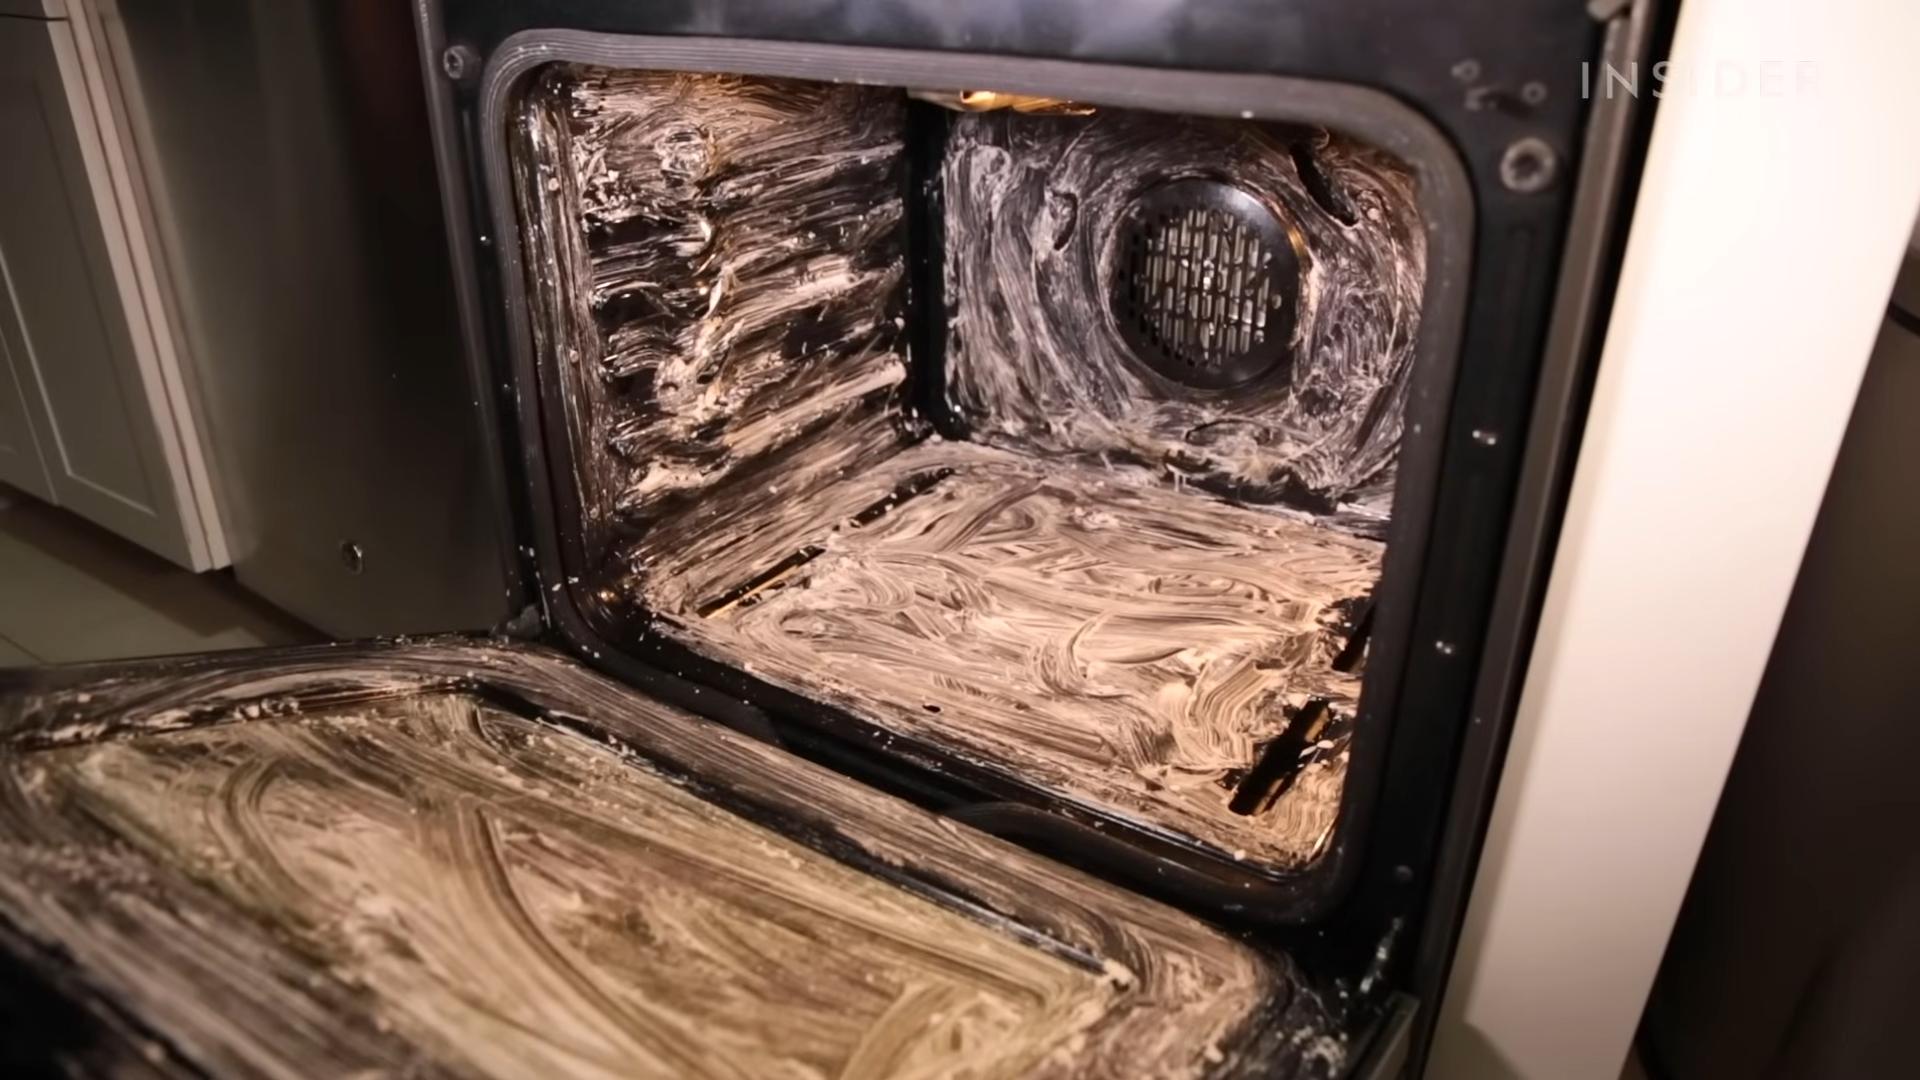
Natural Oven Cleaner DIY: Is your oven looking less like a culinary haven and more like a burnt offering? Don’t despair! We’ve all been there, staring into the abyss of baked-on grease and wondering how we let it get so bad. But before you reach for those harsh chemical cleaners that fill your kitchen with fumes and leave you feeling uneasy, let’s talk about a better way.
For generations, resourceful homemakers have relied on simple, natural ingredients to tackle tough cleaning jobs. Think about it – before the advent of mass-produced cleaning products, people used what they had on hand: vinegar, baking soda, and a little elbow grease. These time-tested methods are not only effective but also kinder to our health and the environment.
That’s why I’m so excited to share this natural oven cleaner DIY recipe with you. Not only will it save you money, but it will also give you peace of mind knowing that you’re not exposing yourself or your family to harmful chemicals. Plus, it’s incredibly satisfying to create something effective with ingredients you probably already have in your pantry. Ready to ditch the harsh chemicals and embrace a cleaner, healthier kitchen? Let’s get started!
DIY Natural Oven Cleaner: Say Goodbye to Harsh Chemicals!
Okay, let’s face it, cleaning the oven is probably nobody’s favorite chore. But it’s a necessary evil, especially if you, like me, love to cook and bake! The good news is, you don’t need those harsh, chemical-laden oven cleaners to get a sparkling clean oven. I’m going to show you how to make a super effective, all-natural oven cleaner using ingredients you probably already have in your pantry. Trust me, it’s easier than you think, and you’ll feel so much better knowing you’re not breathing in toxic fumes.
What You’ll Need: The Natural Cleaning Arsenal
Before we dive in, let’s gather our supplies. This is a pretty simple recipe, so you won’t need anything too fancy.
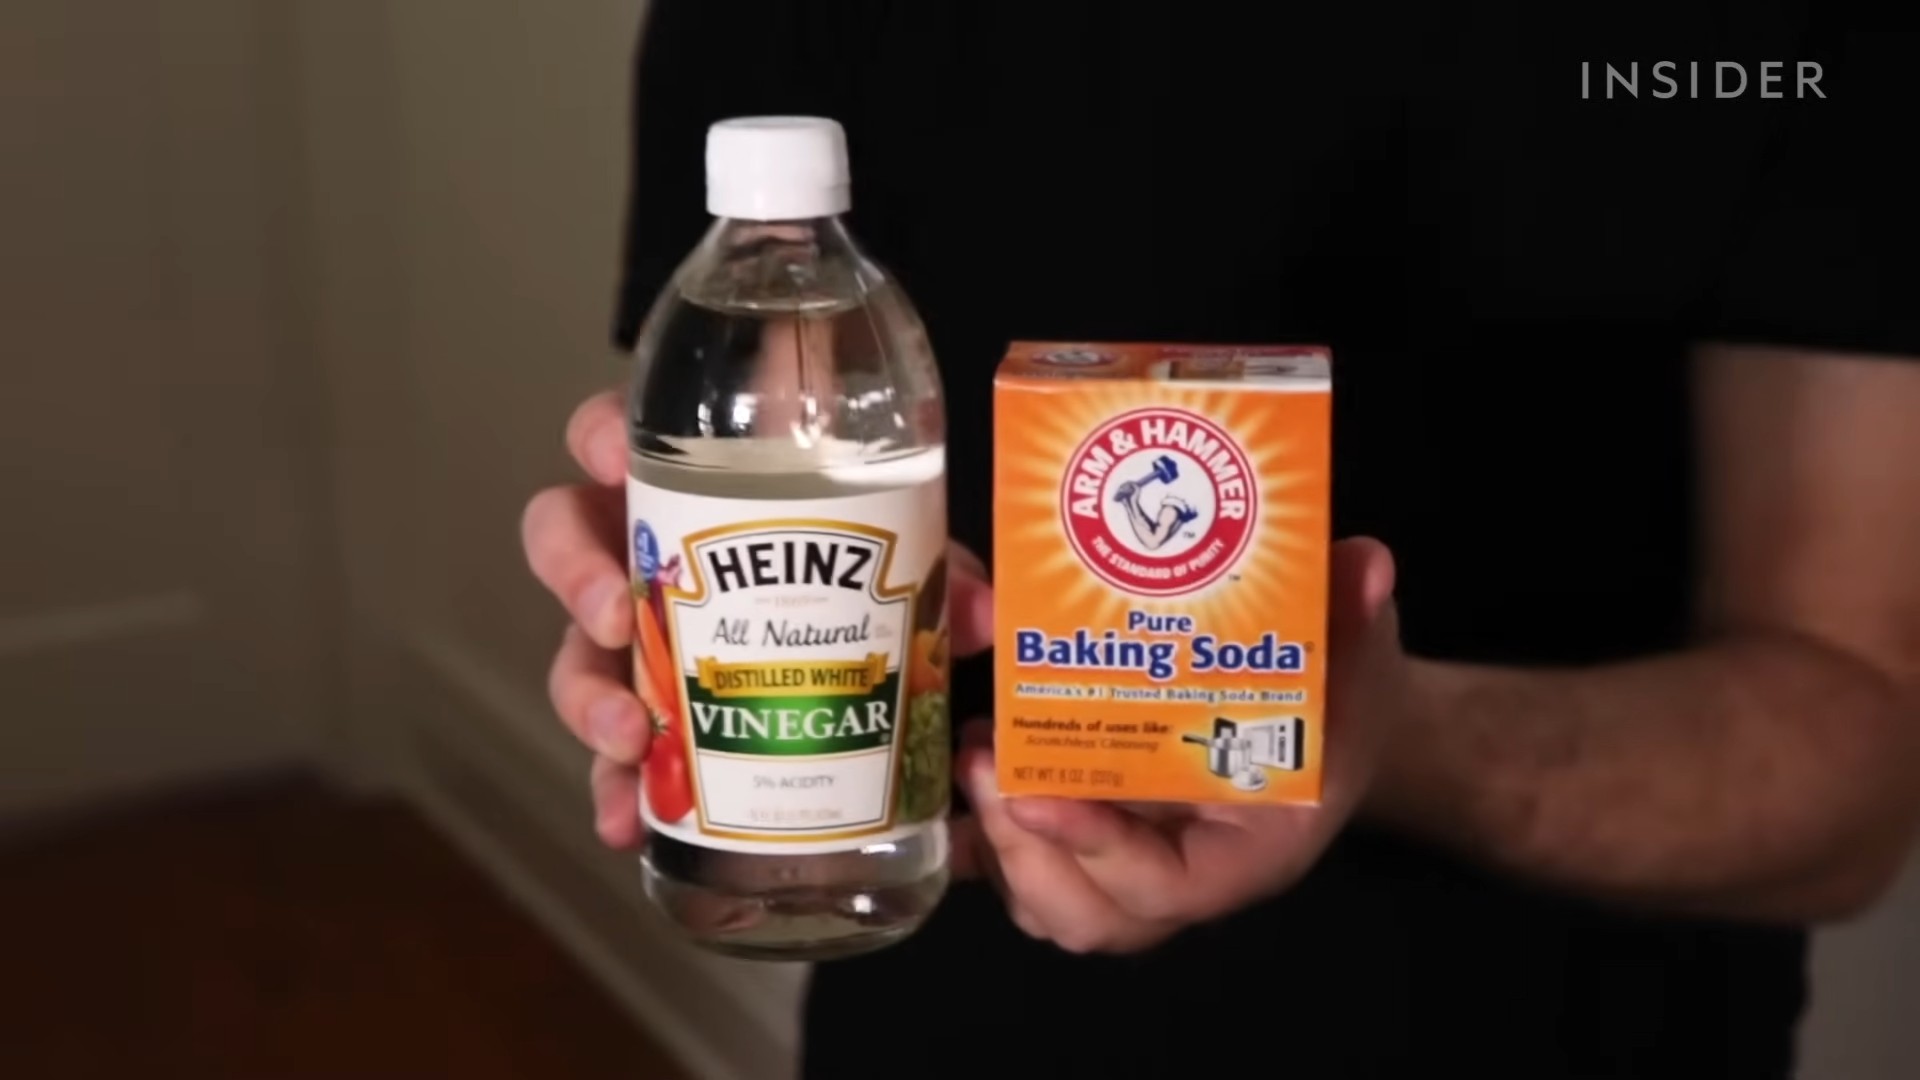
* Baking Soda: This is the star of the show! Baking soda is a mild alkali that helps to dissolve grease and grime.
* Water: Plain old water is essential for creating a paste and activating the baking soda.
* White Vinegar: The magic ingredient that reacts with the baking soda to create a powerful cleaning fizz.
* Spray Bottle: For applying the vinegar.
* Rubber Gloves: Protect your hands from the baking soda paste, which can be a bit drying.
* Sponge or Scrub Brush: For scrubbing away the loosened grime. I prefer a non-scratch scrub brush to avoid damaging the oven’s interior.
* Plastic Scraper or Spatula: To help remove stubborn baked-on messes.
* Old Towels or Rags: For wiping down the oven.
* Small Bowl: For mixing the baking soda paste.
* Optional: Essential Oils (Lemon, Orange, or Tea Tree): A few drops can add a pleasant scent and boost the cleaning power.
Step-by-Step Instructions: The Oven Cleaning Process
Alright, let’s get down to business! Follow these steps, and you’ll have a clean oven in no time.
1. Prepare the Oven: First things first, remove the oven racks. You can soak them in hot, soapy water while you’re cleaning the oven itself. This will make them much easier to scrub later. Also, remove any large pieces of food debris from the bottom of the oven.
2. Make the Baking Soda Paste: In your small bowl, mix together about ½ cup of baking soda with enough water to form a thick, spreadable paste. You want it to be similar to the consistency of frosting. If you’re using essential oils, add a few drops now and mix well. I usually go for about 5-10 drops.
3. Apply the Paste: Put on your rubber gloves. Now, using your hands or a spatula, spread the baking soda paste all over the interior surfaces of your oven. This includes the walls, the bottom, the top, and the door. Avoid the heating elements! You want a nice, even layer. Don’t be shy – really coat those greasy areas.
4. Let it Sit (and Work its Magic!): This is the most important part! Let the baking soda paste sit for at least 12 hours, or even better, overnight. The longer it sits, the more time it has to break down the grease and grime. I usually apply the paste before I go to bed and then clean the oven the next morning.
5. The Vinegar Reaction: After the paste has sat overnight, fill your spray bottle with white vinegar. Now, spray the vinegar all over the baking soda paste. You’ll see it start to fizz and bubble – that’s the chemical reaction happening, and it’s a good thing! The vinegar is reacting with the baking soda to loosen the grime even further.
6. Scrub-a-dub-dub: Grab your sponge or scrub brush and start scrubbing! The baking soda paste should now be much easier to remove, along with all the loosened grease and grime. Use your plastic scraper or spatula to help remove any stubborn baked-on messes. You might need to put in a little elbow grease, but it should come off relatively easily.
7. Wipe it Clean: Use your old towels or rags to wipe away the baking soda paste and grime. You’ll probably need to rinse your rags frequently with clean water. Keep wiping until all the baking soda residue is gone and the oven interior is clean.
8. Clean the Oven Door: Don’t forget the oven door! You can use the same baking soda paste and vinegar method to clean the door. If your oven door has a lot of baked-on grease, you might need to let the paste sit for a longer period of time.
9. Rinse and Dry: Once you’ve wiped down the entire oven, give it a final rinse with a clean, damp cloth. Then, dry it thoroughly with a clean towel.
10. Clean the Oven Racks: Remember those oven racks you soaked in hot, soapy water? Now’s the time to scrub them clean. Use a scrub brush or sponge to remove any remaining grease and grime. Rinse them thoroughly and dry them before putting them back in the oven.
11. Reassemble and Enjoy: Finally, put the oven racks back in the oven. Now, step back and admire your sparkling clean oven!
Dealing with Stubborn Stains: Tips and Tricks
Sometimes, you might encounter some really stubborn stains that just won’t budge. Here are a few tips and tricks to help you tackle those tough spots:
* Extra Baking Soda Paste: For particularly stubborn stains, apply a thicker layer of baking soda paste and let it sit for even longer – up to 24 hours.
* Lemon Juice Power: Lemon juice is a natural degreaser and can help to break down tough stains. Try squeezing some lemon juice onto the stain and letting it sit for a few minutes before scrubbing.
* Salt Scrub: For really tough baked-on messes, try making a paste of salt and water. The salt acts as a mild abrasive to help scrub away the grime.
* Patience is Key: Sometimes, you just need to be patient and keep scrubbing. Don’t give up! With a little persistence, you’ll eventually get those stubborn stains out.
Preventative Measures: Keeping Your Oven Clean
The best way to keep your oven clean is to prevent it from getting too dirty in the first place. Here are a few preventative measures you can take:
* Line the Bottom of the Oven: Place a baking sheet or oven liner on the bottom of the oven to catch any drips or spills. This will make cleanup much easier.
* Clean Up Spills Immediately: If something spills in the oven, clean it up as soon as possible. The longer it sits, the harder it will be to remove.
* Regular Cleaning: Clean your oven regularly, even if it doesn’t look that dirty. A quick wipe-down every few weeks can prevent grime from building up.
* Use Oven Bags: When roasting meats or poultry, use oven bags to contain the splatters and keep your oven cleaner.
Why This Method Works: The Science Behind the Clean
You might be wondering why this simple baking soda and vinegar method works so well. Here’s a little bit of science to explain it:
* Baking Soda (Sodium Bicarbonate): Baking soda is a mild alkali, which means it can neutralize acids and dissolve grease and grime.
* Vinegar (Acetic Acid): Vinegar is a mild acid that reacts with the baking soda to create carbon dioxide gas. This fizzing action helps to loosen the grime and lift it away from the oven surfaces.
* The Combination: The combination of baking soda and vinegar creates a powerful cleaning action that is both effective and safe.
Safety First: Important Precautions
While this natural oven cleaner is much safer than chemical cleaners, it’s still important to take a few precautions:
* Wear Rubber Gloves: The baking soda paste can be drying to your skin, so wear rubber gloves to protect your hands.
* Avoid Contact with Eyes: Avoid getting the baking soda paste or vinegar in your eyes. If you do, rinse them thoroughly with water.
* Ventilation: While the fumes from baking soda and vinegar are not toxic, it’s still a good idea to open a window or turn on the exhaust fan for ventilation.
* Test on a Small Area: Before applying the baking soda paste to the entire oven, test it on a small, inconspicuous area to make sure it doesn’t damage the finish.
Final Thoughts: A Cleaner Oven, Naturally!
So there you have it! A simple, effective, and all-natural way to clean your oven. I hope you found this guide helpful. Remember, a little elbow grease and some patience are all you need to achieve a sparkling clean oven without resorting to harsh chemicals. Happy cleaning!
Conclusion
So, there you have it! Ditching the harsh chemicals and embracing this natural oven cleaner DIY method is more than just a trend; it’s a game-changer for your kitchen and your well-being. We’ve walked you through a simple, effective process that utilizes ingredients you likely already have in your pantry. Think about it: no more holding your breath while spraying toxic fumes, no more worrying about lingering chemical residue affecting your food. Instead, you get a sparkling clean oven, a healthier home environment, and the satisfaction of knowing you’ve made a conscious choice for a more sustainable lifestyle.
But the benefits don’t stop there. This DIY cleaner is incredibly versatile. Feeling adventurous? Add a few drops of your favorite essential oil, like lemon or tea tree, for an extra boost of freshness and antibacterial power. For particularly stubborn baked-on messes, let the baking soda paste sit overnight. You can also experiment with different ratios of baking soda and water to find the consistency that works best for your oven. Some people even add a splash of white vinegar to the paste for an extra fizzing action that helps loosen grime.
The beauty of this natural oven cleaner DIY lies in its simplicity and adaptability. It’s a blank canvas for you to customize and perfect to suit your specific needs and preferences. It’s also incredibly cost-effective. Compare the price of baking soda and vinegar to the cost of commercial oven cleaners, and you’ll quickly see the savings add up.
We understand that switching to a DIY cleaning routine can feel daunting at first. You might be skeptical about its effectiveness, or worried that it will take too much time and effort. But we urge you to give it a try. The results speak for themselves. Not only will you be amazed at how well this natural cleaner works, but you’ll also feel good about reducing your exposure to harmful chemicals and minimizing your environmental impact.
Don’t just take our word for it, though. We encourage you to try this natural oven cleaner DIY method for yourself and see the difference it makes. Once you’ve experienced the satisfaction of a sparkling clean oven without the harsh chemicals, we’re confident you’ll never go back to store-bought cleaners.
We’re eager to hear about your experiences! Share your tips, tricks, and variations in the comments below. Let us know what worked best for you, and if you encountered any challenges along the way. Together, we can build a community of eco-conscious cleaners who are committed to creating healthier homes and a more sustainable future. So, grab your baking soda, water, and a little elbow grease, and get ready to transform your oven into a sparkling clean masterpiece! We can’t wait to see your before-and-after photos!
Frequently Asked Questions (FAQs)
Is this natural oven cleaner DIY method really as effective as commercial oven cleaners?
Yes, absolutely! While it might require a little more elbow grease than some commercial cleaners, this DIY method is surprisingly effective at removing baked-on grease and grime. The key is to allow the baking soda paste to sit for an extended period, ideally overnight, to allow it to penetrate and loosen the stubborn messes. The combination of baking soda’s mild abrasive properties and its ability to neutralize acids makes it a powerful cleaning agent. Plus, you avoid the harsh chemicals found in many commercial oven cleaners, making it a safer and healthier option for you and your family. For particularly tough stains, you might need to repeat the process or use a scrubbing pad for extra cleaning power.
What if I have a self-cleaning oven? Can I still use this natural oven cleaner DIY method?
While self-cleaning ovens are convenient, the high heat they generate can release harmful fumes. Using this natural oven cleaner DIY method is a great alternative to avoid those fumes. However, it’s important to note that some self-cleaning ovens have specific instructions regarding cleaning products. Always consult your oven’s manual before using any cleaning product, even a natural one. In most cases, you can safely use this baking soda paste on the interior surfaces of your self-cleaning oven, but avoid applying it to the heating elements or any areas specifically prohibited by the manufacturer. After cleaning, be sure to thoroughly wipe away any remaining baking soda residue before using the self-cleaning function.
How long should I leave the baking soda paste on the oven surfaces?
For best results, we recommend leaving the baking soda paste on the oven surfaces for at least 12 hours, or overnight. This allows the baking soda to fully penetrate and loosen the baked-on grease and grime. If you’re short on time, you can try leaving it on for a minimum of 2-3 hours, but the longer you let it sit, the easier it will be to scrub away the mess. For particularly stubborn stains, you might even consider leaving the paste on for 24 hours. Just be sure to keep the oven door closed to prevent the paste from drying out too much.
Can I use this natural oven cleaner DIY method on other appliances, like my microwave or stovetop?
Yes, this baking soda paste is a versatile cleaner that can be used on a variety of appliances. For your microwave, simply apply the paste to the interior surfaces, let it sit for a few minutes, and then wipe it clean with a damp cloth. For your stovetop, you can use the paste to clean the burners and surrounding surfaces. However, be careful not to get the paste into any electrical components. Always unplug the appliance before cleaning and allow it to dry completely before plugging it back in. For stainless steel appliances, be sure to test the paste in an inconspicuous area first to ensure it doesn’t scratch the surface.
What if I don’t have baking soda? Can I use something else?
While baking soda is the key ingredient in this natural oven cleaner DIY method, you can try using a mixture of salt and water as a substitute. Salt has mild abrasive properties that can help to loosen grime. However, it’s not as effective as baking soda, so you might need to scrub a little harder. Another option is to use a mixture of vinegar and water. Vinegar is a natural acid that can help to dissolve grease and grime. However, it’s important to dilute the vinegar with water to prevent it from damaging the oven surfaces. Always test any cleaning solution in an inconspicuous area first to ensure it doesn’t cause any discoloration or damage.
How do I get rid of the baking soda smell after cleaning my oven?
While baking soda is generally odorless, some people may find that it leaves a slight alkaline smell after cleaning. To get rid of the smell, simply wipe down the oven surfaces with a damp cloth and then dry them thoroughly. You can also place a bowl of vinegar or lemon juice in the oven for a few hours to absorb any lingering odors. Another option is to sprinkle a small amount of baking soda on the oven floor and let it sit overnight. The baking soda will absorb any remaining odors. In the morning, simply vacuum up the baking soda.
Is this natural oven cleaner DIY method safe for my family and pets?
Yes, this method is significantly safer than using commercial oven cleaners, which often contain harsh chemicals that can be harmful to your family and pets. Baking soda and water are both non-toxic and generally safe to use around children and animals. However, it’s always a good idea to keep them away from the oven while you’re cleaning it and to ensure that all baking soda residue is thoroughly wiped away before using the oven again. If you have any concerns about allergies or sensitivities, it’s always best to consult with your doctor or veterinarian before using any new cleaning product, even a natural one.


Leave a Comment