

Malabar Spinach Harvesting Tips: Unlock the secrets to a bountiful harvest and enjoy fresh, homegrown greens right from your backyard! Have you ever dreamt of stepping outside and snipping off vibrant, leafy greens for your dinner, knowing they’re packed with nutrients and bursting with flavor? Well, with a little know-how, that dream can become a delicious reality, especially when it comes to Malabar spinach.
Malabar spinach, also known as Basella alba, isn’t actually spinach at all! It’s a heat-loving vine that thrives in warm climates, making it a fantastic alternative to traditional spinach in the summer months. Originating from tropical Asia and Africa, it has been cultivated for centuries for its edible leaves and stems. In some cultures, it’s even considered a symbol of prosperity and good health.
But why should you care about Malabar Spinach Harvesting Tips? Because knowing when and how to harvest properly is the key to maximizing your yield and ensuring a continuous supply of this delicious green. Improper harvesting can stress the plant, reduce future growth, and even affect the flavor. I’m here to guide you through the simple steps to successful harvesting, so you can enjoy a continuous supply of fresh, homegrown Malabar spinach all season long. Let’s get started and turn your garden into a leafy green paradise!
DIY: Harvesting Malabar Spinach for a Bountiful Yield
Okay, so you’ve got some Malabar spinach growing, and you’re probably wondering when and how to harvest it for the best flavor and continued growth. Don’t worry, I’ve got you covered! Harvesting Malabar spinach is actually pretty straightforward, and with a few simple tips, you can enjoy a continuous supply of this delicious and nutritious leafy green. Let’s dive in!
Understanding Malabar Spinach Growth
Before we get into the nitty-gritty of harvesting, it’s helpful to understand how Malabar spinach grows. Unlike true spinach, which is a cool-season crop, Malabar spinach thrives in warm weather. It’s a vining plant, meaning it will climb and spread if given the opportunity. This also means that you’ll be harvesting leaves and stems, not just individual leaves like you would with traditional spinach.
The plant produces thick, succulent leaves that are slightly mucilaginous (a fancy word for slightly slimy) when cooked. This texture is part of its charm and makes it a great addition to soups, stews, and stir-fries.
When to Harvest Malabar Spinach
Knowing when to harvest is key to getting the best flavor and encouraging continued growth. Here’s what to look for:
* **Leaf Size:** You can start harvesting when the leaves are about 4-6 inches long. At this size, they’re tender and have the best flavor. Don’t wait until they get huge and tough!
* **Plant Maturity:** Generally, you can begin harvesting about 45-60 days after planting.
* **Regular Harvesting:** The more you harvest, the more the plant will produce! Regular harvesting encourages branching and new growth.
* **Avoid Over-Harvesting:** Don’t take more than one-third of the plant’s leaves at any one time. This will stress the plant and slow down its growth.
* **Time of Day:** Harvest in the morning, after the dew has dried, but before the heat of the day. This is when the leaves are at their freshest.
Tools You’ll Need
You don’t need a lot of fancy equipment for harvesting Malabar spinach. Here’s what I recommend:
* **Sharp Scissors or Pruning Shears:** A sharp cutting tool will make clean cuts and prevent damage to the plant.
* **Basket or Bag:** To collect your harvest.
* **Gloves (Optional):** Some people find that the sap from Malabar spinach can irritate their skin, so gloves are a good idea if you have sensitive skin.
Step-by-Step Harvesting Guide
Alright, let’s get to the fun part! Here’s how to harvest your Malabar spinach:
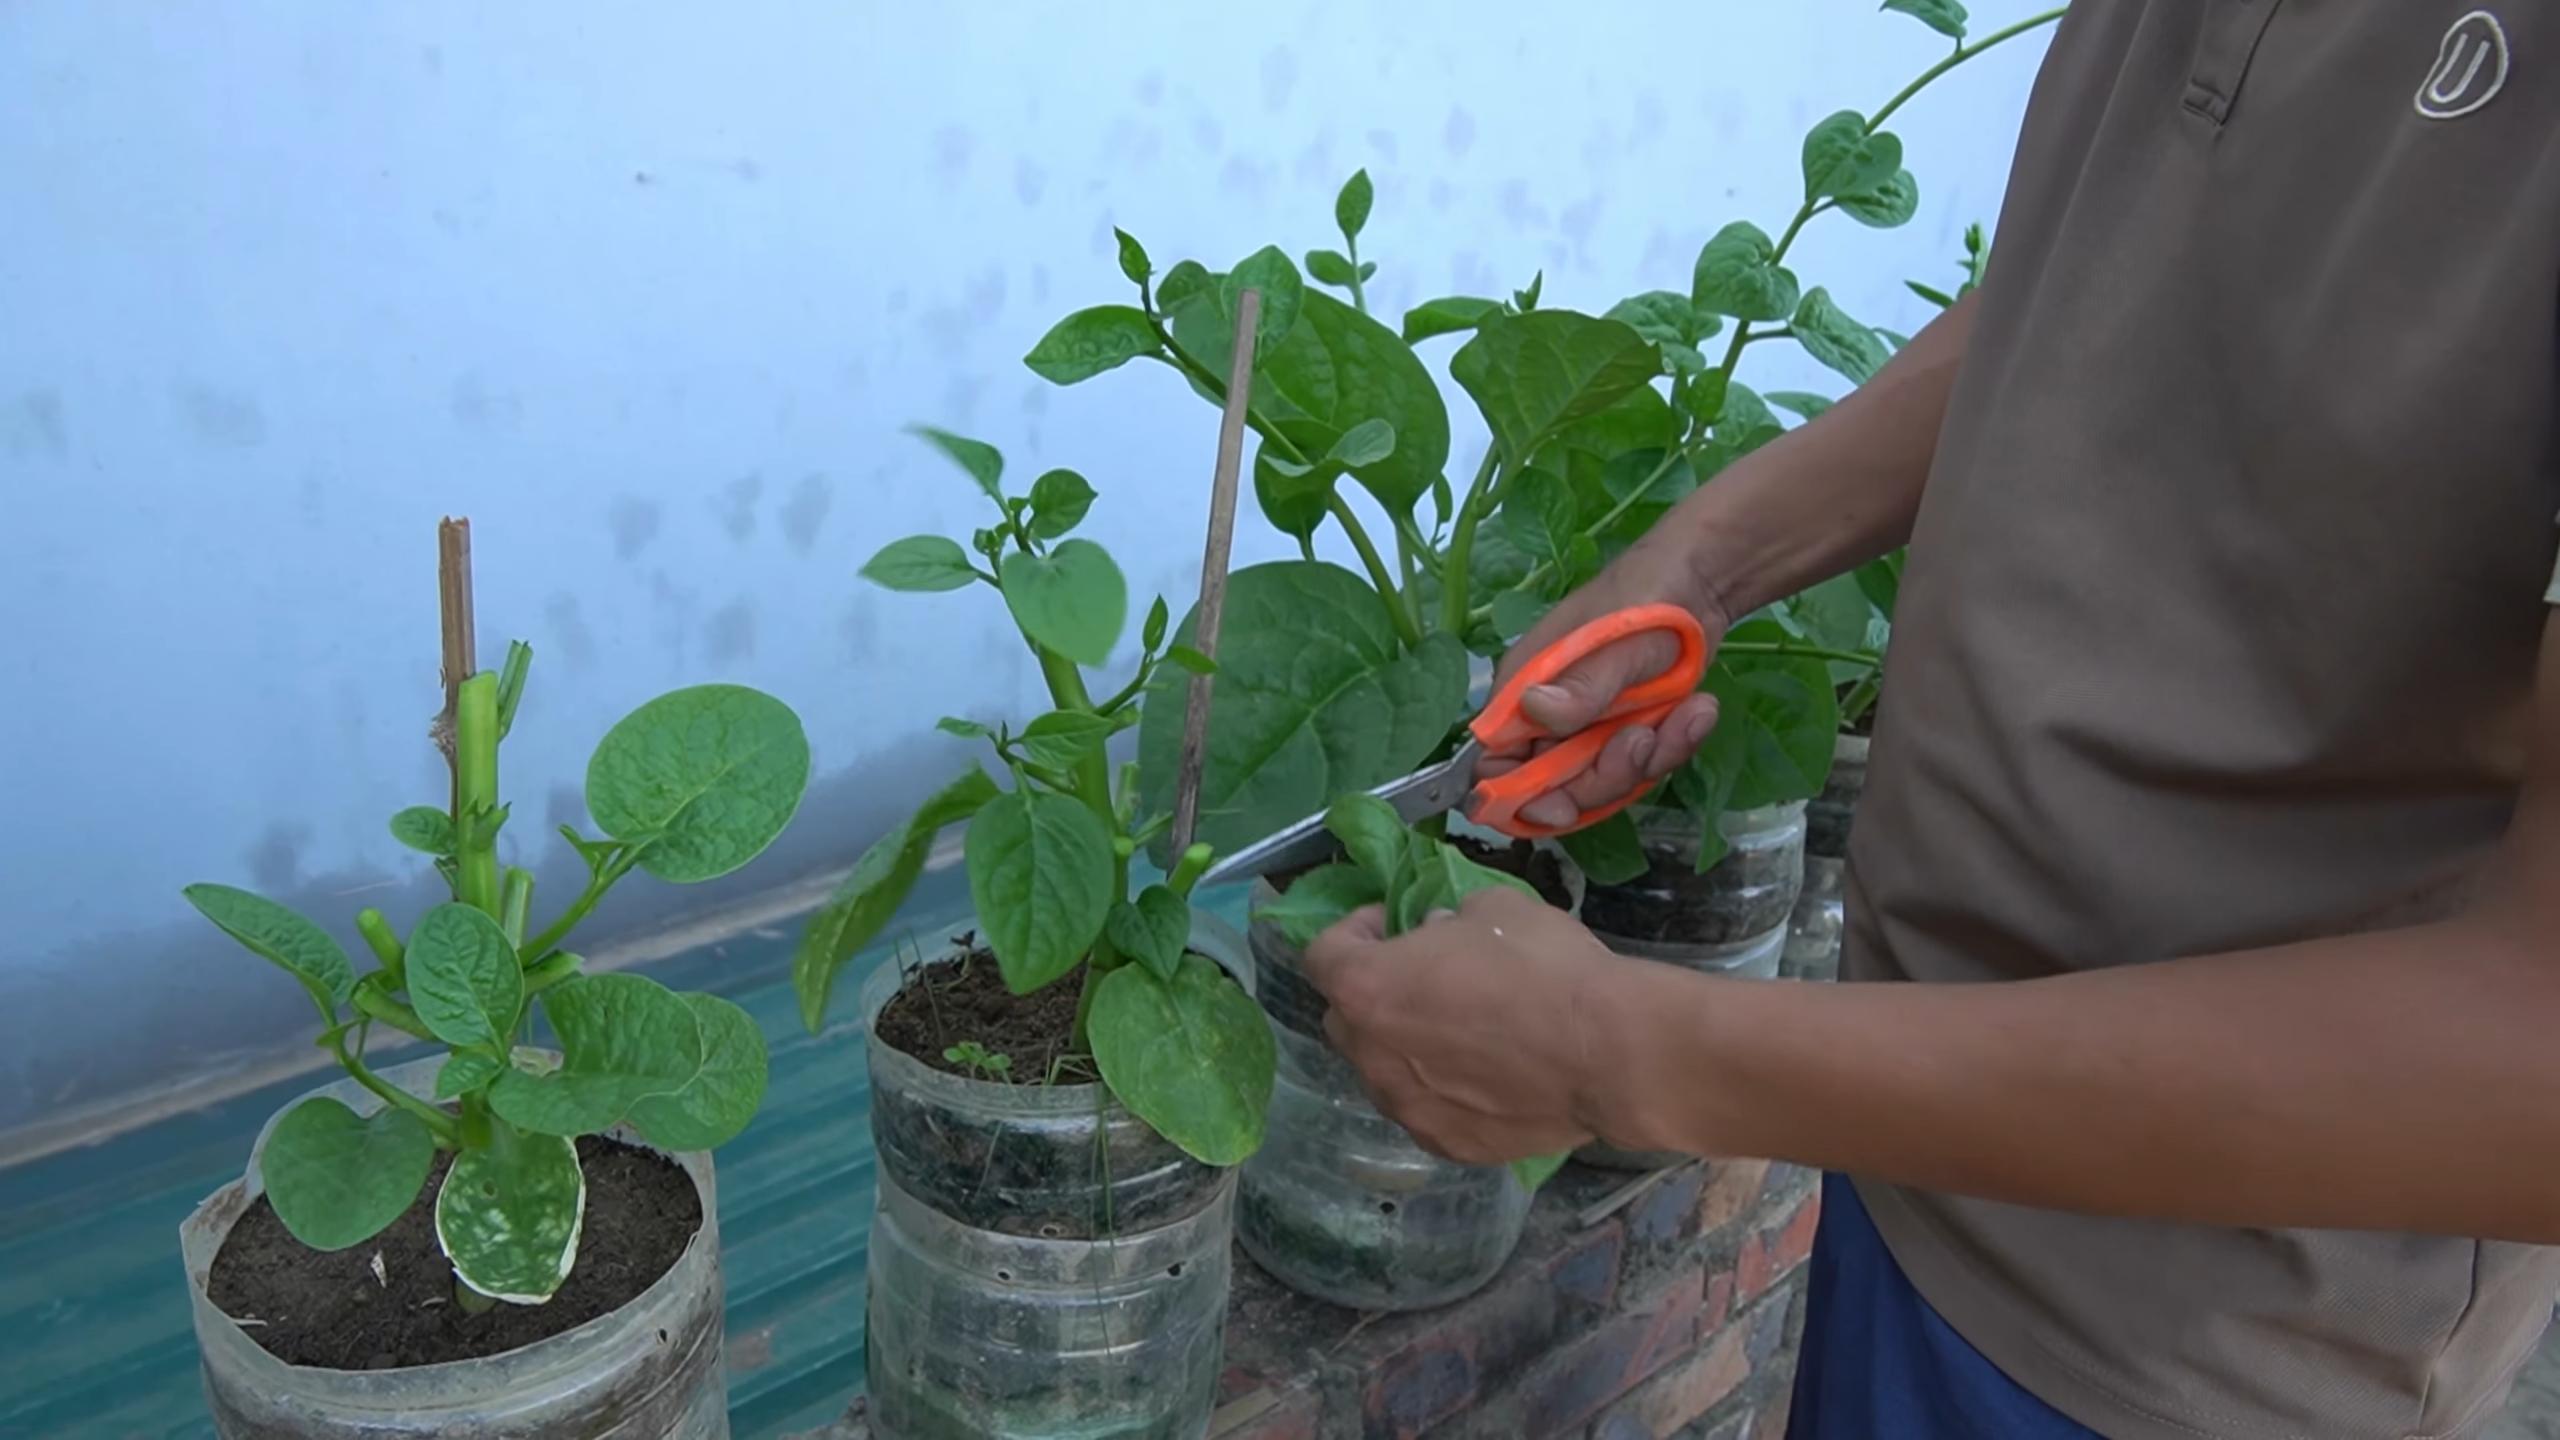
1. **Inspect the Plant:** Take a good look at your plant and identify the leaves and stems that are ready for harvesting. Remember to focus on the larger, more mature leaves.
2. **Choose Your Harvesting Point:** Decide where you want to make your cut. You can harvest individual leaves by snipping them off at the base of the stem, or you can harvest entire stems by cutting them back to a node (the point where a leaf or branch emerges from the stem). I usually harvest stems, as it encourages more branching.
3. **Make the Cut:** Using your sharp scissors or pruning shears, make a clean cut at your chosen harvesting point. Be careful not to damage the surrounding leaves or stems.
4. **Harvest Regularly:** As I mentioned earlier, regular harvesting is key to encouraging continued growth. Aim to harvest every week or two, depending on how quickly your plant is growing.
5. **Rinse and Store:** After harvesting, rinse the leaves and stems thoroughly with cool water to remove any dirt or debris. Pat them dry and store them in a plastic bag in the refrigerator. They should keep for about a week.
Encouraging Continued Growth
Harvesting is just one part of keeping your Malabar spinach plant happy and productive. Here are a few other tips to keep in mind:
* **Water Regularly:** Malabar spinach needs consistent moisture, especially during hot weather. Water deeply whenever the soil feels dry to the touch.
* **Fertilize:** Feed your plant with a balanced fertilizer every few weeks to provide it with the nutrients it needs to grow. I like to use a liquid fertilizer diluted to half strength.
* **Provide Support:** Since Malabar spinach is a vining plant, it needs something to climb on. A trellis, fence, or even a sturdy stake will work well.
* **Pest Control:** Keep an eye out for pests like aphids and spider mites. If you spot any, treat them with an insecticidal soap or neem oil.
* **Pruning:** In addition to harvesting, you can also prune your plant to keep it from getting too overgrown. Simply trim back any long or unruly stems.
Cooking with Malabar Spinach
Now that you’ve harvested your Malabar spinach, it’s time to enjoy it! Here are a few ideas:
* **Stir-fries:** Malabar spinach is a great addition to stir-fries. Its slightly mucilaginous texture helps to thicken the sauce.
* **Soups and Stews:** Add Malabar spinach to soups and stews for a boost of nutrients and flavor.
* **Salads:** Young, tender leaves can be eaten raw in salads.
* **Steamed or Sautéed:** You can also steam or sauté Malabar spinach like you would other leafy greens.
* **Smoothies:** Add a handful of Malabar spinach to your smoothies for a healthy boost.
Troubleshooting Common Issues
Even with the best care, you might encounter a few issues with your Malabar spinach plant. Here are some common problems and how to fix them:
* **Yellowing Leaves:** This could be a sign of overwatering, underwatering, or nutrient deficiency. Check the soil moisture and adjust your watering schedule accordingly. Fertilize the plant if necessary.
* **Slow Growth:** This could be due to lack of sunlight, poor soil, or cool temperatures. Make sure your plant is getting at least 6 hours of sunlight per day. Amend the soil with compost or other organic matter.
* **Pest Infestation:** As mentioned earlier, aphids and spider mites are common pests of Malabar spinach. Treat them with an insecticidal soap or neem oil.
* **Leaf Spot:** This is a fungal disease that can cause brown or black spots on the leaves. Remove any affected leaves and treat the plant with a fungicide. Ensure good air circulation around the plant.
Saving Seeds (If You’re Feeling Ambitious!)
If you want to save seeds from your Malabar spinach plant, you’ll need to let some of the flowers mature and form berries. The berries will turn dark purple or black when they’re ripe. Here’s how to save the seeds:
1. **Harvest the Berries:** Once the berries are ripe, harvest them and place them in a bowl.
2. **Soak the Berries:** Add water to the bowl and let the berries soak for a few days. This will help to soften the pulp.
3. **Separate the Seeds:** After a few days, mash the berries with your fingers to separate the seeds from the pulp.
4. **Rinse the Seeds:** Rinse the seeds thoroughly with water to remove any remaining pulp.
5. **Dry the Seeds:** Spread the seeds out on a paper towel and let them dry completely.
6. **Store the Seeds:** Once the seeds are dry, store them in an airtight container in a cool, dark place. They should remain viable for several years.
Final Thoughts
Growing and harvesting Malabar spinach is a rewarding experience. With a little bit of care and attention, you can enjoy a continuous supply of this delicious and nutritious leafy green. So get out there and start harvesting! Happy gardening!
Conclusion
So, there you have it! Mastering the art of Malabar spinach harvesting is not only achievable but also incredibly rewarding. By following these simple yet effective tips, you’ll unlock a continuous supply of fresh, vibrant greens right from your own garden. Forget those wilted, overpriced bunches at the grocery store – imagine the satisfaction of creating delicious and nutritious meals with spinach you’ve nurtured yourself.
Why is this DIY approach a must-try? Because it empowers you to control the quality and freshness of your produce. You’ll know exactly where your spinach comes from, what (if anything) it’s been treated with, and you’ll be reducing your carbon footprint by eliminating transportation and packaging. Plus, harvesting your own Malabar spinach is a fantastic way to connect with nature and appreciate the fruits (or rather, leaves!) of your labor.
But the fun doesn’t stop there! Feel free to experiment with different harvesting techniques to see what works best for your plants and your preferences. Try harvesting only the young, tender leaves for salads, or let some of the older leaves mature for stir-fries and soups. You can even propagate new plants from stem cuttings taken during harvesting, effectively multiplying your spinach supply. Consider companion planting strategies to further enhance your Malabar spinach growth. Basil, marigolds, and nasturtiums are known to deter pests and attract beneficial insects, creating a thriving ecosystem in your garden.
Don’t be afraid to get creative in the kitchen, too! Malabar spinach is incredibly versatile. Beyond the usual salads and stir-fries, try adding it to smoothies for a nutritional boost, using it as a filling for ravioli or dumplings, or even incorporating it into a vibrant green pesto. The possibilities are endless!
We wholeheartedly encourage you to give these Malabar spinach harvesting tips a try. It’s a simple, sustainable, and incredibly satisfying way to enjoy fresh, healthy greens. And most importantly, we want to hear about your experiences! Share your successes, your challenges, and your favorite Malabar spinach recipes in the comments below. Let’s build a community of passionate gardeners and food lovers, all united by our love for this amazing leafy green. Happy harvesting!
Frequently Asked Questions (FAQ)
What is the best time of day to harvest Malabar spinach?
The ideal time to harvest Malabar spinach is in the morning, after the dew has dried but before the sun gets too hot. This is when the leaves are at their most turgid and flavorful. Harvesting during the heat of the day can cause the leaves to wilt more quickly.
How often should I harvest my Malabar spinach?
You can harvest Malabar spinach as needed, typically every one to two weeks, depending on the plant’s growth rate. Regular harvesting encourages the plant to produce more leaves, so don’t be shy about snipping off those greens! The more you harvest, the more you’ll get.
What tools do I need for harvesting?
You’ll need a pair of sharp scissors or pruning shears. Make sure they are clean to prevent the spread of disease. A basket or container to collect the harvested leaves is also helpful.
How do I store harvested Malabar spinach?
To store harvested Malabar spinach, gently wash the leaves and pat them dry with a paper towel. Store them in a plastic bag or container in the refrigerator. They should stay fresh for up to a week. Avoid storing them near fruits like apples or bananas, as these release ethylene gas, which can cause the spinach to spoil faster.
My Malabar spinach leaves are turning yellow. What’s wrong?
Yellowing leaves can indicate several issues. It could be due to overwatering, underwatering, nutrient deficiencies, or pests. Check the soil moisture and ensure it’s well-draining. Fertilize with a balanced fertilizer if necessary. Inspect the leaves for any signs of pests, such as aphids or spider mites.
How do I encourage my Malabar spinach to grow more vigorously?
To encourage vigorous growth, provide your Malabar spinach with plenty of sunlight (at least 6 hours per day), well-draining soil, and regular watering. Fertilize every few weeks with a balanced fertilizer. Pruning and harvesting regularly will also encourage the plant to produce more leaves. Consider adding compost or other organic matter to the soil to improve its fertility.
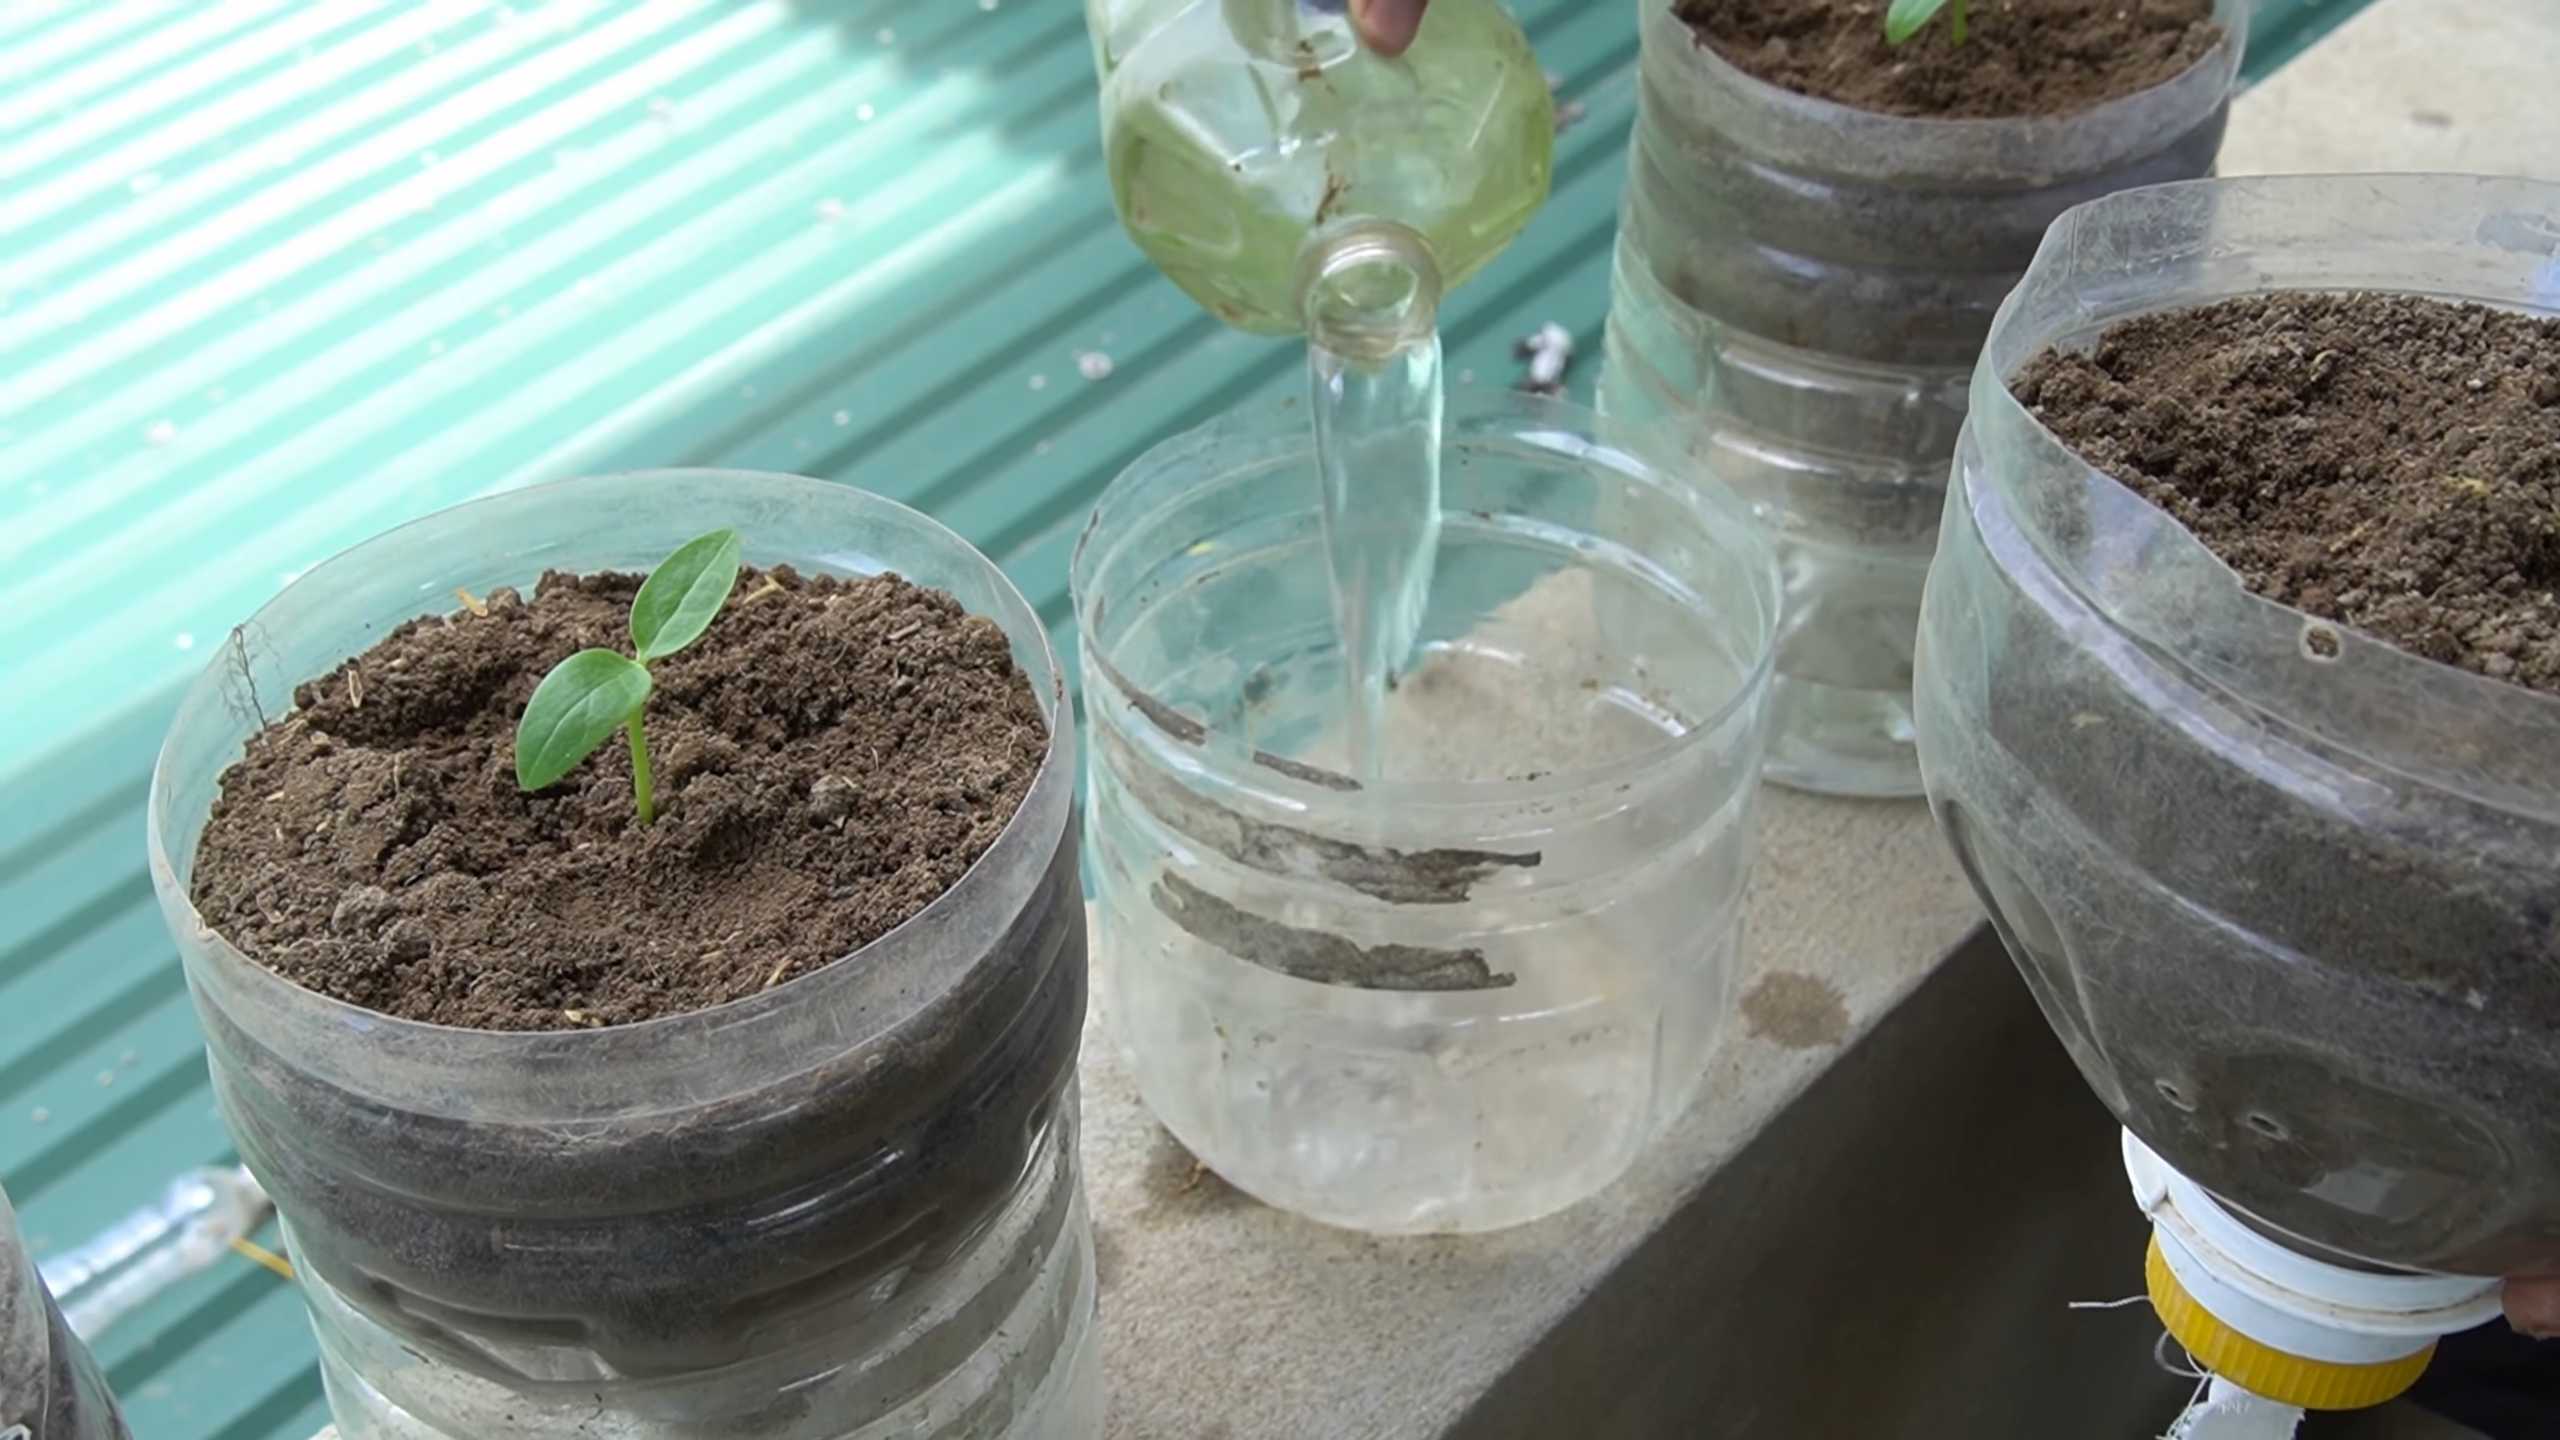
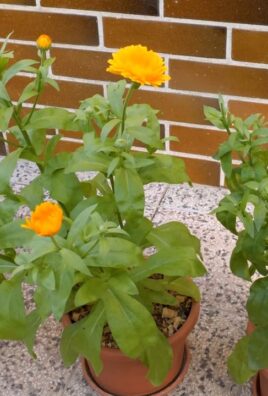
Can I grow Malabar spinach in a container?
Yes, Malabar spinach grows well in containers. Choose a large container (at least 12 inches in diameter) with drainage holes. Use a well-draining potting mix and provide regular watering and fertilization. Container-grown Malabar spinach may require more frequent watering than plants grown in the ground.
Is Malabar spinach the same as regular spinach?
No, Malabar spinach (Basella alba) is not the same as regular spinach (Spinacia oleracea). While both are leafy greens, they belong to different plant families. Malabar spinach is more heat-tolerant and has a slightly different flavor and texture than regular spinach. It’s also a vining plant, unlike regular spinach.
What are some common pests that affect Malabar spinach?
Common pests that can affect Malabar spinach include aphids, spider mites, and snails. Inspect your plants regularly and take action if you notice any signs of infestation. You can use insecticidal soap, neem oil, or hand-pick the pests off the plants.
Can I eat the stems of Malabar spinach?
Yes, the stems of Malabar spinach are edible and can be cooked like the leaves. They have a slightly thicker texture and may require a bit longer cooking time. They are great in stir-fries and soups.
How do I save seeds from my Malabar spinach plant?
To save seeds from your Malabar spinach plant, allow some of the flowers to mature and form berries. Once the berries turn dark purple or black, they are ready to harvest. Remove the berries from the plant and dry them thoroughly. Once dry, you can extract the seeds from the berries and store them in a cool, dry place.
Is Malabar spinach a perennial or an annual?
Malabar spinach is a perennial in tropical and subtropical climates. In colder climates, it is typically grown as an annual. However, you can overwinter it indoors by bringing it inside before the first frost.
What are some good companion plants for Malabar spinach?
Good companion plants for Malabar spinach include basil, marigolds, and nasturtiums. These plants can help deter pests and attract beneficial insects.
How can I use Malabar spinach in my cooking?
Malabar spinach is incredibly versatile and can be used in a variety of dishes. It can be eaten raw in salads, cooked in stir-fries, soups, and stews, or used as a filling for ravioli or dumplings. It can also be blended into smoothies or used to make pesto.
What are the nutritional benefits of Malabar spinach?
Malabar spinach is a nutritional powerhouse, packed with vitamins A and C, iron, calcium, and antioxidants. It’s also a good source of fiber. Adding Malabar spinach to your diet can help boost your immune system, improve your bone health, and protect against chronic diseases.
Leave a Comment