

Smart Sponge Uses: Unlocking the Hidden Potential of Your Everyday Cleaning Tool
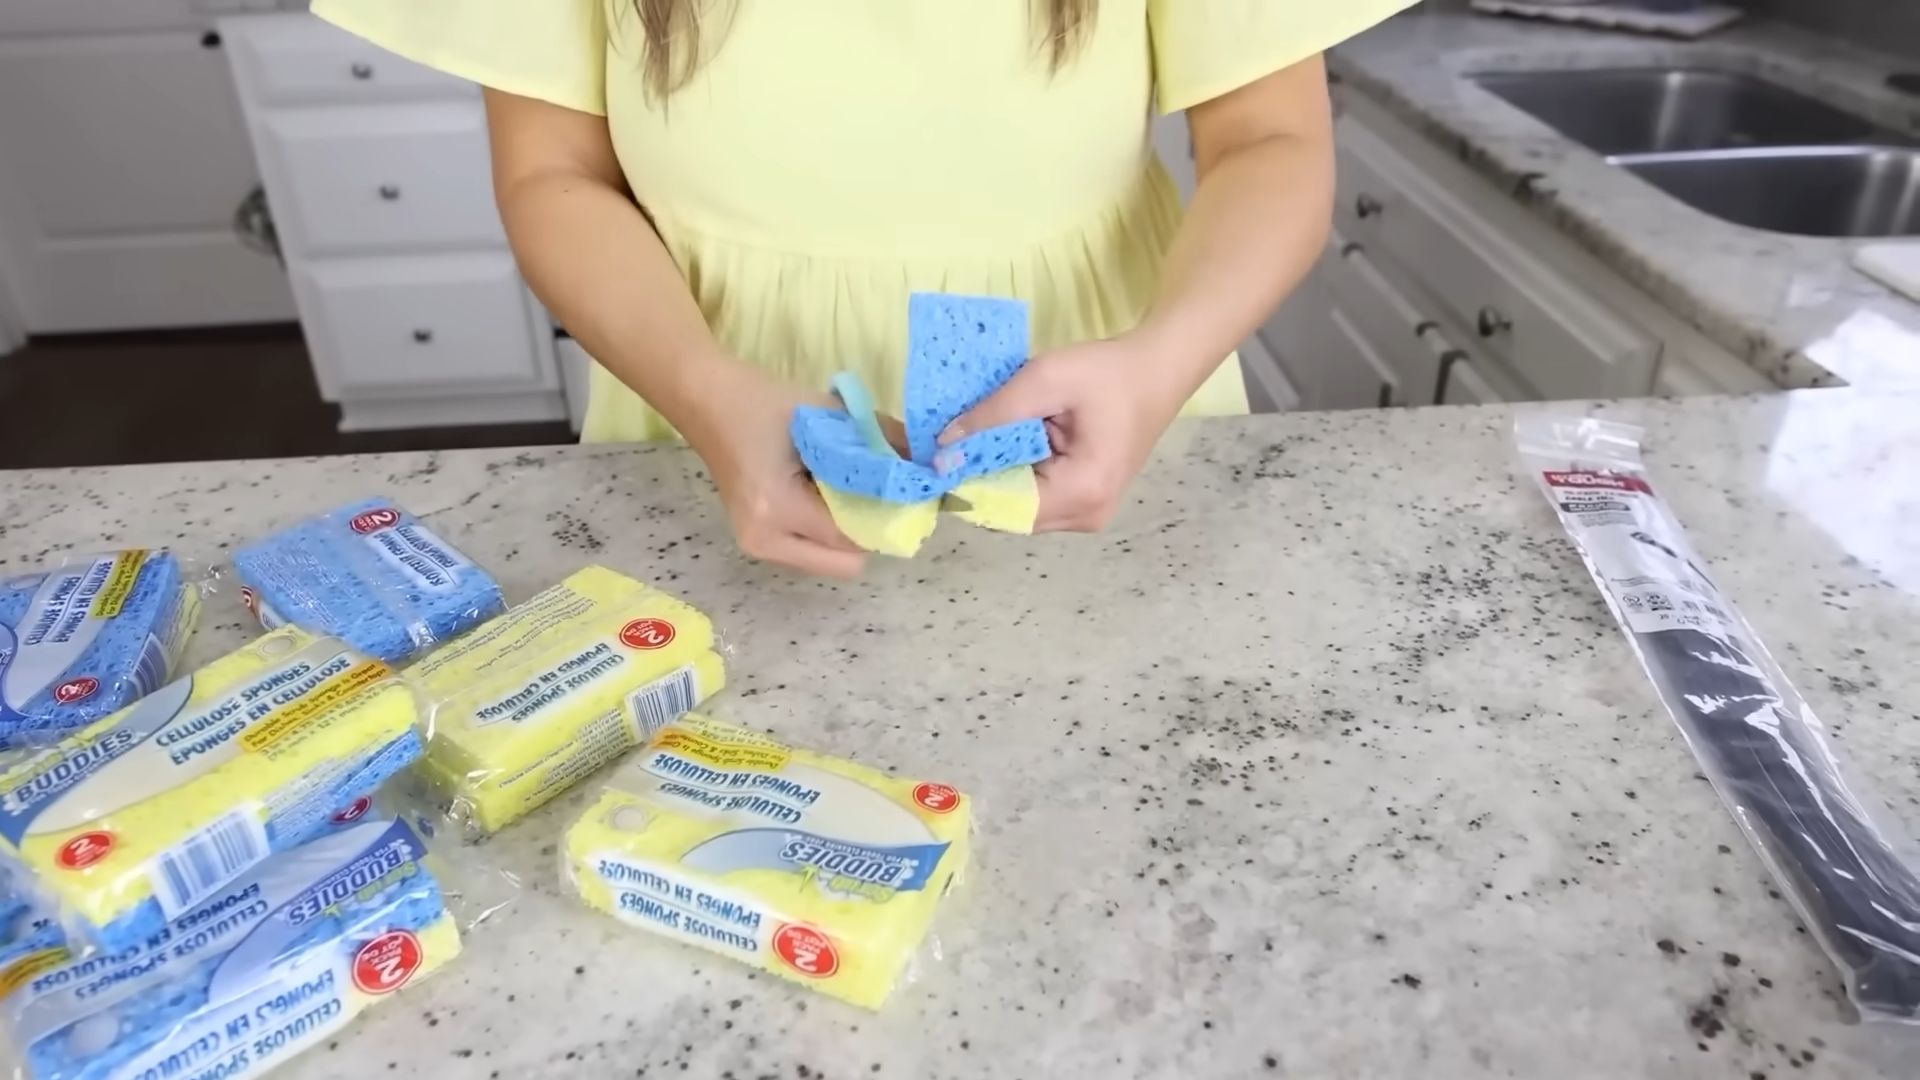
Have you ever considered that the humble sponge, a kitchen staple often relegated to dishwashing duty, holds a surprising array of untapped potential? I certainly hadn’t until I started exploring the amazing world of smart sponge uses! This isn’t just about cleaning; it’s about resourcefulness, saving money, and discovering clever solutions to everyday problems. From the ancient practice of using natural materials for cleaning (think of the earliest civilizations using plant fibers and sand) to today’s advanced synthetic sponges, the humble sponge has always played a vital role in our lives.
For centuries, people have relied on readily available materials to solve household problems, and the sponge is a perfect example of this ingenuity. But beyond its traditional role, the sponge offers a wealth of unexpected applications. This article is your guide to unlocking these hidden talents, transforming your everyday sponge into a versatile tool for your home and garden. Why should you care about smart sponge uses? Because learning these tricks can save you time, money, and potentially even a trip to the hardware store!
Why You Need These Smart Sponge Hacks
Whether you’re a seasoned gardener or a beginner, these smart sponge uses will help you tackle various tasks with ease and efficiency. From seed starting to cleaning delicate plants, these simple yet effective techniques will elevate your gardening experience. Imagine effortlessly cleaning your delicate seedlings without damaging their fragile stems, or using a sponge to create a perfectly moist environment for your seeds. This article will show you how!
Building a Custom Bookshelf from Reclaimed Wood
I love the look of reclaimed wood, and I’ve always wanted a unique bookshelf. So, I decided to build my own! This project took a bit of time, but the result is a beautiful, one-of-a-kind piece of furniture that I’m incredibly proud of. Here’s how I did it:
Gathering Your Materials
- Reclaimed wood planks (I used about 10, varying in width and length – aim for a total length that fits your space and desired shelf height). Make sure the wood is clean and relatively dry.
- Wood glue
- Wood screws (various lengths, depending on the thickness of your planks)
- Wood filler
- Sandpaper (various grits, starting with coarser and moving to finer)
- Wood stain (your choice of color – I used a dark walnut)
- Polyurethane sealant (to protect the finish)
- Measuring tape
- Level
- Drill with various drill bits
- Safety glasses
- Work gloves
- Clamps (helpful for holding pieces together while the glue dries)
Preparing the Wood
1. Clean the wood: Before you start, thoroughly clean your reclaimed wood planks. I used a stiff brush and a damp cloth to remove any dirt, debris, or loose pieces of bark. Let it dry completely.
2. Assess and Plan: Lay out your planks to visualize the overall design of your bookshelf. Consider the varying widths and lengths to create a visually interesting arrangement. I decided on three shelves of varying heights. Sketch out your design to ensure you have enough wood and to determine the cuts needed.
3. Cut the Wood (if necessary): If your planks need to be cut to size, use a saw (circular saw or hand saw, depending on your comfort level and the wood’s thickness). Always wear safety glasses when using power tools. Measure twice, cut once! Accurate cuts are crucial for a well-built bookshelf.
4. Sand the Wood: Sand each plank thoroughly, starting with a coarser grit sandpaper (around 80 grit) to remove any rough edges or splinters. Gradually move to finer grits (120, then 220) for a smoother finish. Sanding is key for a professional look and feel. Pay special attention to the edges.
Assembling the Bookshelf
1. Apply Wood Glue: Apply a generous amount of wood glue to the ends of the planks that will form the vertical supports of your bookshelf. I used a zig-zag pattern for better adhesion.
2. Clamp and Secure: Carefully clamp the vertical supports together, ensuring they are aligned and level. Use enough clamps to hold the pieces firmly in place while the glue dries. Let the glue set for at least 30 minutes, or according to the manufacturer’s instructions.
3. Pre-drill Pilot Holes: Once the glue is set, pre-drill pilot holes through the vertical supports and into the shelf planks. This prevents the wood from splitting when you screw it together. Use a drill bit slightly smaller than the diameter of your screws.
4. Attach the Shelves: Secure the shelves to the vertical supports using wood screws. Make sure the shelves are level and evenly spaced. I used a level to check frequently.
5. Fill Screw Holes: Once all the shelves are attached, use wood filler to fill any gaps or screw holes. Let the filler dry completely, then sand it smooth.
Finishing Touches
1. Sanding (again!): After filling the holes, sand the entire bookshelf again with fine-grit sandpaper (220 grit or higher) to ensure a smooth surface. This step is crucial for a flawless finish.
2. Apply Wood Stain: Apply your chosen wood stain according to the manufacturer’s instructions. I applied two coats, allowing each coat to dry completely before applying the next. Use a brush or rag, working with the grain of the wood.
3. Seal the Wood: Once the stain is dry, apply several coats of polyurethane sealant. This protects the wood from moisture and wear, and enhances the beauty of the stain. Allow each coat to dry completely before applying the next. I used a satin finish for a subtle sheen.
4. Final Inspection: After the sealant is completely dry, give your bookshelf a final inspection. Check for any imperfections and address them as needed. You might need to do some touch-up sanding or staining.
Tips and Considerations
- Choose your wood carefully: The quality of your reclaimed wood will significantly impact the final look and durability of your bookshelf. Look for planks that are relatively straight and free of major cracks or damage.
- Plan your design: Spend some time planning your bookshelf’s design before you start cutting and assembling. A well-thought-out plan will save you time and frustration.
- Use clamps: Clamps are essential for ensuring that the glue joints are strong and secure.
- Take your time: This project requires patience and attention to detail. Don’t rush the process. The result will be worth it!
- Safety first: Always wear safety glasses and work gloves when using power tools or working with wood.
And there you have it! My custom reclaimed wood bookshelf. It’s a beautiful addition to my home, and I love knowing I built it myself. I hope this guide inspires you to create your own unique piece of furniture.
Conclusion
So there you have it! We’ve explored a range of ingenious Smart Sponge Uses, transforming this humble household item into a versatile cleaning and organizing powerhouse. From tackling stubborn grease and grime to delicately cleaning delicate surfaces and even repurposing them for creative projects, the possibilities are truly endless. This DIY approach isn’t just about saving money; it’s about embracing resourcefulness and minimizing waste. By learning these clever techniques, you’re not only simplifying your cleaning routine but also contributing to a more sustainable lifestyle. The time and effort invested in mastering these Smart Sponge Uses will be repaid tenfold in efficiency, cleanliness, and a sense of accomplishment. This isn’t just about cleaning; it’s about empowering yourself with practical skills and clever solutions.
Don’t be afraid to experiment! Try combining different sponge types for varied cleaning tasks. A coarser sponge might be perfect for scrubbing baked-on food, while a softer one is ideal for wiping down polished furniture. Consider adding a few drops of essential oils to your cleaning solution for a pleasant aroma. For those with particularly stubborn stains, pre-treating the area with a natural cleaning agent before using your smart sponge can significantly improve results. And for those eco-conscious individuals, remember to always opt for biodegradable and sustainable sponges whenever possible. The possibilities for customization are as vast as your imagination!
We encourage you to try these Smart Sponge Uses and share your experiences with us! Let us know which techniques worked best for you, what variations you discovered, and any creative applications you’ve found. Your feedback will not only inspire others but also help us continue to expand this collection of helpful tips and tricks. Join the conversation online and share your success stories – let’s build a community of smart sponge enthusiasts together! The world of cleaning just got a whole lot smarter, and we’re excited to see what you create.
Frequently Asked Questions
Q: What types of sponges are best for these Smart Sponge Uses?
A: The ideal sponge type depends on the task. For heavy-duty cleaning, a cellulose sponge with a scrubbing side is excellent. For delicate surfaces, a microfiber sponge or a soft cellulose sponge will prevent scratching. Experiment to find what works best for you and the surfaces you’re cleaning. Consider having a few different types on hand for various cleaning needs.
Q: Can I use these Smart Sponge Uses on all surfaces?
A: While these techniques are versatile, always test a small, inconspicuous area first, especially on delicate or antique surfaces. Some materials may be more sensitive to certain cleaning agents or scrubbing techniques. Avoid using abrasive sponges on non-stick cookware or polished wood. Always refer to the manufacturer’s cleaning instructions for specific materials.
Q: How often should I replace my sponges?
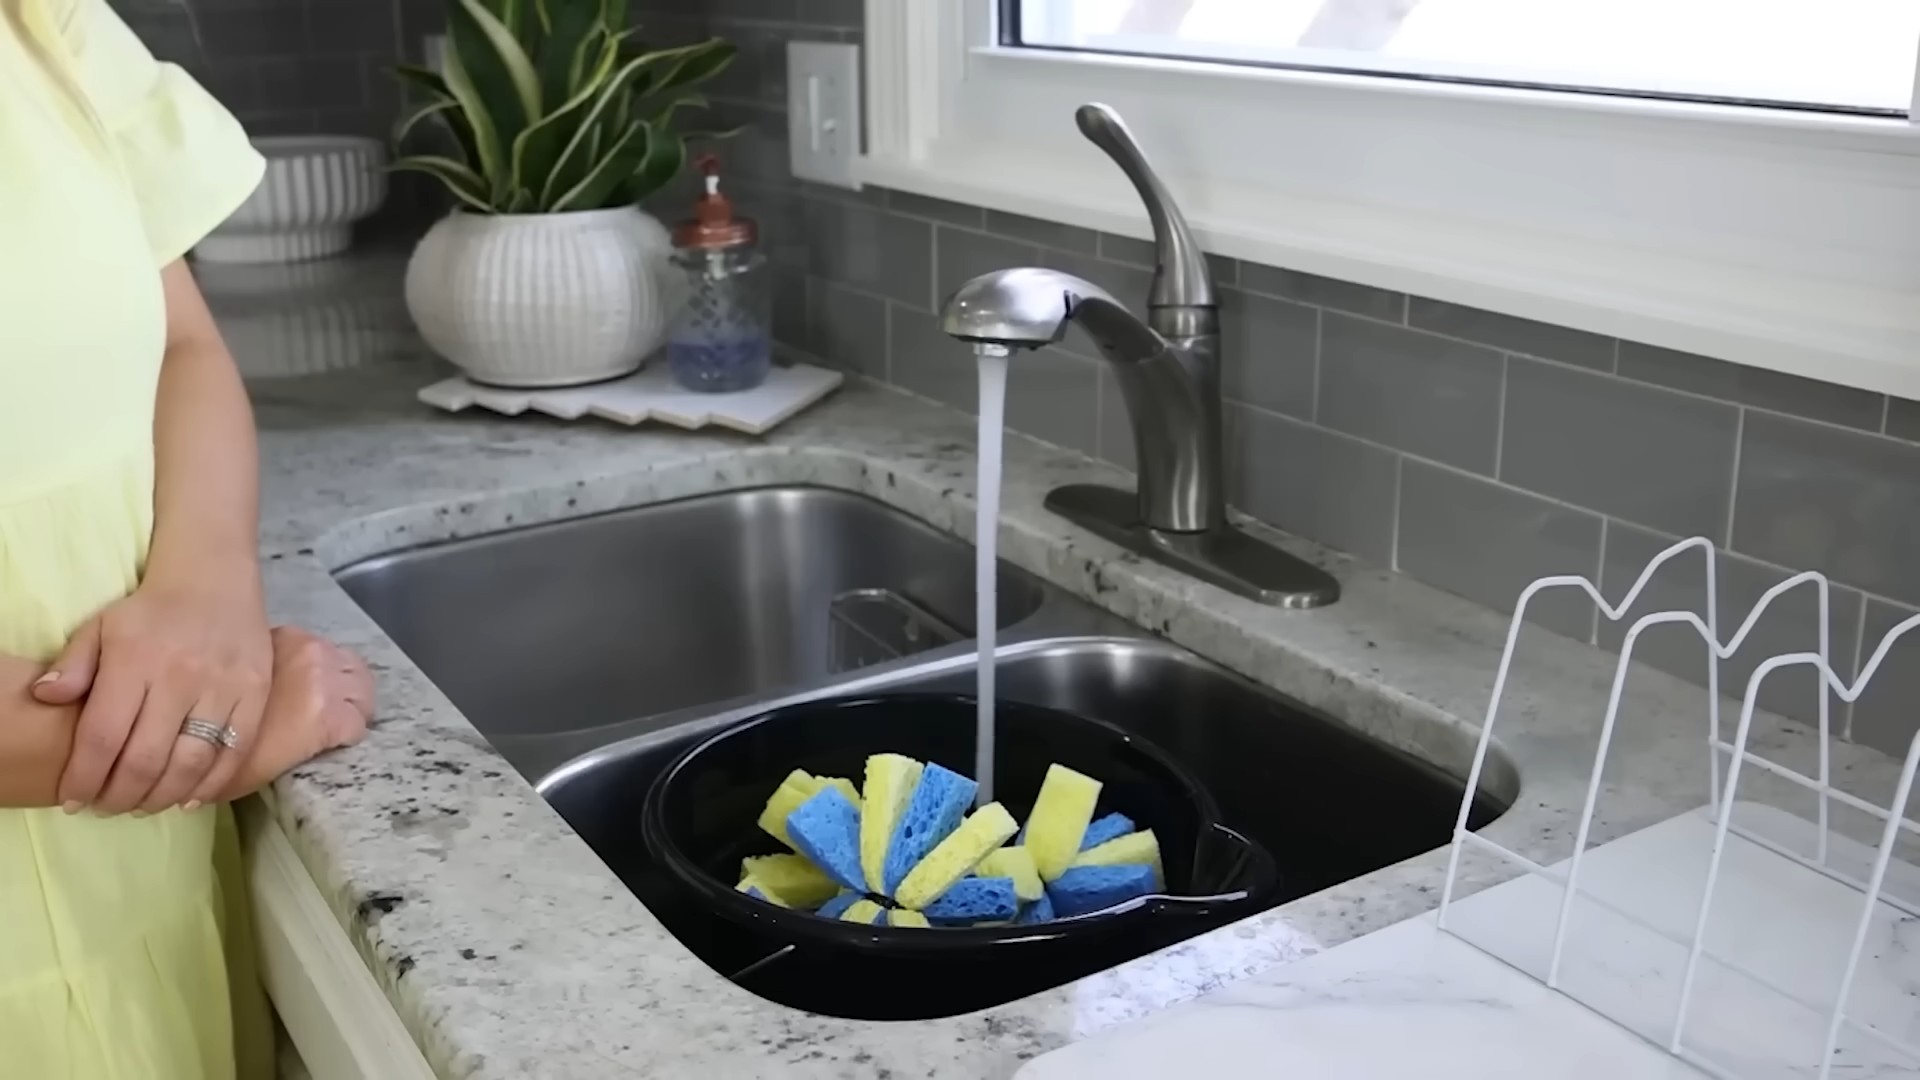
A: Sponges can harbor bacteria, so it’s crucial to replace them regularly. Aim to replace your sponges every 1-2 weeks, or more frequently if they become heavily soiled or show signs of wear and tear. Properly cleaning and sanitizing your sponges between uses can extend their lifespan, but regular replacement is essential for hygiene.
Q: Are there any environmental considerations when using sponges?
A: Absolutely! Opt for biodegradable and compostable sponges whenever possible to minimize your environmental impact. Avoid using excessive amounts of cleaning agents, and always dispose of sponges responsibly. Consider purchasing sponges made from recycled materials or those produced by companies committed to sustainable practices.
Q: Can I use these Smart Sponge Uses for cleaning outside the home?
A: Many of these techniques can be adapted for outdoor cleaning. For example, you can use a smart sponge to clean patio furniture, garden tools, or even your car. Just remember to adjust your cleaning solution and technique based on the specific material and outdoor conditions. Always rinse your sponge thoroughly after outdoor use.
Q: What if my sponge gets stained?
A: Stubborn stains can sometimes be removed by soaking the sponge in a solution of baking soda and water or a diluted bleach solution (always following safety precautions). However, if the stain persists, it’s best to replace the sponge. Remember, a stained sponge might not be as effective at cleaning and could harbor bacteria.
Q: Are there any safety precautions I should take when using these Smart Sponge Uses?
A: Always wear appropriate gloves when using harsh cleaning agents. Ensure proper ventilation when working with strong chemicals. Never mix different cleaning agents, as this can create dangerous fumes. Always follow the manufacturer’s instructions for any cleaning products you use. If you have any concerns, consult a professional cleaning service.
Q: Where can I find the best sponges for these Smart Sponge Uses?
A: Many grocery stores, home improvement stores, and online retailers carry a wide variety of sponges. Look for sponges made from natural materials like cellulose or those specifically designed for heavy-duty cleaning or delicate surfaces. Reading reviews can help you choose a sponge that meets your specific needs and preferences. Don’t hesitate to experiment with different brands and types to find your favorites.


Leave a Comment