

Homemade Cleaning Mixes: ever feel like you’re battling a never-ending war against grime and dirt in your home? I know I have! And let’s be honest, those store-bought cleaners can be harsh on our wallets, our health, and the environment. But what if I told you that the solution to a sparkling clean home is probably already sitting in your pantry?
For generations, resourceful homemakers have relied on simple, natural ingredients to keep their homes fresh and tidy. Think back to your grandmother’s cleaning rituals – vinegar, baking soda, lemon juice – these aren’t just old wives’ tales, they’re time-tested solutions! This tradition of creating homemade cleaning mixes is not only cost-effective but also empowers us to take control of what we’re bringing into our homes.
In today’s world, where we’re increasingly aware of the impact of chemicals on our health and the planet, switching to DIY cleaning is more relevant than ever. You’ll be amazed at how effective and versatile these simple recipes can be. From tackling stubborn stains to freshening up your entire house, I’m going to share some of my favorite and most effective homemade cleaning mixes that will leave your home sparkling and your conscience clear. Get ready to ditch the harsh chemicals and embrace a cleaner, greener way to clean!
DIY Cleaning Mixes: Natural Solutions for a Sparkling Home
Hey there, fellow cleaning enthusiasts! I’m so excited to share some of my favorite DIY cleaning mixes with you. Ditching harsh chemicals and embracing natural ingredients has been a game-changer for my home and my health. Plus, it’s incredibly satisfying to whip up these solutions yourself, knowing exactly what’s going into them. Let’s get started!
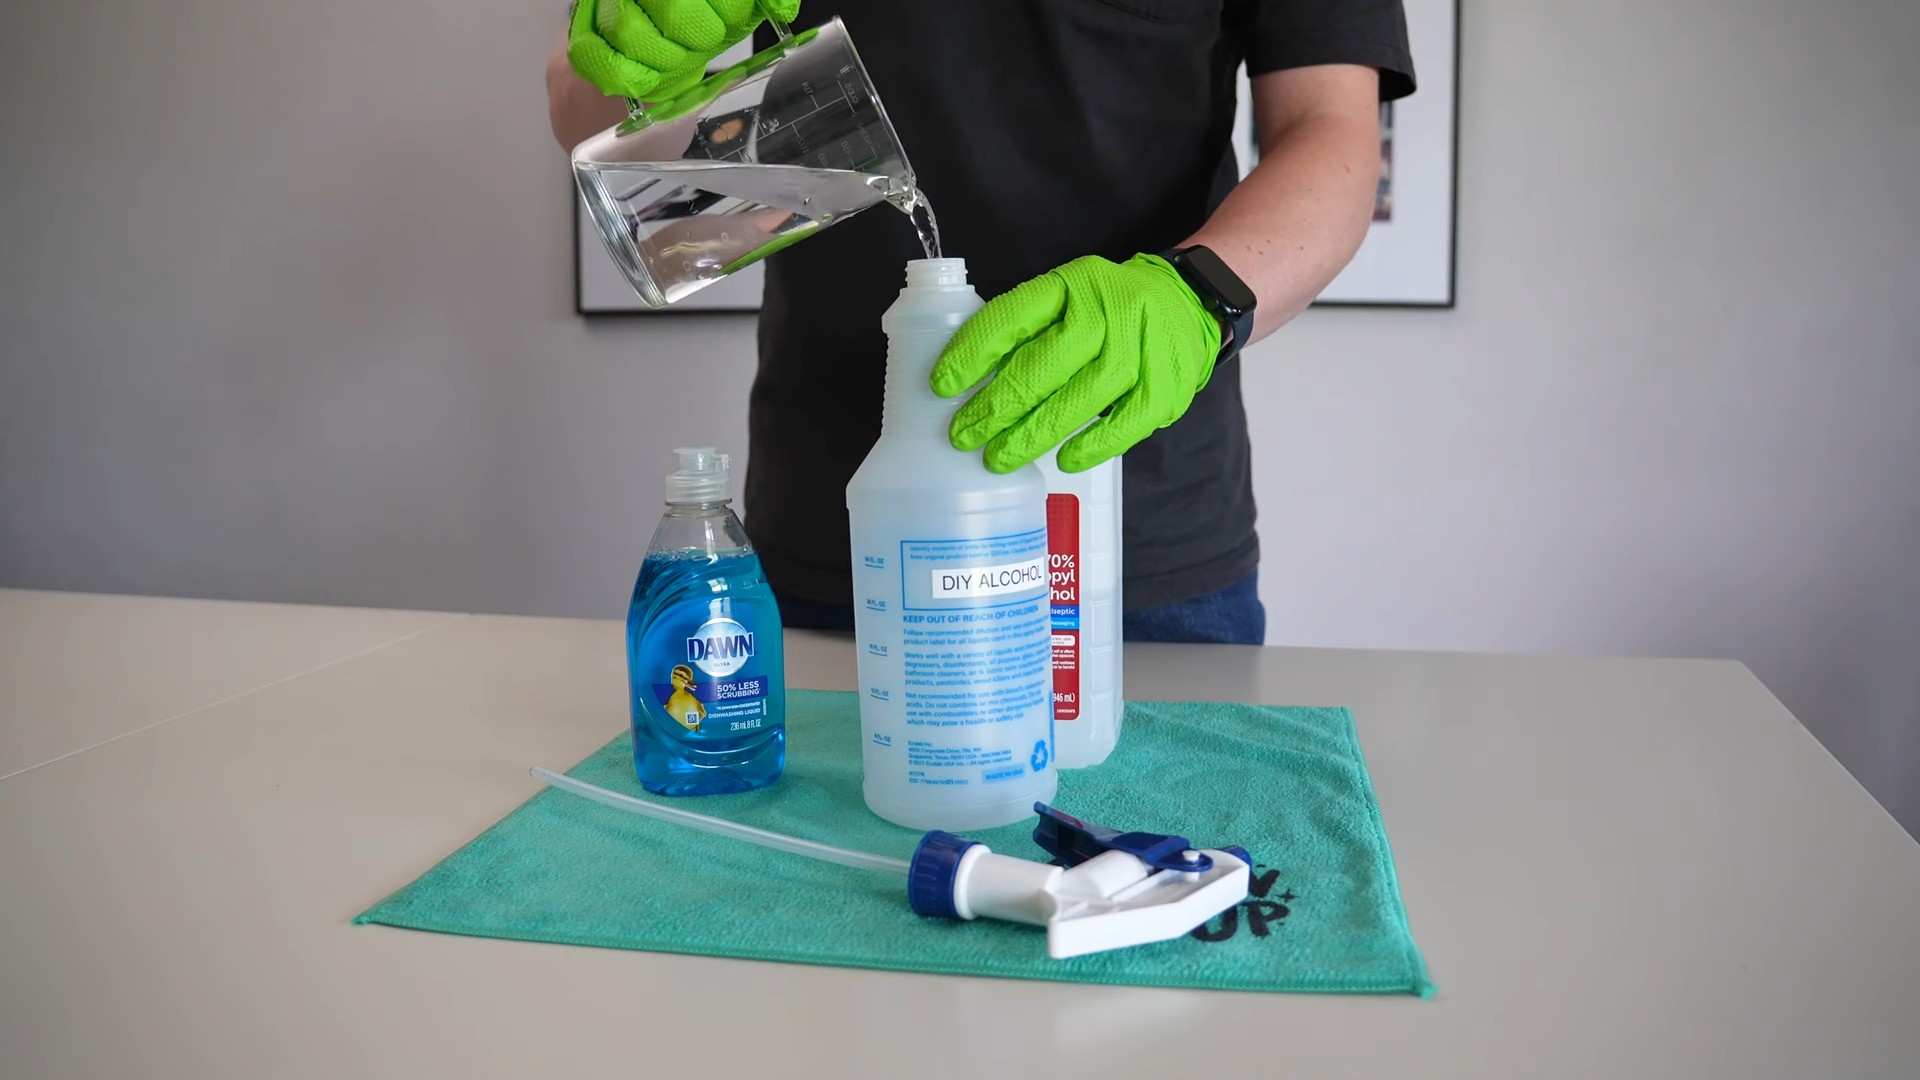
All-Purpose Cleaner: Your Go-To for Everyday Messes
This all-purpose cleaner is a workhorse. I use it on countertops, sinks, appliances, and even floors (with a little extra water). It’s gentle yet effective, and the essential oils add a lovely, fresh scent.
Ingredients You’ll Need:
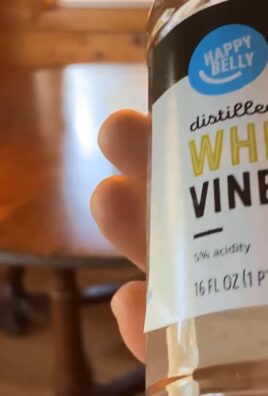
* 1/2 cup white vinegar
* 1/4 cup baking soda
* 1/2 gallon (8 cups) hot water
* 10-15 drops of your favorite essential oil (I love lemon, lavender, or tea tree)
* Spray bottle
Step-by-Step Instructions:
1. Prepare the Baking Soda Solution: In a large bucket or bowl, dissolve the baking soda in the hot water. Stir until completely dissolved. This helps prevent clumping later on.
2. Add the Vinegar: Slowly pour in the white vinegar. Be prepared for some fizzing – that’s the baking soda reacting with the vinegar. Don’t worry, it’s normal!
3. Incorporate Essential Oils: Add your chosen essential oils. These not only provide a pleasant scent but also have antibacterial and antiseptic properties.
4. Mix Thoroughly: Stir the mixture well to ensure all ingredients are evenly distributed.
5. Transfer to Spray Bottle: Carefully pour the mixture into a spray bottle using a funnel to avoid spills.
6. Label and Store: Label the bottle clearly with the name of the cleaner and the date you made it. Store in a cool, dark place.
How to Use:
Spray the cleaner onto the surface you want to clean. Let it sit for a minute or two to loosen dirt and grime. Wipe clean with a damp cloth or sponge. For tougher messes, you might need to scrub a little.
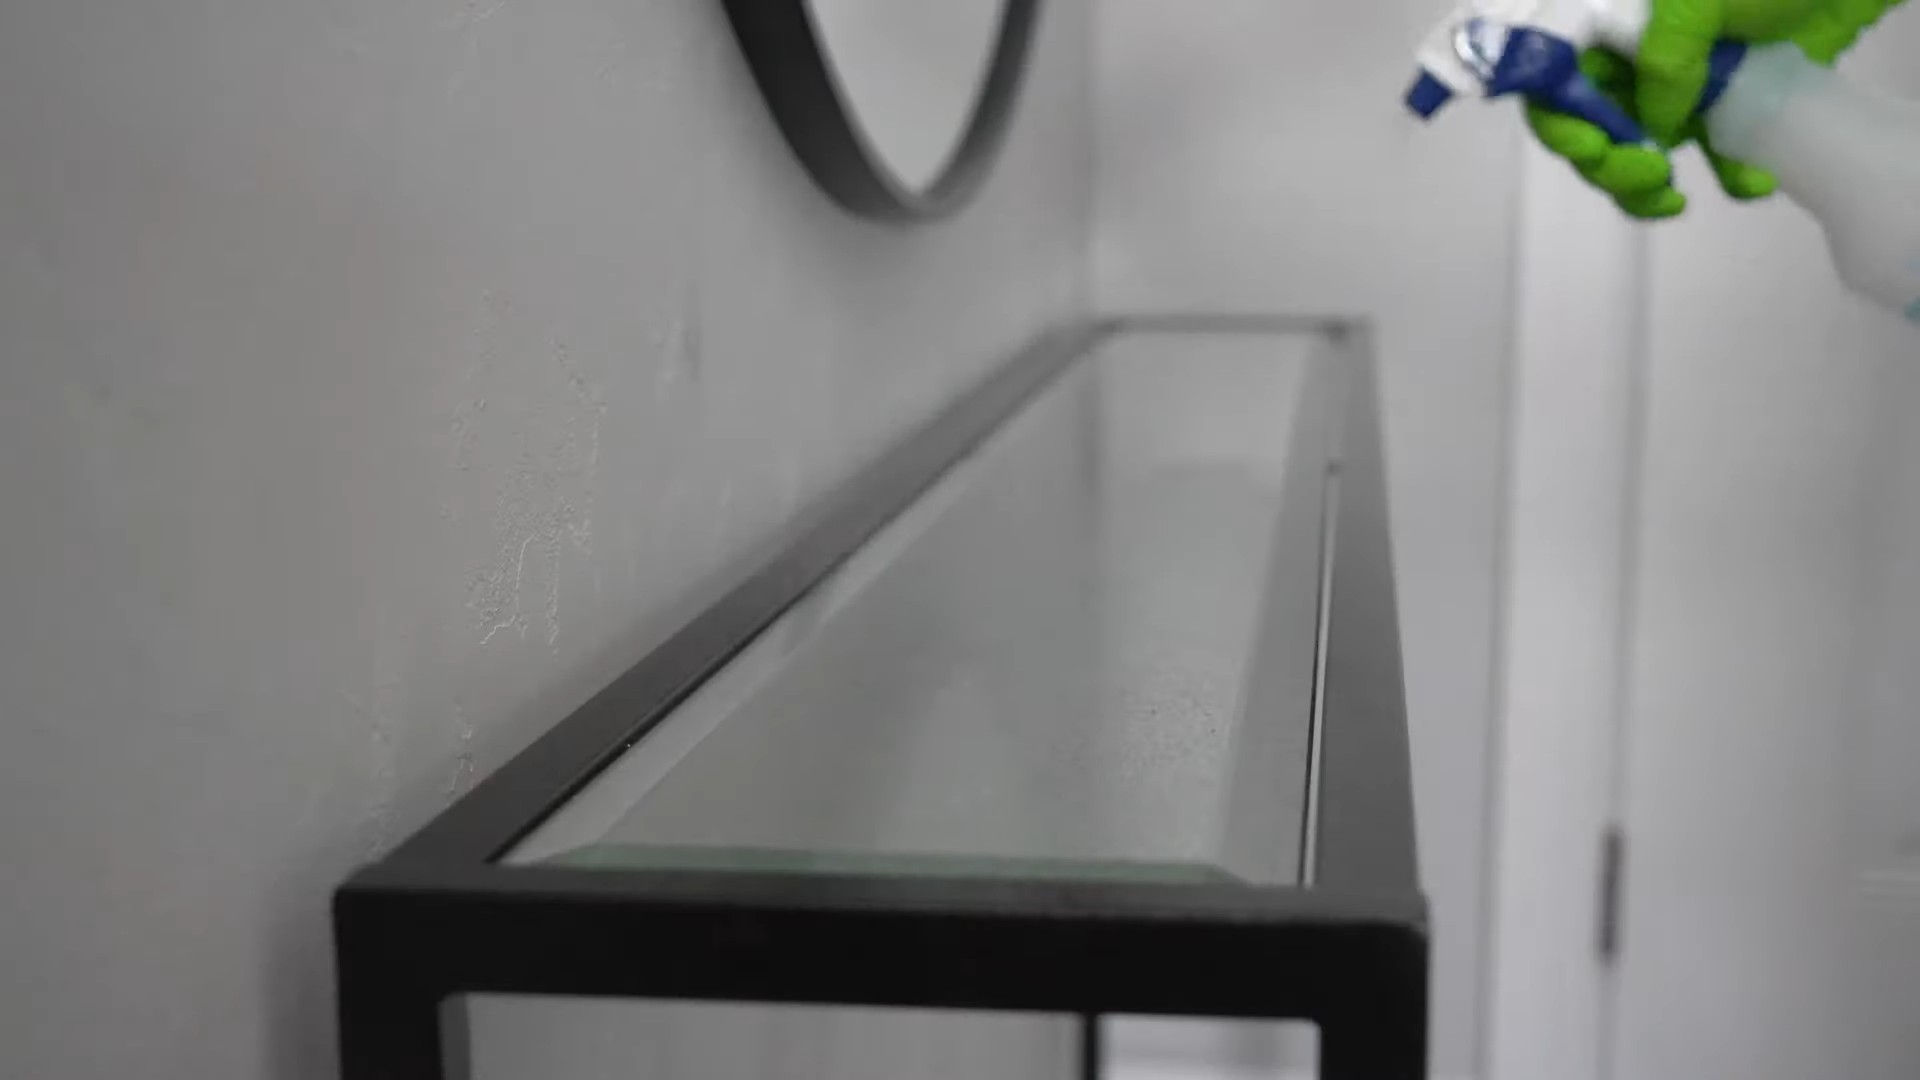
Glass Cleaner: Streak-Free Shine Every Time
Say goodbye to streaks and smudges with this simple yet effective glass cleaner. It’s perfect for windows, mirrors, and glass shower doors.
Ingredients You’ll Need:
* 2 cups water
* 1/4 cup white vinegar
* 1/2 teaspoon liquid dish soap (optional, but adds extra cleaning power)
* Spray bottle
* Microfiber cloth
Step-by-Step Instructions:
1. Combine Ingredients: In a spray bottle, combine the water, white vinegar, and dish soap (if using).
2. Shake Well: Shake the bottle vigorously to ensure all ingredients are well mixed.
3. Label and Store: Label the bottle clearly with the name of the cleaner.
How to Use:
Spray the cleaner onto the glass surface. Wipe clean with a microfiber cloth. For best results, use a clean, dry microfiber cloth for the final wipe to remove any remaining residue.
Toilet Bowl Cleaner: Natural Disinfection
This toilet bowl cleaner uses the power of baking soda and vinegar to disinfect and deodorize your toilet.
Ingredients You’ll Need:
* 1 cup baking soda
* 1 cup white vinegar
* 10-15 drops of tea tree essential oil (optional, for extra disinfecting power)
Step-by-Step Instructions:
1. Pour in Baking Soda: Pour the baking soda into the toilet bowl.
2. Add Vinegar: Slowly pour the white vinegar over the baking soda. It will fizz!
3. Let it Sit: Let the mixture sit for at least 30 minutes, or even overnight for tougher stains.
4. Add Essential Oil (Optional): Add the tea tree oil if you’re using it.
5. Scrub and Flush: Scrub the toilet bowl with a toilet brush and then flush.
Drain Cleaner: Unclog Drains Naturally
Forget harsh chemical drain cleaners! This natural solution uses the power of baking soda and vinegar to break down clogs.
Ingredients You’ll Need:
* 1/2 cup baking soda
* 1 cup white vinegar
* Hot water
Step-by-Step Instructions:
1. Pour in Baking Soda: Pour the baking soda down the drain.
2. Add Vinegar: Pour the white vinegar down the drain after the baking soda.
3. Let it Fizz: Let the mixture fizz for 30 minutes.
4. Flush with Hot Water: After 30 minutes, flush the drain with hot water. Repeat if necessary.
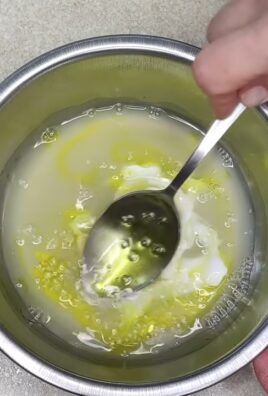
Furniture Polish: Restore Shine to Wood Surfaces
This furniture polish will bring back the luster to your wood furniture without harsh chemicals.
Ingredients You’ll Need:
* 1/4 cup olive oil
* 1/2 cup white vinegar or lemon juice
* Soft cloth
Step-by-Step Instructions:
1. Combine Ingredients: In a small bowl, combine the olive oil and white vinegar or lemon juice.
2. Apply to Furniture: Dip a soft cloth into the mixture and apply a thin layer to your wood furniture.
3. Buff: Buff the furniture with a clean, dry cloth until it shines.
Oven Cleaner: Tackle Baked-On Grease
Cleaning the oven is never fun, but this DIY cleaner makes it a little easier and a lot less toxic.
Ingredients You’ll Need:
* 1/2 cup baking soda
* Water
* Spray bottle
* Scrub brush or sponge
Step-by-Step Instructions:
1. Make a Paste: Mix the baking soda with enough water to form a thick paste.
2. Coat the Oven: Spread the paste all over the inside of your oven, avoiding the heating elements.
3. Let it Sit: Let the paste sit for at least 12 hours, or even overnight.
4. Spray with Water: After the paste has sat, spray it with water to loosen it.
5. Scrub and Wipe: Scrub the oven with a scrub brush or sponge and wipe clean with a damp cloth. You may need to repeat this process a few times to remove all the residue.
Carpet Stain Remover: Banish Pesky Spots
Spills happen! This carpet stain remover is a lifesaver for those unexpected accidents.
Ingredients You’ll Need:
* 1/2 cup white vinegar
* 1/4 cup baking soda
* 1/4 cup water
* Spray bottle
* Clean cloth
Step-by-Step Instructions:
1. Combine Ingredients: In a spray bottle, combine the white vinegar, baking soda, and water.
2. Shake Well: Shake the bottle well to mix the ingredients.
3. Spray on Stain: Spray the solution onto the carpet stain.
4. Let it Sit: Let it sit for a few minutes.
5. Blot with Cloth: Blot the stain with a clean cloth, working from the outside in. Repeat until the stain is gone.
6. Dry: Allow the area to dry completely.
Dish Soap: Gentle and Effective
Making your own dish soap is surprisingly easy and allows you to control the ingredients.
Ingredients You’ll Need:
* 1 cup grated castile soap
* 4 cups hot water
* 1 tablespoon washing soda (sodium carbonate)
* 10-15 drops essential oil (lemon, orange, or grapefruit are great)
Step-by-Step Instructions:
1. Dissolve Castile Soap: In a saucepan, combine the grated castile soap and hot water. Heat over low heat, stirring constantly, until the soap is completely dissolved.
2. Add Washing Soda: Remove from heat and stir in the washing soda until dissolved.
3. Incorporate Essential Oils: Add your chosen essential oils for fragrance and extra cleaning power.
4. Cool and Thicken: Let the mixture cool completely. It will thicken as it cools.
5. Transfer to Dispenser: Pour the dish soap into a dispenser bottle.
Mold and Mildew Remover: Tackle Tough Spots
Mold and mildew can be a real problem, especially in bathrooms. This DIY remover is a natural alternative to bleach.
Ingredients You’ll Need:
* White vinegar
* Spray bottle
* Scrub brush or sponge
Step-by-Step Instructions:
1. Pour Vinegar into Spray Bottle: Pour undiluted white vinegar into a spray bottle.
2. Spray on Mold/Mildew: Spray the vinegar directly onto the mold or mildew.
Conclusion
So, there you have it! Ditching the harsh chemicals and embracing the power of homemade cleaning mixes is not just a trend; it’s a revolution in how we care for our homes and our planet. We’ve explored simple yet incredibly effective recipes that tackle everything from grimy countertops to stubborn bathroom stains, all while saving you money and reducing your exposure to potentially harmful substances.
But why is this DIY approach a must-try? Beyond the obvious benefits of cost savings and eco-friendliness, creating your own cleaning solutions empowers you to take control of the ingredients that come into contact with your family and pets. You know exactly what’s in each bottle, eliminating the mystery and potential health concerns associated with many commercial products. Plus, the satisfaction of whipping up a powerful cleaner from everyday household items is surprisingly rewarding!
The beauty of these recipes lies in their adaptability. Feel free to experiment with different essential oils to create custom scents that invigorate your senses while you clean. Lavender, lemon, tea tree, and eucalyptus are all fantastic options, each offering unique aromatherapy benefits. For extra scrubbing power, consider adding a tablespoon of baking soda to your all-purpose cleaner. If you’re dealing with particularly stubborn grease, a splash of white vinegar can work wonders. Remember to always test your homemade cleaning mixes on an inconspicuous area first, especially on delicate surfaces like wood or marble.
Don’t be afraid to get creative and tailor these recipes to your specific needs and preferences. Perhaps you want to create a specialized cleaner for your stainless steel appliances or a gentle formula for your baby’s toys. The possibilities are endless!
We wholeheartedly encourage you to give these homemade cleaning mixes a try. Start with one or two recipes and see the difference they can make in your home. We’re confident that you’ll be amazed by the effectiveness and simplicity of these natural solutions.
But the journey doesn’t end here! We want to hear about your experiences. Share your favorite variations, tips, and tricks in the comments below. Let’s build a community of eco-conscious cleaners who are passionate about creating healthy and sustainable homes. Did you discover a particularly effective combination of ingredients? Did you find a clever way to store your homemade cleaners? We’re all ears!
Join the movement towards a cleaner, greener, and healthier home. Embrace the power of homemade cleaning mixes and discover the joy of cleaning with confidence and peace of mind. Your home, your family, and the planet will thank you for it.
Frequently Asked Questions (FAQ)
Are homemade cleaning mixes as effective as store-bought cleaners?
Yes, in many cases, they can be just as effective, if not more so, than store-bought cleaners. The key is using the right ingredients and understanding their properties. For example, vinegar is a powerful disinfectant and degreaser, while baking soda is a gentle abrasive and deodorizer. Many commercial cleaners rely on harsh chemicals to achieve their cleaning power, but these chemicals can also be harmful to your health and the environment. Homemade cleaning mixes offer a safer and more sustainable alternative without sacrificing cleaning effectiveness. The effectiveness also depends on the specific cleaning task. For heavy-duty cleaning, you might need to adjust the concentration of ingredients or use a combination of different homemade cleaners.
What are the best ingredients to use in homemade cleaning mixes?
Some of the most versatile and effective ingredients include:
* **White Vinegar:** A natural disinfectant, degreaser, and deodorizer.
* **Baking Soda:** A gentle abrasive, deodorizer, and pH regulator.
* **Lemon Juice:** A natural disinfectant, degreaser, and brightener.
* **Essential Oils:** Add fragrance and offer additional cleaning properties (e.g., tea tree oil is antibacterial).
* **Castile Soap:** A gentle and effective cleanser made from vegetable oils.
* **Borax:** A natural mineral that acts as a disinfectant, deodorizer, and cleaning booster (use with caution and keep away from children and pets).
* **Washing Soda (Sodium Carbonate):** A powerful cleaner and degreaser, stronger than baking soda (use with caution and wear gloves).
How should I store my homemade cleaning mixes?
Store your homemade cleaning mixes in clean, labeled spray bottles or containers. It’s important to label each container clearly with the name of the cleaner and the date it was made. This will help you avoid confusion and ensure that you’re using the cleaner correctly. Use dark-colored bottles to protect essential oils from light degradation. Keep your cleaning mixes out of reach of children and pets, just as you would with commercial cleaners. Store them in a cool, dry place away from direct sunlight.
How long do homemade cleaning mixes last?
The shelf life of homemade cleaning mixes varies depending on the ingredients. Mixes containing water are more prone to bacterial growth and should be used within a few weeks. Mixes containing vinegar or alcohol tend to last longer, up to several months. Essential oils can also help to extend the shelf life of your cleaners. If you notice any changes in color, odor, or consistency, it’s best to discard the cleaner and make a fresh batch. It’s always a good idea to make smaller batches of your homemade cleaning mixes to ensure that you’re using them while they’re still fresh and effective.
Are there any surfaces I shouldn’t use homemade cleaning mixes on?
While homemade cleaning mixes are generally safe for most surfaces, there are a few exceptions. Avoid using vinegar on natural stone surfaces like marble or granite, as it can etch and damage the stone. Be cautious when using acidic cleaners on wood, as they can strip the finish. Always test your homemade cleaning mixes on an inconspicuous area first to ensure that they don’t damage the surface. For delicate surfaces, such as antiques or valuable artwork, it’s best to consult with a professional cleaner.
Can I use essential oils in all of my homemade cleaning mixes?
While essential oils can add fragrance and cleaning properties to your homemade mixes, it’s important to use them safely and responsibly. Some essential oils can be irritating to the skin or respiratory system, so it’s important to dilute them properly. Avoid using essential oils around pregnant women, infants, or pets without consulting with a healthcare professional or veterinarian. Choose high-quality, pure essential oils from reputable sources.
What safety precautions should I take when making and using homemade cleaning mixes?
Always wear gloves when handling cleaning ingredients, especially if you have sensitive skin. Avoid mixing bleach with vinegar or ammonia, as this can create toxic fumes. Keep your cleaning mixes out of reach of children and pets. If you accidentally ingest a cleaning mix, contact poison control immediately. When using essential oils, dilute them properly and avoid direct contact with skin and eyes. Work in a well-ventilated area when making and using cleaning mixes.
Can I customize the scents of my homemade cleaning mixes?
Absolutely! One of the best things about making your own cleaning mixes is that you can customize the scents to your liking. Experiment with different essential oils to create unique and refreshing aromas. Lavender, lemon, tea tree, eucalyptus, and peppermint are all popular choices. You can also blend different essential oils to create custom scent combinations. Start with a few drops of each essential oil and adjust the amount to achieve your desired scent. Remember to use high-quality, pure essential oils for the best results.
What about cleaning heavily soiled areas?
For heavily soiled areas, you may need to pre-treat the area with a paste of baking soda and water or a stronger solution of vinegar and water. Let the paste or solution sit for a few minutes before scrubbing and rinsing. You can also use a scrub brush or sponge to help loosen the dirt and grime. For stubborn stains, you may need to repeat the cleaning process or try a different cleaning solution. Consider using washing soda for particularly greasy or dirty areas, but remember to wear gloves and use caution.
Leave a Comment