

Planting Garlic at Home: Your Guide to a Bountiful Harvest
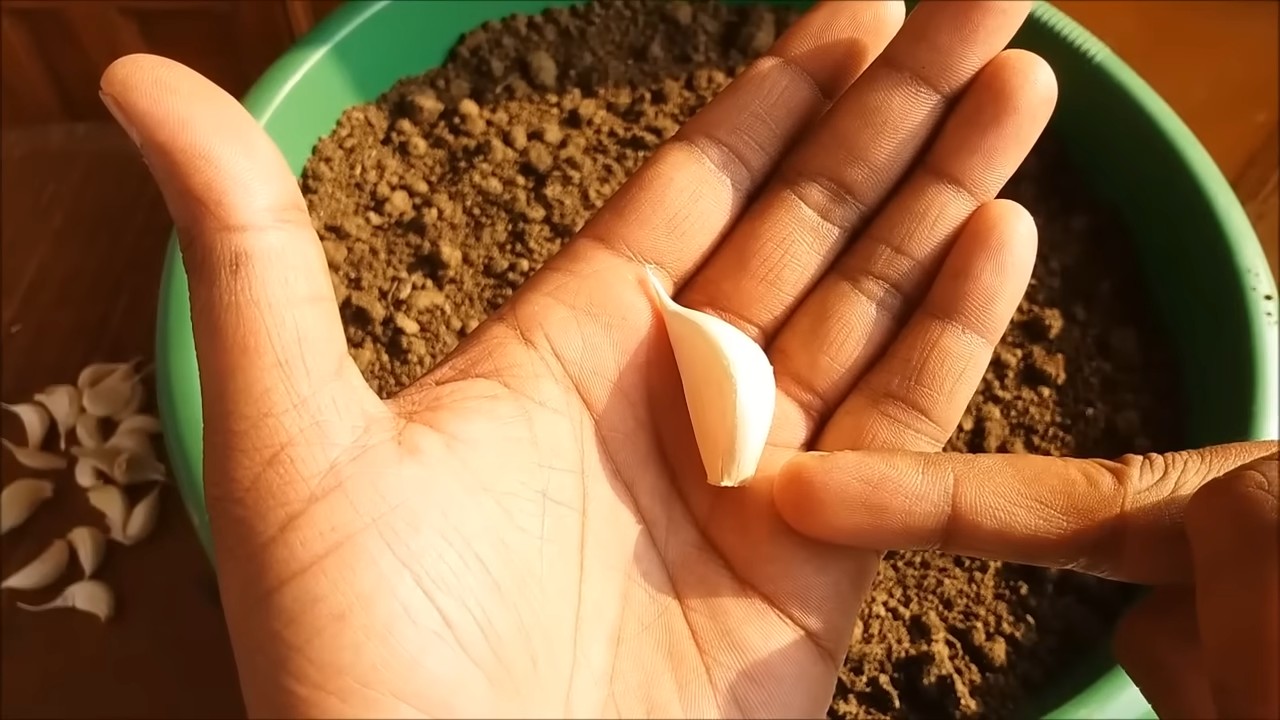
Planting garlic at home might seem like a daunting task, but I promise you, it’s easier than you think! This article is your complete guide to successfully planting garlic at home, unlocking the secrets to a flavorful and abundant harvest right in your own backyard. Forget expensive grocery store garlic – imagine the satisfaction of biting into a clove you grew yourself, bursting with robust, pungent flavor.
The history of garlic is rich and fascinating, stretching back millennia. Cultivated for thousands of years, garlic has been prized not only for its culinary uses but also for its medicinal properties across various cultures. From ancient Egypt to traditional Chinese medicine, its significance is undeniable. Now, you can tap into this ancient wisdom and experience the joy of planting garlic at home.
Why Grow Your Own?
There are so many reasons to embark on this rewarding journey! Firstly, homegrown garlic is undeniably fresher and tastier than anything you’ll find in the store. Secondly, you’ll have complete control over the growing process, ensuring your garlic is free from pesticides and other potentially harmful chemicals. Finally, the sheer satisfaction of nurturing a plant from bulb to harvest is incredibly rewarding. It’s a connection to the earth and a delicious reward for your efforts.
So, whether you’re a seasoned gardener or a complete beginner, this guide will walk you through every step, from selecting the right bulbs to harvesting your delicious crop. Let’s get started on your journey to homegrown garlic!
Rosemary Container Gardening: A Step-by-Step Guide
I love the fragrant scent and versatility of rosemary. It’s a beautiful herb to grow, and container gardening makes it even easier to manage, no matter the size of your space! Here’s how I do it.
Choosing Your Rosemary and Container
- Select your rosemary variety: There are many types of rosemary, each with slightly different growth habits and flavors. Some are upright and tall, others are more prostrate and spreading. Consider the space you have available and choose accordingly. I personally prefer the ‘Arp’ variety for its compact size and delicious flavor.
- Pick the right pot: Rosemary needs good drainage, so terracotta pots are excellent choices. However, plastic or ceramic pots work fine too, as long as they have drainage holes. The size of the pot depends on the size of your rosemary plant. A larger pot (at least 12 inches in diameter) is better for established plants, allowing for root growth. For a young plant, a smaller pot (8-10 inches) will suffice, but you’ll need to repot it as it grows.
- Consider the pot’s material: Terracotta pots dry out faster than plastic or ceramic pots, which means you might need to water more frequently. Plastic pots retain moisture longer, which can be beneficial in hot climates but could lead to root rot if you overwater. Choose the material that best suits your climate and watering habits.
Preparing Your Rosemary and Potting Mix
- Gather your supplies: You’ll need your chosen rosemary plant (either a seedling or a cutting), your pot, potting mix, and gardening gloves. I also like to have a small trowel or hand spade handy.
- Choose the right potting mix: Rosemary prefers well-draining soil. A standard potting mix is fine, but you can improve drainage by adding perlite or coarse sand. Avoid using garden soil directly, as it can be too heavy and retain too much water.
- Prepare the pot: If you’re using a new pot, there’s no need for extra preparation. If you’re reusing a pot, make sure to thoroughly clean it with soap and water to remove any old soil and debris. This helps prevent the spread of diseases.
- Add a layer of drainage material (optional): For extra drainage, place a layer of gravel or broken pottery shards at the bottom of the pot before adding the potting mix. This prevents water from sitting at the bottom and causing root rot. I always do this, just to be safe.
- Fill the pot partially with potting mix: Leave enough space at the top to accommodate the rosemary plant’s root ball.
Planting Your Rosemary
- Carefully remove the rosemary from its nursery pot: Gently loosen the root ball by tapping the sides of the pot. If the roots are tightly bound, you can carefully tease them apart a bit to encourage better growth. Be gentle to avoid damaging the roots.
- Place the rosemary in the pot: Make sure the top of the root ball is level with the top of the pot. If the plant is too deep, it can lead to root rot. If it’s too shallow, the plant might not be stable.
- Fill the pot with potting mix: Add more potting mix around the rosemary plant, filling the pot to within an inch of the rim. Gently firm the soil around the base of the plant.
- Water thoroughly: Water the rosemary plant deeply until water drains from the drainage holes. This helps settle the soil and ensures the roots are well-hydrated.
Ongoing Care for Your Rosemary
- Sunlight: Rosemary loves sunshine! Place your container in a location that receives at least 6-8 hours of direct sunlight per day. Less sun will result in leggy growth and less flavorful herbs.
- Watering: Water your rosemary regularly, but avoid overwatering. Allow the top inch or two of soil to dry out between waterings. The frequency of watering will depend on your climate, the size of the pot, and the type of pot material. During hot and dry periods, you may need to water more frequently.
- Fertilizing: Rosemary is not a heavy feeder, but a light feeding during the growing season (spring and summer) can promote healthy growth. Use a balanced liquid fertilizer diluted to half strength. Avoid over-fertilizing, as this can lead to leggy growth and reduced flavor.
- Pruning: Regular pruning helps maintain the shape of your rosemary plant and encourages bushier growth. Pinch back the tips of the stems regularly to encourage branching. You can also prune more heavily in late winter or early spring to remove any dead or damaged branches.
- Pest and Disease Control: Rosemary is generally pest-resistant, but occasionally you might encounter aphids or spider mites. Inspect your plant regularly and treat any infestations promptly with insecticidal soap or neem oil. Good air circulation can help prevent fungal diseases.
- Winter Protection: In colder climates, you may need to bring your rosemary plant indoors during the winter or provide some protection from frost. A simple solution is to move the pot to a sheltered location or cover it with a frost cloth.
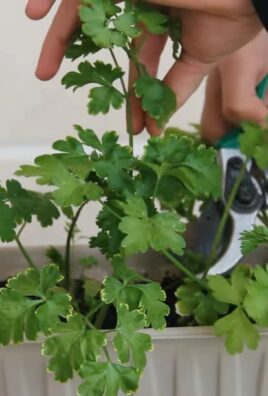
Harvesting Your Rosemary
You can start harvesting rosemary sprigs once the plant is established. Harvest by snipping off stems with leaves using clean pruning shears. Harvesting regularly encourages bushier growth. You can use fresh rosemary sprigs immediately or dry them for later use. To dry rosemary, hang the sprigs upside down in a cool, dark, and well-ventilated area.
Tips for Drying Rosemary:
- Ensure good air circulation to prevent mold.
- Store dried rosemary in an airtight container in a cool, dark place.
Troubleshooting:
- Yellowing leaves: This could indicate overwatering or underwatering. Adjust your watering schedule accordingly.
- Leggy growth: This usually means the plant isn’t getting enough sunlight. Move it to a sunnier location.
- Root rot: This is often caused by overwatering. Ensure your pot has adequate drainage and allow the soil to dry out between waterings.
Conclusion
So there you have it! Planting garlic at home is a surprisingly rewarding experience, offering a delicious, fresh harvest and a deep sense of satisfaction. This simple DIY trick transforms a humble bulb into a bountiful crop, proving that even the most novice gardener can achieve impressive results. The ease of planting, coupled with the minimal maintenance required, makes this a perfect project for beginners and seasoned gardeners alike. You’ll be amazed at the robust flavor of homegrown garlic, far surpassing anything you can find in the supermarket. The cost savings alone are significant, but the real reward lies in the connection to the land and the pride of nurturing your own food. This method of planting garlic at home ensures a consistent supply of this versatile ingredient, readily available for your culinary creations throughout the year.
Beyond the basic method outlined, there are numerous ways to personalize your garlic-growing journey. Experiment with different garlic varieties – hardneck garlic produces beautiful scapes (flower stalks) that can be sautéed or pickled, while softneck garlic offers larger bulbs perfect for braiding and storing. Consider companion planting; incorporating herbs like rosemary or thyme near your garlic can deter pests and enhance the overall health of your plants. If space is limited, explore vertical gardening techniques or container planting. You can even try growing garlic in raised beds for better drainage and soil control. The possibilities are endless!
Don’t be intimidated by the idea of growing your own garlic. It’s far simpler than you might think. This DIY trick is a fantastic way to connect with nature, learn about the growing process, and enjoy the unparalleled taste of homegrown produce. We strongly encourage you to give it a try! Share your experiences, photos, and any tips you discover along the way. Let’s build a community of home garlic growers, sharing our successes and learning from each other. Your journey to a flavorful, homegrown garlic harvest starts now! Join the growing movement and experience the joy of planting garlic at home. You won’t regret it!
Frequently Asked Questions
What type of garlic is best for planting at home?
Both hardneck and softneck garlic varieties can be successfully grown at home. Hardneck garlic produces scapes (flower stalks) which are edible and add a unique flavor to dishes. Softneck garlic generally produces larger bulbs and stores better over winter. The best choice depends on your preferences and climate. Consider researching varieties suitable for your specific region to maximize your chances of success.
When is the best time to plant garlic?
The ideal planting time for garlic varies depending on your location and climate. Generally, the best time to plant garlic is in the fall, about 6-8 weeks before the first hard frost. This allows the garlic to establish a strong root system before winter. Planting in the fall ensures a larger harvest the following summer. However, you can also plant garlic in the spring, but the bulbs will be smaller and the harvest may be slightly delayed.
How much space do I need to plant garlic?
The amount of space you need depends on how much garlic you want to grow. Garlic cloves should be planted about 4-6 inches apart, with rows spaced 12-18 inches apart. You can adjust the spacing based on the size of your garden and the number of cloves you are planting. Even a small space can yield a decent harvest. Consider using raised beds or containers if you have limited space.
What type of soil is best for growing garlic?
Garlic thrives in well-drained, loose soil that is rich in organic matter. Amend heavy clay soils with compost or other organic materials to improve drainage and aeration. Garlic prefers slightly acidic to neutral soil with a pH between 6.0 and 7.0. A soil test can help determine the pH of your soil and guide you on any necessary amendments.
How do I care for my garlic plants?
Garlic is relatively low-maintenance. Water regularly, especially during dry periods, ensuring the soil remains consistently moist but not waterlogged. Weed regularly to prevent competition for nutrients and water. Mulching around the plants can help retain moisture and suppress weeds. Fertilizing is generally not necessary, but you can add a balanced organic fertilizer in the spring if your soil is poor.
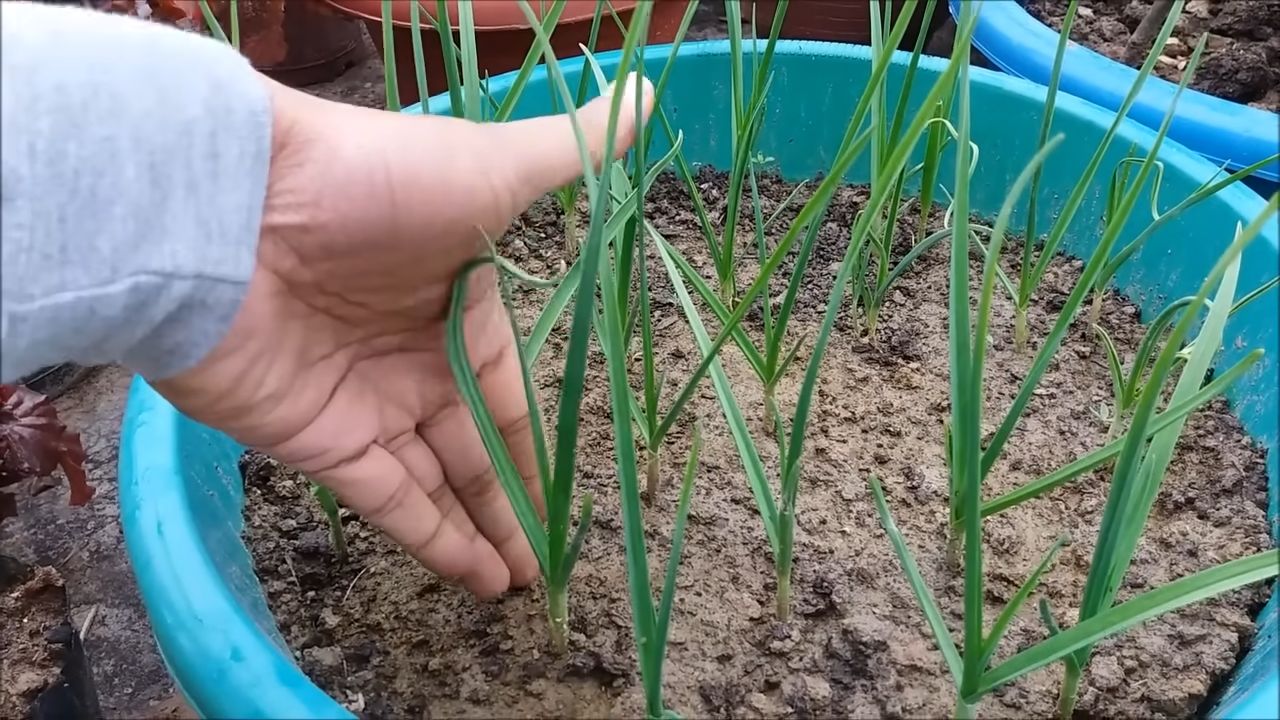
What are the signs of a successful garlic harvest?
A successful garlic harvest is indicated by large, firm bulbs with well-developed cloves. The leaves will typically turn yellow and brown as the bulbs mature, usually around late summer or early fall. Gently dig up the bulbs when the leaves are mostly dry and brown, being careful not to damage the bulbs. Allow the bulbs to cure in a well-ventilated area for several weeks before storing.
What are some common problems when growing garlic?
Some common problems when growing garlic include pests such as garlic mites and nematodes, and diseases like white rot. Proper soil preparation, crop rotation, and good sanitation practices can help prevent these problems. Regularly inspect your plants for signs of pests or diseases and take appropriate action if necessary. Consider using organic pest control methods to protect your crop.
Can I save seeds from my garlic harvest to plant next year?
Garlic does not produce seeds in the traditional sense. Garlic is propagated using cloves from existing bulbs. To plant garlic next year, simply separate the cloves from your harvested bulbs and plant them as described in the instructions. This ensures that you maintain the same variety of garlic. Saving cloves from your harvest is a simple and effective way to continue growing your own garlic year after year.
Leave a Comment