

Growing Radishes for Beginners might seem daunting, but trust me, it’s one of the most rewarding and quickest wins you can achieve in your home garden! Imagine plucking vibrant, peppery radishes from your own backyard just weeks after planting – that’s the magic we’re about to unlock together.
Radishes have been cultivated for centuries, with roots (pun intended!) tracing back to ancient Egypt and Greece. They were prized not only for their unique flavor but also for their medicinal properties. Today, while we might not rely on them for healing, their crisp texture and zesty bite make them a delightful addition to salads, snacks, and even cooked dishes.
But why should you bother growing radishes for beginners yourself? Well, store-bought radishes often lack the freshness and vibrant flavor of homegrown ones. Plus, gardening is incredibly therapeutic! This DIY guide will provide you with simple, step-by-step instructions and clever hacks to ensure a bountiful radish harvest, even if you’re a complete newbie. We’ll cover everything from choosing the right radish variety to preventing common problems, so you can enjoy the satisfaction of nurturing your own food from seed to table. Let’s get our hands dirty and start growing!
Growing Radishes: A Beginner’s Guide to Crunchy Success!
Hey there, fellow gardening enthusiasts! I’m so excited you’re thinking about growing radishes. They’re one of the easiest and fastest vegetables to grow, making them perfect for beginners (like I was not too long ago!). Plus, that peppery bite is just fantastic in salads, on tacos, or even just munched on straight from the garden. Let’s dive into how you can have your own radish bounty in just a few weeks!
Choosing the Right Radish Variety
First things first, let’s talk about radish varieties. There are tons to choose from, and they come in all shapes, sizes, and colors! Here’s a quick rundown of some popular options:
* Cherry Belle: This is a classic, round, bright red radish. It’s super reliable and matures quickly (around 22 days). I highly recommend this one for your first time!
* French Breakfast: These are elongated, red radishes with white tips. They have a milder flavor than Cherry Belle and are ready in about 25 days.
* Easter Egg: This is a mix of radishes in different colors – red, pink, purple, and white! It’s a fun option if you want some variety in your harvest. They mature in about 28 days.
* Black Spanish: This is a larger, round radish with black skin and white flesh. It has a stronger, more pungent flavor and takes longer to mature (around 55 days). Maybe save this one for later!
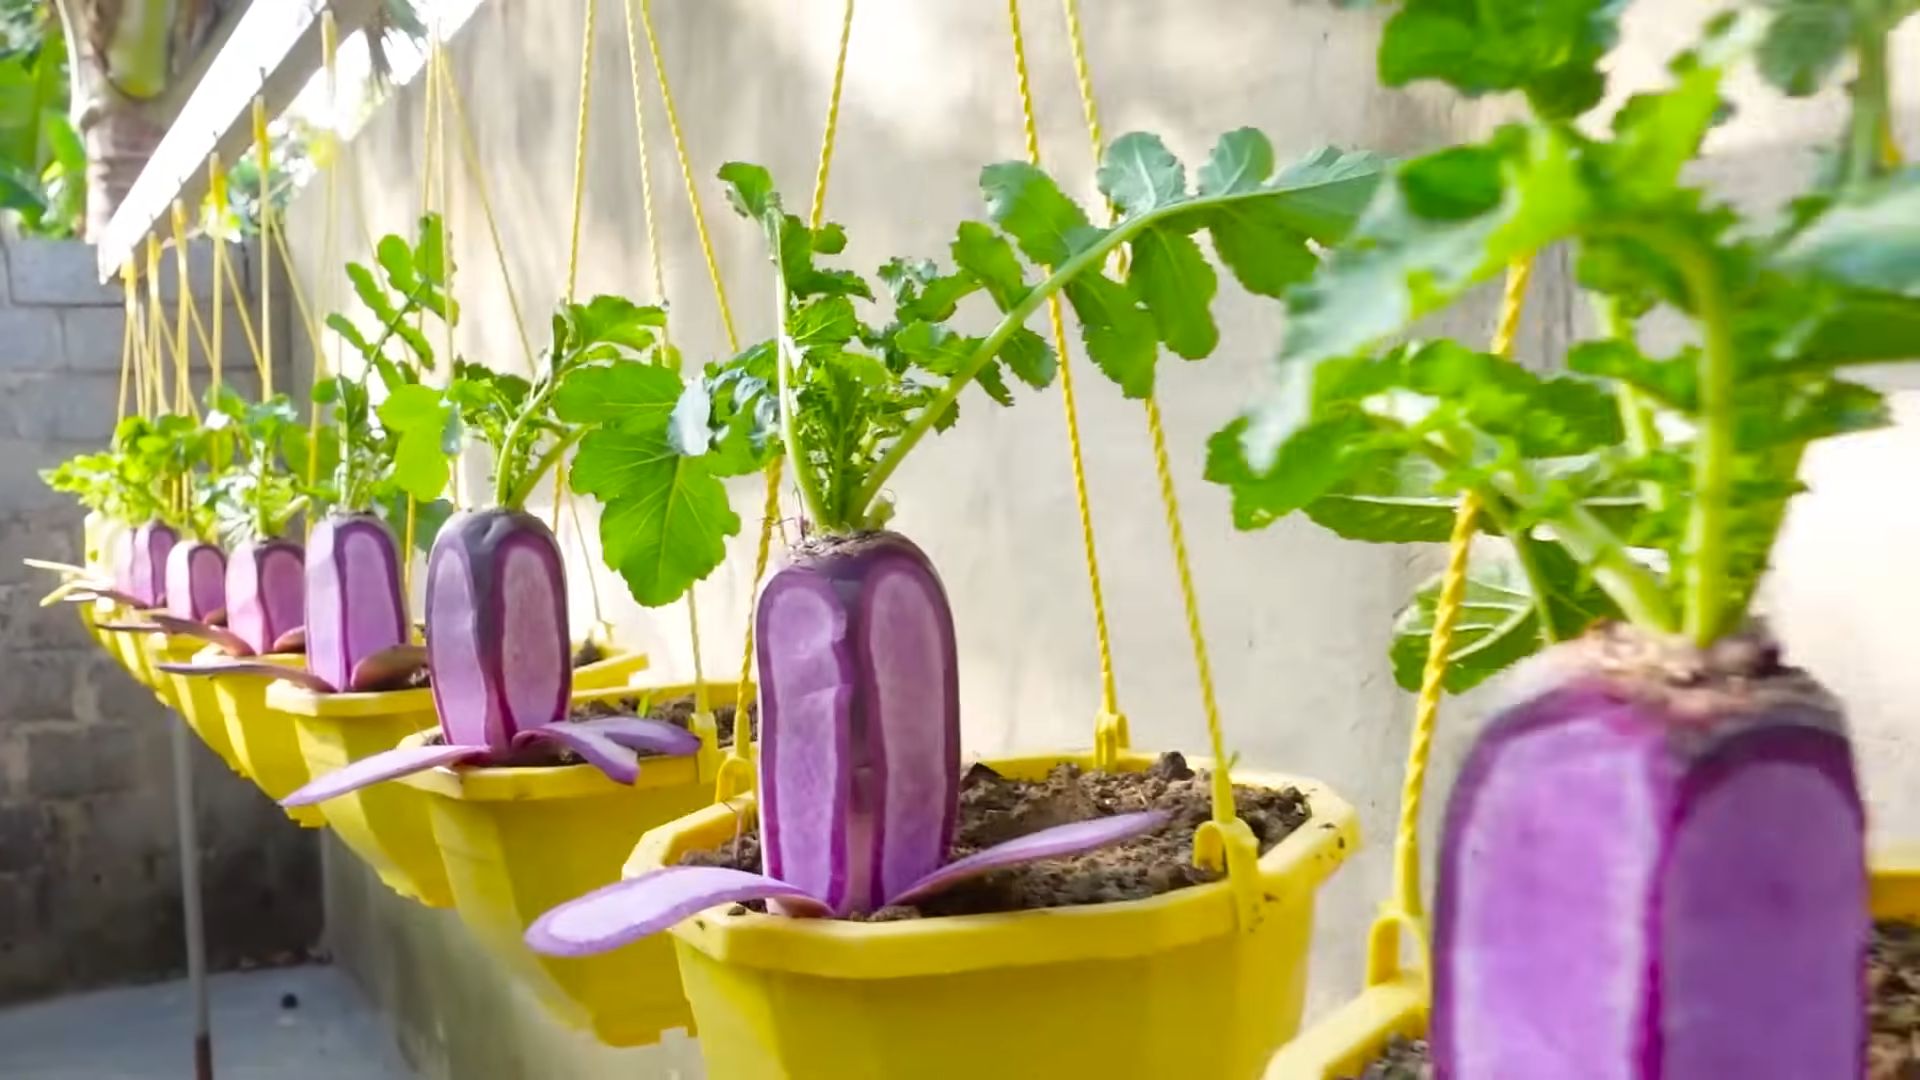
* Daikon: While technically a radish, daikon radishes are much larger and milder in flavor. They’re often used in Asian cuisine. They take around 60 days to mature.
I usually stick with Cherry Belle or French Breakfast because they’re quick and easy. But feel free to experiment and find your favorite!
Preparing Your Radish Planting Area
Radishes are pretty low-maintenance, but they do need a few things to thrive. Here’s what you need to consider when preparing your planting area:
* Sunlight: Radishes need at least 6 hours of sunlight per day. If you don’t have a spot that gets full sun, they can still grow in partial shade, but they might take a little longer to mature.
* Soil: Radishes prefer loose, well-drained soil. If your soil is heavy clay, you’ll need to amend it with compost or other organic matter to improve drainage. I usually add a generous amount of compost to my radish beds.
* pH: Radishes prefer a soil pH between 6.0 and 7.0. You can test your soil pH with a soil testing kit, which you can find at most garden centers.
* Fertilizer: Radishes don’t need a lot of fertilizer. In fact, too much nitrogen can cause them to grow lots of leaves but small roots. I usually just add a little bit of compost to the soil before planting.
Planting Your Radish Seeds
Okay, now for the fun part – planting! Here’s how I plant my radish seeds:
1. Choose Your Planting Time: Radishes are a cool-season crop, which means they grow best in the spring and fall. I usually plant my first crop of radishes in early spring, as soon as the soil is workable. You can also plant them in late summer for a fall harvest. Avoid planting them in the heat of summer, as they’ll bolt (go to seed) quickly.
2. Prepare the Soil: Rake the soil smooth and remove any rocks or debris.
3. Make Rows: Use a hoe or your finger to create shallow rows about 1/2 inch deep and 1 inch apart.
4. Sow the Seeds: Sprinkle the radish seeds evenly in the rows, about 1/2 inch apart. Don’t plant them too close together, or they’ll compete for resources.
5. Cover the Seeds: Gently cover the seeds with soil and pat it down lightly.
6. Water Thoroughly: Water the soil gently but thoroughly. You want to make sure the soil is moist but not soggy.
7. Mark Your Rows: Label your rows with the date and radish variety. This will help you keep track of when to expect your harvest.
Caring for Your Radishes
Radishes are pretty easy to care for, but here are a few things to keep in mind:
* Watering: Keep the soil consistently moist, especially during hot weather. Radishes need plenty of water to grow quickly and develop plump roots. I usually water my radishes every day or two, depending on the weather.
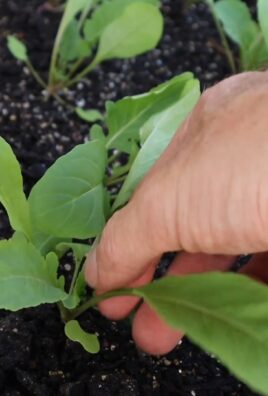
* Thinning: Once the seedlings emerge, thin them to about 1 inch apart. This will give them enough room to grow. I know it’s hard to pull out those tiny seedlings, but it’s necessary for a good harvest!
* Weeding: Keep the area around your radishes free of weeds. Weeds can compete with radishes for water and nutrients. I usually hand-weed my radish beds, but you can also use a hoe.
* Pest Control: Radishes are generally pest-resistant, but they can be susceptible to flea beetles. Flea beetles are tiny, jumping insects that can chew holes in the leaves. If you see flea beetles, you can control them with insecticidal soap or neem oil. I haven’t had too many problems with pests on my radishes, thankfully!
Harvesting Your Radishes
This is the most rewarding part! Radishes are ready to harvest in as little as 21 days, depending on the variety. Here’s how to tell when they’re ready:
* Check the Size: The radish roots should be about 1 inch in diameter. You can gently brush away the soil around the base of the plant to check the size.
* Check the Time: Refer to the seed packet for the expected maturity date.
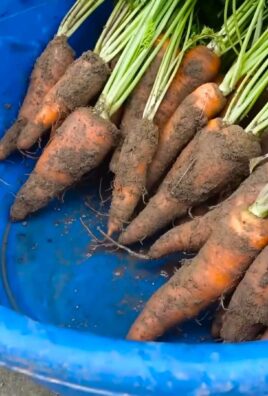
* Harvest: Gently pull the radishes from the soil. If the soil is dry, you may need to loosen it with a trowel.
I like to harvest my radishes a few at a time, as needed. This way, I can enjoy them fresh from the garden.
Tips for a Bountiful Radish Harvest
Here are a few extra tips to help you get the most out of your radish crop:
* Succession Planting: Plant a new batch of radishes every two weeks for a continuous harvest. This is what I do to make sure I always have fresh radishes on hand.
* Plant in Raised Beds: Raised beds provide excellent drainage and can help warm the soil up faster in the spring.
* Use Companion Planting: Plant radishes with other vegetables that benefit from their presence. For example, radishes can help deter pests from cucumbers and squash.
* Don’t Let Them Get Too Big: Radishes can become woody and bitter if they’re left in the ground too long. Harvest them as soon as they’re ready.
* Eat the Greens: Don’t throw away the radish greens! They’re edible and delicious. You can add them to salads, soups, or stir-fries. I love sautéing them with a little garlic and olive oil.
Troubleshooting Common Radish Problems
Even with the best care, you might encounter a few problems when growing radishes. Here are some common issues and how to fix them:
* Radishes are small and spindly: This could be due to overcrowding, lack of sunlight, or poor soil. Thin the seedlings, make sure they’re getting enough sunlight, and amend the soil with compost.
* Radishes are cracking: This is usually caused by inconsistent watering. Make sure to keep the soil consistently moist.
* Radishes are bitter: This can be caused by hot weather or letting the radishes get too big. Harvest them as soon as they’re ready, and avoid planting them in the heat of summer.
* Radishes are bolting (going to seed): This is also caused by hot weather. Plant radishes in the spring and fall, when the weather is cooler.
Storing Your Radishes
If you have more radishes than you can eat right away, you can store them in the refrigerator. Here’s how:
1. Cut off the Greens: Remove the radish greens, leaving about 1/2 inch of stem attached.
2. Wash the Radishes: Wash the radishes thoroughly and pat them dry.
3. Store in a Plastic Bag: Place the radishes in a plastic bag with a damp paper towel.
4. Refrigerate: Store the radishes in the refrigerator for up to two weeks.
Enjoying Your Radish Harvest
Now that you’ve grown your own radishes, it’s time to enjoy them! Here are a few of my favorite ways to eat radishes:
* In Salads: Radishes add
Conclusion
So, there you have it! Mastering the art of growing radishes, even for beginners, is entirely within your reach. This simple yet effective DIY trick – [Insert the specific DIY trick from the main article here, e.g., using coffee grounds as fertilizer, companion planting with carrots, or creating a DIY seed tape] – is a game-changer for anyone looking to cultivate a thriving radish patch. It’s not just about getting radishes; it’s about maximizing your yield, improving the soil health, and enjoying the satisfaction of nurturing your own food from seed to table.
Why is this DIY trick a must-try? Because it addresses some of the most common challenges faced by novice radish growers. [Elaborate on the benefits of the specific DIY trick. For example, if the trick is using coffee grounds, explain how it improves soil acidity and provides nitrogen]. This translates to faster germination, healthier plants, and ultimately, a more abundant harvest of crisp, peppery radishes. Plus, it’s often a cost-effective and environmentally friendly alternative to store-bought solutions.
But don’t stop there! Experimentation is key to gardening success. Consider these variations to tailor the DIY trick to your specific needs and environment. If you’re using coffee grounds, try different ratios to see what works best for your soil. If you’re companion planting, explore other beneficial pairings beyond carrots, such as lettuce or spinach. You can even try succession planting, sowing new seeds every couple of weeks, to enjoy a continuous harvest throughout the growing season.
Growing radishes doesn’t have to be intimidating. With this DIY trick and a little bit of patience, you’ll be amazed at how easy it is to produce your own delicious, homegrown radishes. We encourage you to give it a try and see the difference it makes in your radish-growing journey.
Don’t just take our word for it! We want to hear about your experiences. Share your results, tips, and variations in the comments below. Let’s build a community of radish enthusiasts and learn from each other’s successes (and even the occasional failures!). Happy gardening!
Frequently Asked Questions (FAQs)
What exactly are the benefits of using [Specific DIY trick, e.g., coffee grounds] for growing radishes?
Using [Specific DIY trick, e.g., coffee grounds] offers several advantages for radish cultivation. [Expand on the benefits mentioned in the conclusion. For example: Coffee grounds are a fantastic source of nitrogen, which is essential for healthy plant growth. They also improve soil drainage and aeration, preventing waterlogging and promoting strong root development. Furthermore, coffee grounds can help to suppress certain soilborne diseases and pests, creating a healthier environment for your radishes to thrive.] The specific benefits will depend on the DIY trick you are using, so tailor this answer accordingly.
How often should I apply [Specific DIY trick, e.g., coffee grounds] to my radish plants?
The frequency of application depends on the specific DIY trick and the needs of your soil. [Provide specific guidance. For example: For coffee grounds, a general guideline is to apply a thin layer around the base of your radish plants every 2-3 weeks. Be careful not to over-apply, as too much nitrogen can lead to excessive foliage growth at the expense of root development. Monitor your plants closely and adjust the frequency as needed. If you notice yellowing leaves, it could indicate a nitrogen deficiency, while excessive green growth might suggest over-fertilization.]
Can I use [Specific DIY trick, e.g., coffee grounds] with other fertilizers?
Yes, you can often use [Specific DIY trick, e.g., coffee grounds] in conjunction with other fertilizers, but it’s important to do so carefully. [Explain the potential interactions. For example: Coffee grounds are a mild fertilizer, so they can complement other organic or synthetic fertilizers. However, avoid over-fertilizing, as this can harm your plants. If you’re using a commercial fertilizer, follow the instructions on the label and reduce the amount of coffee grounds you apply accordingly. It’s always a good idea to test your soil before adding any fertilizers to ensure you’re providing the right balance of nutrients.]
What are some common problems I might encounter when growing radishes, and how can this DIY trick help?
Radishes are generally easy to grow, but some common problems include slow germination, pest infestations (like flea beetles), and root rot. [Explain how the DIY trick addresses these problems. For example: Using coffee grounds can improve soil drainage, reducing the risk of root rot. Companion planting with carrots can deter flea beetles, as the scent of carrots repels them. Ensuring proper soil preparation and consistent watering are also crucial for preventing these issues.]
My radishes are growing lots of leaves but small roots. What am I doing wrong?
This is a common problem, often caused by over-fertilization with nitrogen, overcrowding, or insufficient sunlight. [Explain how the DIY trick can help prevent this. For example: While coffee grounds provide nitrogen, using them in moderation and ensuring proper spacing between plants can help prevent excessive foliage growth. Make sure your radishes are getting at least 6 hours of sunlight per day. Thinning out the seedlings early on will also give the remaining plants more room to develop their roots.]
What are some other tips for successful radish growing?
Beyond this DIY trick, there are several other factors that contribute to successful radish growing. [Provide a list of additional tips. For example:
* Choose a sunny location with well-drained soil.
* Prepare the soil by loosening it and adding compost or other organic matter.
* Sow seeds directly into the ground, spacing them about an inch apart.
* Water regularly, keeping the soil consistently moist but not waterlogged.
* Thin out seedlings to ensure proper spacing.
* Harvest radishes when they reach the desired size, typically within 3-4 weeks.]
How do I know when my radishes are ready to harvest?
Radishes are typically ready to harvest when they reach about 1 inch in diameter, but this can vary depending on the variety. [Provide specific harvesting instructions. For example: Gently loosen the soil around the radish and pull it out. If the roots are cracked or split, it means they’ve been left in the ground too long. Harvest radishes promptly to prevent them from becoming woody or bitter.]
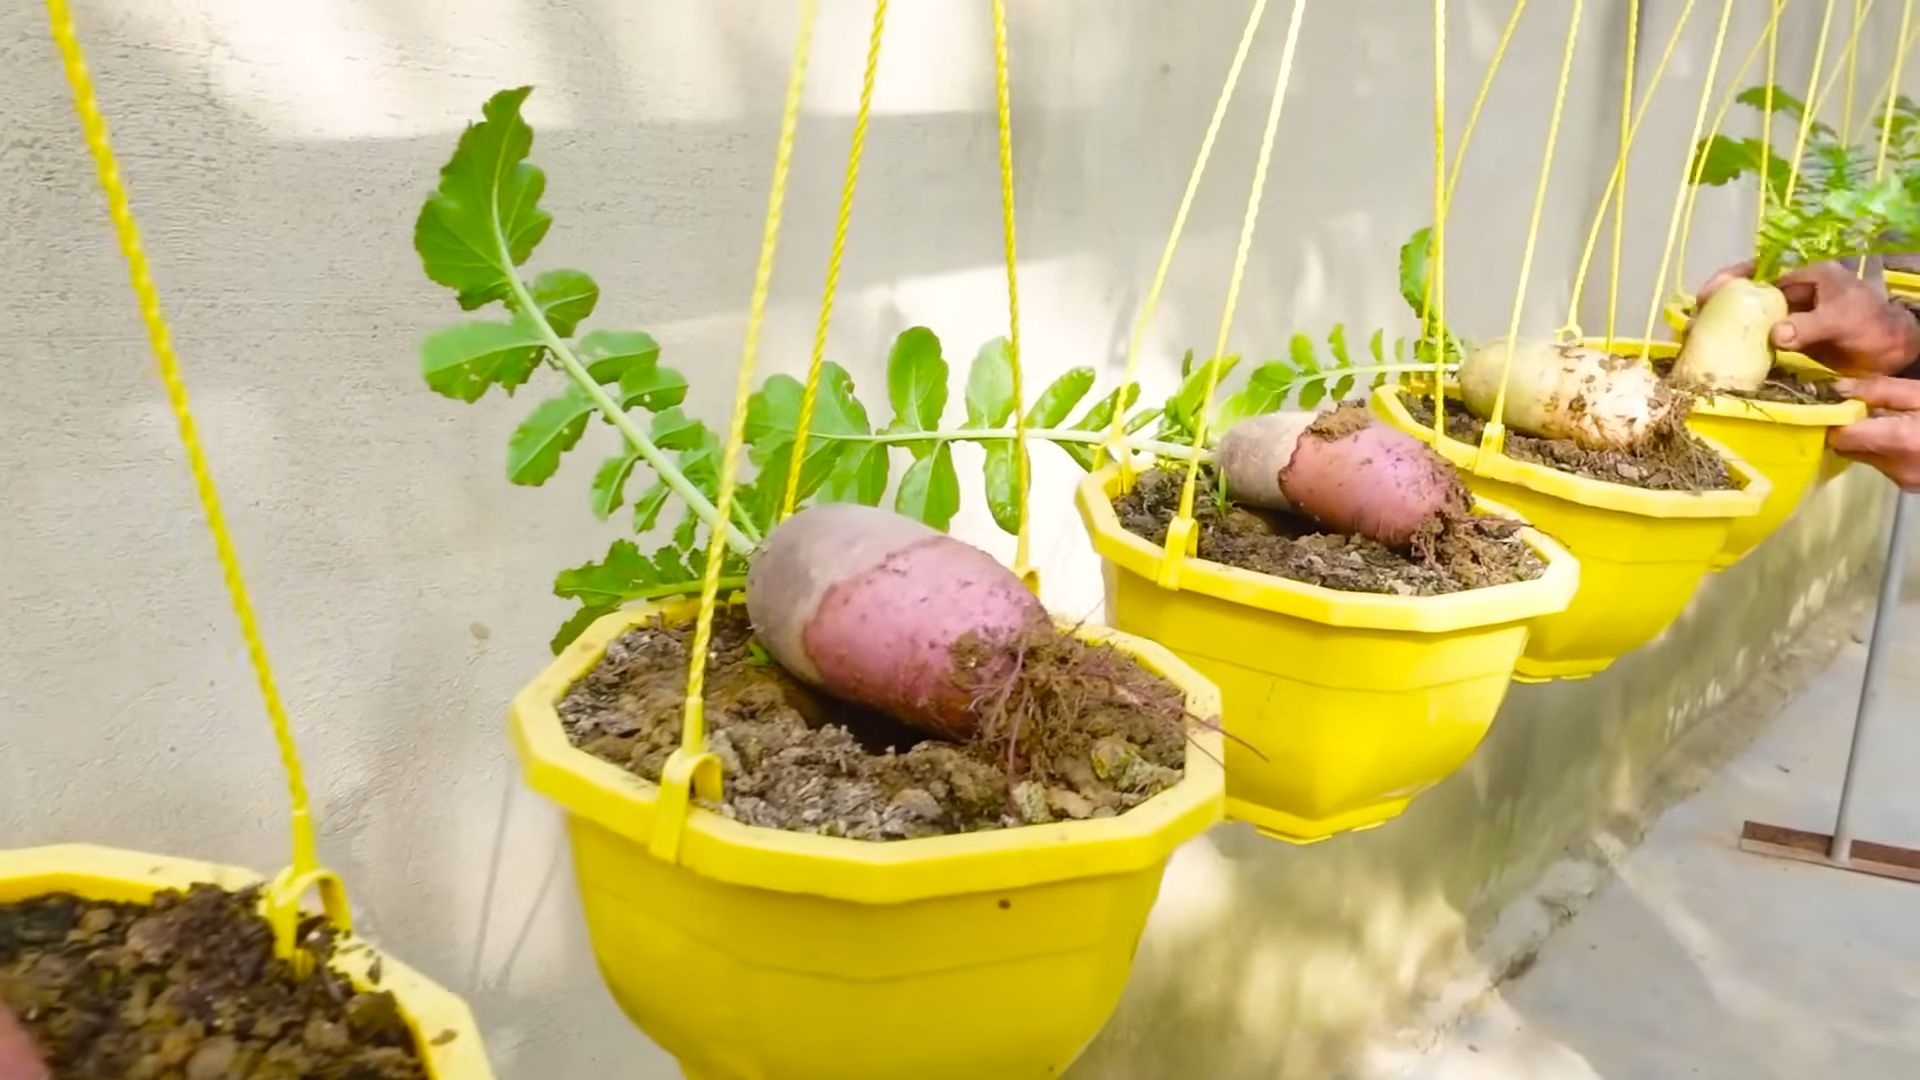
Can I grow radishes in containers?
Yes, radishes are well-suited for container gardening. [Provide guidance on container gardening. For example: Choose a container that is at least 6 inches deep and has drainage holes. Use a well-draining potting mix and follow the same planting and care instructions as you would for growing radishes in the ground. Container-grown radishes may require more frequent watering, especially during hot weather.]
What varieties of radishes are best for beginners?
Some easy-to-grow radish varieties for beginners include Cherry Belle, French Breakfast, and Easter Egg. [Explain why these varieties are good for beginners. For example: These varieties are known for their quick maturity, mild flavor, and tolerance to a range of growing conditions. They are also relatively resistant to common radish pests and diseases.]
Where can I find more information about growing radishes?
There are many resources available online and in libraries that can provide more information about growing radishes. [Suggest specific resources. For example: Your local cooperative extension service is a great resource for gardening information specific to your region. You can also find helpful articles and videos on gardening websites and YouTube channels. Don’t hesitate to ask questions at your local garden center or nursery.]
Leave a Comment