

Growing Kohlrabi at Home might sound like an exotic culinary adventure reserved for seasoned gardeners, but trust me, it’s easier than you think! Have you ever dreamt of strolling into your backyard and harvesting a crisp, slightly sweet, and utterly unique vegetable? Well, stop dreaming and start planting! This DIY guide is your passport to unlocking the secrets of cultivating this unusual, yet incredibly rewarding, crop right in your own backyard.
Kohlrabi, often called a “German turnip,” has a fascinating history, dating back to the Roman Empire. While its exact origins are debated, it gained popularity in Central and Eastern Europe, becoming a staple in many traditional dishes. For centuries, it’s been cherished for its versatility and nutritional value. But beyond its historical roots, why should you be interested in growing kohlrabi at home?
In today’s world, where we’re increasingly conscious of where our food comes from, growing kohlrabi at home offers a fantastic way to connect with nature and enjoy fresh, organic produce. Plus, store-bought kohlrabi can sometimes be tough or lack flavor. By growing your own, you control the quality and can harvest it at its peak ripeness. I’m going to show you some simple tricks and hacks that will have you enjoying delicious, homegrown kohlrabi in no time, even if you’re a complete beginner. Let’s get our hands dirty and start growing!
Growing Kohlrabi at Home: A Beginner’s Guide
Kohlrabi, sometimes called a German turnip, is a delightfully crunchy and slightly sweet vegetable that’s surprisingly easy to grow at home. Don’t let its unusual appearance intimidate you! I’m going to walk you through everything you need to know to cultivate your own kohlrabi crop, from seed to harvest.
Understanding Kohlrabi
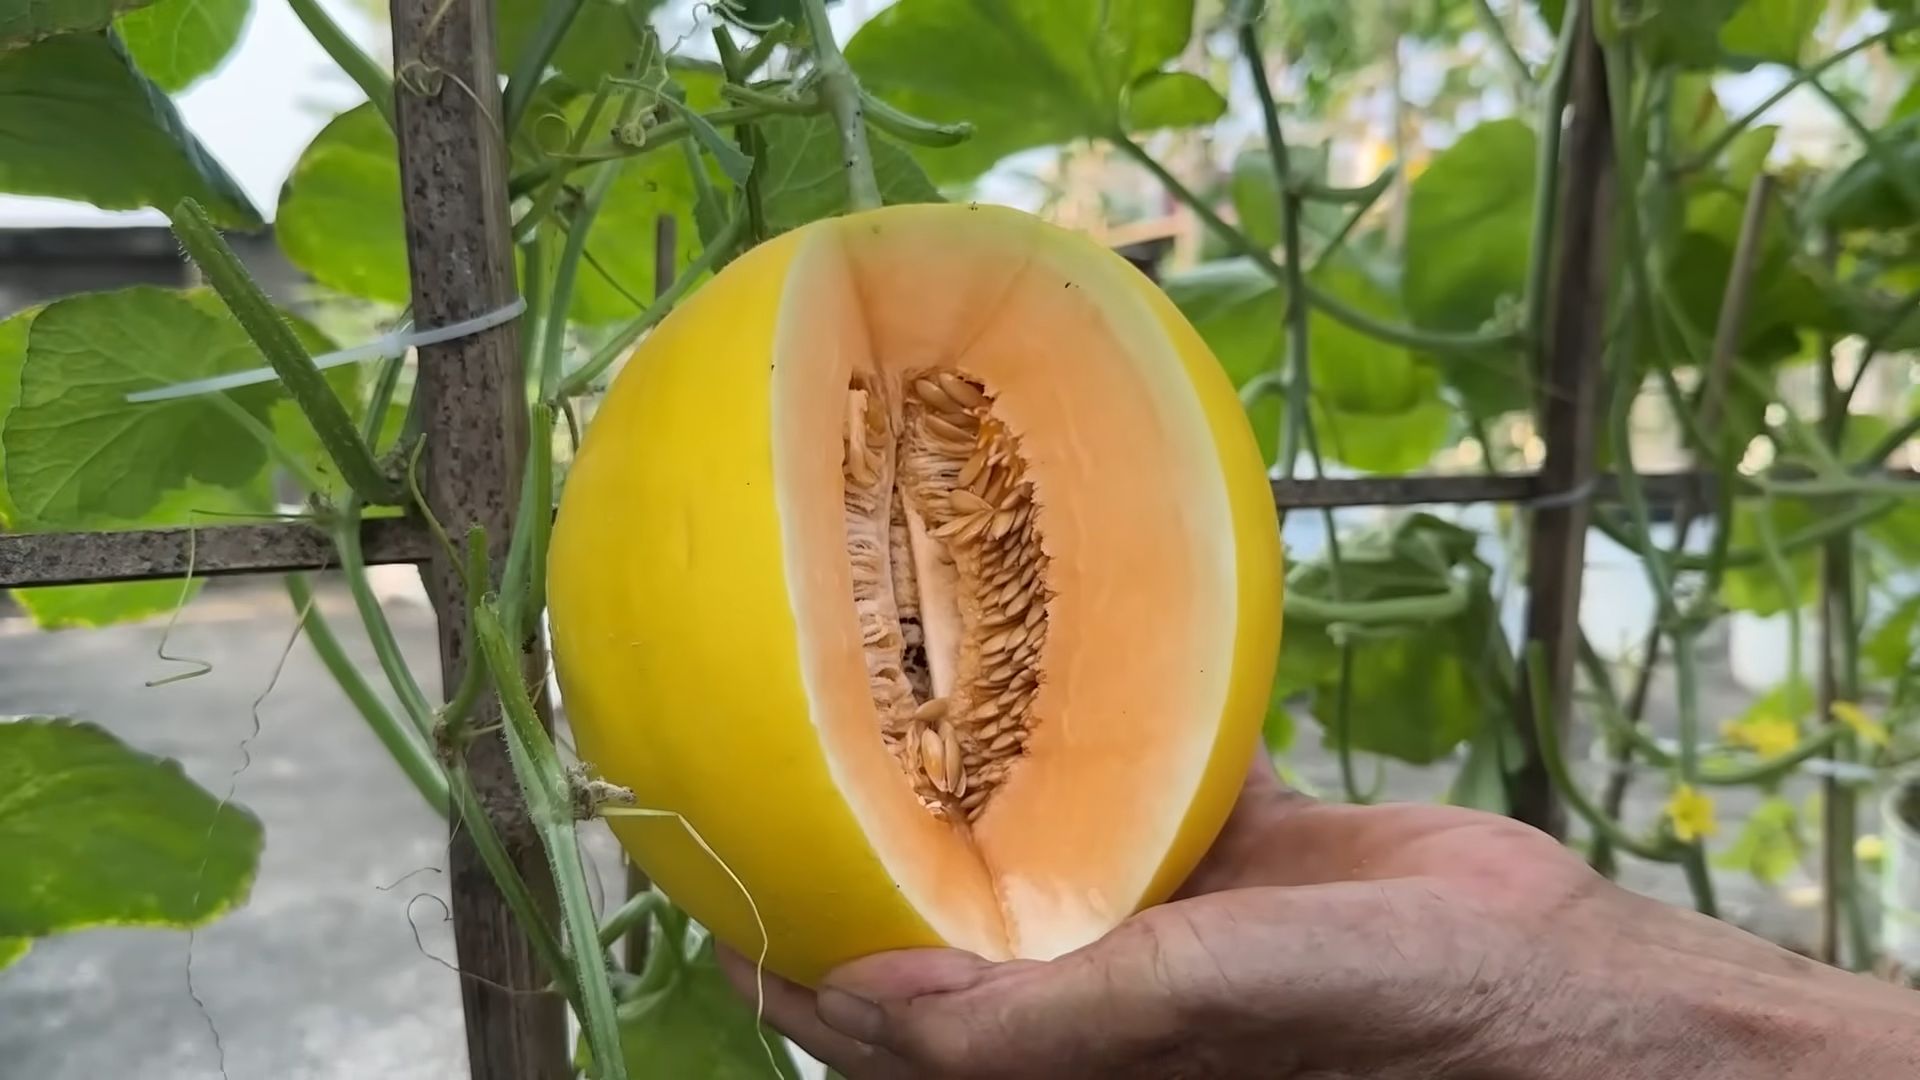
Before we dive into the how-to, let’s quickly cover what kohlrabi is. It’s a member of the cabbage family, and the part we eat is the swollen stem that grows above ground. It comes in green, purple, and even white varieties. The taste is often described as a cross between a turnip and a cabbage, but milder and sweeter. You can eat it raw in salads, roasted, steamed, or even stir-fried. The leaves are also edible, similar to collard greens.
Choosing the Right Variety
Selecting the right kohlrabi variety is crucial for success. Here are a few popular and reliable options:
* Early White Vienna: A classic, fast-maturing variety with a mild flavor. It’s a great choice for beginners.
* Early Purple Vienna: Similar to the white variety but with a beautiful purple skin. The flesh is still white.
* Grand Duke: A hybrid variety known for its disease resistance and large, uniform bulbs.
* Kossak: A giant variety that can grow to impressive sizes without becoming woody.
Consider your local climate and growing season when making your choice. Check seed packets for information on days to maturity.
Getting Started: Planting Kohlrabi
Kohlrabi thrives in cool weather, so timing is key. You can either start seeds indoors or direct sow them in your garden.
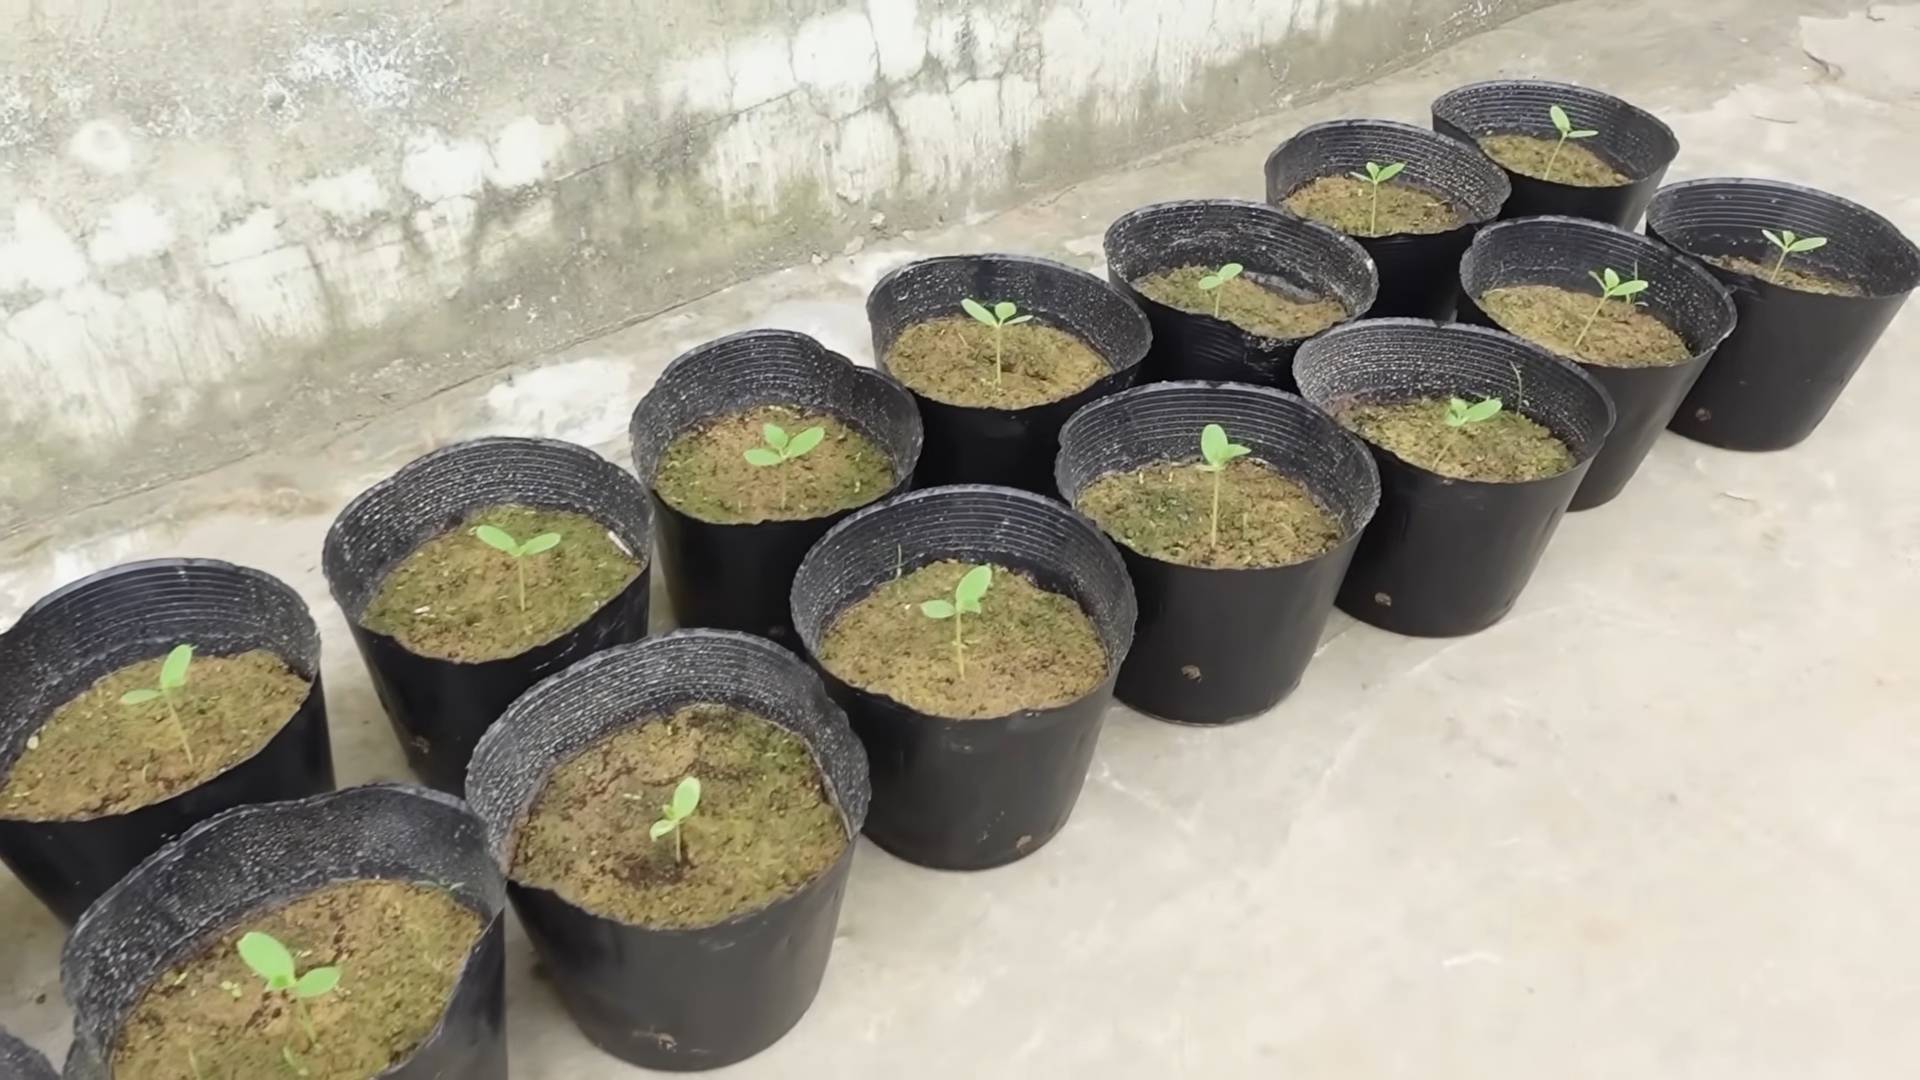
Starting Seeds Indoors
Starting seeds indoors gives you a head start, especially if you have a short growing season.
1. Gather Your Supplies: You’ll need seed starting trays or small pots, seed starting mix, kohlrabi seeds, a spray bottle, and a grow light (optional, but highly recommended).
2. Sow the Seeds: Fill your trays or pots with seed starting mix. Moisten the mix thoroughly with the spray bottle. Sow the kohlrabi seeds about 1/4 inch deep, placing 2-3 seeds per cell or pot.
3. Provide Light and Moisture: Place the trays or pots under a grow light or in a sunny window. Keep the soil consistently moist, but not soggy. Use the spray bottle to gently water the seedlings.
4. Thin the Seedlings: Once the seedlings have their first true leaves (the second set of leaves), thin them to one plant per cell or pot. Choose the strongest seedling and snip off the others at the soil line.
5. Harden Off the Seedlings: Before transplanting the seedlings outdoors, you need to harden them off. This means gradually exposing them to outdoor conditions over a period of 7-10 days. Start by placing them in a sheltered spot for a few hours each day, gradually increasing the amount of time they spend outside.
Direct Sowing Kohlrabi Seeds
Direct sowing is a simpler method, but it requires careful timing and attention to soil conditions.
1. Prepare the Soil: Choose a sunny spot in your garden with well-drained soil. Amend the soil with compost or other organic matter to improve its fertility and drainage. Kohlrabi prefers a slightly acidic to neutral soil pH (6.0-7.0).
2. Sow the Seeds: Sow the kohlrabi seeds about 1/2 inch deep and 1-2 inches apart in rows. Space the rows about 12-18 inches apart.
3. Water Gently: Water the seeds gently to avoid washing them away. Keep the soil consistently moist until the seedlings emerge.
4. Thin the Seedlings: Once the seedlings are a few inches tall, thin them to 6-8 inches apart. This will give them enough room to grow and develop.
Caring for Your Kohlrabi Plants
Once your kohlrabi plants are established, they require regular care to thrive.
* Watering: Kohlrabi needs consistent moisture, especially during hot weather. Water deeply whenever the top inch of soil feels dry. Avoid overhead watering, as this can promote fungal diseases.
* Fertilizing: Kohlrabi is a heavy feeder, so it benefits from regular fertilization. Use a balanced fertilizer or side-dress with compost every few weeks.
* Weeding: Keep the area around your kohlrabi plants free of weeds. Weeds compete with the kohlrabi for nutrients and water.
* Pest Control: Kohlrabi can be susceptible to pests such as cabbage worms, aphids, and flea beetles. Inspect your plants regularly and take action if you see any signs of infestation. You can use organic pest control methods such as insecticidal soap or neem oil.
* Mulching: Mulching around your kohlrabi plants helps to retain moisture, suppress weeds, and regulate soil temperature. Use organic mulches such as straw, hay, or wood chips.
Harvesting Kohlrabi
Harvesting kohlrabi at the right time is crucial for getting the best flavor and texture.
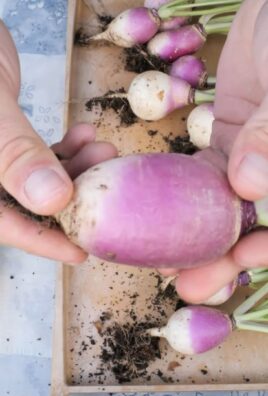
1. Timing is Key: Kohlrabi is best harvested when the bulbs are about 2-3 inches in diameter. Larger bulbs can become tough and woody. Check the seed packet for the expected days to maturity.
2. Harvesting: To harvest kohlrabi, simply pull the entire plant out of the ground. You can also use a knife to cut the bulb off at the base of the stem.
3. Storing: Kohlrabi can be stored in the refrigerator for several weeks. Remove the leaves before storing, as they can draw moisture from the bulb.
Troubleshooting Common Problems
Even with the best care, you may encounter some problems when growing kohlrabi. Here are a few common issues and how to address them:
* Bolting: Bolting occurs when kohlrabi plants flower prematurely. This can be caused by hot weather or inconsistent watering. To prevent bolting, choose heat-tolerant varieties and provide consistent moisture.
* Cracking: Cracking can occur when kohlrabi bulbs grow too quickly. This can be caused by excessive watering or fertilization. To prevent cracking, water and fertilize moderately.
* Pest Infestations: As mentioned earlier, kohlrabi can be susceptible to pests. Inspect your plants regularly and take action if you see any signs of infestation.
Enjoying Your Harvest
Now that you’ve successfully grown your own kohlrabi, it’s time to enjoy the fruits (or rather, vegetables) of your labor! Here are a few ideas for using your kohlrabi:
* Raw: Peel and slice kohlrabi and add it to salads or use it as a crudité with dip.
* Roasted: Toss kohlrabi with olive oil, salt, and pepper and roast it in the oven until tender.
* Steamed: Steam kohlrabi until tender and serve it with butter or your favorite sauce.
* Stir-fried: Add kohlrabi to stir-fries for a crunchy and slightly sweet flavor.
* Kohlrabi Slaw: Shred kohlrabi and mix it with mayonnaise, vinegar, and other slaw ingredients.
* Kohlrabi Fries: Cut kohlrabi into fries, toss with oil and spices, and bake until crispy.
Section: Advanced Kohlrabi Growing Techniques
If you’re feeling adventurous and want to take your kohlrabi growing to the next level, here are a few advanced techniques to consider:
Succession Planting
Succession planting involves planting kohlrabi seeds every few weeks to ensure a continuous harvest throughout the growing season. This is especially useful if you have a short growing season.
1. Plan Your Planting Schedule: Determine how often you want to harvest kohlrabi and plan your planting schedule accordingly.
2. Sow Seeds Regularly: Sow kohlrabi seeds every 2-3 weeks, either indoors or directly in the garden.
3. Harvest Regularly: Harvest kohlrabi as it matures to encourage continued production.
Companion Planting
Companion planting involves planting different crops together to benefit each other. Some good companion plants for kohlrabi include:
* Marigolds: Marigolds repel many common pests.
* Nasturtiums: Nasturtiums attract aphids away from kohlrabi.
* Dill: Dill attracts beneficial insects that prey on pests.
* Onions and Garlic: These plants deter pests and improve soil health.
Extending the Growing Season
If you live in a colder climate, you can extend the kohlrabi growing season by using row covers or cold frames.
1.
Conclusion
So, there you have it! Growing kohlrabi at home is not only achievable, but it’s also a deeply rewarding experience that connects you directly to the food you eat. Forget those bland, sometimes woody, kohlrabi bulbs you find at the grocery store. Imagine instead, crisp, juicy, and vibrantly flavored kohlrabi, fresh from your own garden, ready to be enjoyed in salads, slaws, stir-fries, or even eaten raw as a healthy snack.
This DIY trick – starting your kohlrabi from seed indoors and then transplanting them at the right time – is a game-changer. It gives you a head start on the growing season, protects your seedlings from early pests and harsh weather, and ultimately leads to a more abundant and higher-quality harvest. It’s a must-try for anyone serious about enjoying the best kohlrabi possible.
But the beauty of gardening lies in its adaptability. Feel free to experiment with different varieties of kohlrabi. Consider trying ‘Early White Vienna’ for its mild flavor and early maturity, or ‘Purple Vienna’ for its striking color and slightly sweeter taste. You can also adjust the timing of your planting based on your specific climate and microclimate. If you live in a warmer region, you might be able to direct sow your kohlrabi seeds later in the season for a fall harvest.
Don’t be afraid to get creative with your kohlrabi cultivation. Companion planting can also enhance your kohlrabi’s growth. Marigolds can deter pests, while dill can attract beneficial insects. Experiment with different combinations to see what works best in your garden.
We’ve provided a solid foundation, but the real magic happens when you personalize the process. Remember to monitor your plants regularly, adjust your watering schedule as needed, and provide them with the nutrients they need to thrive.
We are confident that with a little effort and attention, you’ll be enjoying a bountiful harvest of delicious, homegrown kohlrabi in no time. So, grab your seeds, prepare your soil, and embark on this exciting gardening adventure.
We encourage you to try this DIY trick for growing kohlrabi at home and share your experiences with us! Let us know what varieties you tried, what challenges you faced, and what successes you celebrated. Your insights will not only help other gardeners but will also contribute to a growing community of kohlrabi enthusiasts. Share your photos, tips, and stories in the comments section below. Happy gardening!
Frequently Asked Questions (FAQ)
What is the best time to start kohlrabi seeds indoors?
The ideal time to start your kohlrabi seeds indoors is approximately 4-6 weeks before the last expected frost in your area. This allows the seedlings to develop a strong root system before being transplanted outdoors. Check your local weather forecasts and historical data to determine the average date of the last frost in your region. You can also use online planting calendars that take your zip code into account. Starting too early can result in leggy, weak seedlings, while starting too late can delay your harvest.
How do I prepare the soil for transplanting kohlrabi seedlings?
Kohlrabi thrives in well-drained, fertile soil with a pH between 6.0 and 7.5. Before transplanting, amend your garden soil with plenty of organic matter, such as compost or well-rotted manure. This will improve drainage, aeration, and nutrient content. Work the soil to a depth of at least 12 inches to ensure that the kohlrabi roots have ample space to grow. Consider adding a slow-release fertilizer specifically formulated for vegetables to provide a steady supply of nutrients throughout the growing season. Avoid using soil that is compacted or heavy in clay, as this can hinder root development and lead to stunted growth.
How often should I water my kohlrabi plants?
Kohlrabi requires consistent moisture to produce plump, juicy bulbs. Water your plants deeply and regularly, especially during dry periods. Aim to keep the soil consistently moist but not waterlogged. A good rule of thumb is to water when the top inch of soil feels dry to the touch. Mulching around the plants with straw, wood chips, or other organic materials can help retain moisture and suppress weeds. Avoid overhead watering, as this can increase the risk of fungal diseases. Instead, water at the base of the plants using a soaker hose or drip irrigation system.
What are some common pests and diseases that affect kohlrabi?
Kohlrabi can be susceptible to several pests and diseases, including cabbage worms, aphids, flea beetles, and clubroot. Regularly inspect your plants for signs of infestation or disease. Cabbage worms can be controlled by handpicking them off the plants or using Bacillus thuringiensis (Bt), a natural insecticide. Aphids can be washed off with a strong stream of water or treated with insecticidal soap. Flea beetles can be deterred by using row covers or applying diatomaceous earth. Clubroot is a soilborne disease that can cause stunted growth and swollen roots. To prevent clubroot, ensure good soil drainage, maintain a proper soil pH, and practice crop rotation.
When is the best time to harvest kohlrabi?
The best time to harvest kohlrabi is when the bulbs are about 2-3 inches in diameter. At this size, they are typically tender and flavorful. Larger bulbs can become tough and woody. Check the maturity time for your specific variety, as some varieties mature faster than others. To harvest, simply cut the bulb from the stem just above the soil line. The leaves are also edible and can be used in salads or stir-fries. Store harvested kohlrabi in the refrigerator for up to several weeks.
Can I grow kohlrabi in containers?
Yes, kohlrabi can be successfully grown in containers, making it a great option for gardeners with limited space. Choose a container that is at least 12 inches deep and wide to provide ample room for root growth. Use a high-quality potting mix that is well-draining and rich in organic matter. Water regularly and fertilize every few weeks with a balanced fertilizer. Place the container in a sunny location that receives at least 6 hours of sunlight per day.
What are some creative ways to use kohlrabi in cooking?
Kohlrabi is a versatile vegetable that can be used in a variety of dishes. It can be eaten raw, cooked, or pickled. Raw kohlrabi can be shredded and added to salads or slaws. Cooked kohlrabi can be steamed, roasted, stir-fried, or added to soups and stews. The leaves can be used in the same way as spinach or kale. Kohlrabi can also be pickled or fermented for a tangy and flavorful condiment. Try grating kohlrabi into fritters or using it as a substitute for potatoes in gratins. The possibilities are endless!
How do I save kohlrabi seeds for future planting?
Saving kohlrabi seeds requires allowing the plant to bolt (flower and produce seeds) in its second year. This means you’ll need to overwinter the kohlrabi plant. Select healthy, disease-free plants to save seeds from. Allow the seed pods to dry completely on the plant before harvesting. Once dry, thresh the pods to release the seeds. Clean the seeds by removing any debris and allow them to dry thoroughly before storing them in an airtight container in a cool, dark, and dry place. Be aware that kohlrabi can cross-pollinate with other members of the Brassica family, so if you’re growing multiple varieties, you may need to isolate them to ensure true-to-type seeds.

Leave a Comment