

Growing Kale in Containers: Imagine stepping outside your door and harvesting fresh, vibrant kale for your morning smoothie or a delicious salad. Sounds idyllic, right? Well, it’s absolutely achievable, even if you don’t have a sprawling backyard! For centuries, container gardening has allowed people to cultivate their own food in limited spaces, from ancient rooftop gardens in Babylon to modern-day urban balconies. It’s a testament to human ingenuity and our innate desire to connect with nature.
But let’s be honest, sometimes gardening feels overwhelming. You might think you need a green thumb or hours of free time. That’s where these DIY tricks and hacks come in! I’m here to show you that growing kale in containers is not only possible but also surprisingly easy and rewarding. We’ll break down the process into simple, manageable steps, so you can enjoy the taste of homegrown goodness without the hassle.
Why is this so important? Because fresh, healthy kale shouldn’t be a luxury. It’s packed with nutrients and can be a fantastic addition to your diet. Plus, there’s something incredibly satisfying about nurturing a plant from seed to harvest. So, let’s ditch the gardening myths and get our hands dirty (figuratively speaking, of course – we’ll keep it clean!). Get ready to unlock the secrets to successful container gardening and enjoy a bountiful kale harvest right at your doorstep!
Growing Kale in Containers: A Beginner’s Guide
Hey there, fellow gardening enthusiasts! I’m so excited to share my experience with growing kale in containers. It’s surprisingly easy, even if you’re a complete newbie like I was not too long ago. Kale is a nutritional powerhouse, and having fresh, homegrown kale readily available is a total game-changer. Plus, it looks pretty darn good on your balcony or patio! So, let’s dive into how you can grow your own bountiful kale harvest in containers.
Choosing the Right Kale Variety
First things first, let’s talk kale varieties. There are tons of different types, each with its own unique flavor and texture. Here are a few of my favorites that do really well in containers:
* Dwarf Blue Curled Vates: This is a classic, compact variety that’s perfect for smaller containers. It has a slightly peppery flavor and holds up well in cooler weather.
* Red Russian: This kale has beautiful, flat, fringed leaves with reddish-purple stems. It’s sweeter and more tender than some other varieties, especially when harvested young.
* Lacinato (Dinosaur Kale): Also known as Tuscan kale, this variety has long, dark green, bumpy leaves. It has a slightly nutty flavor and is great for soups and stews.
* Redbor Kale: If you’re looking for something visually stunning, Redbor is your kale! Its deeply ruffled leaves are a vibrant purple color. It’s also quite cold-hardy.
I recommend starting with one or two varieties to see which ones you like best. You can always experiment with more later!
Preparing Your Containers
Okay, now that we’ve chosen our kale, let’s get our containers ready. The right container is crucial for healthy kale growth.
* Container Size: Kale needs room for its roots to grow, so choose a container that’s at least 12 inches in diameter and 12 inches deep. Larger is always better, especially if you plan on growing multiple kale plants in the same container. I personally prefer using 5-gallon buckets or large planters.
* Drainage: This is non-negotiable! Make sure your container has plenty of drainage holes. Kale doesn’t like sitting in soggy soil, which can lead to root rot. If your container doesn’t have enough drainage, you can drill some extra holes in the bottom.
* Material: You can use pretty much any type of container – plastic, terracotta, ceramic, even fabric pots. Just make sure it’s food-grade if you’re using a recycled container. I’ve had success with all of these, but I find that fabric pots offer excellent drainage and aeration.
Choosing the Right Soil
The soil you use is just as important as the container. Kale needs well-draining, nutrient-rich soil to thrive.
* Potting Mix: Don’t use garden soil in your containers! It’s too heavy and compacts easily, which can suffocate the roots. Instead, use a high-quality potting mix specifically designed for containers.
* Amendments: I like to amend my potting mix with some compost or aged manure to add extra nutrients. You can also add some perlite or vermiculite to improve drainage and aeration. A good ratio is about 70% potting mix, 20% compost, and 10% perlite/vermiculite.
* pH Level: Kale prefers a slightly acidic to neutral soil pH, around 6.0 to 7.0. You can test your soil pH with a soil testing kit, which you can find at most garden centers. If your soil is too acidic, you can add some lime to raise the pH.
Planting Your Kale
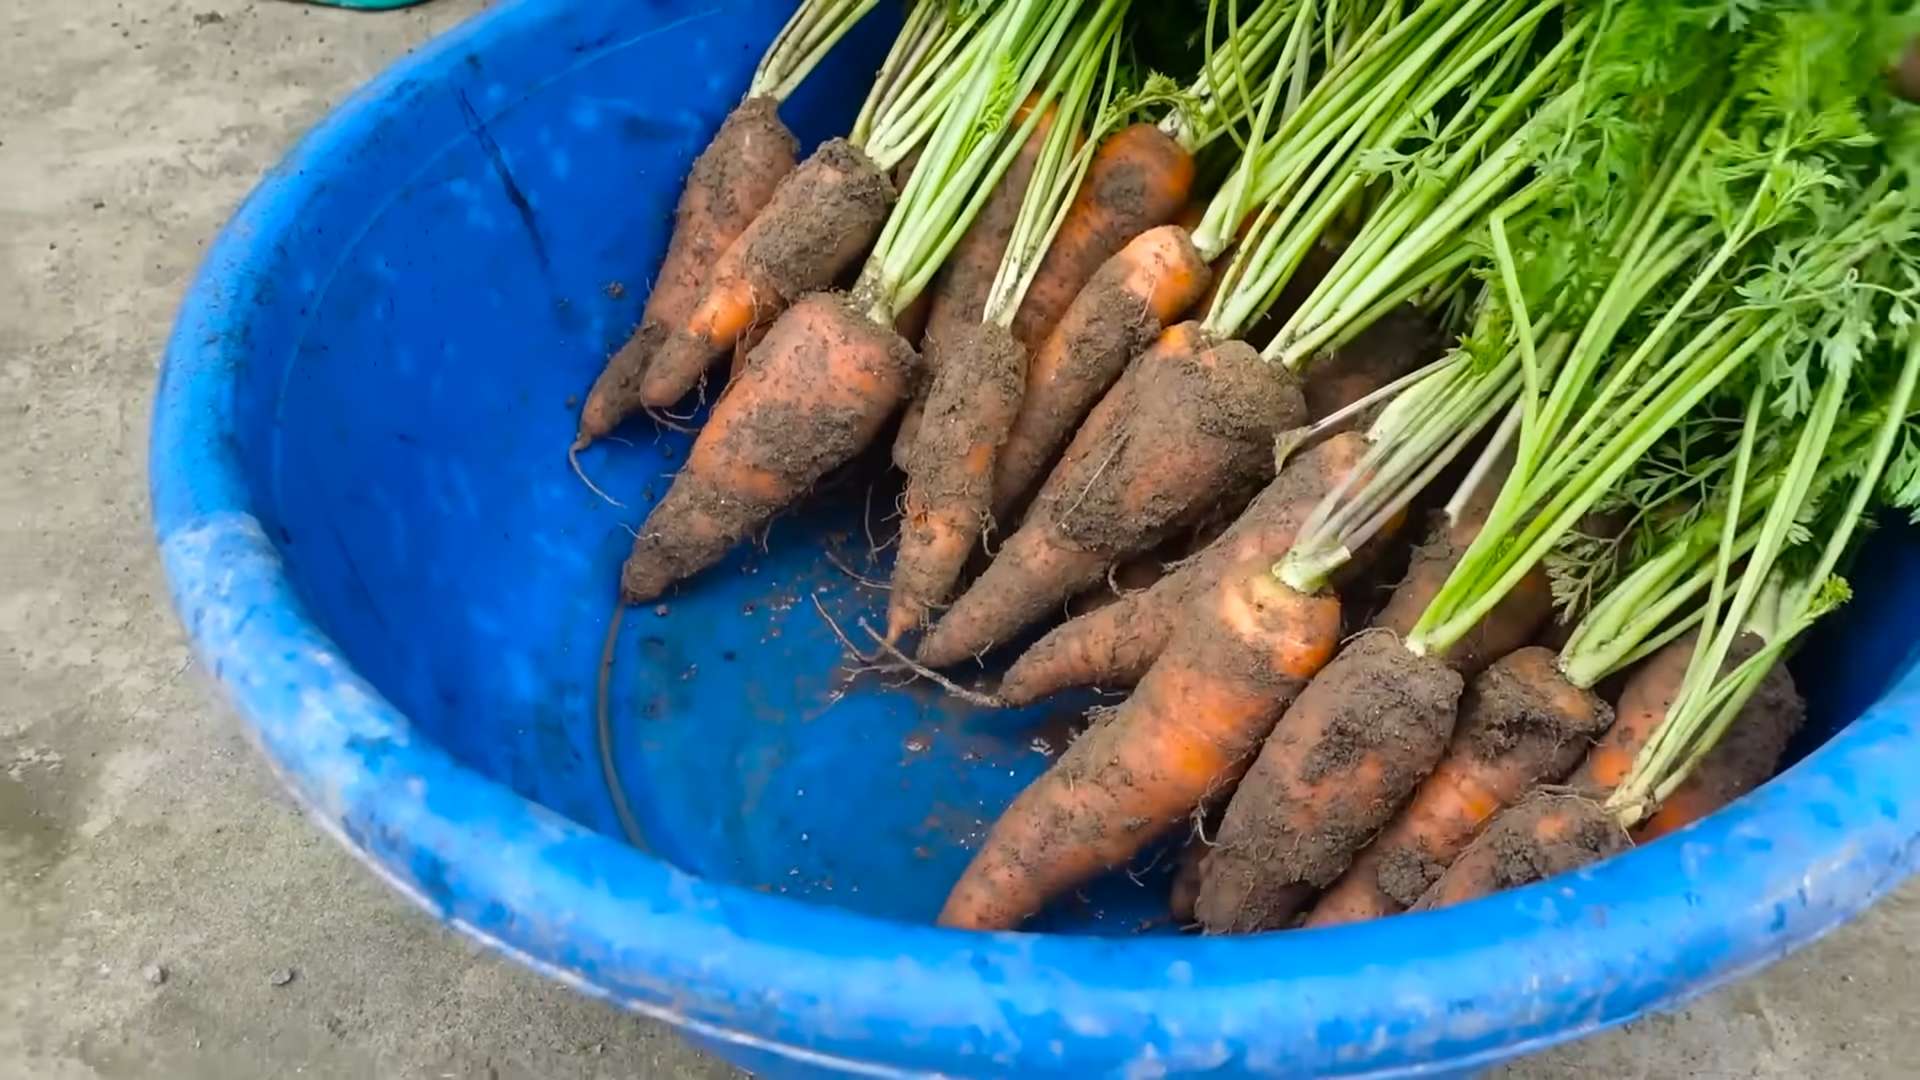
Alright, let’s get our hands dirty and plant some kale! You can start kale from seeds or buy seedlings from a nursery. I’ve done both, and both work well.
* Starting from Seeds:
1. Sow Seeds Indoors (Optional): If you want to get a head start, you can sow kale seeds indoors about 4-6 weeks before the last expected frost. Use seed-starting trays or small pots filled with seed-starting mix. Sow the seeds about ¼ inch deep and keep the soil moist.
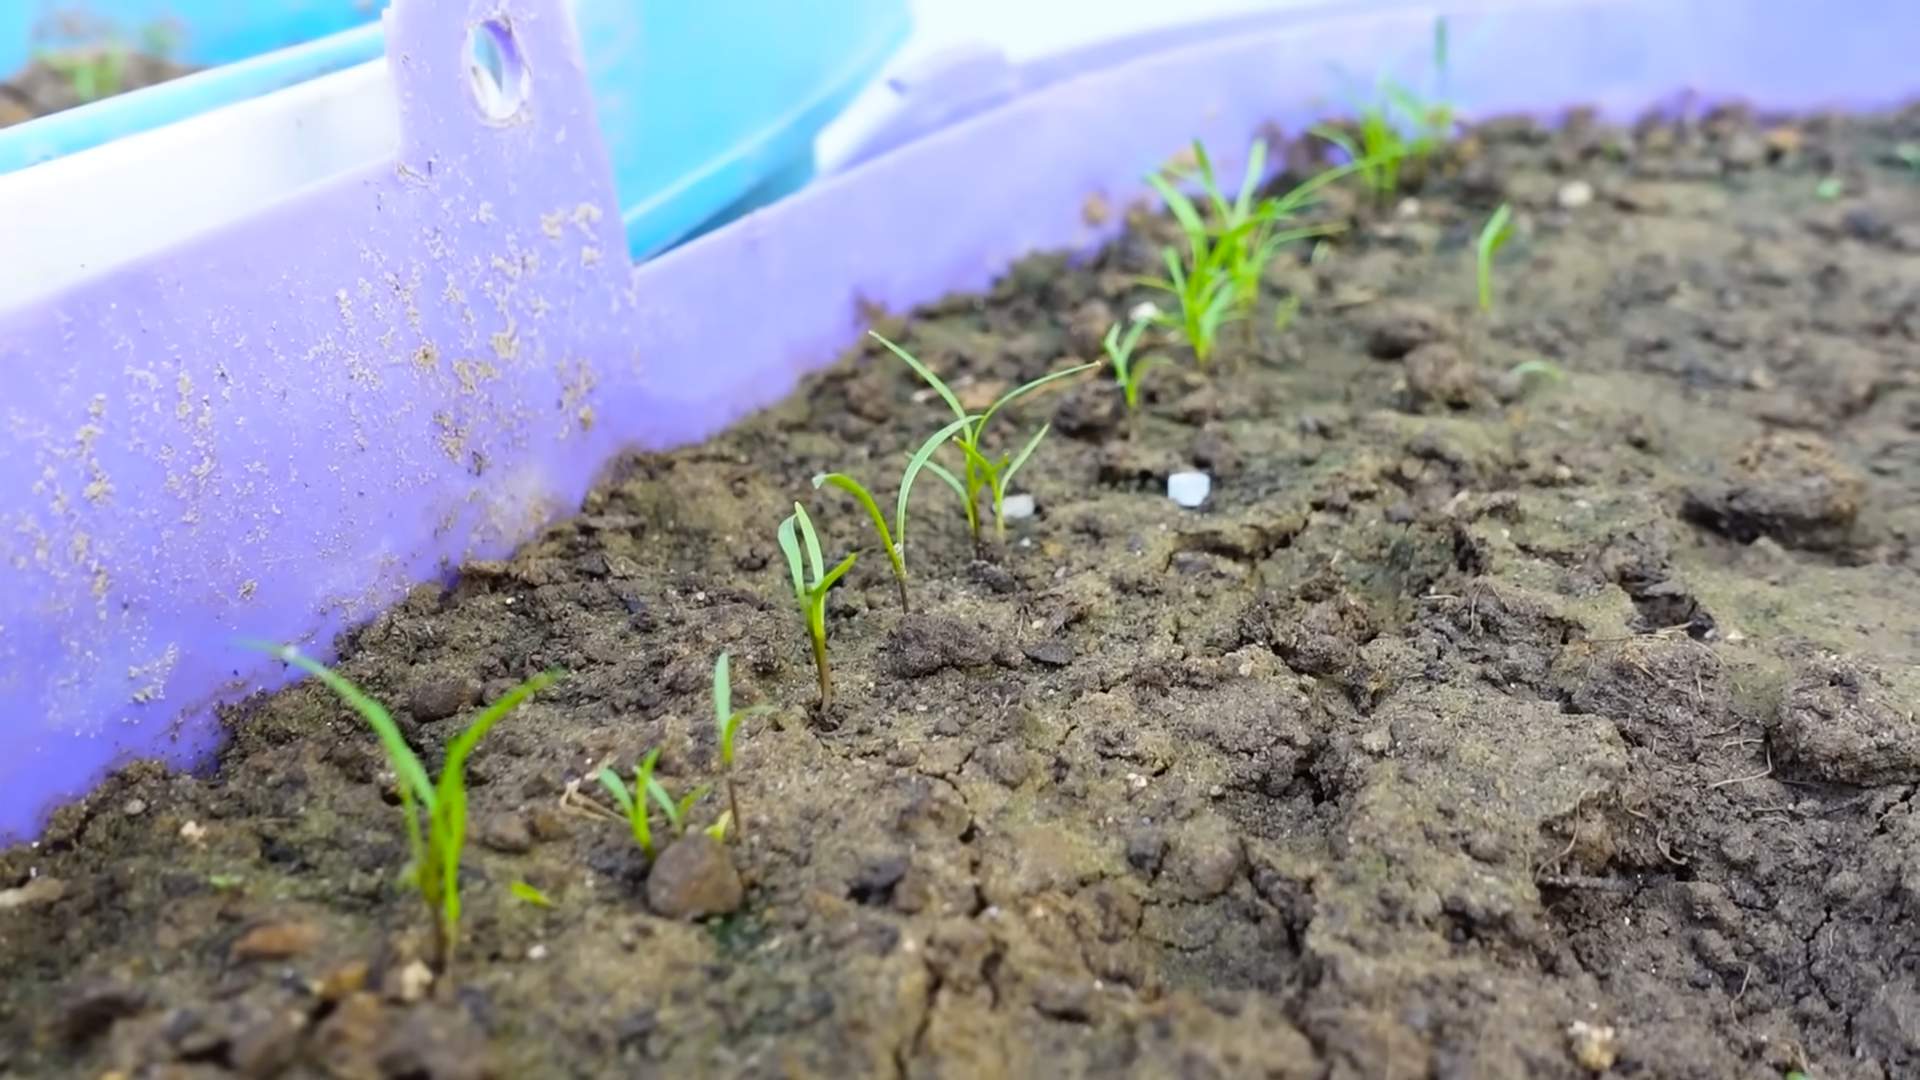
2. Direct Sow Seeds: You can also direct sow kale seeds directly into your containers. Wait until the soil has warmed up a bit, usually a few weeks after the last frost. Sow the seeds about ½ inch deep and space them about 2-3 inches apart.
3. Thin Seedlings: Once the seedlings emerge, thin them out so that they’re spaced about 8-12 inches apart. This will give them enough room to grow.
* Planting Seedlings:
1. Dig a Hole: Dig a hole in the potting mix that’s slightly larger than the root ball of the seedling.
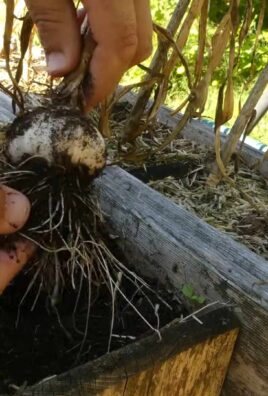
2. Gently Remove Seedling: Gently remove the seedling from its container, being careful not to damage the roots.
3. Place Seedling in Hole: Place the seedling in the hole and backfill with potting mix. Gently firm the soil around the base of the plant.
4. Water Thoroughly: Water the seedling thoroughly after planting.
Caring for Your Kale
Now that your kale is planted, it’s time to give it some TLC. Here’s what you need to do to keep your kale happy and healthy:
* Sunlight: Kale needs at least 6 hours of sunlight per day. Place your containers in a sunny spot where they’ll get plenty of light. If you don’t have a sunny spot, you can supplement with grow lights.
* Watering: Kale needs consistent moisture, but it doesn’t like to be waterlogged. Water your kale whenever the top inch of soil feels dry to the touch. Water deeply, until the water drains out of the drainage holes. Avoid getting the leaves wet, as this can lead to fungal diseases.
* Fertilizing: Kale is a heavy feeder, so it needs regular fertilization. I like to use a balanced organic fertilizer, such as a 10-10-10 or 5-5-5. You can also use a liquid fertilizer, such as fish emulsion or seaweed extract. Fertilize your kale every 2-3 weeks during the growing season.
* Pest Control: Kale is susceptible to a few common pests, such as aphids, cabbage worms, and flea beetles.
* Aphids: These tiny insects suck the sap from the leaves, causing them to curl and yellow. You can control aphids by spraying them with a strong stream of water or by using insecticidal soap.
* Cabbage Worms: These green caterpillars munch on the leaves, leaving behind holes. You can control cabbage worms by handpicking them off the plants or by using Bacillus thuringiensis (Bt), a natural insecticide.
* Flea Beetles: These tiny beetles jump around when disturbed and leave small holes in the leaves. You can control flea beetles by covering your plants with row covers or by using insecticidal soap.
* Weed Control: Keep your containers free of weeds, as they can compete with your kale for nutrients and water. You can hand-pull weeds or use a hoe to remove them.
* Mulching: Mulching around your kale plants can help to retain moisture, suppress weeds, and regulate soil temperature. You can use organic mulches, such as straw, wood chips, or shredded leaves.
Harvesting Your Kale
The best part of growing kale is, of course, harvesting it! You can start harvesting kale leaves when they’re about 4-6 inches long.
* Harvesting Technique: Harvest the outer leaves first, leaving the inner leaves to continue growing. This is called “cut-and-come-again” harvesting, and it allows you to harvest kale continuously throughout the growing season.
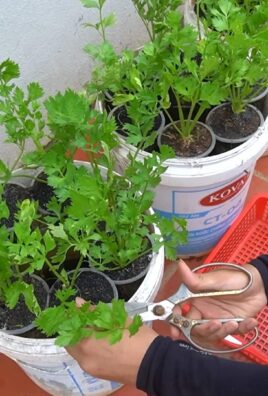
* How to Harvest: Use a sharp knife or scissors to cut the leaves off at the base of the stem.
* When to Harvest: You can harvest kale at any time of day, but I find that it tastes best when harvested in the morning, after the dew has dried.
* Storage: Store kale in the refrigerator in a plastic bag for up to a week.
Extending the Growing Season
Kale is a cool-season crop, so it grows best in the spring and fall. However, you can extend the growing season by using a few simple techniques:
* Starting Early: Start your kale seeds indoors a few weeks before the last expected frost. This will give you a head start on the growing season.
* Using Row Covers: Row covers can protect your kale from frost and cold temperatures. They can also help to keep pests away.
* Overwintering: In mild climates, you can overwinter kale by protecting it from the cold with a thick layer of mulch.
Troubleshooting
Even with the best care, you might encounter
Conclusion
So, there you have it! Growing kale in containers is not only achievable, but it’s also a remarkably rewarding experience. We’ve walked through the steps, from selecting the right container and soil to nurturing your kale plants to their leafy, green glory. But why is this DIY trick a must-try?
Firstly, it democratizes access to fresh, healthy produce. Whether you live in a sprawling suburban home or a compact city apartment, container gardening allows you to cultivate your own food source. Imagine stepping onto your balcony and harvesting fresh kale for your morning smoothie or a vibrant salad – the taste and satisfaction are unparalleled.
Secondly, growing kale in containers offers unparalleled control. You dictate the soil quality, the watering schedule, and the sun exposure, minimizing the risk of pests and diseases that can plague in-ground gardens. This level of control translates to healthier, more robust kale plants and a more abundant harvest.
Thirdly, it’s incredibly versatile. You can tailor your container garden to your specific needs and preferences. Want a continuous supply of baby kale? Harvest the outer leaves regularly. Prefer larger, more mature leaves for hearty stews and soups? Allow the plants to grow to their full potential.
But the possibilities don’t stop there! Consider these variations to elevate your container kale gardening experience:
* Companion Planting: Interplant your kale with herbs like rosemary or thyme to deter pests and enhance the flavor of your kale. Marigolds are also excellent companions, adding a splash of color and further repelling unwanted insects.
* Succession Planting: Plant new kale seedlings every few weeks to ensure a continuous harvest throughout the growing season. This is particularly useful if you enjoy kale regularly and want a steady supply.
* Vertical Gardening: If space is truly limited, explore vertical gardening options. Stackable planters or hanging baskets can maximize your growing area and create a visually stunning display.
* Different Kale Varieties: Experiment with different kale varieties to discover your favorites. From the curly leaves of Scotch kale to the flat leaves of Lacinato (dinosaur) kale, each variety offers a unique texture and flavor profile. Red Russian kale adds a beautiful splash of color to your garden and your plate.
Growing kale in containers is more than just a gardening project; it’s an investment in your health, your well-being, and your connection to nature. It’s a chance to learn, experiment, and reap the rewards of your own hard work.
So, what are you waiting for? Grab a container, some soil, and a few kale seedlings, and embark on this exciting gardening adventure. We’re confident that you’ll be amazed by the results.
We wholeheartedly encourage you to try this DIY trick and share your experience with us! Post photos of your container kale gardens on social media using [Your Hashtag Here] and tell us about your successes, challenges, and favorite kale recipes. Let’s build a community of container kale gardeners and inspire others to embrace the joys of growing their own food. Happy gardening!
Frequently Asked Questions (FAQ)
What is the best size container for growing kale?
The ideal container size for growing kale is at least 12 inches in diameter and 12 inches deep. This provides ample space for the roots to develop and allows the plant to grow to its full potential. Larger containers, such as 5-gallon buckets or half-barrels, are even better, especially if you plan to grow multiple kale plants in the same container. Smaller containers can work for baby kale, but you’ll need to water more frequently and the plants may not reach their full size. Remember, adequate space is crucial for healthy root development, which directly impacts the overall health and yield of your kale plants.
What type of soil is best for container kale?
Kale thrives in well-draining, nutrient-rich soil. A good potting mix specifically formulated for vegetables is an excellent choice. Avoid using garden soil directly in containers, as it can become compacted and poorly drained. You can also create your own potting mix by combining equal parts of compost, peat moss (or coconut coir), and perlite or vermiculite. Compost provides essential nutrients, peat moss or coconut coir helps retain moisture, and perlite or vermiculite improves drainage. Adding a slow-release fertilizer to the potting mix at planting time will provide a steady supply of nutrients throughout the growing season.
How much sunlight does kale need when grown in containers?
Kale needs at least 6 hours of direct sunlight per day to thrive. Choose a location for your container garden that receives ample sunlight, such as a south-facing balcony or patio. If you live in a particularly hot climate, some afternoon shade can be beneficial to prevent the leaves from scorching. If you don’t have access to enough natural sunlight, you can supplement with grow lights. Position the grow lights a few inches above the plants and provide 12-14 hours of light per day.
How often should I water my container kale?
Water your container kale regularly, especially during hot, dry weather. The frequency of watering will depend on the size of the container, the type of soil, and the weather conditions. Check the soil moisture regularly by sticking your finger about an inch into the soil. If the soil feels dry to the touch, it’s time to water. Water deeply until water drains out of the bottom of the container. Avoid overwatering, as this can lead to root rot. During cooler weather, you may need to water less frequently.
What are some common pests and diseases that affect container kale, and how can I prevent them?
Common pests that can affect container kale include aphids, cabbage worms, and flea beetles. To prevent these pests, inspect your plants regularly and remove any pests you find by hand. You can also use insecticidal soap or neem oil to control infestations. Row covers can also be used to protect your plants from pests. Common diseases that can affect container kale include powdery mildew and downy mildew. To prevent these diseases, ensure good air circulation around your plants and avoid overwatering. If you notice any signs of disease, remove the affected leaves immediately and treat the plants with a fungicide.
Can I grow kale in containers during the winter?
Yes, you can grow kale in containers during the winter, especially in milder climates. Kale is a cold-hardy vegetable that can tolerate temperatures down to 20°F (-6°C). In colder climates, you may need to protect your plants from frost by covering them with a blanket or moving them to a sheltered location. You can also grow kale indoors under grow lights during the winter.
How do I harvest kale from containers?
Harvest kale by cutting the outer leaves from the bottom of the plant, leaving the inner leaves to continue growing. This is known as “cut-and-come-again” harvesting. You can harvest kale leaves at any size, depending on your preference. Baby kale leaves are tender and mild, while larger leaves are more robust and flavorful. Avoid harvesting more than one-third of the plant at a time, as this can stress the plant.
How can I fertilize my container kale?
Fertilize your container kale every 2-3 weeks with a balanced liquid fertilizer or a fertilizer specifically formulated for leafy greens. Follow the instructions on the fertilizer label. You can also side-dress your plants with compost or worm castings. Avoid over-fertilizing, as this can lead to excessive leaf growth and reduced flavor.
Is it better to start kale from seed or transplants in containers?
Both starting from seed and using transplants are viable options for growing kale in containers. Starting from seed allows you to choose from a wider variety of kale varieties and is generally more economical. However, it requires more time and effort. Transplants are a convenient option, especially if you’re short on time or space. Choose healthy, vigorous transplants from a reputable nursery.
Can I reuse the soil from my container kale garden?
You can reuse the soil from your container kale garden, but it’s important to amend it with fresh compost and fertilizer before replanting. Over time, the soil will become depleted of nutrients and may harbor pests or diseases. Adding compost and fertilizer will replenish the nutrients and improve the soil structure. You can also sterilize the soil by baking it in the oven at 200°F (93°C) for 30 minutes to kill any pests or diseases.
Leave a Comment