

Growing chives indoors is easier than you might think, and I’m here to show you how! Imagine fresh, flavorful chives readily available right on your kitchen windowsill, ready to snip and add a burst of oniony goodness to your favorite dishes. No more last-minute trips to the grocery store or settling for dried herbs when you crave that vibrant, fresh taste.
For centuries, chives have been a staple in gardens and kitchens worldwide. Originating in Asia, they’ve been cultivated for their culinary and medicinal properties, adding a delicate zest to everything from soups and salads to omelets and dips. Their mild, onion-like flavor is a welcome addition to countless recipes, and their vibrant green color adds a touch of freshness to any plate.
But let’s face it, not everyone has the space or the time for a sprawling outdoor garden. That’s where this DIY guide comes in! I’ll walk you through the simple steps of growing chives indoors, even if you have limited space or a less-than-green thumb. This is a fantastic way to enjoy fresh herbs year-round, reduce your grocery bill, and add a touch of greenery to your home. Plus, it’s incredibly rewarding to nurture your own little herb garden. So, let’s get started and bring the fresh taste of chives into your kitchen!
Growing Chives Indoors: A Beginner’s Guide to Fresh Flavor Year-Round
Hey there, fellow plant enthusiasts! Are you tired of bland winter meals? Do you dream of snipping fresh herbs right from your kitchen counter? Well, dream no more! I’m going to walk you through the super simple process of growing chives indoors. Trust me, even if you think you have a black thumb, you can totally do this. Chives are incredibly forgiving and add a delicious, mild onion flavor to everything from scrambled eggs to baked potatoes. Let’s get started!
What You’ll Need
Before we dive in, let’s gather our supplies. This is a pretty low-key project, so you probably already have most of this stuff lying around.
* Chive Seeds or a Chive Plant: You can start from seeds (which is more budget-friendly) or buy a small chive plant from your local garden center for instant gratification. I’ll cover both methods.
* A Pot with Drainage: This is crucial! Chives don’t like soggy feet. Choose a pot that’s at least 6 inches in diameter and has drainage holes at the bottom.
* Potting Mix: Don’t use garden soil! It’s too heavy and compacts easily. Opt for a good quality potting mix that’s designed for containers.
* Watering Can or Spray Bottle: For gentle watering.
* A Sunny Spot: Chives need at least 6 hours of sunlight per day. A south-facing window is ideal. If you don’t have enough natural light, you might need a grow light.
* Optional: Fertilizer (a balanced liquid fertilizer diluted to half strength).
Starting from Seeds: Patience is a Virtue
Okay, so you’ve decided to go the seed route. Awesome! It takes a little longer, but it’s super rewarding to watch those tiny sprouts emerge.
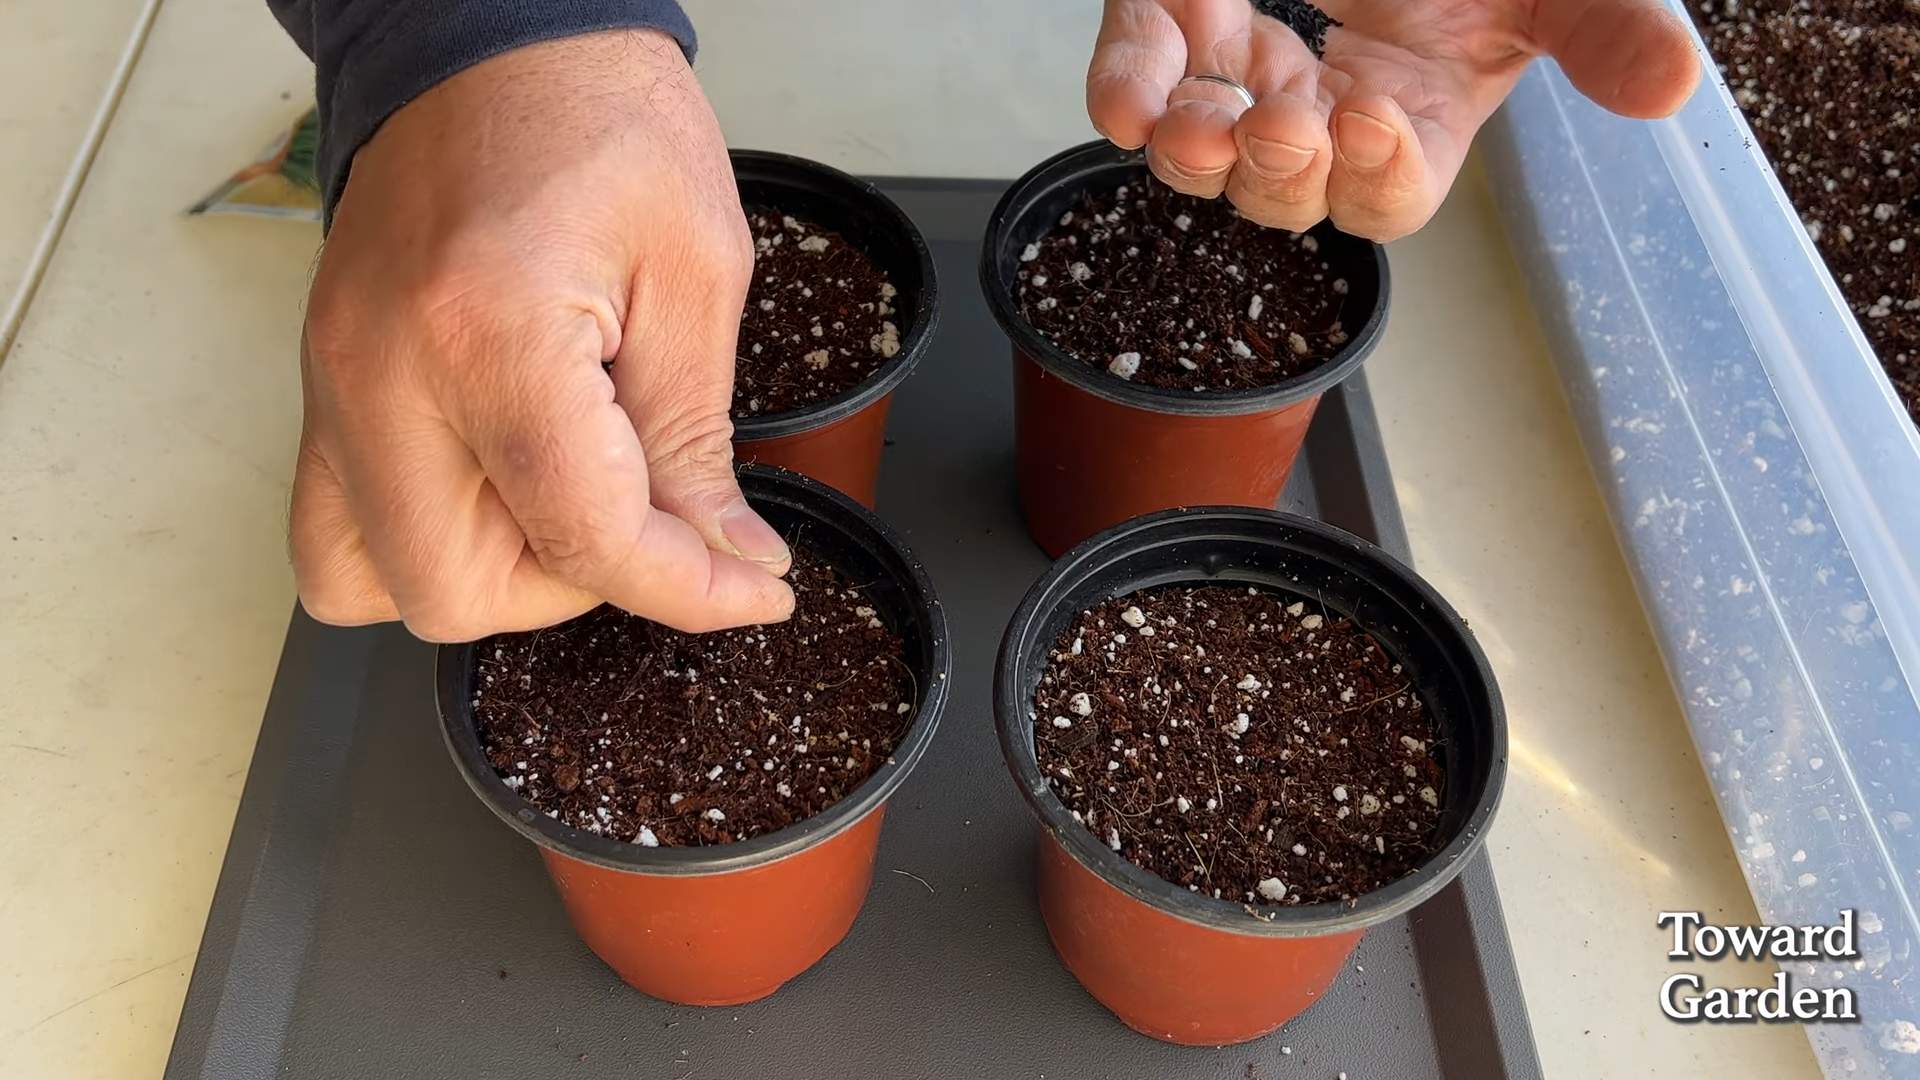
1. Prepare Your Pot: Fill your pot with potting mix, leaving about an inch of space at the top. Gently tap the pot to settle the soil.
2. Sow the Seeds: Sprinkle the chive seeds evenly over the surface of the soil. You don’t need to bury them too deep – about 1/4 inch is perfect.
3. Cover and Water: Lightly cover the seeds with more potting mix. Then, gently water the soil using a spray bottle or watering can with a gentle rose head. You want the soil to be moist, but not waterlogged.
4. Create a Mini Greenhouse (Optional): To help with germination, you can cover the pot with plastic wrap or a clear plastic bag. This will create a humid environment. Just make sure to poke a few holes in the plastic for ventilation.
5. Find a Warm Spot: Place the pot in a warm location (around 70-75°F).
6. Be Patient: Chive seeds can take anywhere from 10 to 21 days to germinate. Keep the soil consistently moist during this time. Remove the plastic wrap once the seedlings emerge.
7. Thin the Seedlings: Once the seedlings are a few inches tall, thin them out so that they’re about an inch apart. This will give them enough room to grow.
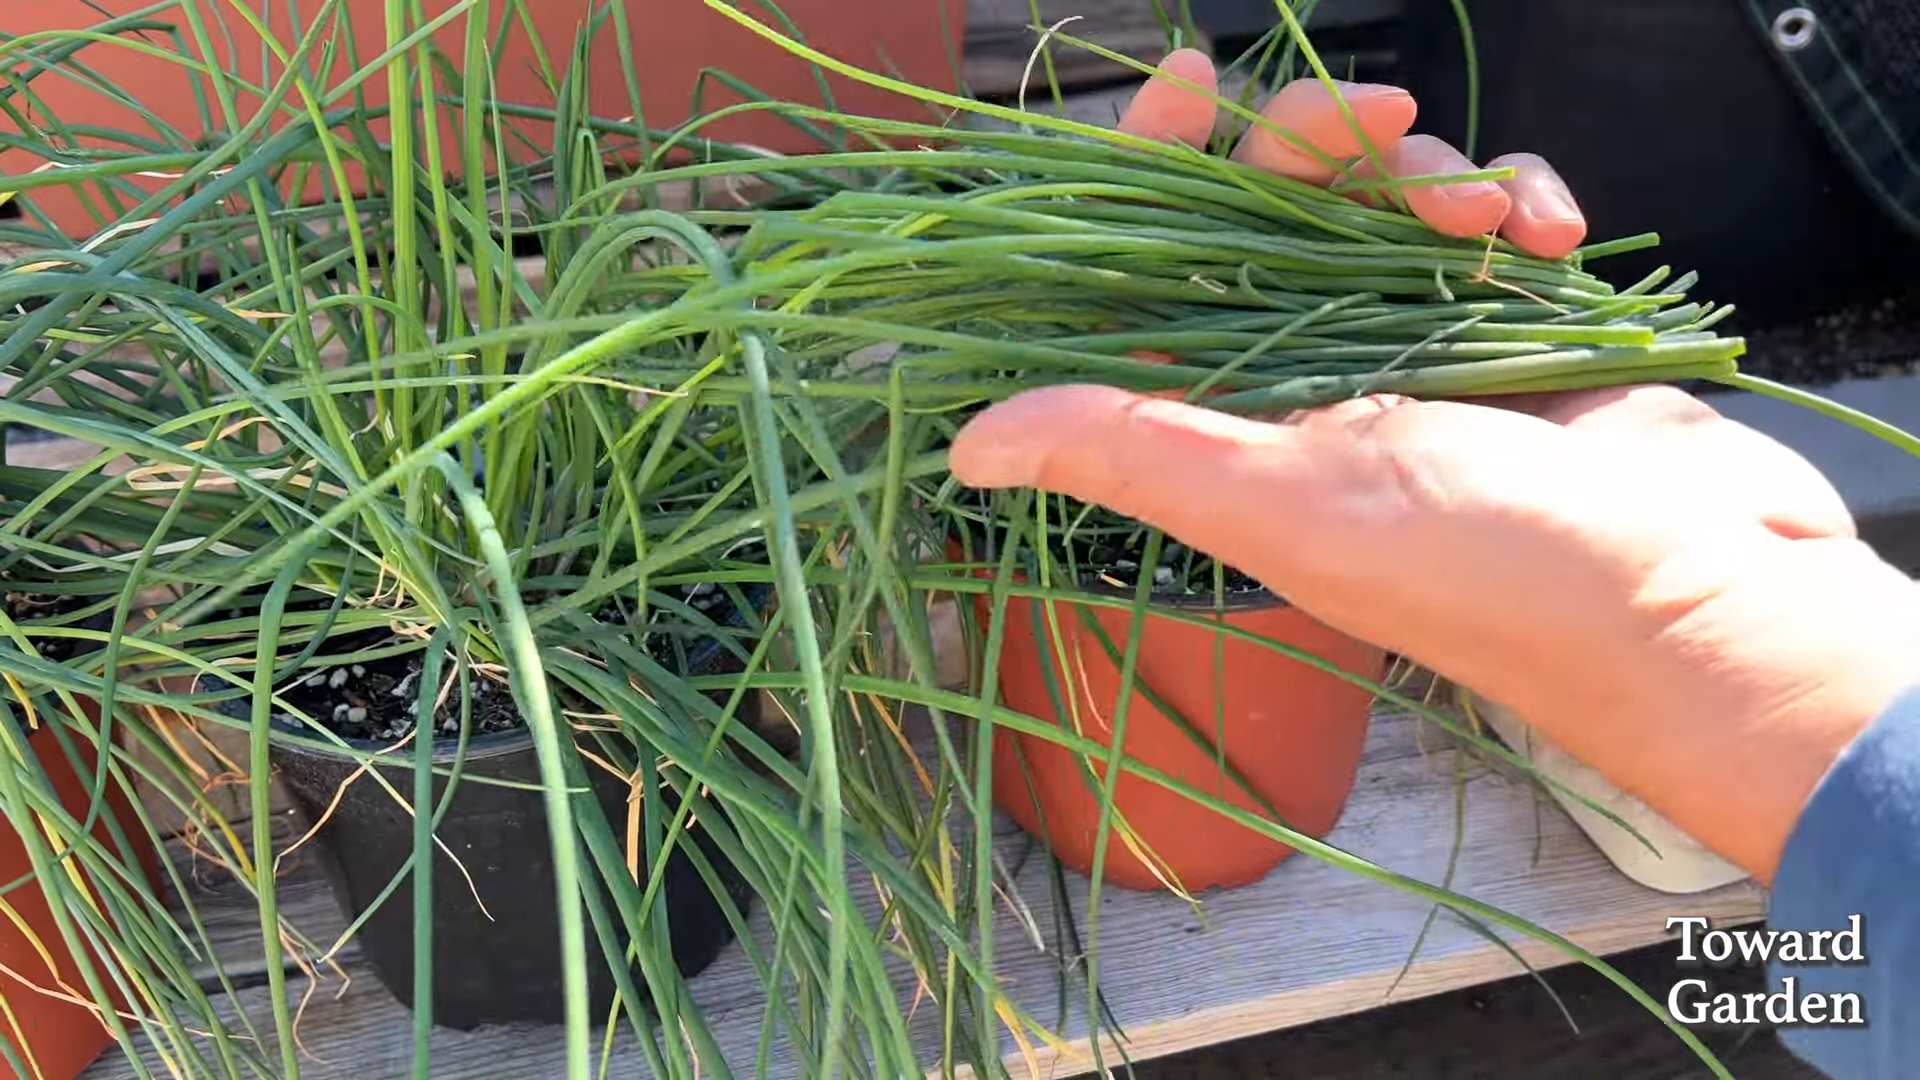
Transplanting a Chive Plant: Instant Gratification
If you’re impatient like me, buying a chive plant is the way to go. You’ll have fresh chives ready to snip in no time!
1. Prepare Your Pot: Just like with seeds, fill your pot with potting mix, leaving about an inch of space at the top.
2. Gently Remove the Plant: Carefully remove the chive plant from its original container. Gently loosen the roots if they’re tightly packed.
3. Plant the Chives: Place the chive plant in the center of your pot. Make sure the top of the root ball is level with the soil surface.
4. Fill and Water: Fill in the remaining space around the plant with potting mix. Gently water the soil until it’s moist.
Caring for Your Indoor Chives: Keeping Them Happy
Now that your chives are planted, it’s time to give them the TLC they need to thrive.
* Light: Chives need at least 6 hours of sunlight per day. If you don’t have enough natural light, supplement with a grow light.
* Watering: Water your chives when the top inch of soil feels dry to the touch. Avoid overwatering, as this can lead to root rot.
* Fertilizing: Feed your chives every 2-4 weeks with a balanced liquid fertilizer diluted to half strength. This will help them grow strong and healthy.
* Trimming: Regular trimming is essential for keeping your chives productive. Snip off the leaves about an inch above the soil level. This will encourage new growth.
* Flowering: Chives will eventually produce beautiful purple flowers. While the flowers are edible, they can make the leaves taste a bit stronger. If you prefer a milder flavor, snip off the flower buds before they open.
* Repotting: As your chives grow, they may eventually outgrow their pot. If you notice the roots circling the bottom of the pot, it’s time to repot them into a larger container.
Troubleshooting: Common Chive Problems and Solutions
Even with the best care, you might encounter a few problems along the way. Here are some common issues and how to fix them:
* Yellowing Leaves: This could be a sign of overwatering, underwatering, or nutrient deficiency. Check the soil moisture and adjust your watering accordingly. If the soil is consistently moist, let it dry out a bit before watering again. If the soil is dry, give your chives a good soak. You can also try fertilizing them with a balanced liquid fertilizer.
* Leggy Growth: This usually happens when chives don’t get enough light. Move them to a sunnier location or supplement with a grow light.
* Pests: Chives are generally pest-resistant, but they can occasionally be bothered by aphids or spider mites. If you notice any pests, try spraying them with insecticidal soap.
* Slow Growth: This could be due to a number of factors, including lack of light, nutrients, or water. Make sure your chives are getting enough of all three.
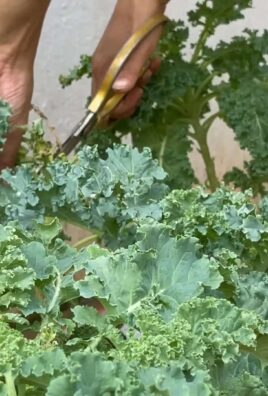
Harvesting Your Chives: The Best Part!
Now for the fun part – harvesting your chives! You can start harvesting them once they’re about 6 inches tall.
1. Use Scissors: Use a pair of clean scissors to snip off the leaves about an inch above the soil level.
2. Harvest Regularly: Regular harvesting will encourage new growth and keep your chives productive.
3. Use Fresh: Chives are best used fresh. Add them to your favorite dishes at the end of cooking to preserve their flavor.
4. Store Properly: If you have more chives than you can use, you can store them in the refrigerator for a few days. Wrap them in a damp paper towel and place them in a plastic bag. You can also freeze chives for longer storage. Chop them up and freeze them in ice cube trays filled with water or olive oil.
Enjoying Your Homegrown Chives: Culinary Delights
Okay, you’ve successfully grown your own chives indoors! Now it’s time to put them to good use. Here are just a few ideas:
* Scrambled Eggs: Add chopped chives to your scrambled eggs for a burst of fresh flavor.
* Baked Potatoes: Top baked potatoes with sour cream and chopped chives.
* Salads: Sprinkle chopped chives over salads for a mild onion flavor.
* Dips: Add chopped chives to dips like sour cream and onion dip or guacamole.
* Soups: Garnish soups with chopped chives.
* Omelets: Add chopped chives to omelets for a flavorful breakfast.
* Compound Butter: Mix chopped chives with softened butter and use it to flavor bread, vegetables, or meat.
Growing chives indoors is a simple and rewarding project that anyone can do. With a little bit of care, you can enjoy fresh, flavorful chives year-round. So go ahead, give it a try! You’ll be amazed at how easy it is to grow your own herbs. Happy gardening!
Conclusion
So, there you have it! Growing chives indoors is not only achievable, but it’s also incredibly rewarding. Imagine having fresh, flavorful chives at your fingertips, ready to elevate your culinary creations any time of year. No more last-minute trips to the grocery store or settling for dried herbs that lack that vibrant, fresh taste. This simple DIY project brings the garden to your kitchen, offering a constant supply of this versatile herb.
Why is this a must-try? Because it’s easy, cost-effective, and adds a touch of green to your indoor space. It’s a fantastic way to introduce gardening to beginners, and even seasoned gardeners will appreciate the convenience of having fresh chives readily available. Plus, it’s a sustainable choice, reducing your reliance on commercially grown herbs and minimizing food waste.
Beyond the basic method, there are several variations you can explore. Try planting different varieties of chives, such as garlic chives for a milder, garlicky flavor. Experiment with different containers – from repurposed mason jars to stylish ceramic pots – to match your home décor. You can even create a small herb garden by combining chives with other easy-to-grow herbs like parsley, mint, and basil. Consider using a self-watering planter to minimize the effort required for watering. Another variation is to use grow lights if you don’t have a sunny windowsill. This will ensure your chives get enough light, especially during the darker winter months.
Growing chives indoors is a game-changer for any home cook. It’s a simple way to add fresh flavor to your meals and bring a little bit of nature indoors.
We wholeheartedly encourage you to give this DIY trick a try. It’s a small investment of time and effort that yields a significant return in flavor and convenience. Once you’ve experienced the joy of snipping fresh chives from your own indoor garden, you’ll wonder why you didn’t start sooner.
Don’t be afraid to experiment and find what works best for you. Every home and growing environment is unique, so adapt the techniques to suit your specific needs. And most importantly, have fun with it! Gardening should be an enjoyable experience, and growing chives indoors is a great way to connect with nature and enhance your culinary skills.
We’d love to hear about your experiences! Share your tips, tricks, and photos of your indoor chive gardens in the comments below. Let’s create a community of indoor gardeners and inspire others to discover the joys of growing their own herbs. What challenges did you face? What successes did you celebrate? Your insights can help others on their own indoor gardening journey. So, grab your pots, soil, and chive seeds, and get ready to enjoy the fresh, flavorful taste of homegrown chives!
Frequently Asked Questions (FAQ)
What kind of soil is best for growing chives indoors?
Chives thrive in well-draining soil that is rich in organic matter. A good potting mix specifically formulated for herbs or vegetables is ideal. You can also create your own mix by combining equal parts of potting soil, compost, and perlite or vermiculite. The compost provides essential nutrients, while the perlite or vermiculite improves drainage and aeration. Avoid using garden soil, as it can be too heavy and may contain pests or diseases. The ideal pH level for chives is between 6.0 and 7.0. You can test the pH of your soil using a soil testing kit available at most garden centers. If the soil is too acidic, you can add lime to raise the pH. If it’s too alkaline, you can add sulfur to lower the pH.
How much sunlight do indoor chives need?
Chives need at least 6-8 hours of direct sunlight per day to thrive. A south-facing window is usually the best option, but an east- or west-facing window can also work. If you don’t have a sunny windowsill, you can supplement with artificial light. A fluorescent grow light or an LED grow light can provide the necessary light for your chives to grow healthy and strong. Place the grow light a few inches above the plants and keep it on for 12-14 hours per day. Rotate the plants regularly to ensure that all sides receive equal light exposure. Signs that your chives are not getting enough light include leggy growth, pale leaves, and a lack of flowering.
How often should I water my indoor chives?
Water your chives when the top inch of soil feels dry to the touch. Avoid overwatering, as this can lead to root rot. Chives prefer consistently moist soil, but they don’t like to sit in standing water. When watering, water thoroughly until the water drains out of the bottom of the pot. Empty the saucer underneath the pot to prevent the roots from sitting in water. The frequency of watering will depend on several factors, including the size of the pot, the type of soil, the temperature, and the humidity. In general, you will need to water more frequently during the warmer months and less frequently during the cooler months.
How do I harvest chives?
Harvest chives by snipping the leaves close to the base of the plant with scissors or kitchen shears. Avoid pulling the leaves, as this can damage the plant. You can harvest chives as needed, but don’t remove more than one-third of the plant at a time. This will allow the plant to continue to grow and produce new leaves. Regular harvesting encourages new growth and prevents the chives from becoming leggy. You can harvest chives throughout the growing season, from spring to fall. The flowers of chives are also edible and have a mild onion flavor. You can add them to salads or use them as a garnish.
Can I grow chives from seed indoors?
Yes, you can grow chives from seed indoors. Start the seeds indoors 6-8 weeks before the last expected frost. Sow the seeds in a seed-starting tray or small pots filled with seed-starting mix. Keep the soil moist and warm, and the seeds should germinate in 7-14 days. Once the seedlings have developed a few sets of true leaves, you can transplant them into larger pots. Alternatively, you can purchase chive seedlings from a garden center and transplant them directly into your indoor garden.
How do I fertilize my indoor chives?
Chives benefit from regular fertilization. Use a balanced liquid fertilizer diluted to half strength every 2-4 weeks during the growing season. Look for a fertilizer that is specifically formulated for herbs or vegetables. Avoid over-fertilizing, as this can lead to leggy growth and a buildup of salts in the soil. You can also amend the soil with compost or worm castings to provide a slow-release source of nutrients.
What pests and diseases affect indoor chives?
Indoor chives are generally pest-resistant, but they can occasionally be affected by aphids, spider mites, or fungus gnats. Inspect your plants regularly for signs of pests and take action promptly if you notice any problems. Aphids can be controlled with a strong spray of water or by applying insecticidal soap. Spider mites can be controlled by increasing humidity and by applying neem oil. Fungus gnats can be controlled by allowing the soil to dry out slightly between waterings and by using yellow sticky traps. Root rot is a common disease that can affect chives if they are overwatered. To prevent root rot, ensure that the soil is well-draining and avoid overwatering.
How do I overwinter my indoor chives?
Chives are perennial plants, meaning they can live for several years. To overwinter your indoor chives, reduce watering and fertilization during the dormant season. Place the plants in a cool, bright location. You can also cut back the foliage to a few inches above the soil level. In the spring, resume regular watering and fertilization, and the chives will begin to grow again.
Can I propagate chives?
Yes, chives can be easily propagated by division. In the spring or fall, carefully dig up the plant and divide the clump into smaller sections. Each section should have its own roots and shoots. Replant the divisions in separate pots filled with fresh potting mix. Water thoroughly and keep the soil moist until the plants are established.
Why are my chives turning yellow?
Yellowing chives can be caused by several factors, including overwatering, underwatering, nutrient deficiencies, or pests. Check the soil moisture and adjust your watering accordingly. Fertilize the plants with a balanced liquid fertilizer. Inspect the plants for signs of pests and take action promptly if you notice any problems. If the yellowing is severe, you may need to repot the plants in fresh potting mix.
Leave a Comment