

Grow Taro Plants at Home and unlock a world of lush, tropical beauty right in your backyard! Have you ever dreamed of cultivating your own exotic edibles? Well, dream no more! This isn’t just about gardening; it’s about connecting with a plant that boasts a rich history and cultural significance spanning continents. Taro, also known as Kalo in Hawaii, has been a staple food source for centuries, deeply woven into the traditions and sustenance of many cultures.
But why should you learn to grow taro plants at home? In today’s world, where we’re increasingly conscious of where our food comes from, cultivating your own taro offers a unique opportunity to enjoy fresh, organic produce while reducing your carbon footprint. Plus, let’s be honest, there’s something incredibly satisfying about nurturing a plant from a small corm to a thriving, leafy specimen.
I know, I know, you might be thinking, “Taro? Isn’t that difficult to grow?” Fear not! This DIY guide is designed to demystify the process, providing you with simple, step-by-step instructions and clever hacks to ensure your taro plants flourish, even if you’re a complete beginner. Get ready to transform your garden into a tropical paradise and impress your friends with your newfound gardening prowess!

Growing Taro Plants at Home: A Beginner’s Guide
Hey there, fellow plant enthusiasts! Ever thought about growing your own taro? It’s surprisingly easy and rewarding, plus you get to enjoy those delicious taro roots and leaves. I’m going to walk you through everything you need to know to successfully cultivate taro in your own backyard or even in containers. Let’s get started!
Understanding Taro
Before we dive into the nitty-gritty, let’s talk a little about taro itself. Taro (Colocasia esculenta) is a tropical plant primarily grown for its starchy corms (the underground part we often call the “root”). It’s a staple food in many cultures, especially in the Pacific Islands, Asia, and Africa. The leaves are also edible, but they need to be cooked properly to remove calcium oxalate crystals, which can cause irritation.
Key Considerations for Taro Growth:
* Warmth: Taro thrives in warm temperatures, ideally between 70°F and 90°F (21°C and 32°C).
* Moisture: Taro loves water! It needs consistently moist soil and can even be grown in standing water.
* Sunlight: Taro prefers partial shade, especially in hotter climates. Too much direct sunlight can scorch the leaves.
* Soil: Taro needs rich, well-draining soil that retains moisture.
* Space: Taro plants can get quite large, so make sure you have enough space for them to grow.
Choosing Your Taro Variety
There are many different varieties of taro, each with its own unique characteristics. Some popular varieties include:
* Bun Long: A common variety with large, heart-shaped leaves and purple-tinged corms.
* Dasheen: Another popular variety with large corms and a mild flavor.
* Eddoe: A smaller variety with smaller corms that mature more quickly.
* Black Magic: A more ornamental variety with dark purple to black leaves.
When choosing a variety, consider your climate, the amount of space you have, and your personal preferences. I personally love the Bun Long variety for its large leaves and delicious corms.
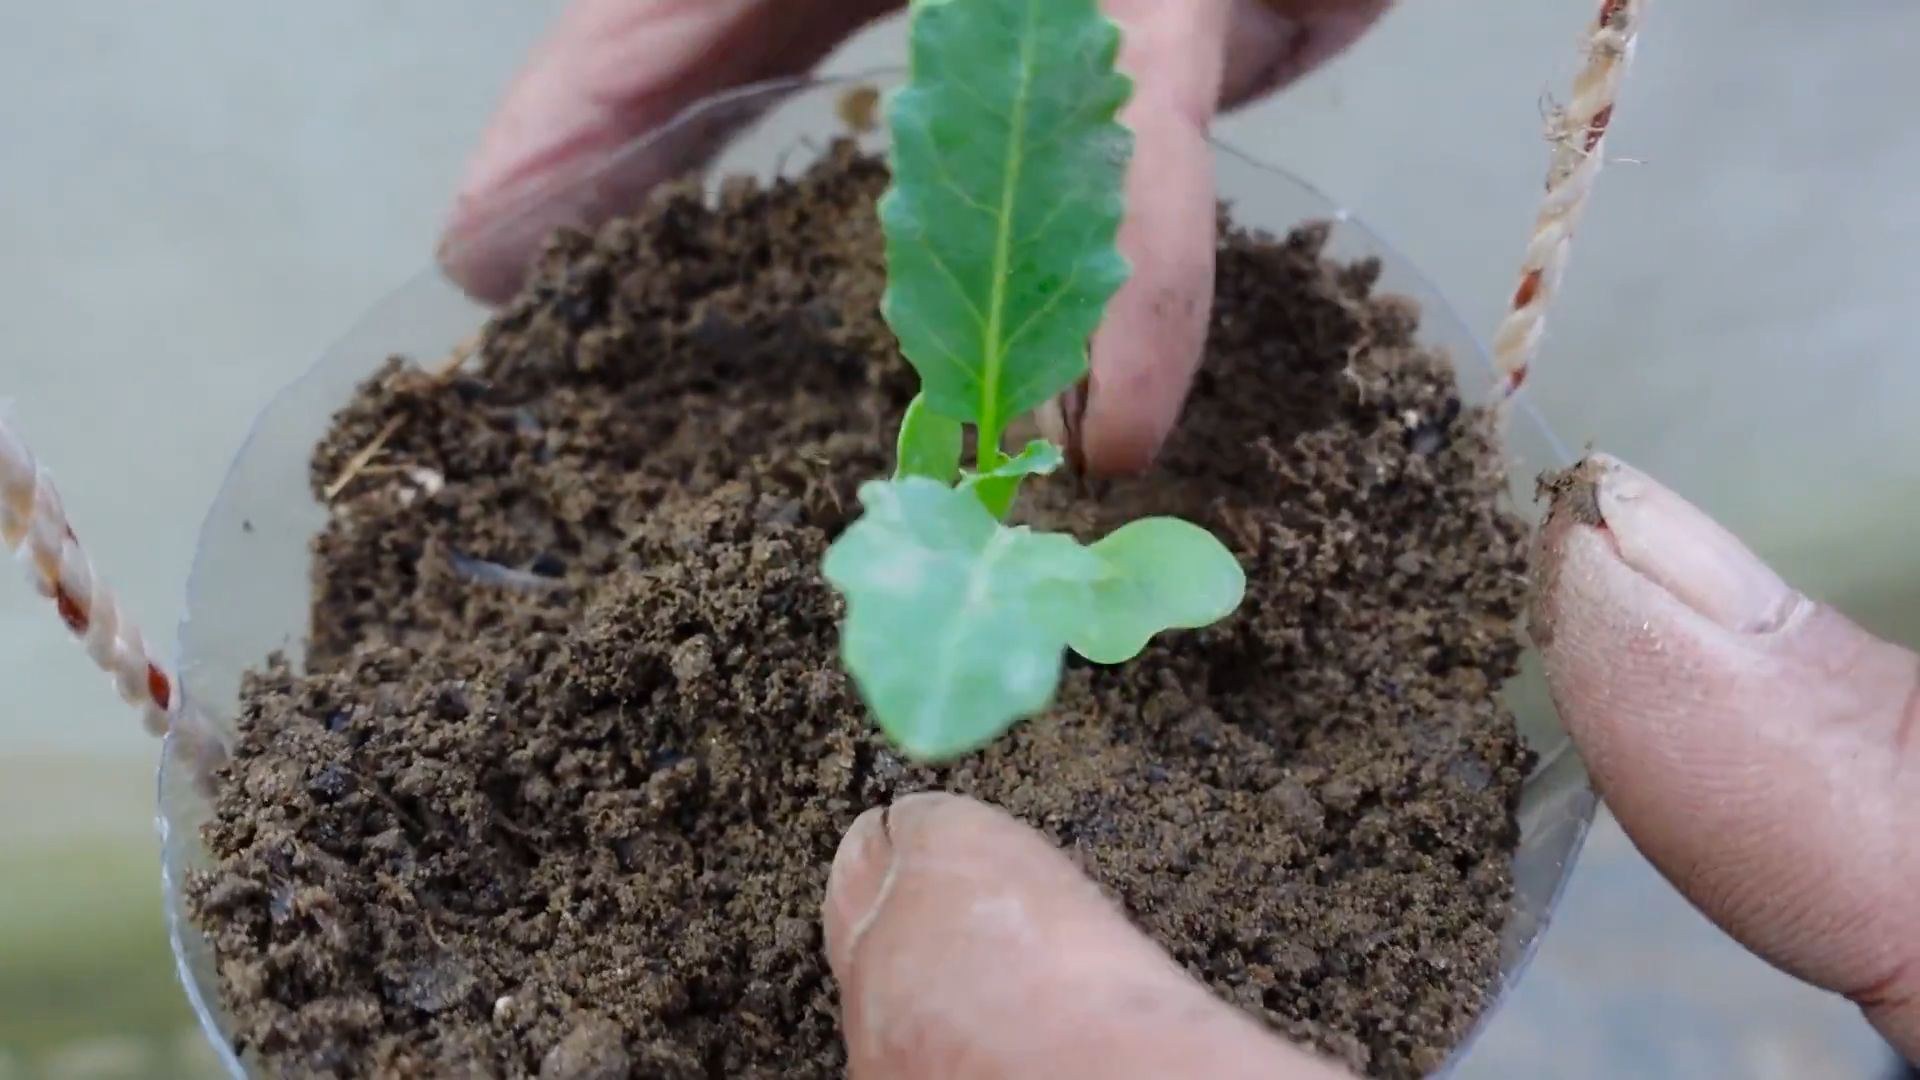
Getting Started: Planting Your Taro
Now for the fun part: planting! You can start taro from corms (the “roots” you buy at the store or from a nursery) or from cuttings. I find that starting from corms is the easiest method for beginners.
Materials You’ll Need:
* Taro corms (choose healthy-looking corms with no signs of rot or disease)
* Large pots or containers (if growing in containers)
* Rich, well-draining soil (a mix of potting soil, compost, and peat moss works well)
* Water
* Fertilizer (optional)
Step-by-Step Planting Instructions:
1. Prepare Your Planting Container: If you’re growing taro in containers, choose large pots with drainage holes. Fill the pots with your soil mixture, leaving a few inches of space at the top. If you are planting directly in the ground, make sure the soil is well-amended with compost and other organic matter.
2. Plant the Corms: Dig a hole in the soil that’s about twice the size of the taro corm. Place the corm in the hole with the pointed end facing up. Cover the corm with soil, leaving the top of the corm slightly exposed.
3. Water Thoroughly: Water the soil thoroughly after planting. Make sure the soil is consistently moist, but not waterlogged.
4. Choose a Location: Place your taro plant in a location that receives partial shade. Avoid direct sunlight, especially during the hottest part of the day.
5. Maintain Moisture: Taro loves water, so keep the soil consistently moist. You can even place the pot in a shallow tray of water to ensure that the soil stays consistently wet.
Caring for Your Taro Plant
Once your taro plant is established, it’s relatively easy to care for. Here are some tips to keep your taro plant happy and healthy:
Watering:
* Water your taro plant regularly, especially during hot weather.
* The soil should always be moist, but not waterlogged.
* You can even grow taro in standing water, but make sure the water is changed regularly to prevent mosquito breeding.
Fertilizing:
* Taro plants benefit from regular fertilization.
* Use a balanced fertilizer (e.g., 10-10-10) every few weeks during the growing season.
* You can also use organic fertilizers, such as compost tea or fish emulsion.
Pruning:
* Remove any yellow or brown leaves to encourage new growth.
* You can also prune the plant to control its size and shape.
Pest and Disease Control:
* Taro plants are generally resistant to pests and diseases.
* However, they can be susceptible to aphids, spider mites, and fungal diseases.
* Inspect your plants regularly for signs of pests or diseases.
* If you find any pests, you can treat them with insecticidal soap or neem oil.
* For fungal diseases, use a fungicide.
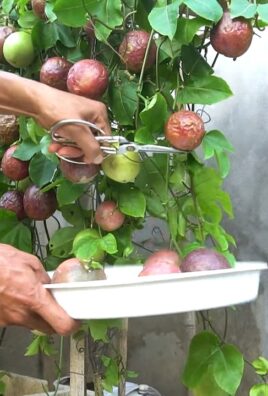
Harvesting Your Taro
The time it takes for taro to mature depends on the variety and growing conditions. Generally, it takes about 7-12 months for the corms to be ready for harvest. The leaves can be harvested earlier, as needed.
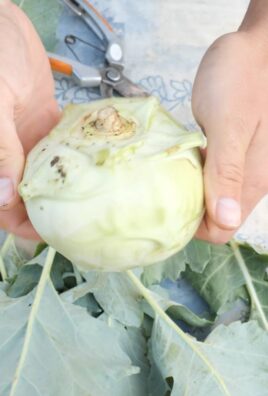
Harvesting the Corms:
1. Look for Signs of Maturity: The leaves will start to turn yellow and die back when the corms are ready to harvest.
2. Dig Up the Plant: Carefully dig up the entire plant, being careful not to damage the corms.
3. Separate the Corms: Separate the corms from the plant.
4. Clean the Corms: Wash the corms thoroughly to remove any dirt or debris.
5. Cure the Corms: Cure the corms for a few days in a cool, dry place. This will help them to store longer.
Harvesting the Leaves:
* You can harvest the leaves at any time during the growing season.
* Choose young, tender leaves.
* Cook the leaves thoroughly before eating to remove calcium oxalate crystals.
Cooking with Taro
Taro is a versatile ingredient that can be used in a variety of dishes. The corms can be boiled, baked, fried, or mashed. The leaves can be steamed, boiled, or used in soups and stews.
Some Popular Taro Dishes:
* Poi: A traditional Hawaiian dish made from mashed taro corms.
* Taro Chips: A crispy and delicious snack made from sliced and fried taro corms.
* Taro Curry: A flavorful curry made with taro corms and coconut milk.
* Laulau: A Hawaiian dish made with pork or fish wrapped in taro leaves and steamed.
Important Note: Always cook taro leaves thoroughly before eating to remove calcium oxalate crystals, which can cause irritation. Boiling or steaming the leaves for at least 15-20 minutes should be sufficient.
Troubleshooting Common Taro Problems
Even with the best care, you might encounter some problems while growing taro. Here are some common issues and how to address them:
* Yellowing Leaves: This could be due to overwatering, underwatering, nutrient deficiency, or too much sunlight. Adjust your watering schedule, fertilize your plant, and move it to a location with partial shade.
* Stunted Growth: This could be due to poor soil, lack of nutrients, or pests. Amend your soil with compost, fertilize your plant, and inspect it for pests.
* Root Rot: This is caused by overwatering and poor drainage. Make sure your soil is well-draining and avoid overwatering. If you suspect root rot, repot your plant in fresh soil.
* Pest Infestations: Inspect your plants regularly for pests and treat them with insecticidal soap or neem oil.
Growing Taro in Water (Hydroponically)
Did you know you can also grow taro in water? It’s a fun and unique way to cultivate this plant, and it can be quite rewarding.
Materials You’ll Need:
* Taro corm
* A container that can hold water (a glass jar or vase works well)
* Water
* Gravel or pebbles (optional, for added stability)
Instructions:
1. Prepare the Corm: Choose a healthy taro corm. You can either use a whole corm or cut it into smaller pieces, making sure each piece has at least one “eye” (bud).
2. Place the Corm in Water: Place the corm in the container and add enough water to cover the bottom half of the corm. You can add
Conclusion
So, there you have it! Growing taro plants at home is not only achievable but also incredibly rewarding. From the vibrant, lush foliage to the satisfaction of harvesting your own edible corms and leaves, this DIY project offers a unique connection to nature and a delicious addition to your culinary repertoire. We’ve walked you through the essential steps, from selecting the right taro variety and preparing the ideal growing environment to nurturing your plants and troubleshooting common issues.
But why is this DIY trick a must-try? Beyond the sheer enjoyment of gardening, growing your own taro allows you to control the quality and freshness of your produce. You’ll know exactly what’s gone into your plants, avoiding potentially harmful pesticides and ensuring a truly organic harvest. Plus, store-bought taro can sometimes be difficult to find, and growing your own guarantees a steady supply whenever you crave that earthy, nutty flavor.
And the possibilities don’t stop there! Feel free to experiment with different taro varieties to discover your favorites. Consider growing your taro in decorative containers to add a touch of tropical flair to your patio or balcony. You can even explore different cooking methods to fully appreciate the versatility of taro – from creamy taro soups and stews to crispy taro chips and flavorful taro curries.
For those feeling adventurous, try propagating your taro plants from cormels (small side shoots that develop on the main corm). This is a great way to expand your taro patch and share your bounty with friends and family. Another variation involves experimenting with different soil amendments to optimize growth. Some gardeners swear by adding compost tea or bone meal to boost nutrient levels and promote healthy root development.
Ultimately, the key to success with growing taro plants at home lies in patience, observation, and a willingness to learn. Don’t be afraid to make mistakes – they’re all part of the learning process. The most important thing is to enjoy the journey and celebrate the small victories along the way.
We are confident that with a little effort and dedication, you can successfully cultivate your own thriving taro patch. So, grab your gardening gloves, gather your supplies, and embark on this exciting adventure. We encourage you to try this DIY trick and experience the joy of growing your own taro.
And most importantly, we want to hear about your experiences! Share your tips, tricks, and triumphs in the comments section below. Let us know what worked for you, what challenges you faced, and what delicious dishes you created with your homegrown taro. Your feedback will not only inspire other readers but also help us refine our guide and provide even better information in the future. Let’s create a community of taro enthusiasts and share the love of this amazing plant! This method of growing **taro plants at home** is a game changer.
Frequently Asked Questions (FAQ)
What is the best time of year to plant taro?
The ideal time to plant taro is during the warm season, typically in late spring or early summer, after the last frost has passed. Taro thrives in warm temperatures and requires a long growing season of at least 7-9 months to fully mature. If you live in a region with mild winters, you may be able to plant taro earlier in the spring or even in the fall, provided you can protect the plants from frost. In colder climates, starting taro indoors in pots several weeks before the last frost can give you a head start.
How much sunlight does taro need?
Taro plants prefer partial shade, especially during the hottest part of the day. While they need sunlight to grow, too much direct sunlight can scorch their leaves. Aim for about 4-6 hours of sunlight per day, ideally in the morning or late afternoon. If you’re growing taro indoors, place it near a sunny window but provide some shade during peak sunlight hours. If you notice the leaves turning yellow or brown, it could be a sign of too much sun.
What kind of soil is best for taro?
Taro thrives in rich, well-draining soil that is high in organic matter. The ideal soil pH is between 5.5 and 6.5. Before planting, amend your soil with compost, well-rotted manure, or other organic materials to improve its fertility and drainage. Taro also benefits from slightly acidic soil. If your soil is alkaline, you can add sulfur or peat moss to lower the pH. Good drainage is crucial to prevent root rot, so avoid heavy clay soils that retain too much water.
How often should I water my taro plants?
Taro plants need consistent moisture to thrive. Water them regularly, especially during hot, dry weather. The soil should be kept consistently moist but not waterlogged. Check the soil moisture regularly by sticking your finger about an inch deep into the soil. If it feels dry, it’s time to water. Avoid letting the soil dry out completely, as this can stress the plants and reduce their growth. During the dormant season (winter), reduce watering frequency.
How do I fertilize my taro plants?
Taro plants are heavy feeders and benefit from regular fertilization. Use a balanced fertilizer (e.g., 10-10-10) every 4-6 weeks during the growing season. You can also supplement with organic fertilizers such as compost tea or fish emulsion. Avoid over-fertilizing, as this can burn the roots and damage the plants. Follow the instructions on the fertilizer label carefully.
Are taro leaves edible?
Yes, taro leaves are edible, but they must be cooked thoroughly to remove calcium oxalate crystals, which can cause irritation and a burning sensation in the mouth and throat. Boiling or steaming the leaves for at least 30 minutes will break down these crystals and make them safe to eat. Taro leaves are a popular ingredient in many cuisines and can be used in soups, stews, and other dishes.
How do I know when my taro is ready to harvest?
Taro is typically ready to harvest about 7-9 months after planting. The leaves will start to turn yellow and die back, indicating that the corm is mature. To harvest, carefully dig around the plant and lift the corm out of the ground. You can also harvest the cormels (small side shoots) that develop on the main corm.
What are some common pests and diseases that affect taro?
Common pests that can affect taro include aphids, spider mites, and mealybugs. These pests can be controlled with insecticidal soap or neem oil. Taro is also susceptible to certain diseases, such as root rot and leaf blight. To prevent these diseases, ensure good drainage, avoid overwatering, and provide adequate air circulation.
Can I grow taro in containers?
Yes, taro can be successfully grown in containers. Choose a large container with drainage holes and fill it with a well-draining potting mix. Keep the soil consistently moist and fertilize regularly. Container-grown taro may not grow as large as taro grown in the ground, but it can still produce a decent harvest.
How do I store taro after harvesting?
After harvesting, taro corms should be stored in a cool, dry, and well-ventilated place. They can be stored for several weeks or even months if properly stored. Avoid storing taro in the refrigerator, as this can cause it to become mushy. You can also freeze cooked taro for longer storage.

Leave a Comment