

Grow Microgreens at Home – imagine transforming your kitchen counter into a vibrant, edible garden, bursting with flavor and nutrients! Forget those sad, wilted greens from the grocery store; we’re diving headfirst into the wonderful world of microgreens, and I’m so excited to share how easy it is to cultivate these tiny powerhouses right in your own home.
For centuries, cultures around the globe have recognized the incredible benefits of sprouts and young greens. From ancient Chinese medicine to modern-day health enthusiasts, the appeal of concentrated nutrition in a small package is undeniable. But let’s be honest, who has the time for complicated gardening setups? That’s where this DIY guide comes in!
In today’s fast-paced world, we’re all looking for ways to boost our health and well-being without sacrificing precious time or money. Grow Microgreens at Home offers a simple, affordable, and incredibly rewarding solution. These little greens are packed with vitamins, minerals, and antioxidants, often exceeding the nutritional value of their mature counterparts. Plus, they add a burst of fresh flavor and vibrant color to salads, sandwiches, soups, and just about anything else you can imagine.
Ready to ditch the expensive store-bought greens and embark on a fun, flavorful, and healthy adventure? Let’s get started!
Growing Butternut Squash: A Beginner’s Guide to a Bountiful Harvest
Hey there, fellow gardening enthusiasts! I’m so excited to share my tried-and-true methods for growing beautiful, delicious butternut squash. It’s one of my favorite fall vegetables, and trust me, with a little patience and these tips, you’ll be enjoying your own homegrown squash in no time.
Choosing the Right Butternut Squash Variety
Before we even get our hands dirty, let’s talk about choosing the right variety. While the classic ‘Waltham’ butternut squash is a reliable choice, there are other options to consider depending on your space and climate.
* **’Waltham’:** This is the standard, and for good reason. It’s known for its consistent size, excellent flavor, and good storage capabilities.
* **’Butterscotch PMR’:** If powdery mildew is a concern in your area (and it often is!), this variety is a great choice. It’s resistant to the disease and produces smaller, sweeter squash.
* **’Early Butternut’:** As the name suggests, this variety matures earlier than others, making it ideal for gardeners in cooler climates with shorter growing seasons.
* **’Honey Nut’:** This is a smaller, more compact variety with an intensely sweet flavor. Perfect for smaller gardens or those who prefer a single-serving size.
Preparing Your Garden for Butternut Squash
Butternut squash are hungry plants, so soil preparation is key. They need plenty of sunshine and well-drained soil rich in organic matter.
* **Sunlight:** Butternut squash needs at least 6-8 hours of direct sunlight per day. Choose a location in your garden that receives ample sunshine.
* **Soil:** The ideal soil for butternut squash is well-drained, loamy, and rich in organic matter. If your soil is heavy clay or sandy, amend it with compost or well-rotted manure.
* **Soil pH:** Butternut squash prefers a soil pH between 6.0 and 7.0. You can test your soil pH with a home testing kit or send a sample to your local extension office.
* **Space:** Butternut squash vines can spread quite a bit, so give them plenty of room. Allow at least 2-3 feet between plants and 4-6 feet between rows.
Starting Butternut Squash Seeds
You can either direct sow your butternut squash seeds in the garden or start them indoors. I prefer starting them indoors to get a head start, especially in areas with shorter growing seasons.
* **Starting Indoors:**
1. **Timing:** Start seeds indoors about 3-4 weeks before the last expected frost.
2. **Containers:** Use peat pots or biodegradable containers to minimize root disturbance when transplanting.
3. **Soil:** Fill the containers with a good quality seed-starting mix.
4. **Planting:** Plant 1-2 seeds per container, about 1 inch deep.
5. **Watering:** Water gently to moisten the soil, but don’t overwater.
6. **Warmth:** Keep the containers in a warm location (70-80°F) until the seeds germinate. A heat mat can be helpful.
7. **Light:** Once the seedlings emerge, provide them with plenty of light. A sunny windowsill or grow lights will work.
8. **Hardening Off:** Before transplanting, gradually acclimate the seedlings to outdoor conditions by hardening them off for a week. Start by placing them outside for a few hours each day, gradually increasing the amount of time they spend outdoors.
* **Direct Sowing:**
1. **Timing:** Direct sow seeds after the last expected frost when the soil has warmed to at least 60°F.
2. **Soil Preparation:** Prepare the soil as described above.
3. **Planting:** Plant seeds about 1 inch deep, spacing them 2-3 feet apart.
4. **Watering:** Water gently to moisten the soil.
5. **Thinning:** Once the seedlings emerge, thin them to one plant per hill.
Transplanting Butternut Squash Seedlings
Once your seedlings have developed a few true leaves and the danger of frost has passed, it’s time to transplant them into the garden.
1. **Choose a Cloudy Day:** Transplanting on a cloudy day will help reduce stress on the seedlings.
2. **Prepare the Planting Hole:** Dig a hole that is slightly larger than the root ball of the seedling.
3. **Amend the Soil:** Mix some compost or well-rotted manure into the soil at the bottom of the hole.
4. **Carefully Remove the Seedling:** Gently remove the seedling from its container, being careful not to damage the roots. If you used peat pots, you can plant the entire pot.
5. **Place the Seedling in the Hole:** Place the seedling in the hole, making sure that the top of the root ball is level with the surrounding soil.
6. **Fill the Hole:** Fill the hole with soil and gently firm it around the seedling.
7. **Water Thoroughly:** Water the seedling thoroughly to help it settle in.
8. **Mulch:** Apply a layer of mulch around the plant to help retain moisture and suppress weeds. I like to use straw or shredded leaves.
Caring for Your Butternut Squash Plants
Once your butternut squash plants are established, it’s important to provide them with proper care to ensure a bountiful harvest.
* **Watering:** Butternut squash needs consistent watering, especially during dry periods. Water deeply and regularly, aiming for about 1 inch of water per week. Avoid overhead watering, as this can promote fungal diseases. Drip irrigation or soaker hoses are ideal.
* **Fertilizing:** Butternut squash are heavy feeders, so fertilize them regularly with a balanced fertilizer. I like to use a fertilizer that is high in phosphorus and potassium to promote fruit development. You can also side-dress the plants with compost or well-rotted manure.
* **Weeding:** Keep the area around your butternut squash plants free of weeds. Weeds compete with the plants for water and nutrients. Mulching can help suppress weeds.
* **Pest Control:** Butternut squash can be susceptible to various pests, including squash bugs, squash vine borers, and aphids. Inspect your plants regularly for signs of pests and take action promptly.
* **Squash Bugs:** Handpick squash bugs and their eggs from the plants. You can also use insecticidal soap.
* **Squash Vine Borers:** These pests can be difficult to control. Wrap the base of the stems with aluminum foil to prevent the borers from entering. You can also inject Bacillus thuringiensis (Bt) into the stems to kill the borers.
* **Aphids:** Spray aphids with insecticidal soap or neem oil.
* **Disease Control:** Butternut squash can also be susceptible to various diseases, including powdery mildew and downy mildew.
* **Powdery Mildew:** This fungal disease causes a white, powdery coating on the leaves. Improve air circulation around the plants and apply a fungicide if necessary. Resistant varieties are also available.
* **Downy Mildew:** This fungal disease causes yellow spots on the upper surface of the leaves and a grayish-purple fuzz on the underside. Improve air circulation and apply a fungicide if necessary.
* **Pollination:** Butternut squash requires pollination to produce fruit. Bees are the primary pollinators. If you don’t see many bees in your garden, you may need to hand-pollinate the flowers.
1. **Identify Male and Female Flowers:** Male flowers have a long, thin stem, while female flowers have a small, immature fruit at the base.
2. **Hand-Pollinate:** In the morning, when the flowers are open, use a small paintbrush to transfer pollen from the male flower to the female flower.
Harvesting Butternut Squash
Butternut squash is typically ready to harvest in the fall, about 90-100 days after planting.
1. **Check for Maturity:** The squash should be a deep tan color and the skin should be hard. You should not be able to easily pierce the skin with your fingernail.
2. **Harvest Carefully:** Use a sharp knife or pruning shears to cut the squash from the vine, leaving about 2-3 inches of stem attached.
3. **Handle with Care:** Avoid bruising or damaging the squash, as this can shorten its storage life.
4. **Curing:** Cure the squash in a warm, dry place for about 1-2 weeks. This will help to harden the skin and improve its storage life.
5. **Storage:** Store cured butternut squash in a cool, dry place (50-60°F) with good ventilation. They can typically be stored for several months.
Troubleshooting Common Butternut Squash Problems
Even with the best care, you may encounter some problems while growing butternut squash. Here are a few common issues and how to address them:
* **Blossom End Rot:** This condition causes the blossom end of the
Conclusion
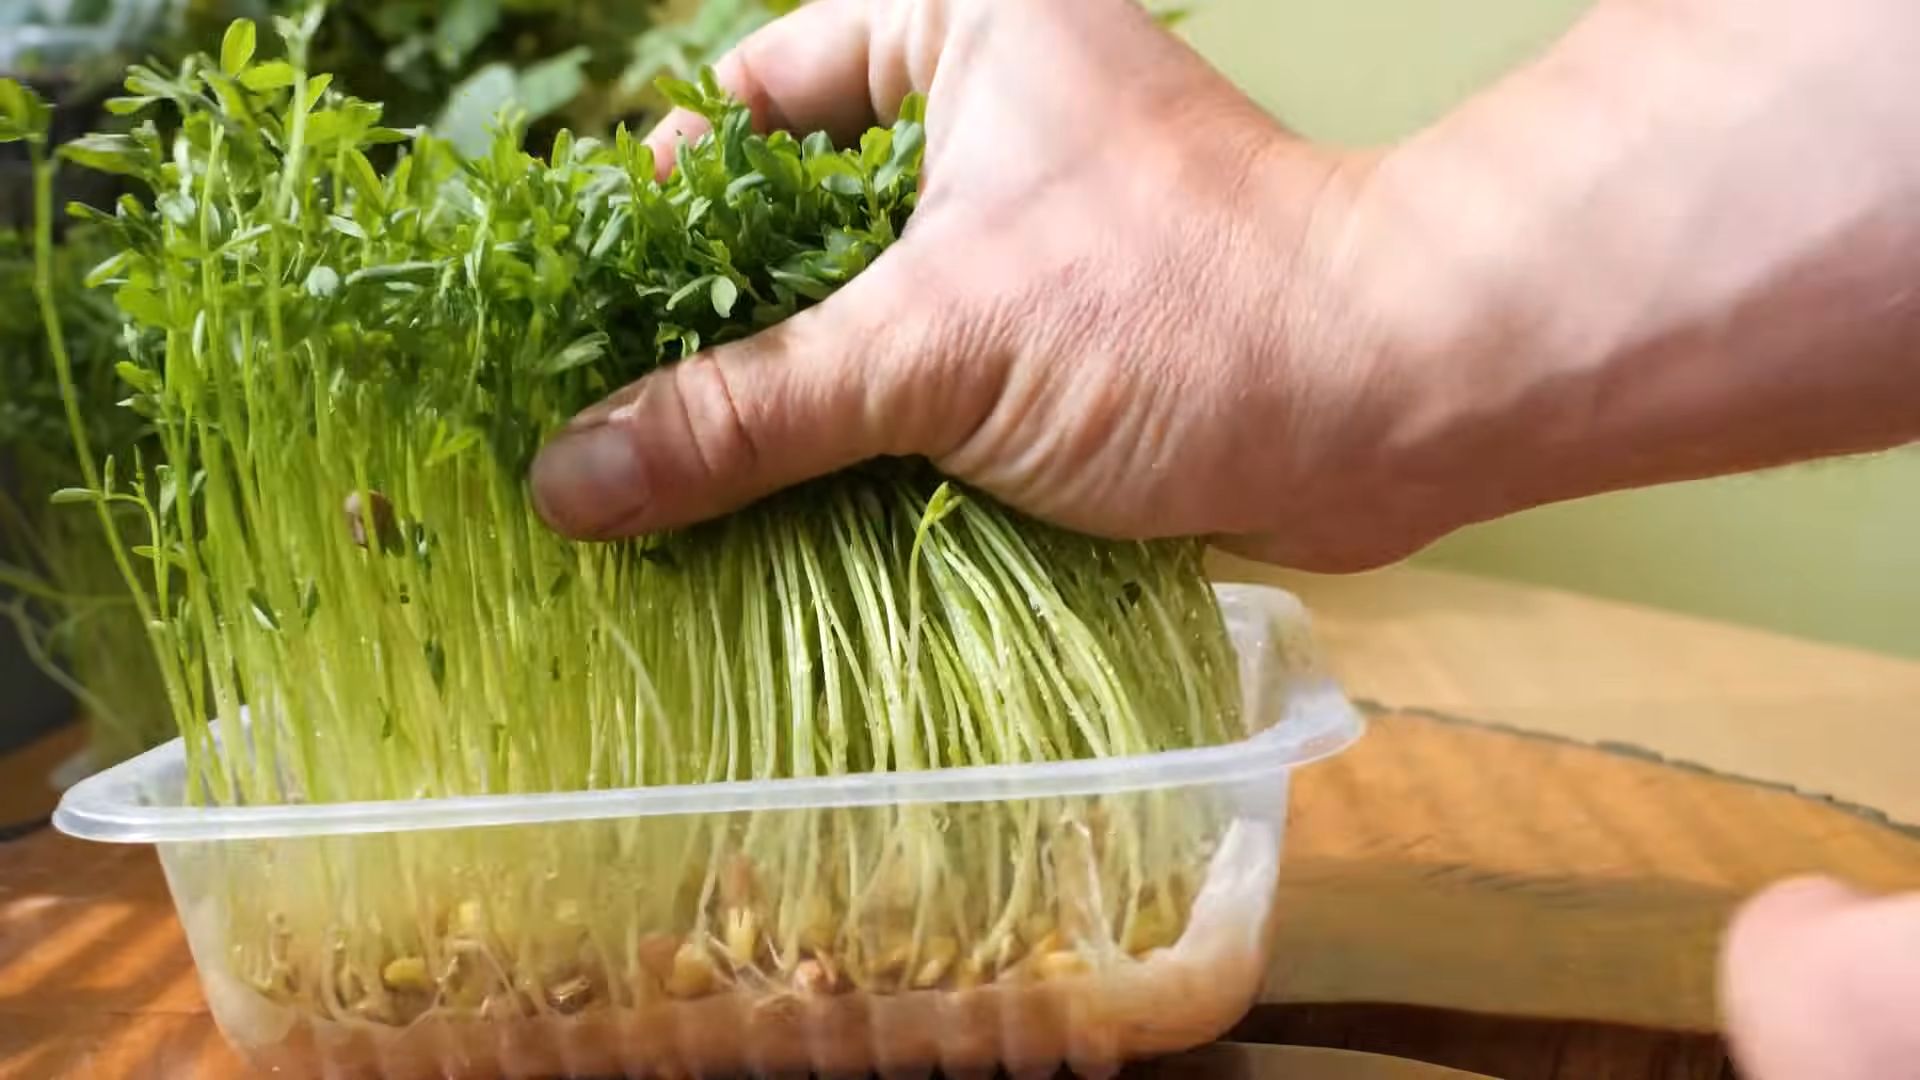
So, there you have it! Growing microgreens at home is not only surprisingly simple, but it’s also an incredibly rewarding experience that brings a burst of fresh flavor and vital nutrients right to your kitchen counter. Forget those expensive, pre-packaged containers from the grocery store. With minimal effort and readily available materials, you can cultivate your own vibrant, nutrient-packed microgreens in just a matter of days.
Why is this DIY trick a must-try? Because it empowers you to take control of your food source, ensuring you’re consuming the freshest, most nutritious greens possible. You’ll drastically reduce your grocery bills, minimize plastic waste, and gain a deeper appreciation for the miracle of plant growth. Plus, the vibrant colors and textures of your homegrown microgreens will elevate your meals, adding a gourmet touch to everything from salads and sandwiches to smoothies and soups.
But the benefits don’t stop there. Growing microgreens at home is also a fantastic way to introduce children to gardening and healthy eating habits. It’s a hands-on learning experience that teaches them about the life cycle of plants, the importance of nutrition, and the satisfaction of growing their own food.
Looking for variations? Experiment with different types of seeds to discover your favorite flavors and textures. Try a spicy radish microgreen mix, a mild sunflower sprout, or a vibrant beet microgreen blend. You can also adjust the growing medium to suit your preferences. While soil is a popular choice, you can also use coconut coir, hemp mats, or even paper towels. Just be sure to keep the medium consistently moist.
Consider adding a grow light to your setup, especially if you live in an area with limited sunlight. A grow light will ensure that your microgreens receive the optimal amount of light for healthy growth, resulting in taller, more vibrant sprouts. You can also experiment with different container sizes and shapes to find what works best for your space.
Don’t be afraid to get creative and personalize your microgreen growing experience. The possibilities are endless!
We wholeheartedly encourage you to try this DIY trick and experience the joy of growing microgreens at home. It’s a simple, sustainable, and incredibly rewarding way to enhance your health and your meals. Once you’ve harvested your first batch of homegrown goodness, we’d love to hear about your experience! Share your photos, tips, and favorite microgreen recipes in the comments below. Let’s build a community of microgreen enthusiasts and inspire others to embrace the power of homegrown food. Happy growing!
Frequently Asked Questions (FAQ)
What exactly are microgreens?
Microgreens are young vegetable greens that are typically harvested 7-14 days after germination, when the first true leaves have emerged. They are larger than sprouts but smaller than baby greens, and they are packed with flavor and nutrients. They are essentially baby versions of mature vegetables and herbs.
What kind of seeds can I use to grow microgreens?
A wide variety of seeds can be used to grow microgreens, including:
* Vegetables: Radish, broccoli, kale, cabbage, mustard, peas, sunflower, beets, carrots
* Herbs: Basil, cilantro, dill, parsley
* Grains: Wheatgrass, barley
* Other: Amaranth, quinoa
It’s important to use seeds that are specifically labeled for sprouting or microgreen production, as these seeds are typically untreated and safe for consumption. Avoid using seeds that have been treated with fungicides or other chemicals.
What kind of container should I use?
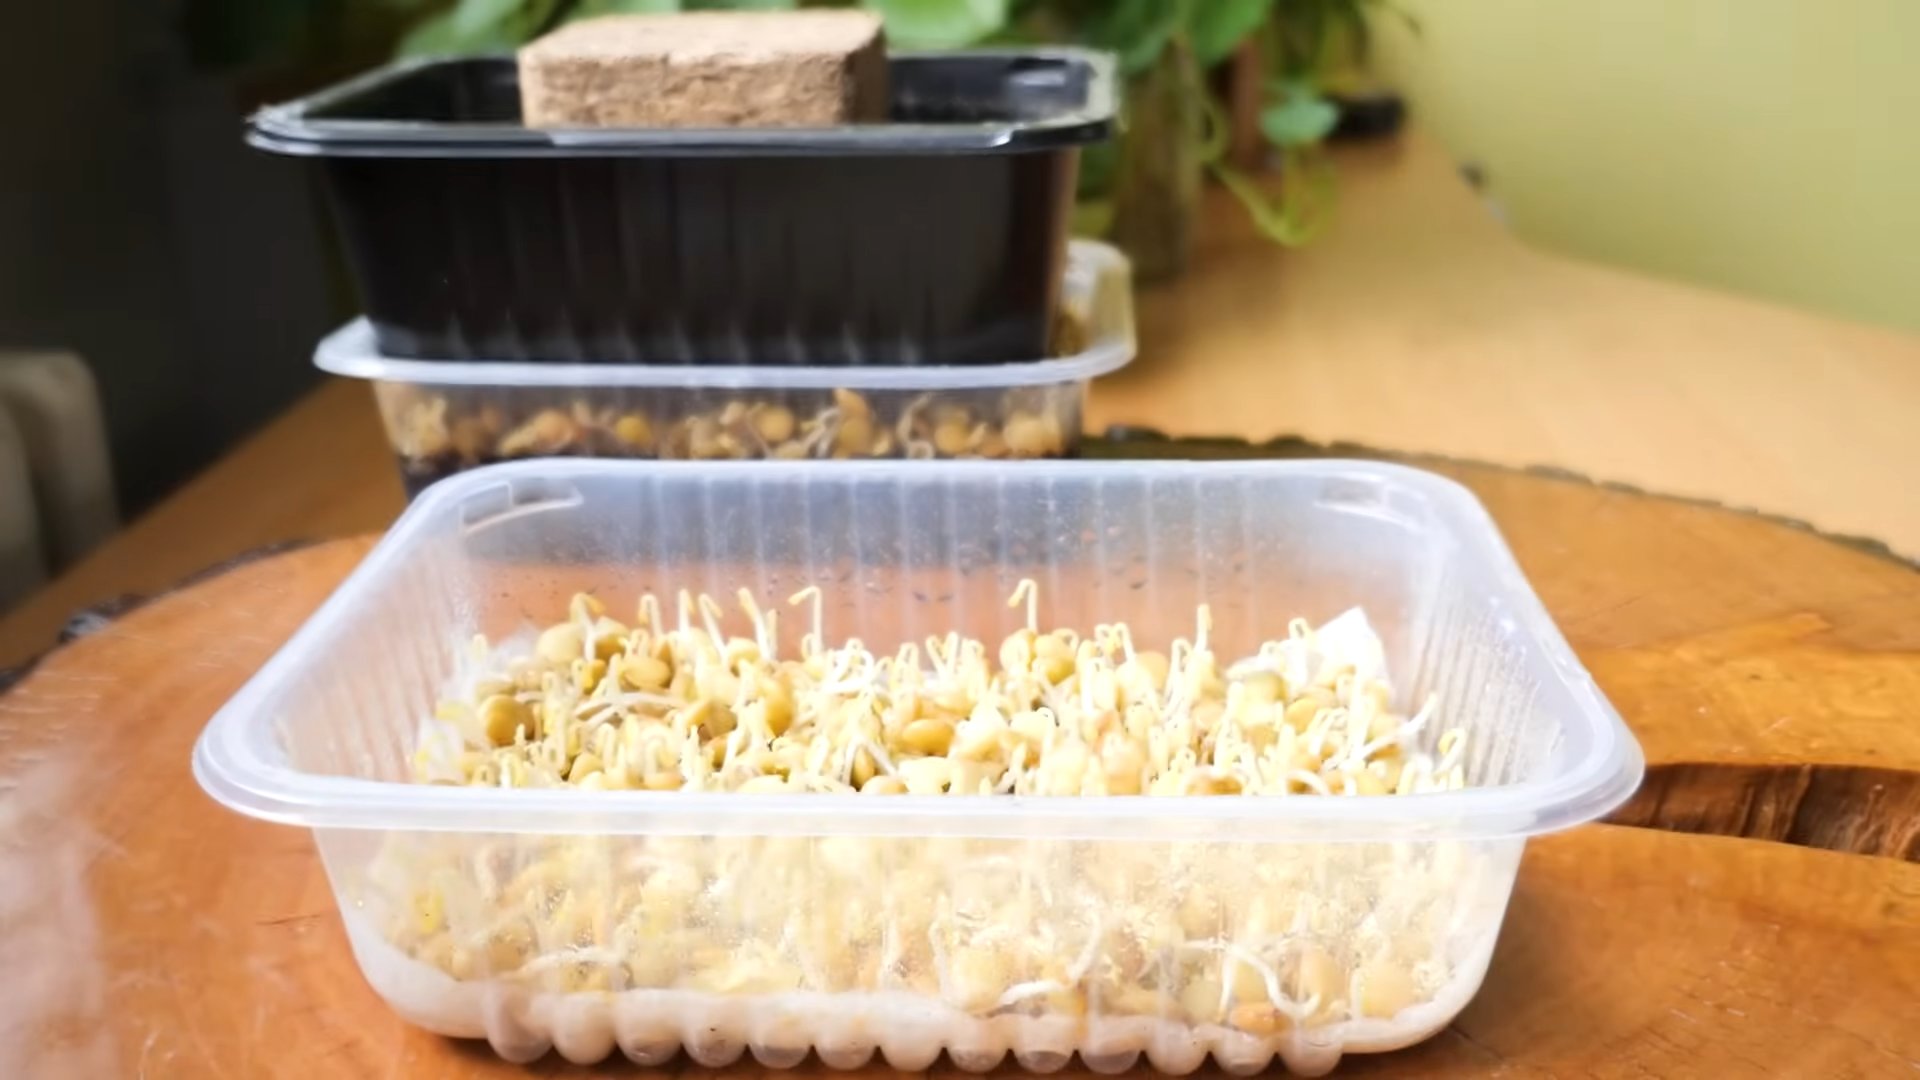
You can use a variety of containers to grow microgreens, such as:
* Shallow trays: These are ideal for growing large batches of microgreens.
* Plastic containers: Recycled plastic containers work well, as long as they are clean and have drainage holes.
* Terra cotta pots: These pots are porous and allow for good air circulation.
* Upcycled containers: Yogurt containers, takeout containers, and other upcycled containers can be used, as long as they are clean and have drainage holes.
The container should be shallow (1-2 inches deep) and have good drainage to prevent waterlogging.
What kind of growing medium should I use?
Several growing mediums can be used for microgreens, including:
* Potting soil: This is a readily available and inexpensive option.
* Coconut coir: This is a sustainable and eco-friendly option that retains moisture well.
* Hemp mats: These mats are made from natural hemp fibers and provide a good growing surface.
* Paper towels: This is a simple and inexpensive option for beginners.
Regardless of the medium you choose, make sure it is clean and free of contaminants.
How much light do microgreens need?
Microgreens need plenty of light to grow properly. If you are growing them indoors, you will need to provide supplemental lighting. A fluorescent grow light or an LED grow light is a good option. Place the light 6-12 inches above the microgreens and keep it on for 12-16 hours per day. If you are growing microgreens outdoors, choose a location that receives at least 4-6 hours of direct sunlight per day.
How often should I water my microgreens?
Microgreens need to be kept consistently moist, but not waterlogged. Water them once or twice a day, or as needed, to keep the growing medium damp. Use a spray bottle to gently mist the microgreens, or bottom water by placing the container in a tray of water and allowing the medium to absorb the water from the bottom.
How long does it take to grow microgreens?
Microgreens typically take 7-14 days to grow, depending on the type of seed and the growing conditions. Radish microgreens, for example, can be ready to harvest in as little as 5 days, while sunflower microgreens may take up to 14 days.
How do I harvest microgreens?
Harvest microgreens when the first true leaves have emerged. Use scissors or a sharp knife to cut the stems just above the growing medium. Wash the microgreens thoroughly before eating.
How do I store microgreens?
Store microgreens in the refrigerator in a sealed container. They will typically last for 5-7 days.
Are microgreens more nutritious than mature greens?
Yes, microgreens are often more nutrient-dense than mature greens. Studies have shown that microgreens can contain significantly higher levels of vitamins, minerals, and antioxidants than their mature counterparts. This is because the nutrients are concentrated in the young, rapidly growing plant.
Can I eat the roots of microgreens?
While the roots are technically edible, they are generally not consumed due to their texture and potential for harboring bacteria. It’s best to harvest the microgreens by cutting the stems above the growing medium.
What are some ways to use microgreens?
Microgreens can be used in a variety of ways, including:
* Salads: Add microgreens to salads for a boost of flavor and nutrients.
* Sandwiches: Use microgreens as a topping for sandwiches and wraps.
* Smoothies: Blend microgreens into smoothies for a healthy and delicious drink.
* Soups: Garnish soups with microgreens for added flavor and visual appeal.
* Omelets: Add microgreens to omelets and frittatas.
* Pizza: Sprinkle microgreens on pizza after baking.
* Tacos: Use microgreens as a topping for tacos and burritos.
Is it safe to grow microgreens at home?
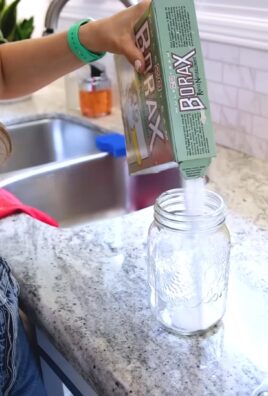
Yes, it is generally safe to grow microgreens at home, as long as you follow proper hygiene practices. Use clean containers and growing mediums, and wash your hands thoroughly before handling the seeds and microgreens. Avoid using seeds that have been treated with chemicals. If you are concerned about contamination, you can sanitize the seeds before planting by soaking them in a diluted bleach solution (1 tablespoon of bleach per gallon of water) for 5 minutes, then rinsing them thoroughly with clean water.

Leave a Comment