

Grow Broccoli Easily, you say? Absolutely! Imagine stepping into your backyard and harvesting crisp, green broccoli heads, bursting with flavor and packed with nutrients. Sounds like a dream, right? Well, it doesn’t have to be! For centuries, cultivating your own food has been a source of pride and sustenance, dating back to ancient Roman gardens where broccoli was a prized vegetable. Today, with busy schedules and concerns about food quality, the need to grow broccoli easily at home is more relevant than ever.
Let’s face it, store-bought broccoli can sometimes be a gamble – often expensive and lacking that fresh, vibrant taste. But what if I told you that with a few simple tricks and DIY hacks, you could bypass the grocery store and have a thriving broccoli patch right outside your door? This article is your ultimate guide to unlocking the secrets of successful home gardening, specifically tailored to help you cultivate delicious broccoli without the fuss. I’m going to share my favorite tips and tricks that will make growing broccoli a breeze, even if you’re a complete beginner. Get ready to transform your garden and enjoy the satisfaction of harvesting your own homegrown goodness!

Growing Broccoli Like a Pro: A DIY Guide for Beginners
Hey there, fellow gardening enthusiasts! I’m so excited to share my tried-and-true method for growing broccoli at home. It’s easier than you might think, and the taste of homegrown broccoli is simply unbeatable. Forget those bland, store-bought heads – we’re talking vibrant green, nutrient-packed goodness straight from your garden!
This guide will walk you through every step, from choosing the right variety to harvesting your bountiful crop. Let’s get our hands dirty!
Choosing the Right Broccoli Variety
Before we even think about planting, let’s talk broccoli varieties. Not all broccoli is created equal, and choosing the right one for your climate and growing season is crucial.
* Consider your climate: Some varieties are better suited for cooler weather, while others can tolerate warmer temperatures.
* Think about your growing season: How long is your growing season? Some broccoli varieties mature faster than others.
* Space considerations: How much space do you have? Some varieties grow larger than others.
Here are a few popular and reliable broccoli varieties to consider:
* ‘Waltham 29’: A classic, reliable variety that’s known for its good flavor and cold hardiness. It matures in about 75 days.
* ‘DiCicco’: A fast-maturing variety that produces a main head followed by numerous side shoots. It’s great for extending your harvest. Matures in about 50 days.
* ‘Green Magic’: A heat-tolerant variety that’s perfect for warmer climates. It produces large, tight heads. Matures in about 60 days.
* ‘Packman’: An early maturing variety that produces large, well-domed heads. It’s a good choice for short growing seasons. Matures in about 50 days.
* ‘Calabrese’: This is a very common variety, known for its large central head. It’s a good all-around choice. Matures in about 68 days.
I personally love ‘Waltham 29’ for its reliability and flavor, but feel free to experiment and find what works best for you!
Getting Started: Planting Broccoli
Broccoli is a cool-season crop, so the timing of planting is key. In most areas, you’ll want to plant broccoli in early spring or late summer for a fall harvest.
* Starting Seeds Indoors (Recommended): Starting seeds indoors gives you a head start and allows you to control the growing environment.
* When to start: Start seeds about 6-8 weeks before the last expected frost in spring, or 10-12 weeks before the first expected frost in fall.
* What you’ll need: Seed starting trays or pots, seed starting mix, broccoli seeds, a spray bottle, and a grow light (optional, but highly recommended).
* Direct Sowing (Less Common): You can direct sow broccoli seeds into the garden, but it’s generally less successful, especially in areas with short growing seasons.
* When to sow: Sow seeds 2-3 weeks before the last expected frost in spring, or in late summer for a fall harvest.
Now, let’s get into the nitty-gritty of planting!
Starting Seeds Indoors: Step-by-Step
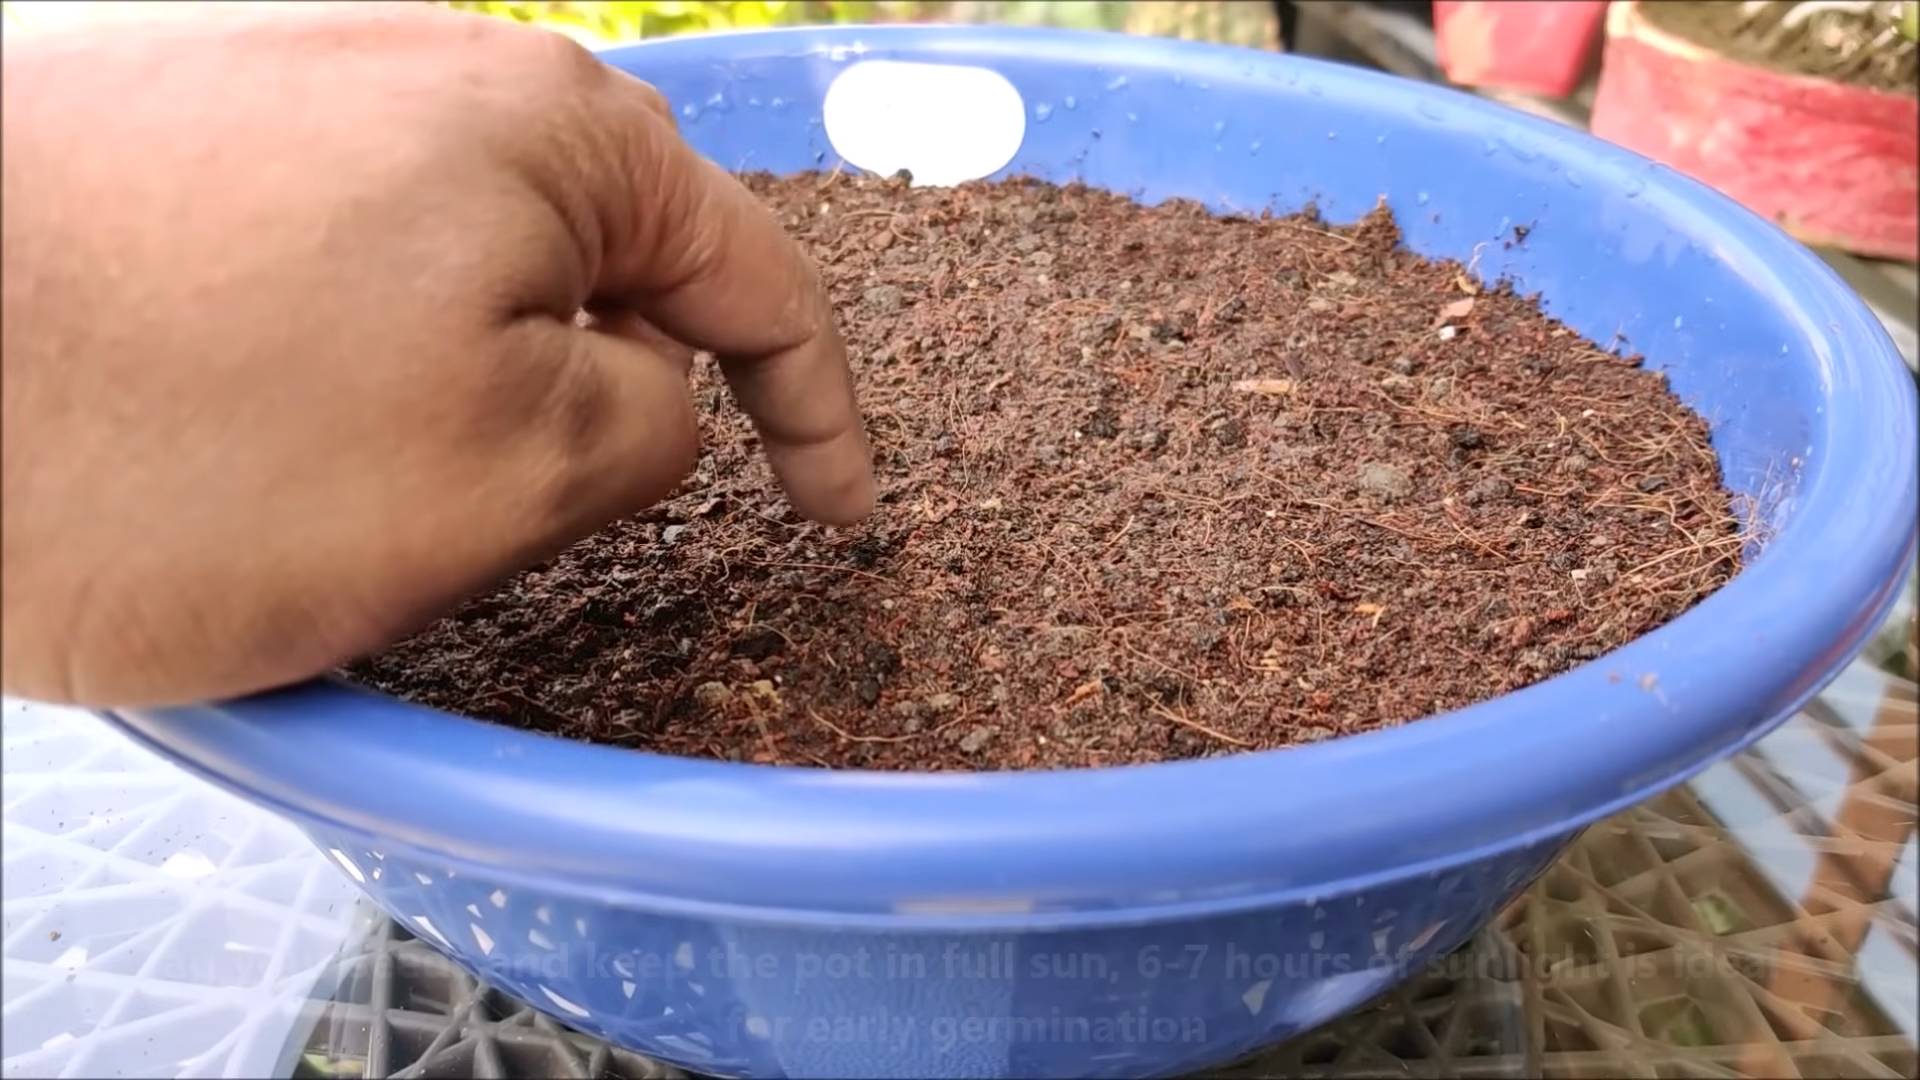
1. Prepare your seed starting trays: Fill your seed starting trays or pots with seed starting mix. Gently tamp down the soil.
2. Sow the seeds: Make a small indentation (about ¼ inch deep) in each cell or pot. Place 2-3 broccoli seeds in each indentation.
3. Cover the seeds: Gently cover the seeds with seed starting mix.
4. Water the seeds: Use a spray bottle to gently moisten the soil. Avoid overwatering, which can lead to damping off (a fungal disease that kills seedlings).
5. Provide warmth and light: Place the trays in a warm location (around 70-75°F) and provide plenty of light. A grow light is ideal, but a sunny windowsill can also work.
6. Keep the soil moist: Check the soil daily and water as needed to keep it consistently moist, but not soggy.
7. Thin the seedlings: Once the seedlings have emerged and have a few true leaves (the second set of leaves), thin them to one seedling per cell or pot. Choose the strongest seedling and snip off the others at the soil line.
8. Harden off the seedlings: About a week before you plan to transplant the seedlings into the garden, you’ll need to harden them off. This process gradually acclimates the seedlings to outdoor conditions. Start by placing the trays outdoors in a sheltered location for a few hours each day, gradually increasing the amount of time they spend outdoors.
Direct Sowing: Step-by-Step
1. Prepare the soil: Choose a location that receives at least 6 hours of sunlight per day. Amend the soil with compost or other organic matter to improve drainage and fertility.
2. Sow the seeds: Sow seeds about ½ inch deep and 1-2 inches apart in rows.
3. Water the seeds: Gently water the seeds.
4. Thin the seedlings: Once the seedlings have emerged and have a few true leaves, thin them to 18-24 inches apart.
Transplanting Broccoli Seedlings
Once your seedlings are about 4-6 inches tall and have been hardened off, it’s time to transplant them into the garden.
1. Prepare the garden bed: Choose a location that receives at least 6 hours of sunlight per day. Broccoli needs well-drained soil that is rich in organic matter. Amend the soil with compost or well-rotted manure.
2. Space the plants: Space the broccoli plants 18-24 inches apart in rows that are 24-36 inches apart. This spacing allows for good air circulation and prevents overcrowding.
3. Dig the holes: Dig holes that are slightly larger than the root balls of the seedlings.
4. Remove the seedlings from the trays: Gently remove the seedlings from the trays or pots. Be careful not to damage the roots.
5. Plant the seedlings: Place the seedlings in the holes and backfill with soil. Gently firm the soil around the base of the plants.
6. Water the plants: Water the plants thoroughly after transplanting.
7. Mulch the plants: Apply a layer of mulch around the plants to help retain moisture, suppress weeds, and regulate soil temperature. I like to use straw or shredded leaves.
Caring for Your Broccoli Plants
Once your broccoli plants are in the ground, it’s important to provide them with proper care to ensure a healthy and productive harvest.
* Watering: Broccoli needs consistent moisture, especially during hot weather. Water deeply and regularly, aiming for about 1-1.5 inches of water per week. Avoid overhead watering, which can promote fungal diseases. Drip irrigation is a great option.
* Fertilizing: Broccoli is a heavy feeder, so it benefits from regular fertilization. Apply a balanced fertilizer (such as 10-10-10) every 2-3 weeks. You can also side-dress with compost or well-rotted manure.
* Weeding: Keep the garden bed free of weeds, which can compete with the broccoli plants for nutrients and water. Hand-pull weeds regularly or use a hoe.
* Pest Control: Broccoli is susceptible to several pests, including cabbage worms, aphids, and flea beetles.
* Cabbage worms: These green caterpillars can devour broccoli leaves. Handpick them off the plants or use Bacillus thuringiensis (Bt), a natural insecticide.
* Aphids: These small, sap-sucking insects can weaken broccoli plants. Spray them off with a strong stream of water or use insecticidal soap.
* Flea beetles: These tiny, jumping beetles can create small holes in broccoli leaves. Cover the plants with row covers to prevent flea beetles from reaching them.
* Disease Control: Broccoli can be affected by several diseases, including clubroot and black rot.
* Clubroot: This soilborne disease causes swollen roots and stunted growth. Prevent clubroot by practicing crop rotation and amending the soil with lime to raise the pH.
* Black rot: This bacterial disease causes yellowing and blackening of leaves. Prevent black rot by using disease-free seeds and avoiding overhead watering.
Harvesting Your Broccoli
The moment we’ve all been waiting for! Knowing when to harvest your broccoli is key to getting the best flavor and texture.
* When to harvest: Harvest broccoli when the heads are firm, tight, and a deep green color. The individual florets should be tightly closed. If the florets start to open and turn yellow, it’s time to harvest immediately.
*
Conclusion
So, there you have it! Growing broccoli easily, even if you’re a beginner gardener, is absolutely achievable with this simple DIY trick. Forget the complicated setups and expensive equipment. This method focuses on creating the optimal environment for your broccoli seedlings right from the start, leading to healthier, more robust plants and, ultimately, a bountiful harvest. We’ve shown you how to nurture your broccoli from seed to sprout, setting the stage for success in your garden.
Why is this a must-try? Because it simplifies the entire process. It eliminates much of the guesswork and reduces the risk of common seedling problems like damping off or leggy growth. By providing consistent moisture, warmth, and light, you’re giving your broccoli the best possible start in life. This translates to stronger plants that are better equipped to withstand pests, diseases, and the challenges of transplanting. Plus, it’s incredibly rewarding to watch your own broccoli grow from tiny seeds to mature, edible heads.
But don’t stop there! Feel free to experiment with variations. Try using different types of seed starting mixes to see which works best for your local climate and soil conditions. You could also explore different lighting options, such as LED grow lights, to supplement natural sunlight, especially during the shorter days of winter. Consider companion planting your broccoli with herbs like rosemary or thyme to deter pests naturally. Another variation is to try succession planting, sowing new seeds every few weeks, to ensure a continuous harvest throughout the growing season. You can also experiment with different broccoli varieties, from the classic Calabrese to the colorful Romanesco.
We’re confident that this DIY trick will revolutionize your broccoli growing experience. It’s a game-changer for both novice and experienced gardeners alike. It’s about taking control of the process and creating the ideal conditions for your plants to thrive.
Now, it’s your turn! We wholeheartedly encourage you to give this method a try. Start small, experiment, and most importantly, have fun. We’re eager to hear about your experiences. Share your successes, your challenges, and any variations you discover in the comments below. Let’s build a community of broccoli enthusiasts and learn from each other. Your insights could help other gardeners achieve their own broccoli growing dreams. Don’t forget to document your journey with photos and videos and share them on social media using relevant hashtags. Let’s spread the word about how easy and rewarding it is to grow your own delicious, homegrown broccoli!
Frequently Asked Questions (FAQ)
What kind of container should I use for starting my broccoli seeds?
You can use a variety of containers, such as seed starting trays with individual cells, small pots (2-3 inches in diameter), or even recycled containers like yogurt cups or egg cartons (with drainage holes added). The key is to choose a container that provides adequate drainage to prevent waterlogging, which can lead to root rot. Ensure the container is clean to avoid introducing diseases to your seedlings.
What is the best soil mix for starting broccoli seeds?
A good quality seed starting mix is essential. These mixes are typically lightweight, sterile, and well-draining, providing the ideal environment for germination and early growth. Avoid using garden soil, as it can be too heavy and may contain pests or diseases. You can also make your own seed starting mix by combining equal parts peat moss (or coconut coir), vermiculite, and perlite.
How often should I water my broccoli seedlings?
Keep the soil consistently moist, but not soggy. Water when the top inch of soil feels dry to the touch. Use a gentle watering can or spray bottle to avoid disturbing the delicate seedlings. Overwatering can lead to damping off, a fungal disease that can kill young seedlings. Underwatering can cause the seedlings to dry out and die.
How much light do broccoli seedlings need?
Broccoli seedlings need plenty of light to grow strong and healthy. Ideally, they should receive at least 6-8 hours of direct sunlight per day. If you don’t have enough natural light, you can supplement with artificial grow lights. Place the lights a few inches above the seedlings and adjust the height as they grow. Insufficient light can result in leggy, weak seedlings.
When should I transplant my broccoli seedlings into the garden?
Transplant your broccoli seedlings when they have developed 4-6 true leaves and are about 4-6 inches tall. This typically takes about 4-6 weeks after sowing the seeds. Before transplanting, harden off the seedlings by gradually exposing them to outdoor conditions for a week or two. This helps them acclimate to the sun, wind, and temperature changes.
What are some common pests and diseases that affect broccoli?
Common pests that affect broccoli include cabbage worms, aphids, flea beetles, and cabbage root maggots. Common diseases include clubroot, black rot, and downy mildew. You can prevent many of these problems by practicing good garden hygiene, such as removing plant debris and rotating crops. You can also use organic pest control methods, such as insecticidal soap or neem oil.
How do I know when my broccoli is ready to harvest?
Broccoli is ready to harvest when the flower heads are firm, tight, and a deep green color. The individual florets should be tightly closed. If the florets start to open and turn yellow, it’s a sign that the broccoli is overripe. Cut the main head with a sharp knife, leaving a few inches of stem. Side shoots will often develop after the main head is harvested, providing you with a continuous supply of broccoli.
Can I grow broccoli in containers?
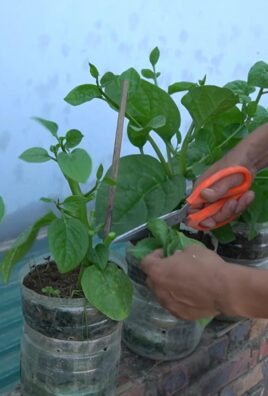
Yes, you can grow broccoli in containers, but you’ll need a large container (at least 5 gallons) to accommodate the plant’s root system. Choose a well-draining potting mix and provide plenty of sunlight and water. Container-grown broccoli may require more frequent fertilization than broccoli grown in the ground.
What are some good companion plants for broccoli?
Good companion plants for broccoli include herbs like rosemary, thyme, and sage, which can help deter pests. Other beneficial companion plants include marigolds, nasturtiums, and onions. Avoid planting broccoli near strawberries or tomatoes, as they can compete for nutrients.
How can I prevent my broccoli from bolting (going to seed)?
Bolting is often caused by stress, such as heat, drought, or nutrient deficiencies. To prevent bolting, provide your broccoli with consistent moisture, adequate nutrients, and protection from extreme temperatures. Choose bolt-resistant varieties and plant them at the appropriate time of year for your climate.
Is it really that easy to grow broccoli easily?
Yes! While there are always challenges in gardening, this method significantly increases your chances of success. By focusing on creating the right environment for your seedlings from the start, you’re giving them a strong foundation to thrive. Remember to be patient, observant, and willing to learn from your experiences. With a little effort and the right techniques, you can enjoy a bountiful harvest of homegrown broccoli.


Leave a Comment