

Grow Broccoli at Home – imagine harvesting crisp, vibrant broccoli florets right from your own backyard! Forget those bland, overpriced heads at the grocery store. This isn’t just about saving money; it’s about connecting with nature and enjoying the unparalleled flavor of homegrown goodness. For centuries, broccoli, a descendant of wild cabbage, has been cultivated for its nutritional power and unique taste. From its origins in ancient Rome, where it was a prized vegetable, to its modern-day popularity, broccoli has always been a staple in healthy diets.
But let’s be honest, the thought of growing your own broccoli can seem daunting. Where do you even start? That’s where this DIY guide comes in! I’m going to share some simple, effective tricks and hacks that will empower you to grow broccoli at home, even if you have limited space or gardening experience. We’ll cover everything from choosing the right variety to protecting your precious plants from pests.
Why do you need these DIY tricks? Because growing broccoli doesn’t have to be complicated! With a little know-how, you can bypass common pitfalls and enjoy a bountiful harvest. Imagine the satisfaction of serving a delicious, healthy meal featuring broccoli you nurtured from seed to table. Let’s get started and transform your garden into a broccoli paradise!
Grow Your Own Broccoli: A Beginner’s Guide
Hey there, fellow gardening enthusiasts! Ever dreamt of plucking fresh, vibrant broccoli florets straight from your backyard? Well, dream no more! Growing your own broccoli is totally achievable, even if you’re a newbie like I once was. It’s surprisingly rewarding, and the taste of homegrown broccoli is simply unbeatable. Plus, you know exactly what’s gone into growing it – no mystery pesticides here!
This guide will walk you through every step, from choosing the right variety to harvesting your bounty. Let’s get our hands dirty!
Choosing the Right Broccoli Variety
First things first, let’s talk broccoli varieties. There are tons of options out there, each with its own quirks and advantages. Here are a few popular choices to get you started:
* Calabrese: This is your classic, reliable broccoli. It produces a large central head and smaller side shoots after harvesting the main head. It’s a great all-around choice.
* Waltham 29: Another solid choice, known for its cold hardiness. If you live in a cooler climate, this one’s a winner.
* DiCicco: This variety matures relatively quickly, making it a good option if you’re impatient (like me!). It produces smaller heads, but they’re super flavorful.
* Purple Sprouting Broccoli: If you’re feeling adventurous, give this one a try! It produces beautiful purple florets that are delicious and visually stunning. It’s also very cold hardy.
* Romanesco Broccoli: This one is more about the looks. It has a unique fractal pattern and a nutty flavor.
Consider your climate and growing season when making your choice. Check the seed packet or plant label for information on days to maturity and recommended growing conditions.
Starting Your Broccoli: Seeds vs. Transplants
You have two main options for starting your broccoli: from seeds or from transplants (small plants that have already been started).
* Starting from Seeds: This gives you more control over the entire process and is generally more economical. However, it requires a bit more planning and effort.
* Using Transplants: This is a great option if you’re short on time or space, or if you’re a complete beginner. You can find transplants at most garden centers.
I’ve done both, and honestly, both work great. If you’re starting from seeds, you’ll need to start them indoors about 6-8 weeks before the last expected frost in your area. If you’re using transplants, you can skip ahead to the “Planting Your Broccoli” section.
Starting Broccoli Seeds Indoors (If You Choose Seeds)
Okay, let’s get those seeds germinating!
1. Gather Your Supplies: You’ll need seed starting trays or small pots, seed starting mix (not regular potting soil!), broccoli seeds, a spray bottle, and a grow light (optional, but highly recommended).
2. Prepare Your Seed Starting Trays: Fill your trays or pots with seed starting mix, leaving about half an inch of space at the top. Gently tap the trays to settle the mix.
3. Sow the Seeds: Make a small indentation (about ¼ inch deep) in the center of each cell or pot. Place 2-3 broccoli seeds in each indentation. Cover the seeds with a thin layer of seed starting mix.
4. Water Gently: Use a spray bottle to gently moisten the soil. Avoid overwatering, as this can lead to damping off (a fungal disease that can kill seedlings).
5. Provide Light and Warmth: Place the trays or pots in a warm location (around 70-75°F) and under a grow light. If you don’t have a grow light, place them near a sunny window, but be sure to rotate them regularly to prevent them from leaning towards the light.
6. Keep the Soil Moist: Check the soil daily and water as needed to keep it consistently moist, but not soggy.
7. Thin the Seedlings: Once the seedlings have developed their first true leaves (the second set of leaves), thin them to one seedling per cell or pot. Choose the strongest, healthiest-looking seedling and snip off the others at the soil line. Don’t pull them out, as this can disturb the roots of the remaining seedling.
Hardening Off Your Seedlings
Before you transplant your seedlings outdoors, you need to “harden them off.” This process gradually acclimates them to the outdoor environment, making them less susceptible to shock.
1. Start Slowly: Begin by placing the seedlings outdoors in a sheltered location (like a porch or patio) for just a few hours each day.
2. Gradually Increase Exposure: Over the course of a week or two, gradually increase the amount of time the seedlings spend outdoors, and expose them to more sunlight and wind.
3. Protect from Extreme Weather: If there’s a risk of frost or extreme heat, bring the seedlings back indoors.
4. Observe Your Seedlings: Keep a close eye on your seedlings during the hardening off process. If they show signs of stress (wilting, yellowing leaves), reduce their exposure to the elements.
Planting Your Broccoli
Alright, time to get those broccoli plants in the ground!
1. Choose a Sunny Location: Broccoli needs at least 6 hours of sunlight per day. Choose a location in your garden that gets plenty of sun.
2. Prepare the Soil: Broccoli prefers well-drained soil that is rich in organic matter. Amend your soil with compost or well-rotted manure before planting.
3. Space Your Plants: Space your broccoli plants about 18-24 inches apart. This will give them enough room to grow and prevent overcrowding.
4. Dig Holes: Dig holes that are slightly larger than the root balls of your seedlings or transplants.
5. Plant Carefully: Gently remove the seedlings or transplants from their containers and place them in the holes. Make sure the top of the root ball is level with the surrounding soil.
6. Fill the Holes: Fill the holes with soil and gently firm the soil around the plants.
7. Water Thoroughly: Water the plants thoroughly after planting.
Caring for Your Broccoli Plants
Now that your broccoli plants are in the ground, it’s time to give them some TLC.
1. Water Regularly: Broccoli needs consistent moisture, especially during hot weather. Water deeply whenever the top inch of soil feels dry.
2. Fertilize: Broccoli is a heavy feeder, so it needs regular fertilization. Use a balanced fertilizer (like 10-10-10) according to the package directions. You can also side-dress with compost or well-rotted manure.
3. Weed Regularly: Weeds can compete with your broccoli plants for nutrients and water. Remove weeds regularly by hand or with a hoe.
4. Mulch: Apply a layer of mulch around your broccoli plants to help retain moisture, suppress weeds, and regulate soil temperature. Straw, wood chips, or shredded leaves are all good options.
5. Protect from Pests: Broccoli is susceptible to a few common pests, including cabbage worms, aphids, and flea beetles. Inspect your plants regularly for signs of pests and take action if necessary.
* Cabbage Worms: These green caterpillars can devour your broccoli leaves. Handpick them off the plants or use a biological insecticide like Bacillus thuringiensis (Bt).
* Aphids: These tiny insects suck the sap from plants. Spray them off with a strong stream of water or use insecticidal soap.
* Flea Beetles: These tiny beetles can jump and create small holes in the leaves. Cover your plants with row covers to prevent them from reaching the plants.
6. Watch Out for Diseases: Broccoli can also be affected by a few common diseases, including clubroot and black rot.
* Clubroot: This fungal disease causes the roots to swell and become distorted. Prevent clubroot by improving soil drainage and rotating your crops.
* Black Rot: This bacterial disease causes yellowing and browning of the leaves. Prevent black rot by using disease-free seeds and avoiding overhead watering.
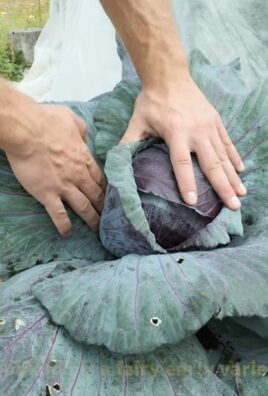
Harvesting Your Broccoli
The moment we’ve all been waiting for! Harvesting your homegrown broccoli is incredibly satisfying.
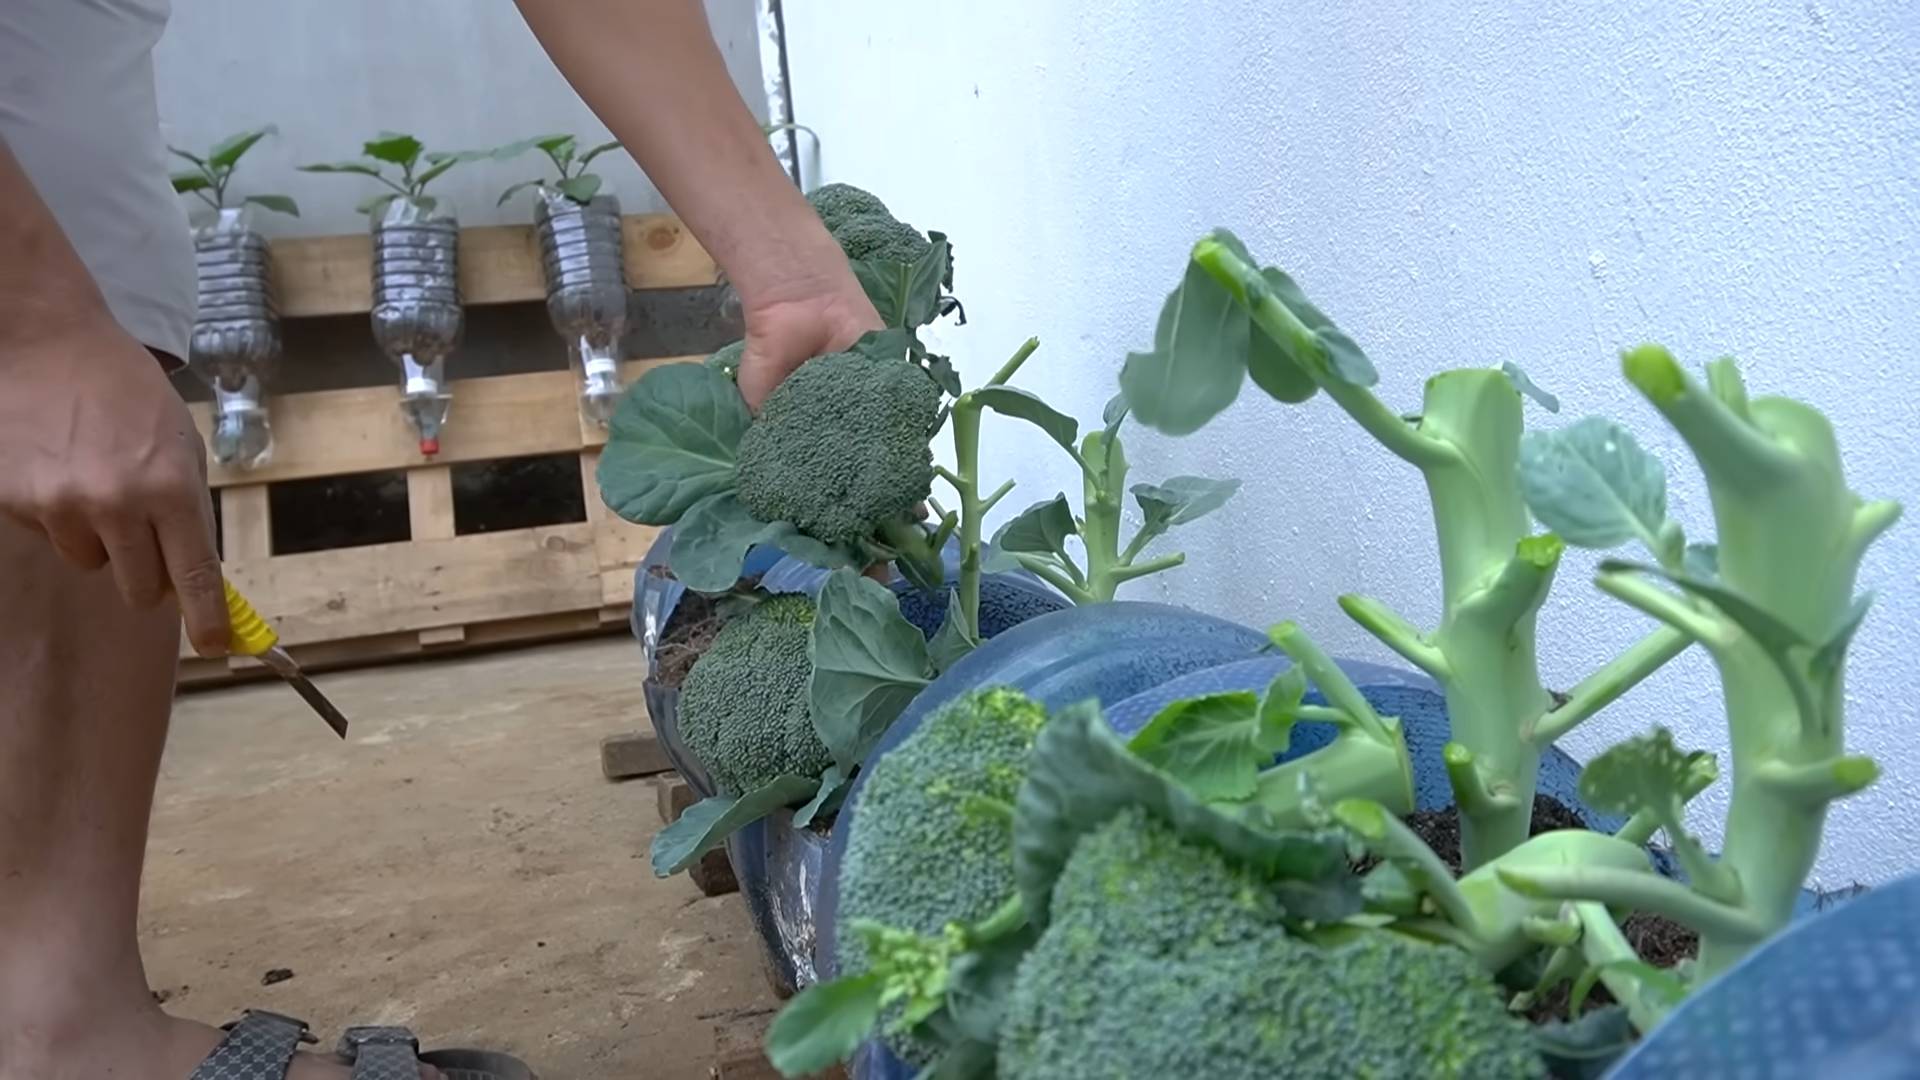
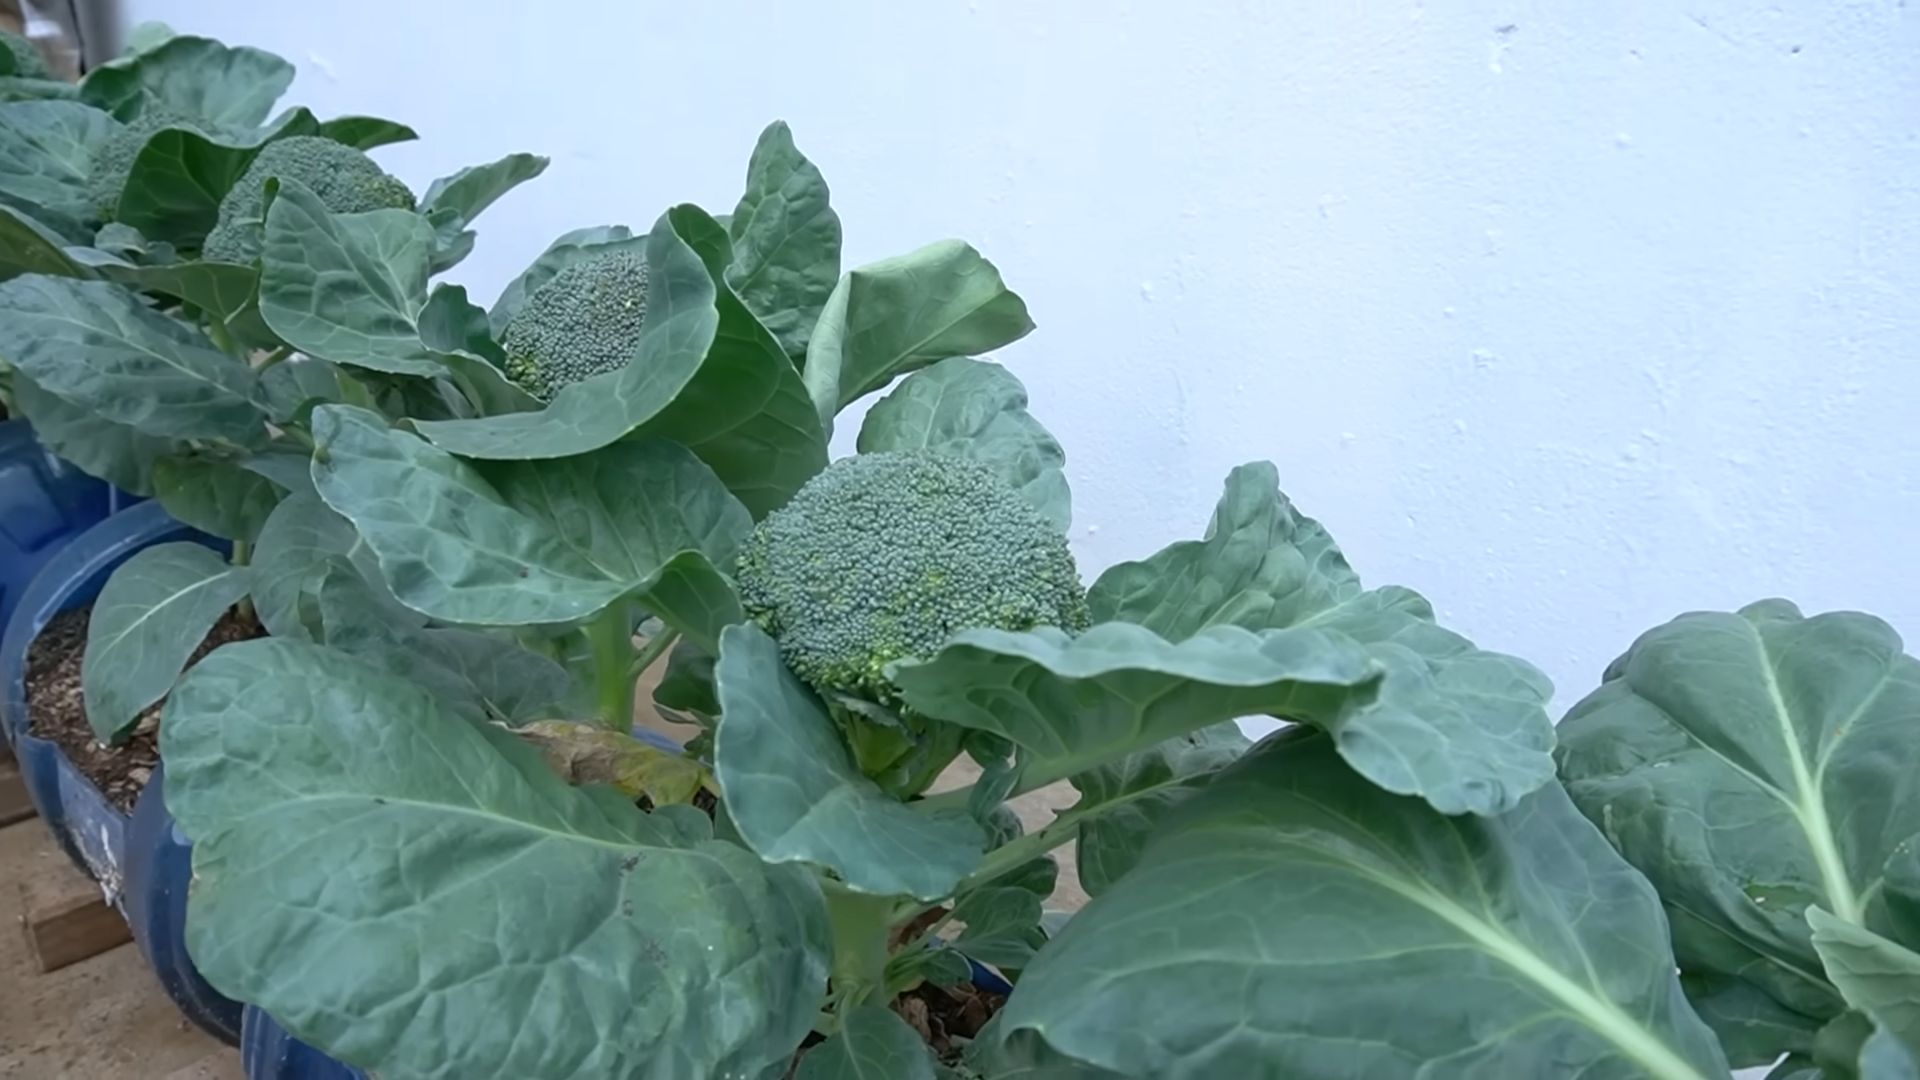
1. Harvest When the Heads are Firm and Tight: The ideal time to harvest broccoli is when the heads are firm, tight, and dark green. The florets should be tightly closed.
2. Use a Sharp Knife: Use a sharp knife to cut the main head from the plant, leaving a few inches of stem.
3. Encourage Side Shoots: After harvesting the main head, the plant will produce smaller side shoots. These can be harvested as they mature.
4. Harvest Regularly: Harvest your broccoli regularly to encourage continued production.
5. Store Properly: Store your harvested broccoli in the refrigerator for
Conclusion
So, there you have it! Growing broccoli at home is not only achievable, but it’s also incredibly rewarding. Forget those bland, overpriced heads from the grocery store. Imagine stepping out into your garden and harvesting crisp, vibrant, and intensely flavorful broccoli whenever you desire. This DIY approach puts you in complete control, allowing you to nurture your plants from seed to table, ensuring the highest quality and freshness.
This method isn’t just about saving money; it’s about connecting with your food source, understanding the growing process, and enjoying the unparalleled taste of homegrown produce. The satisfaction of serving a meal featuring broccoli you cultivated yourself is truly unmatched. Plus, you’ll be reducing your carbon footprint by minimizing transportation and packaging waste.
But the benefits don’t stop there. You can experiment with different varieties of broccoli to discover your personal favorites. Try growing Romanesco broccoli for its stunning fractal patterns and delicate flavor, or perhaps some purple sprouting broccoli for a unique visual appeal and slightly sweeter taste. Consider succession planting, sowing seeds every few weeks, to ensure a continuous harvest throughout the growing season. You can also explore companion planting, pairing your broccoli with herbs like rosemary or thyme to deter pests naturally and enhance the flavor.
Growing broccoli at home is a journey of discovery, and we encourage you to embark on it. Don’t be intimidated by the initial learning curve. Start small, experiment, and learn from your experiences. The rewards, both in terms of fresh produce and personal satisfaction, are well worth the effort.
We’re confident that with a little patience and dedication, you’ll be enjoying delicious, homegrown broccoli in no time. So, grab your seeds, prepare your soil, and get ready to experience the joy of growing your own food. We can’t wait to hear about your successes (and even your challenges!). Share your experiences, tips, and photos with us in the comments below. Let’s build a community of home broccoli growers and inspire others to embrace the joys of gardening! Let us know what variety you chose, what challenges you faced, and what tips you have for fellow gardeners. Your insights could be invaluable to someone just starting out. Happy growing!
Frequently Asked Questions (FAQs)
Q: What is the best time of year to start growing broccoli at home?
A: The ideal time to start growing broccoli depends on your climate. Broccoli is a cool-season crop, so it thrives in temperatures between 60°F and 70°F (15°C and 21°C). In regions with mild winters, you can plant broccoli in the fall for a winter or early spring harvest. In colder climates, start seeds indoors 6-8 weeks before the last expected frost and transplant them outdoors in the spring after the danger of frost has passed. For a fall harvest in colder climates, start seeds indoors in mid-summer.
Q: What kind of soil does broccoli need?
A: Broccoli prefers well-drained, fertile soil that is rich in organic matter. The ideal soil pH is between 6.0 and 7.0. Before planting, amend your soil with compost or well-rotted manure to improve its fertility and drainage. A soil test can help you determine if your soil needs any additional amendments, such as lime to raise the pH or sulfur to lower it.
Q: How much sunlight does broccoli need?
A: Broccoli requires at least 6 hours of direct sunlight per day to thrive. Choose a planting location that receives full sun for optimal growth and head development. If you live in a particularly hot climate, some afternoon shade can be beneficial to prevent the plants from bolting (going to seed prematurely).
Q: How often should I water my broccoli plants?
A: Broccoli needs consistent moisture to grow well. Water deeply and regularly, especially during dry periods. Aim to keep the soil consistently moist but not waterlogged. A good rule of thumb is to water when the top inch of soil feels dry to the touch. Mulching around the plants can help retain moisture and suppress weeds.
Q: What are some common pests and diseases that affect broccoli?
A: Broccoli is susceptible to several pests and diseases, including cabbage worms, aphids, flea beetles, clubroot, and downy mildew. Regularly inspect your plants for signs of infestation or disease. Use organic pest control methods, such as handpicking pests, using insecticidal soap, or applying Bacillus thuringiensis (Bt) for cabbage worms. To prevent diseases, ensure good air circulation, avoid overhead watering, and practice crop rotation.
Q: How do I know when my broccoli is ready to harvest?
A: Broccoli is ready to harvest when the central head is firm, tight, and has reached the desired size (usually 4-7 inches in diameter). The individual florets should be tightly closed and dark green. If the florets start to open and turn yellow, it’s a sign that the broccoli is overripe. Cut the central head with a sharp knife, leaving a few inches of stem. Side shoots will often develop after the main head is harvested, providing you with additional smaller heads.
Q: Can I grow broccoli in containers?
A: Yes, you can grow broccoli in containers, but you’ll need to choose a large container (at least 5 gallons) to accommodate the plant’s root system. Use a high-quality potting mix and ensure the container has good drainage. Water and fertilize regularly, as container-grown plants tend to dry out and deplete nutrients more quickly than those grown in the ground. Choose a compact broccoli variety that is well-suited for container gardening.
Q: What are some good companion plants for broccoli?
A: Several plants can benefit broccoli when grown nearby. These include:
* **Herbs:** Rosemary, thyme, sage, and dill can help deter pests.
* **Flowers:** Marigolds and nasturtiums attract beneficial insects and repel harmful ones.
* **Vegetables:** Onions, garlic, and radishes can help deter pests and improve soil health.
Avoid planting broccoli near other members of the brassica family (e.g., cabbage, cauliflower, kale), as they can attract the same pests and diseases.
Q: How can I store harvested broccoli?
A: To store harvested broccoli, wrap it loosely in a damp paper towel and place it in a plastic bag in the refrigerator. It will typically keep for 3-5 days. You can also blanch and freeze broccoli for longer storage. To blanch, cut the broccoli into florets and immerse them in boiling water for 3 minutes. Then, transfer them to an ice bath to stop the cooking process. Drain well, pack into freezer bags, and freeze.
Q: What are some creative ways to use homegrown broccoli?
A: The possibilities are endless! Enjoy it steamed, roasted, sautéed, or grilled. Add it to stir-fries, soups, salads, and casseroles. Use it as a topping for pizza or pasta. Make a creamy broccoli soup or a cheesy broccoli bake. You can even pickle broccoli stems for a tangy snack. Don’t forget to use the leaves! They are edible and can be added to salads or stir-fries for extra nutrients.
Leave a Comment