

Vinegar Cleaning Solutions: Your Secret Weapon for a Sparkling Clean Home and Garden
I’ve always loved the feeling of a truly clean home, but let’s be honest, harsh chemical cleaners can be expensive, and frankly, a little scary. That’s why I’m so excited to share my favorite vinegar cleaning solutions with you! This isn’t just about saving a few bucks; it’s about creating a healthier, more eco-friendly environment for yourself and your family, all while achieving sparkling results.
The use of vinegar for cleaning dates back centuries. Our ancestors understood its power as a natural disinfectant and deodorizer long before the advent of modern chemical cleaners. From ancient civilizations using it to preserve food to its use in traditional medicine, vinegar has a rich history of practical applications. Now, we’re rediscovering its amazing versatility in the modern home and garden.
Why should you care about these vinegar cleaning solutions? Well, for starters, they’re incredibly effective. Vinegar’s acidity cuts through grease, grime, and soap scum like a dream. It’s also a fantastic natural disinfectant, killing many common bacteria and viruses. Beyond its cleaning power, using vinegar means you’re reducing your exposure to harsh chemicals, protecting your family’s health and the environment. Plus, it’s incredibly affordable and readily available – a true win-win!
Ready to ditch the toxic chemicals and embrace the power of nature?
In this article, I’ll walk you through a range of simple, effective vinegar cleaning solutions for every area of your home and garden, from sparkling windows to pest control. Get ready to discover the amazing cleaning power of this humble household staple!
Building a Custom Bookshelf from Reclaimed Wood
I love the look of reclaimed wood, and I’ve always wanted a unique bookshelf. So, I decided to build my own! This project took a bit of time, but the result is a beautiful, sturdy bookshelf that perfectly fits my space and style. Here’s how I did it:
Gathering Materials and Tools
- Reclaimed wood planks (I used about 10-12, varying lengths and widths, but aim for a consistent thickness). Make sure the wood is clean and dry.
- Wood glue
- Wood screws (various lengths, depending on plank thickness)
- Wood filler
- Sandpaper (various grits, starting with coarser and moving to finer)
- Wood stain (your choice of color)
- Polyurethane sealant
- Paintbrushes
- Measuring tape
- Level
- Drill with drill bits (matching your screws)
- Safety glasses
- Work gloves
- Clamps (helpful for holding pieces together while the glue dries)
Preparing the Wood
1. Clean the wood: Before starting, I thoroughly cleaned each plank with a brush and damp cloth to remove any dirt, debris, or loose pieces of bark. Let it dry completely.
2. Assess and cut: I laid out my planks to visualize the bookshelf’s design. I wanted a slightly asymmetrical look, so I didn’t aim for perfect uniformity. I used a saw (a circular saw worked well for me) to cut the planks to my desired lengths. Remember to measure twice, cut once!
3. Sanding: This is crucial for a smooth finish. I started with coarser grit sandpaper (around 80 grit) to remove any rough edges or splinters. Then, I gradually moved to finer grits (120, then 220) for a super smooth surface. Sand in the direction of the wood grain for the best results. This step took a while, but it’s worth the effort.
Assembling the Bookshelf
1. Laying out the structure: I decided on a three-shelf design, with varying heights between the shelves. I laid out the planks on the floor to get the arrangement just right. This helped me visualize the final product and make any necessary adjustments before gluing and screwing.
2. Applying glue and screws: I started by applying wood glue to the ends of the planks that would form the vertical supports. Then, I carefully positioned the horizontal planks (shelves) and clamped them in place. I pre-drilled pilot holes to prevent the wood from splitting when screwing. I used wood screws to secure the joints. Make sure the screws are countersunk slightly below the surface of the wood.
3. Filling gaps: Even with careful measuring and cutting, there might be small gaps between the planks. I used wood filler to fill these gaps, ensuring a seamless look. Let the filler dry completely before sanding it smooth.
4. Additional sanding: After the wood filler dried, I sanded the entire bookshelf again, using finer grits of sandpaper to achieve a smooth, even surface. This is important for a professional-looking finish.
Finishing Touches
1. Applying stain: I chose a dark walnut stain to enhance the natural beauty of the reclaimed wood. I applied the stain evenly using a brush, following the grain of the wood. I let it dry according to the manufacturer’s instructions. Apply multiple thin coats for a richer color and better penetration.
2. Sealing with polyurethane: To protect the wood and give it a durable finish, I applied several coats of polyurethane sealant. I allowed each coat to dry completely before applying the next. This step is essential for longevity and water resistance.
3. Final inspection: Once the sealant was dry, I gave the bookshelf a final inspection, checking for any imperfections. I touched up any areas that needed additional sanding or stain.
Tips and Considerations
- Safety first: Always wear safety glasses and gloves when working with power tools and chemicals.
- Take your time: This is a project that requires patience. Don’t rush the process, especially the sanding and finishing steps.
- Plan your design: Sketch out your bookshelf design beforehand to ensure you have the right amount of wood and to visualize the final product.
- Consider the weight: Reclaimed wood can be heavy. Make sure your bookshelf is sturdy enough to support the weight of your books.
- Get creative: Don’t be afraid to experiment with different stains, finishes, and designs. This is your chance to create a truly unique piece of furniture.
Troubleshooting
Uneven Shelves:
If your shelves are uneven, use shims (small pieces of wood) to level them before securing them with screws.
Splitting Wood:
Pre-drilling pilot holes is crucial to prevent the wood from splitting, especially when using screws.
Glue Stains:
Wipe away excess glue immediately to prevent staining.
Conclusion
So there you have it! A comprehensive guide to harnessing the power of vinegar cleaning solutions for a sparkling clean home. This DIY trick isn’t just about saving money; it’s about embracing a more sustainable and effective approach to cleaning. Vinegar cleaning solutions offer a powerful, eco-friendly alternative to harsh commercial cleaners, leaving your home smelling fresh and clean without the worry of harmful chemicals. From tackling stubborn grease in the kitchen to banishing grime in the bathroom, the versatility of vinegar is truly remarkable. You’ll be amazed at how easily it cuts through dirt and leaves surfaces gleaming.
Beyond the basic recipes, the possibilities are endless. Experiment with adding essential oils like lemon or lavender for a pleasant aroma. For tougher stains, let the vinegar solution soak for a longer period before scrubbing. Consider using different types of vinegar – apple cider vinegar, for instance, adds a slightly different cleaning power and a unique scent. You can even adapt these solutions for specific cleaning tasks. A diluted vinegar solution is perfect for everyday cleaning, while a stronger concentration can tackle more stubborn messes. Remember to always test a small, inconspicuous area first to ensure the solution doesn’t damage the surface.
We strongly encourage you to try these vinegar cleaning solutions and experience the difference for yourself. You’ll be surprised at how effective and easy they are to use. Share your experiences with us! Let us know which recipes worked best for you, what variations you tried, and any tips you discovered along the way. Join the growing community of people who are embracing the power of natural cleaning and making their homes cleaner and healthier, one vinegar solution at a time. Your feedback will help inspire others to embark on their own vinegar cleaning journey and discover the amazing cleaning power of this humble household staple.
Don’t hesitate to experiment and find what works best for your specific needs and preferences. The beauty of these DIY solutions is their adaptability. Whether you’re a seasoned cleaning enthusiast or a complete beginner, you’ll find these vinegar cleaning solutions easy to make and incredibly effective. So, ditch the harsh chemicals and embrace the natural power of vinegar – your home and the environment will thank you for it!
Frequently Asked Questions
What types of vinegar are best for cleaning?
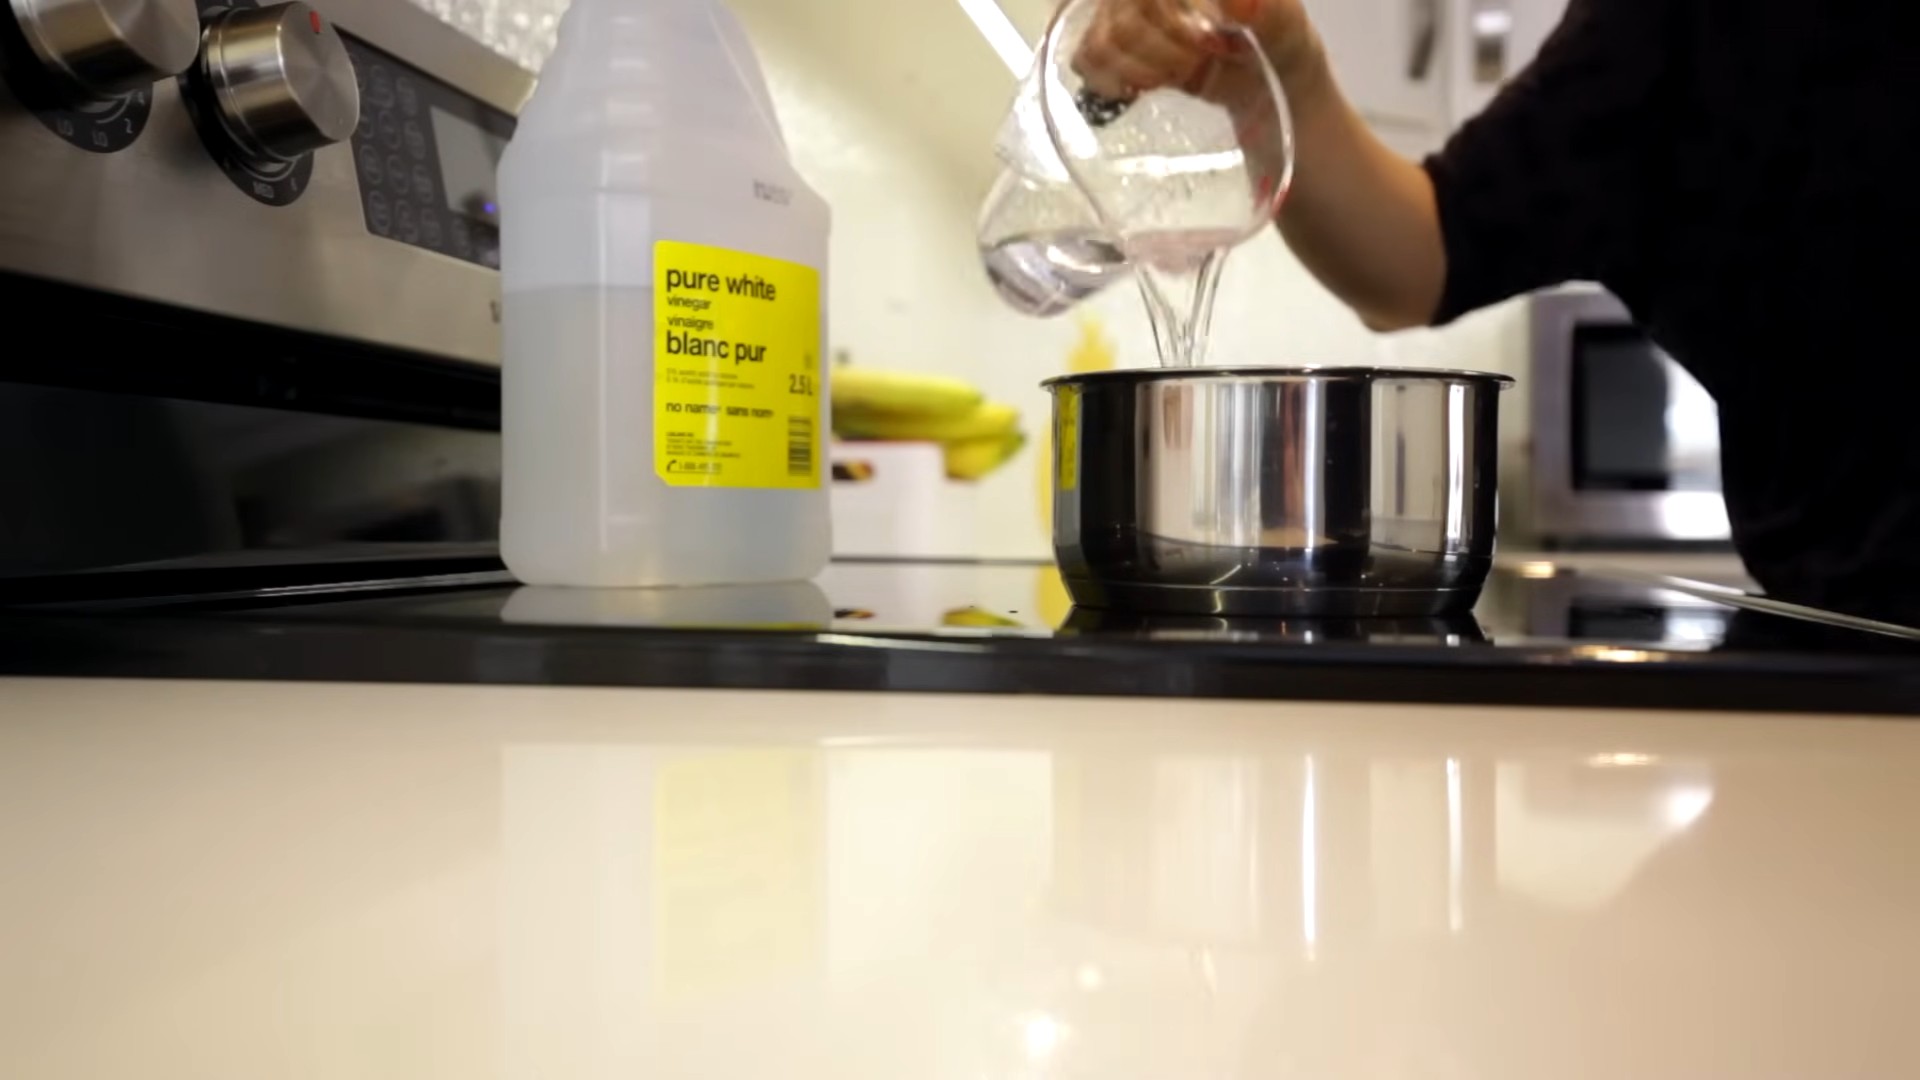
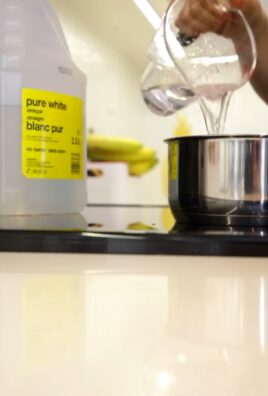
White distilled vinegar is generally preferred for cleaning due to its high acidity and lack of color or strong odor. However, apple cider vinegar can also be used, offering a slightly different scent and potentially some additional cleaning properties due to its enzymes. Avoid using balsamic or other flavored vinegars, as their added ingredients may stain or leave residue.
Is vinegar safe for all surfaces?
While vinegar is generally safe for many surfaces, it’s crucial to test it on an inconspicuous area first. Avoid using vinegar on surfaces that are sensitive to acids, such as marble, granite, or unsealed wood. It can also damage certain finishes, so always proceed with caution and test before applying to a large area. Always rinse thoroughly after cleaning with vinegar.
How do I make a vinegar cleaning solution for different areas of my home?
The ratio of vinegar to water can be adjusted depending on the cleaning task. For general cleaning, a 1:1 ratio (equal parts vinegar and water) is usually sufficient. For tougher stains or grease, you might increase the vinegar concentration. For delicate surfaces, dilute the solution further. Always test a small area first.
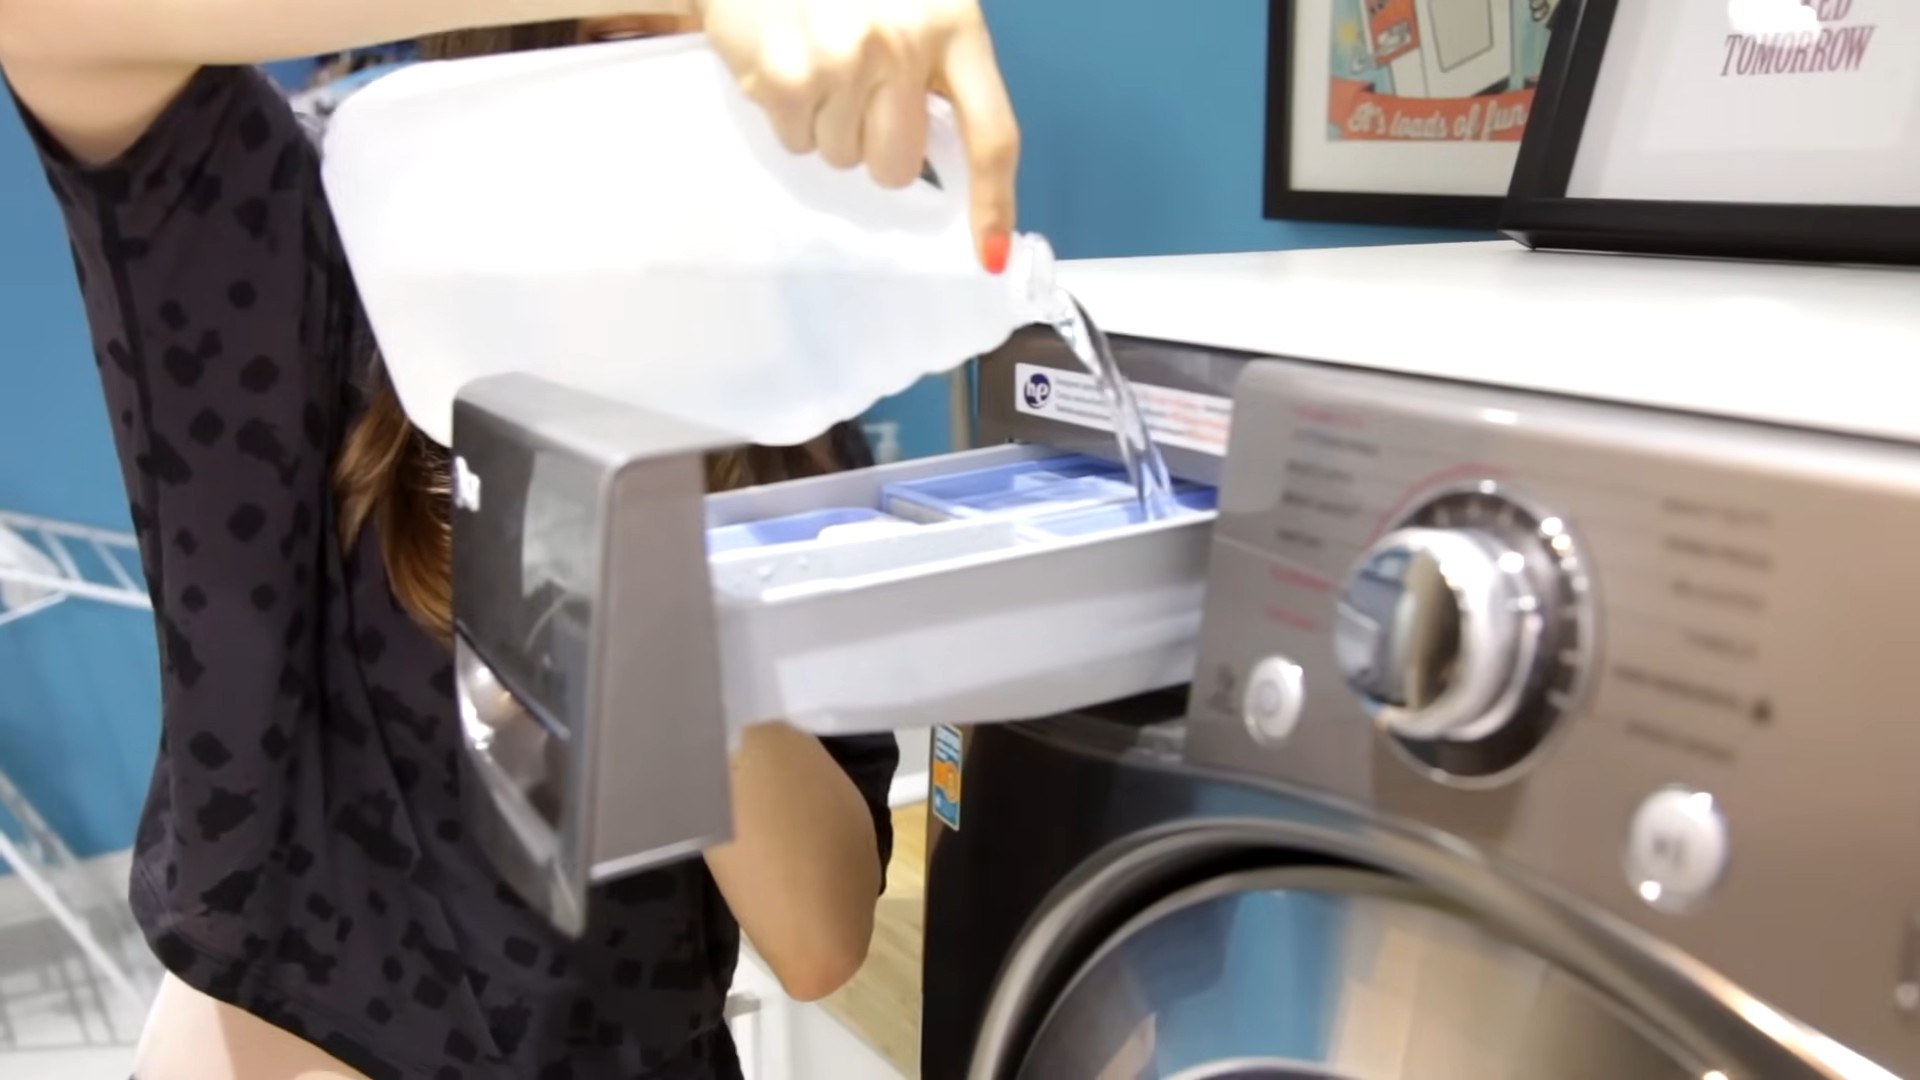
Can I use vinegar cleaning solutions on my clothes?
Vinegar can be used as a fabric softener or to remove odors from clothes. However, it’s not recommended for all fabrics, especially delicate ones. Always test a small, hidden area first to ensure it doesn’t cause discoloration or damage. For pre-treating stains, a stronger solution might be used, but always rinse thoroughly.
What are the environmental benefits of using vinegar cleaning solutions?
Vinegar cleaning solutions are a much more environmentally friendly alternative to commercial cleaners. They are biodegradable, non-toxic, and don’t contain harsh chemicals that can pollute waterways or harm wildlife. By using vinegar, you reduce your reliance on chemically-laden products and contribute to a more sustainable lifestyle.
How do I store my vinegar cleaning solutions?
Store your vinegar cleaning solutions in clearly labeled spray bottles or containers. Keep them away from direct sunlight and heat to maintain their effectiveness. Remember to always keep cleaning solutions out of reach of children and pets.
What if my vinegar cleaning solution doesn’t work on a particular stain?
If a vinegar solution doesn’t remove a stubborn stain, it might be necessary to try a different cleaning method or product. Baking soda can be a helpful addition to boost cleaning power, or you might need to resort to a commercial cleaner specifically designed for that type of stain. Remember to always test any new cleaning product on a small, inconspicuous area first.
Are there any safety precautions I should take when using vinegar cleaning solutions?
Always wear gloves when using vinegar cleaning solutions, especially for prolonged cleaning tasks. Avoid inhaling the fumes directly, and ensure proper ventilation. If you get vinegar in your eyes, rinse immediately with plenty of water and seek medical attention if necessary. Always follow the instructions carefully and test on a small area before applying to a large surface.
Leave a Comment