

Foam Box Peanut Growing: Ever dreamt of harvesting your own crunchy, delicious peanuts right from your backyard, or even your balcony? I know I have! Forget those sprawling fields – you can actually cultivate these legumes in a simple foam box. This DIY project is not only incredibly rewarding, but it’s also a fantastic way to connect with nature and enjoy fresh, homegrown goodness.
Peanuts, though often mistaken for nuts, are actually legumes with a rich history. Originating in South America, they’ve been cultivated for thousands of years and hold significant cultural importance in many societies. From ancient Incan pottery depicting peanuts to their vital role in modern cuisine, these little powerhouses have truly stood the test of time.
But why should *you* try foam box peanut growing? Well, for starters, it’s incredibly space-efficient, perfect for urban gardeners or anyone with limited outdoor space. Plus, it’s a fantastic way to control the growing environment, ensuring optimal conditions for your peanut plants. Imagine the satisfaction of cracking open your own homegrown peanuts, knowing exactly where they came from and how they were grown. In this article, I’ll guide you through every step of the process, from selecting the right foam box to harvesting your very own peanut bounty. Let’s get started!
“`html
Grow Peanuts in a Foam Box: A Fun and Easy DIY Project
Hey there, fellow gardening enthusiasts! Have you ever thought about growing your own peanuts? It’s surprisingly easy, and you don’t even need a huge garden. I’m going to walk you through how to grow peanuts in a foam box – a perfect project for small spaces and beginner gardeners. Trust me, the satisfaction of harvesting your own homegrown peanuts is totally worth it!
Choosing Your Foam Box and Preparing It
First things first, we need to get our container ready. The foam box is our peanut haven!
* Size Matters: You’ll want a foam box that’s at least 12 inches deep and wide. Peanuts need room to spread their roots and develop those delicious nuts. The bigger, the better, within reason, of course! I’ve found that boxes around 18 inches deep and 24 inches wide work perfectly.
* Drainage is Key: Peanuts don’t like soggy feet, so drainage is crucial. We need to create drainage holes in the bottom of the box.
* Insulation Advantage: Foam boxes are great because they provide insulation, which helps regulate the soil temperature. This is especially beneficial if you live in an area with fluctuating temperatures.
Step-by-Step: Preparing the Foam Box
1. Gather Your Supplies: You’ll need your foam box, a drill (or a sharp knife, but be careful!), and some landscape fabric (optional, but recommended).
2. Drill Drainage Holes: Using your drill (or carefully with your knife), create at least 6-8 drainage holes in the bottom of the foam box. Space them evenly. I usually go for about an inch in diameter for each hole.
3. Line with Landscape Fabric (Optional): This step is optional, but I highly recommend it. Lining the box with landscape fabric will prevent soil from washing out through the drainage holes and also helps with weed control. Cut the fabric slightly larger than the box and tuck it in, overlapping the edges.
Selecting Your Peanut Seeds and Starting Them
Now for the exciting part – choosing and starting our peanut seeds!
* Seed Selection: You can use raw, unsalted peanuts from the grocery store, but I’ve had the best luck with peanut seeds specifically sold for planting. These are usually available at garden centers or online. Look for varieties like ‘Virginia,’ ‘Spanish,’ or ‘Valencia.’ ‘Virginia’ peanuts are known for their large size, while ‘Spanish’ peanuts are smaller and have a sweeter flavor. ‘Valencia’ peanuts are great for boiling.
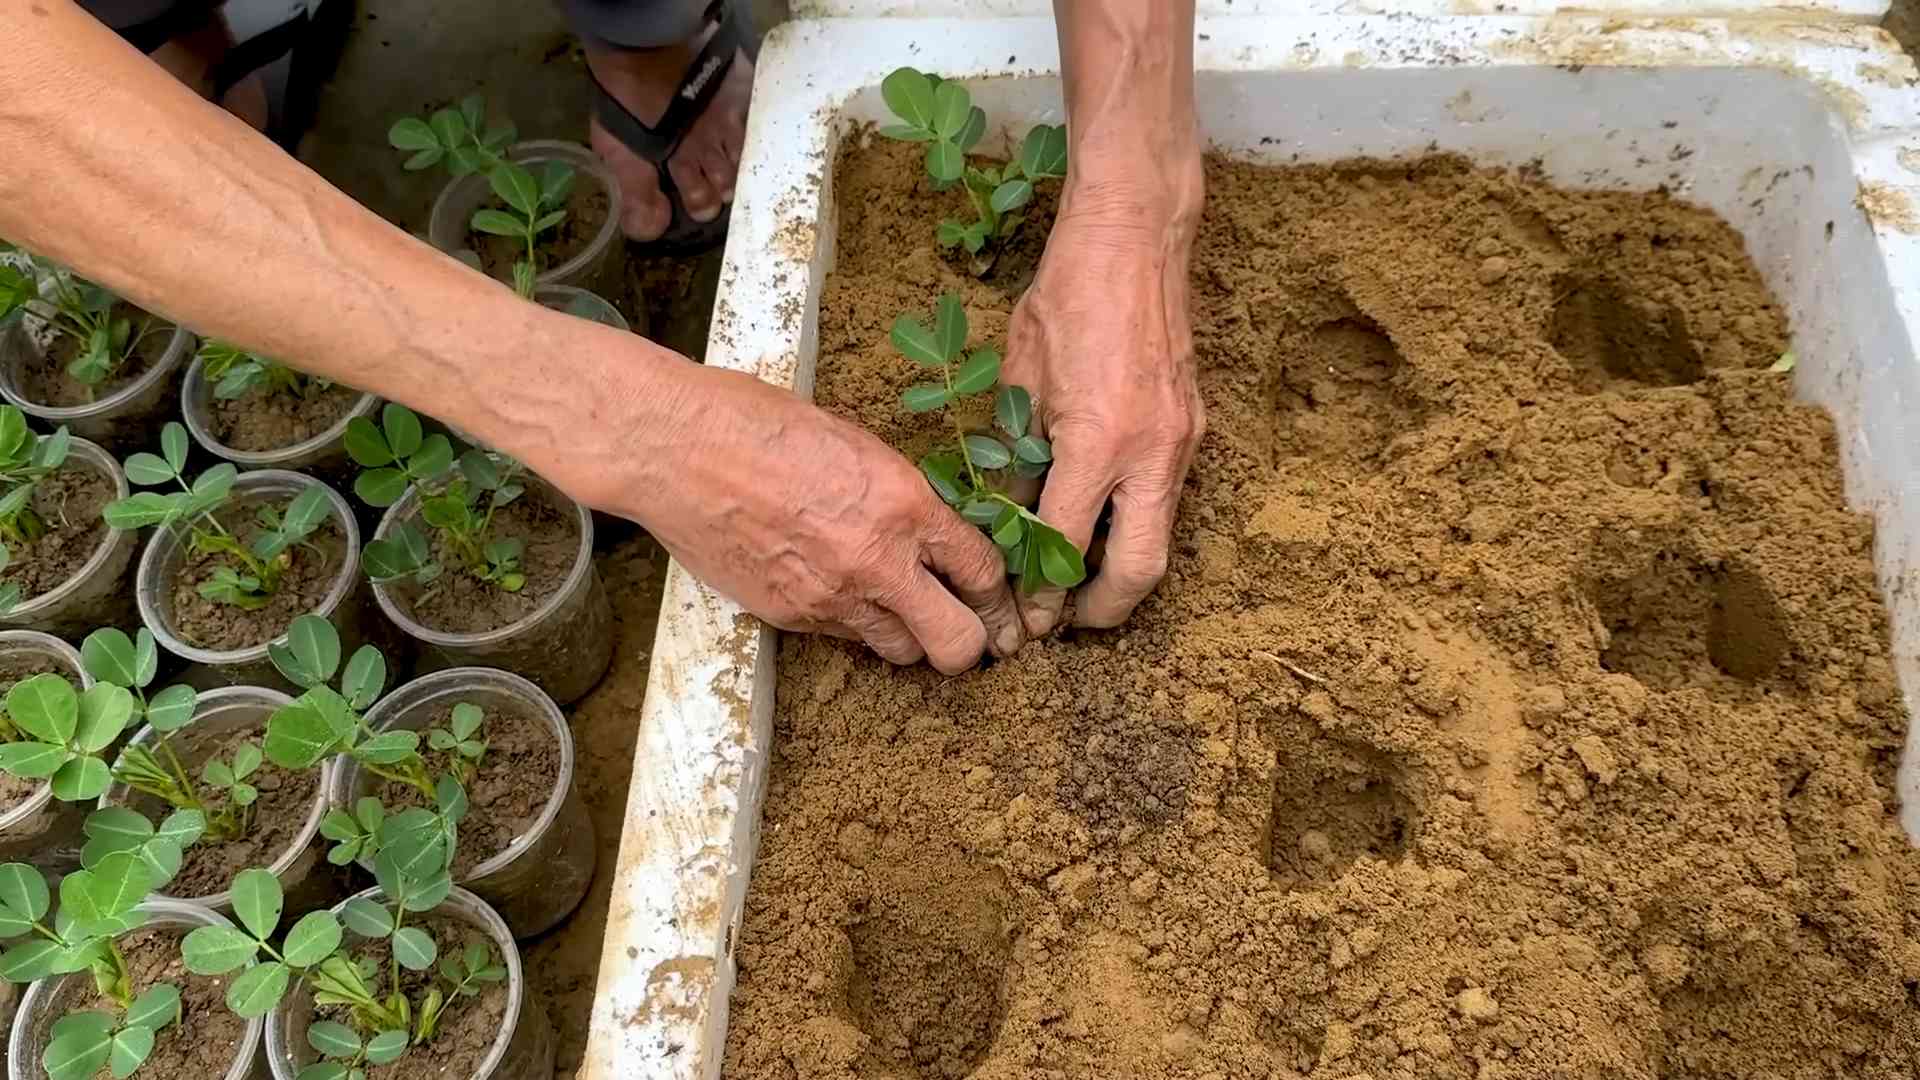
* Starting Indoors (Optional): You can start your peanut seeds indoors about 4-6 weeks before the last expected frost. This gives them a head start. However, peanuts transplant best when young, so don’t let them get too root-bound.
* Direct Sowing: You can also directly sow the peanut seeds into the foam box after the last frost. This is the easier method, and it works just fine.
Step-by-Step: Starting Peanut Seeds
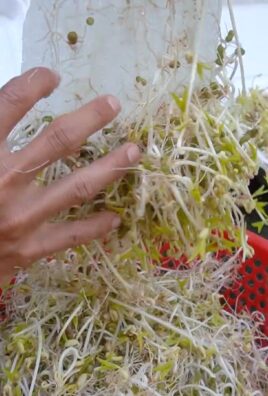
1. Soaking the Seeds (Optional): Soaking the peanut seeds in water for 24 hours before planting can help speed up germination. Just place them in a bowl of water and let them sit overnight.
2. Preparing the Soil: Fill your foam box with a well-draining potting mix. I like to use a mix of compost, peat moss, and perlite. Make sure the soil is loose and airy. Leave about 2-3 inches of space at the top of the box.
3. Planting the Seeds: Whether you started your seeds indoors or are directly sowing, plant the peanut seeds about 1-2 inches deep and 6-8 inches apart.
4. Watering: Water the soil thoroughly after planting. Keep the soil consistently moist, but not waterlogged.
Caring for Your Peanut Plants
Once your peanut plants start to grow, it’s important to provide them with the right care.
* Sunlight: Peanuts need at least 6-8 hours of sunlight per day. Place your foam box in a sunny location.
* Watering: Water regularly, especially during hot, dry weather. Peanuts need consistent moisture to develop their nuts.
* Fertilizing: Fertilize your peanut plants every 2-3 weeks with a balanced fertilizer. I like to use a liquid fertilizer diluted to half strength.
* Hilling: As the peanut plants grow, they will produce “pegs” that grow down from the plant into the soil. These pegs are what develop into peanuts. To encourage peanut production, you can “hill” the soil around the base of the plants, covering the pegs with soil. This provides them with a dark, moist environment to grow in.
* Weed Control: Keep the foam box free of weeds. Weeds can compete with the peanut plants for nutrients and water.
Step-by-Step: Caring for Peanut Plants
1. Monitor Soil Moisture: Check the soil moisture regularly. Stick your finger into the soil about an inch deep. If it feels dry, it’s time to water.
2. Water Deeply: When you water, water deeply so that the water reaches the roots.
3. Fertilize Regularly: Fertilize every 2-3 weeks with a balanced fertilizer.
4. Hill the Soil: As the plants grow and produce pegs, hill the soil around the base of the plants.
5. Remove Weeds: Remove any weeds that appear in the foam box.
Harvesting Your Peanuts
The moment we’ve all been waiting for – harvesting our homegrown peanuts!
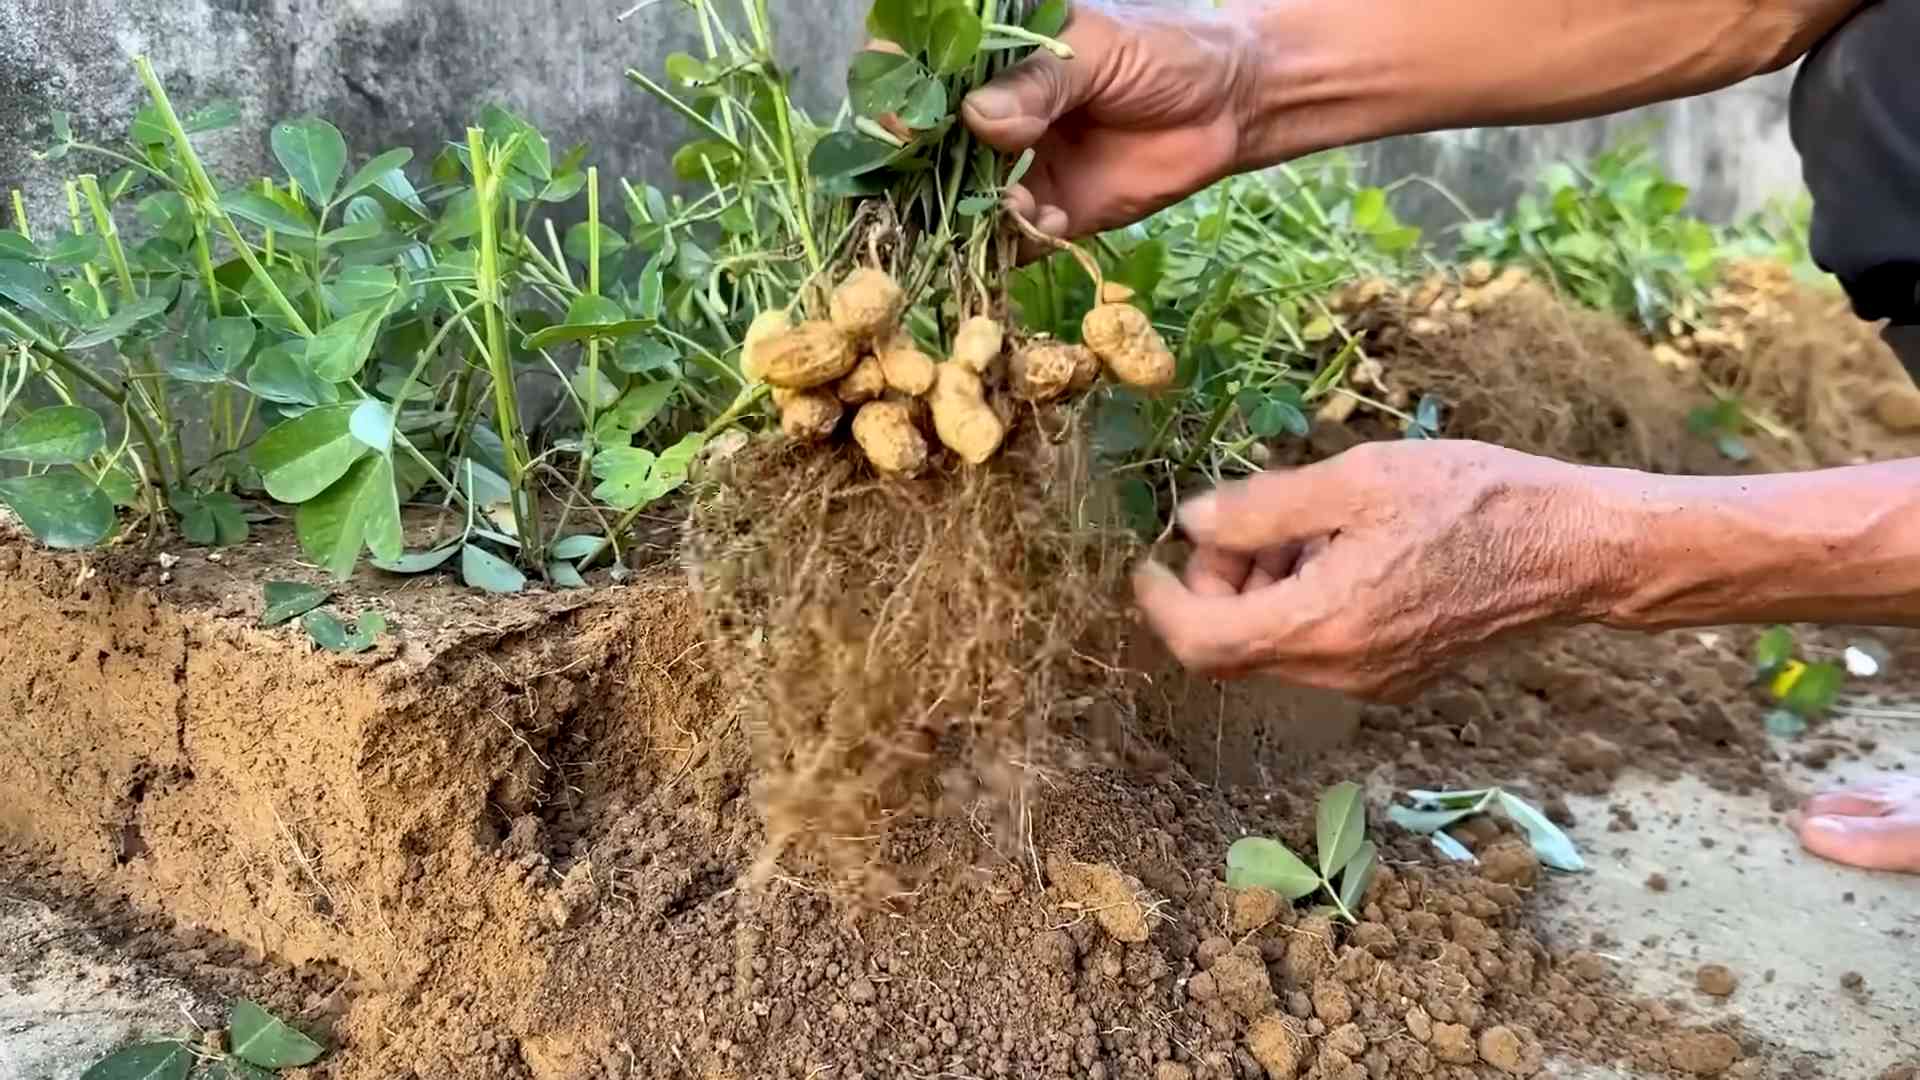
* Timing is Everything: Peanuts are typically ready to harvest about 120-150 days after planting. The leaves will start to turn yellow and the plants will begin to die back.
* Digging Up the Plants: To harvest the peanuts, carefully dig up the entire plant.
* Drying the Peanuts: After harvesting, you’ll need to dry the peanuts before you can eat them.
Step-by-Step: Harvesting Peanuts
1. Check for Maturity: Look for yellowing leaves and dying back of the plants. This is a sign that the peanuts are ready to harvest.
2. Dig Up the Plants: Carefully dig up the entire plant with a shovel or garden fork. Be gentle so you don’t damage the peanuts.
3. Shake Off Excess Soil: Shake off any excess soil from the plants.
4. Hang to Dry: Hang the plants upside down in a warm, dry, well-ventilated place for 2-3 weeks. You can hang them in a garage, shed, or even indoors.
5. Remove the Peanuts: Once the plants are dry, remove the peanuts from the vines.
6. Curing (Optional): For longer storage, you can cure the peanuts by placing them in a cool, dry place for several weeks.
7. Roasting (Optional): To roast the peanuts, spread them out on a baking sheet and roast them in a preheated oven at 350 degrees Fahrenheit for 20-30 minutes, or until they are golden brown.
Troubleshooting
Even with the best care, you might encounter some problems while growing peanuts. Here are a few common issues and how to address them:
* Poor Germination: If your peanut seeds don’t germinate, it could be due to several factors, such as poor-quality seeds, cold soil, or overwatering. Make sure you’re using fresh seeds and that the soil is warm enough. Avoid overwatering, as this can cause the seeds to rot.
* Yellowing Leaves: Yellowing leaves can be a sign of nutrient deficiency. Fertilize your plants with a balanced fertilizer.
* Pests: Peanuts can be susceptible to pests such as aphids and spider mites. Inspect your plants regularly and treat any infestations promptly with insecticidal soap or neem oil.
* Diseases: Peanuts can also be affected by diseases such as leaf spot. To prevent diseases, provide good air circulation and avoid overhead watering.
Enjoying Your Homegrown Peanuts
Congratulations! You’ve successfully grown your own peanuts in a foam box. Now it’s time to enjoy the fruits (or rather, nuts) of your labor. You can eat them raw, roasted, boiled, or use them in your favorite recipes. I love roasting mine with a little salt and pepper. They’re also delicious in peanut butter cookies or as a topping for ice cream.
Growing peanuts in a foam box is a fun and rewarding experience. It’s a great way to learn about gardening and enjoy fresh, homegrown food. So, give it a try and see what you can grow! Happy gardening!
“`
Conclusion
So, there you have it! Transforming a simple foam box into a thriving peanut patch is not only surprisingly easy, but also incredibly rewarding. We’ve walked you through the steps, highlighting the benefits of this DIY approach – from its cost-effectiveness and space-saving design to the sheer joy of harvesting your own homegrown peanuts.
Why is this DIY peanut growing trick a must-try? Because it democratizes gardening. You don’t need acres of land or a green thumb passed down through generations. A foam box, some soil, and a handful of peanuts are all you need to embark on this exciting agricultural adventure. It’s a fantastic project for families, a therapeutic hobby for individuals, and a sustainable way to enjoy fresh, delicious peanuts.
Beyond the basic method we’ve outlined, there’s plenty of room for experimentation. Consider these variations to personalize your peanut-growing experience:
* Vertical Peanut Garden: Stack multiple foam boxes on top of each other, creating a vertical garden for a more compact and visually appealing setup. Ensure proper drainage for each box.
* Companion Planting: Introduce companion plants like marigolds or basil to deter pests and enhance the overall health of your peanut plants.
* Different Peanut Varieties: Explore different peanut varieties, such as Virginia, Spanish, or Runner, to discover your favorite flavor and texture. Each variety has slightly different growing requirements, so do your research beforehand.
* Soil Amendments: Experiment with different soil amendments like compost or worm castings to optimize soil fertility and peanut yield.
* Indoor Growing (with modifications): While peanuts thrive outdoors, you can attempt indoor growing with a very large foam box, grow lights, and careful monitoring of temperature and humidity. This requires more effort but can extend your growing season.
The beauty of this DIY project lies in its adaptability. Feel free to adjust the materials, techniques, and variations to suit your specific needs and preferences. The most important thing is to get started and learn along the way.
We are confident that you’ll find this DIY peanut growing experience both enjoyable and fruitful. Imagine the satisfaction of roasting your own homegrown peanuts, knowing that you nurtured them from seed to harvest. It’s a truly special feeling.
So, grab a foam box, gather your supplies, and get ready to grow your own peanuts! We encourage you to document your journey, share your successes (and challenges!), and inspire others to embrace the joys of DIY gardening. Share your photos and stories with us in the comments below. We can’t wait to see your peanut patches flourish! Let’s cultivate a community of foam box peanut growers! This simple, effective method for foam box peanut growing is sure to bring you a bountiful harvest.
Frequently Asked Questions (FAQ)
What kind of foam box is best for growing peanuts?
The ideal foam box is one that’s sturdy, clean, and has adequate drainage. Look for boxes that are at least 12 inches deep to allow for proper root development. Boxes that previously held food are generally safe, but make sure they are thoroughly cleaned to remove any residue. Avoid boxes that have been treated with chemicals that could leach into the soil. The size of the box will depend on how many peanut plants you want to grow. A good rule of thumb is to allow at least 6 inches of space between each plant.
How do I ensure proper drainage in my foam box?
Proper drainage is crucial to prevent root rot and ensure healthy peanut growth. Before adding soil, drill several drainage holes in the bottom of the foam box. A good spacing is about 4-6 holes per square foot. You can also add a layer of gravel or small stones at the bottom of the box to further improve drainage. When watering, make sure the water drains freely from the holes. If the water pools on the surface, it indicates poor drainage, and you may need to add more holes or improve the soil composition.
What type of soil is best for growing peanuts in a foam box?
Peanuts thrive in well-draining, sandy loam soil. Avoid heavy clay soils, as they can become waterlogged and hinder root development. You can purchase a pre-mixed potting soil specifically designed for vegetables, or you can create your own mix by combining equal parts of garden soil, compost, and sand. The soil should be loose and airy to allow for proper root penetration. Before planting, amend the soil with organic matter, such as compost or well-rotted manure, to improve fertility and drainage.
How often should I water my peanut plants in a foam box?
Watering frequency depends on several factors, including the weather, the type of soil, and the size of the foam box. Generally, you should water your peanut plants when the top inch of soil feels dry to the touch. During hot, dry weather, you may need to water daily. Avoid overwatering, as this can lead to root rot. Water deeply and thoroughly, ensuring that the water reaches the roots. Use a watering can or a hose with a gentle spray nozzle to avoid disturbing the soil.
How much sunlight do peanut plants need in a foam box?
Peanut plants require at least 6-8 hours of direct sunlight per day to thrive. Choose a location for your foam box that receives ample sunlight throughout the day. If you live in a particularly hot climate, you may need to provide some afternoon shade to prevent the plants from scorching. If you’re growing peanuts indoors, you’ll need to supplement with grow lights to provide adequate light.
When is the best time to plant peanuts in a foam box?
The best time to plant peanuts is after the last frost, when the soil has warmed up to at least 65°F (18°C). Peanuts are warm-season crops and will not tolerate frost. You can start peanut seeds indoors 4-6 weeks before the last frost, but be sure to transplant them carefully to avoid disturbing the roots. In warmer climates, you can plant peanuts directly into the foam box in the spring.
How long does it take for peanuts to mature in a foam box?
Peanuts typically take 120-150 days to mature, depending on the variety and growing conditions. You’ll know the peanuts are ready to harvest when the leaves start to turn yellow and the pods feel plump and full. To harvest, carefully dig up the entire plant, being careful not to damage the pods. Shake off the excess soil and hang the plants upside down in a warm, dry place for several weeks to cure.
What are some common pests and diseases that affect peanut plants in a foam box?
Common pests that can affect peanut plants include aphids, spider mites, and leafhoppers. You can control these pests with insecticidal soap or neem oil. Diseases that can affect peanut plants include leaf spot and root rot. To prevent these diseases, ensure proper drainage, avoid overwatering, and provide good air circulation.
Can I reuse the soil from my foam box for future peanut crops?
It’s generally not recommended to reuse the soil from your foam box for future peanut crops, as it may harbor pests and diseases. However, if you choose to reuse the soil, you should amend it with fresh compost and organic matter to replenish nutrients. You should also sterilize the soil by baking it in the oven at 180°F (82°C) for 30 minutes to kill any harmful organisms.
How do I store my harvested peanuts?
After curing, you can store your peanuts in a cool, dry place for several months. You can store them in their shells or shelled. To store shelled peanuts, place them in an airtight container or freezer bag. You can also roast your peanuts and store them in an airtight container. Roasted peanuts will last longer than raw peanuts.
Leave a Comment