

Dust Free Furniture Tips: Are you tired of constantly battling dust bunnies and spending your weekends wiping down every surface in your home? I know I am! It feels like the moment I finish dusting, a fresh layer settles right back down. But what if I told you there are simple, DIY tricks and hacks that can dramatically reduce the amount of dust clinging to your beloved furniture?
For centuries, keeping homes clean and dust-free has been a sign of prosperity and good health. In many cultures, meticulous cleaning rituals were passed down through generations, using natural remedies and techniques to maintain a pristine living environment. While we may not be using the same methods as our ancestors, the desire for a clean and healthy home remains the same.
Let’s face it, dusting is a chore nobody enjoys. But beyond the aesthetic annoyance, dust can trigger allergies, irritate respiratory systems, and even harbor harmful bacteria. That’s why I’m so excited to share these easy-to-implement dust free furniture tips. These aren’t just quick fixes; they’re sustainable strategies that will help you create a cleaner, healthier, and more enjoyable living space. Get ready to say goodbye to endless dusting and hello to more free time!
DIY Dust-Free Furniture: A Guide to Sparkling Clean Surfaces
Okay, so you’re tired of battling dust bunnies on your furniture, right? I get it! It feels like no matter how often you dust, those pesky particles reappear almost instantly. Well, I’m here to share some of my favorite DIY tricks and techniques to keep your furniture looking cleaner, longer. Let’s dive in!
Understanding the Enemy: Why Dust Accumulates
Before we jump into the solutions, it’s helpful to understand why dust loves to settle on our furniture in the first place. Dust is a complex mixture of things like dead skin cells, pet dander, pollen, textile fibers, dirt tracked in from outside, and even microscopic bugs (yikes!).
Key Factors Contributing to Dust:
* Air Circulation: Heating and cooling systems, fans, and even opening windows can stir up dust and circulate it throughout your home.
* Textiles: Carpets, rugs, upholstery, and curtains all shed fibers that contribute to dust.
* Pets: Our furry friends are adorable, but they also shed hair and dander, which are major components of dust.
* Outdoor Sources: Dirt, pollen, and other particles can enter your home through open windows and doors, or on your shoes and clothing.
Knowing these factors helps us target the problem more effectively.
DIY Dust-Repelling Solutions: My Favorite Recipes
Now for the fun part! I’ve experimented with several DIY dust-repelling solutions, and these are the ones that have consistently given me the best results.
Recipe 1: The Vinegar & Olive Oil Polish
This is a classic for a reason! The vinegar helps to clean and disinfect, while the olive oil adds a protective layer that helps repel dust.
Ingredients:
* 1/4 cup white vinegar
* 1/2 cup olive oil
* 2 cups water
* 10-15 drops of your favorite essential oil (optional, but I love lavender or lemon for a fresh scent)
* Spray bottle
* Microfiber cloths
Instructions:
1. Combine Ingredients: In a spray bottle, mix the white vinegar, olive oil, water, and essential oil (if using). Shake well to combine.
2. Test in an Inconspicuous Area: Before spraying the entire piece of furniture, test the solution on a small, hidden area to ensure it doesn’t damage the finish.
3. Spray Lightly: Lightly spray the solution onto a microfiber cloth. Avoid spraying directly onto the furniture, as this can lead to over-saturation.
4. Wipe Down the Furniture: Wipe the furniture in the direction of the wood grain, using a clean section of the microfiber cloth as needed.
5. Buff to a Shine: Use a clean, dry microfiber cloth to buff the furniture to a shine. This will help remove any excess oil and leave a smooth, dust-resistant finish.
Recipe 2: The Lemon Juice & Water Spray
This is a great option for lighter-colored wood furniture. The lemon juice adds a refreshing scent and helps to brighten the wood.
Ingredients:
* 1/4 cup lemon juice
* 2 cups water
* Spray bottle
* Microfiber cloths
Instructions:
1. Combine Ingredients: In a spray bottle, mix the lemon juice and water. Shake well to combine.
2. Test in an Inconspicuous Area: As with the previous recipe, test the solution on a small, hidden area first.
3. Spray Lightly: Lightly spray the solution onto a microfiber cloth.
4. Wipe Down the Furniture: Wipe the furniture in the direction of the wood grain.
5. Dry with a Clean Cloth: Use a clean, dry microfiber cloth to dry the furniture.
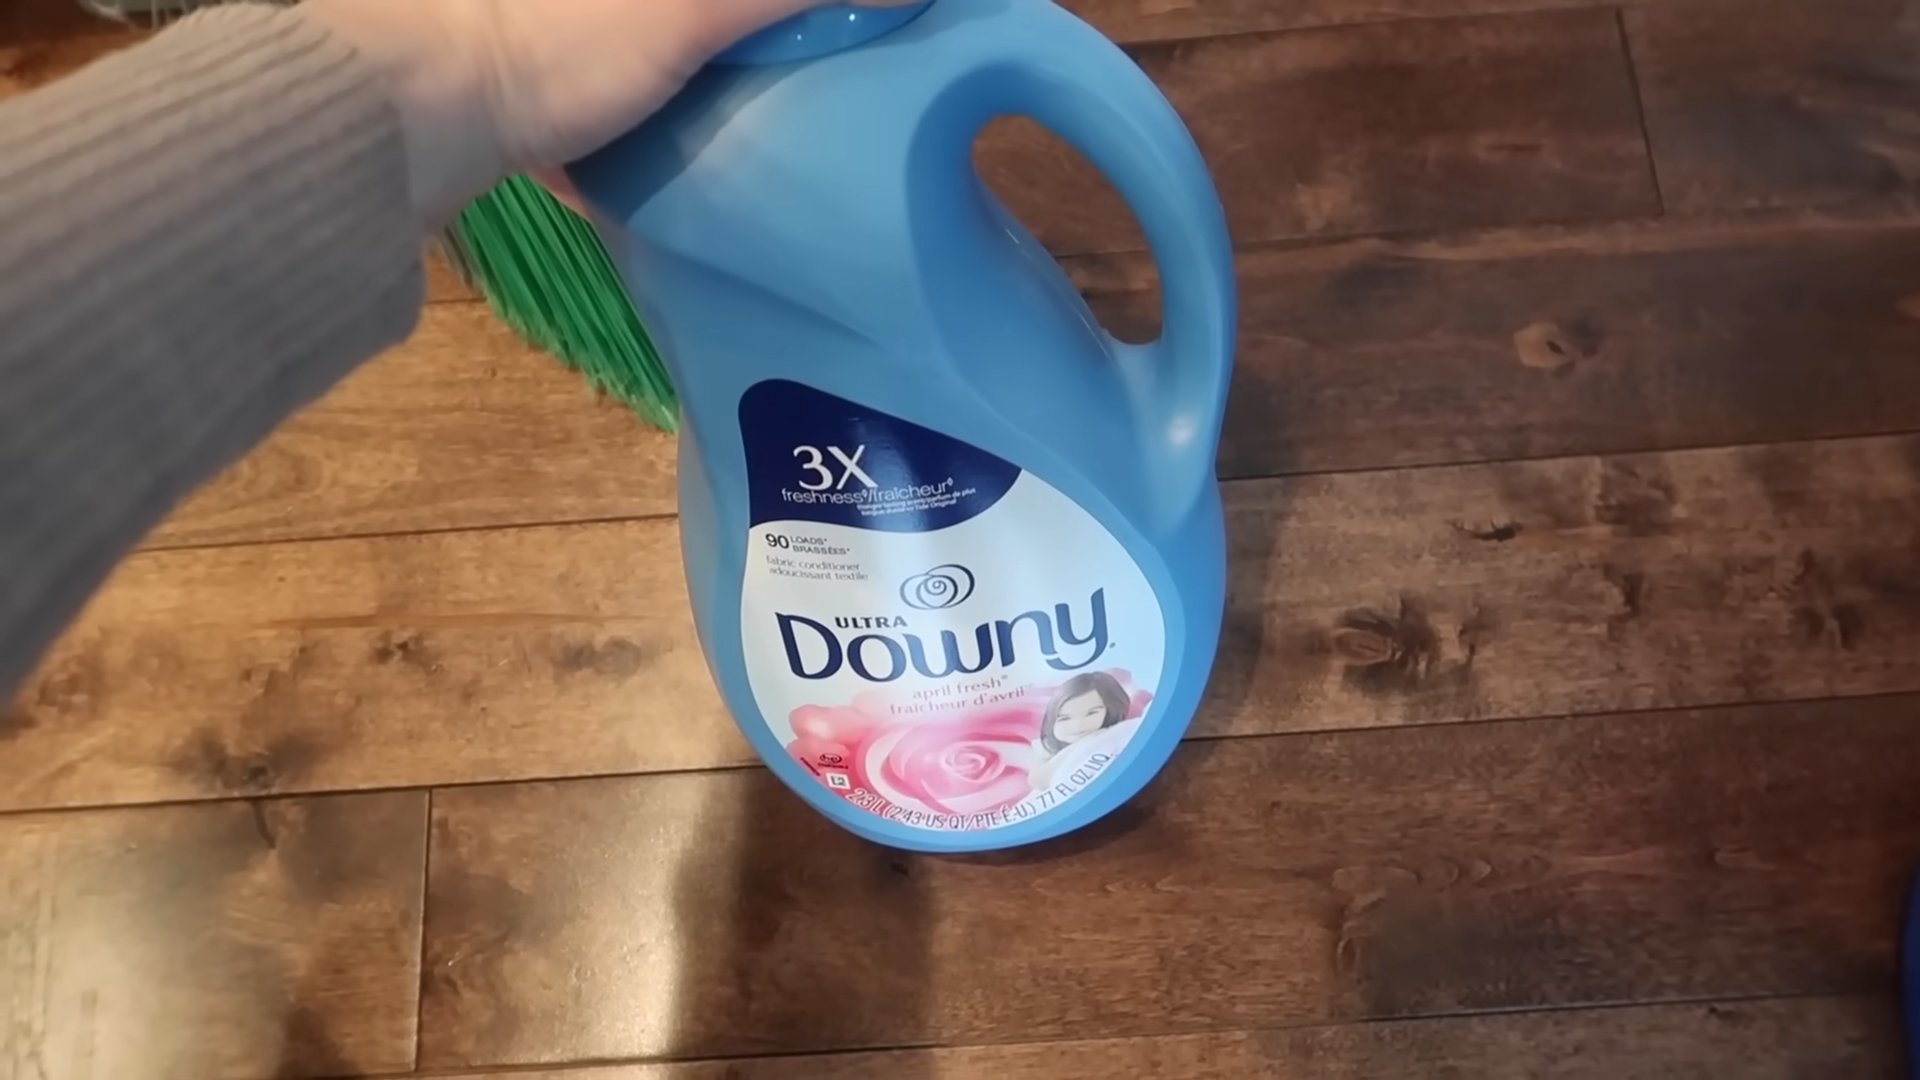
Recipe 3: The Fabric Softener Solution (For Upholstery)
This trick is amazing for reducing static cling on upholstery, which attracts dust like crazy.
Ingredients:
* 1/4 cup liquid fabric softener
* 1 quart (4 cups) water
* Spray bottle
* Microfiber cloths
Instructions:
1. Combine Ingredients: In a spray bottle, mix the fabric softener and water. Shake well to combine.
2. Test in an Inconspicuous Area: Test the solution on a small, hidden area of the upholstery to ensure it doesn’t stain or discolor the fabric.
3. Spray Lightly: Lightly mist the upholstery with the solution. Do not saturate the fabric.
4. Wipe Down the Upholstery: Use a clean microfiber cloth to gently wipe down the upholstery.
5. Allow to Air Dry: Allow the upholstery to air dry completely.
Dusting Techniques: Getting the Most Out of Your Efforts
The right technique can make a huge difference in how effectively you remove dust. Here are some tips I’ve learned over the years:
* Use Microfiber Cloths: Ditch the feather duster! Microfiber cloths are much more effective at trapping dust and preventing it from simply being redistributed into the air.
* Dampen the Cloth: Slightly dampening the microfiber cloth helps to attract and hold onto dust particles. Just make sure the cloth isn’t too wet, as this can damage some furniture finishes.
* Dust from Top to Bottom: Start dusting at the highest point in the room (like ceiling fans or shelves) and work your way down. This prevents dust from falling onto surfaces you’ve already cleaned.
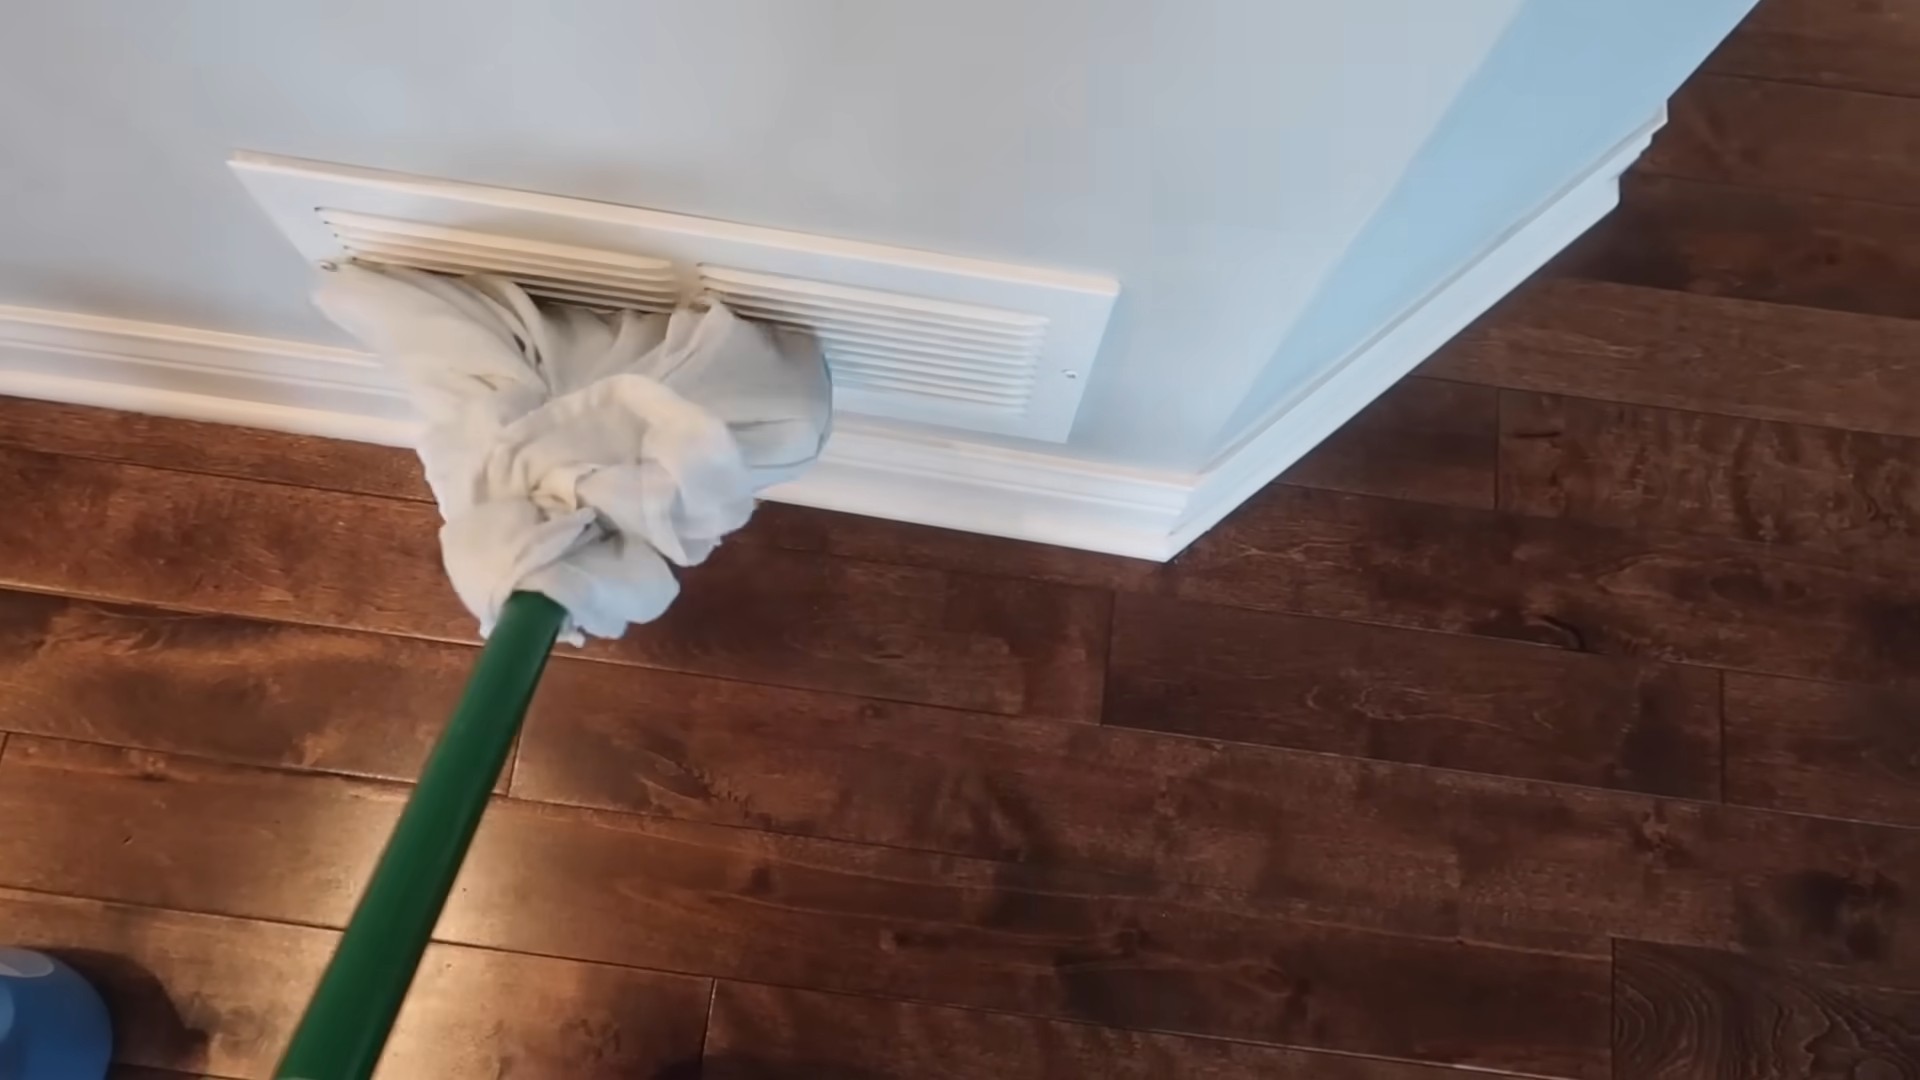
* Don’t Forget the Details: Pay attention to crevices, corners, and decorative details, as these areas tend to accumulate dust. Use a small brush or cotton swab to reach tight spaces.
* Vacuum Regularly: Vacuuming carpets, rugs, and upholstery helps to remove dust and allergens from your home. Use a vacuum with a HEPA filter to trap even the smallest particles.
* Wash Curtains and Bedding: Regularly wash curtains, bedding, and other textiles to remove dust and allergens.
* Change Air Filters: Change your HVAC system’s air filters regularly to improve air quality and reduce dust circulation.
Preventative Measures: Keeping Dust at Bay
Besides regular dusting, there are several things you can do to prevent dust from accumulating in the first place.
* Use Doormats: Place doormats at all entrances to your home to trap dirt and debris before they can be tracked inside.
* Take Off Your Shoes: Encourage family members and guests to remove their shoes when entering your home.
* Control Humidity: High humidity can promote the growth of mold and mildew, which can contribute to dust. Use a dehumidifier to keep humidity levels in check.
* Declutter: The less stuff you have, the less dust will accumulate. Regularly declutter your home to reduce dust-collecting surfaces.
* Air Purifier: Consider investing in an air purifier with a HEPA filter to remove dust, pollen, and other allergens from the air.
* Dust Mite Covers: Use dust mite covers on mattresses and pillows to reduce dust mite populations.
* Groom Your Pets Regularly: Brush your pets regularly to remove loose hair and dander.
Specific Furniture Types: Tailoring Your Approach
Different types of furniture require different cleaning methods. Here’s a quick guide:
* Wood Furniture: Use the vinegar and olive oil polish or the lemon juice and water spray. Avoid using harsh chemicals or abrasive cleaners, as these can damage the finish.
* Upholstered Furniture: Use the fabric softener solution or vacuum regularly with an upholstery attachment. Spot clean stains as soon as they occur.
* Leather Furniture: Use a leather cleaner and conditioner to keep the leather supple and prevent cracking.
* Glass Furniture: Use a glass cleaner and a microfiber cloth to remove fingerprints and smudges.
* Metal Furniture: Use a mild soap and water solution to clean metal furniture. Avoid using abrasive cleaners, as these can scratch the surface.
Troubleshooting: Addressing Common Dusting Challenges
Sometimes, despite our best efforts, dusting can be challenging. Here are some common problems and how to solve them:
* Streaky Furniture: If your furniture is streaky after dusting, you may be using too much polish or not buffing it properly. Use a clean, dry microfiber cloth to buff the furniture to a shine.
* Dust Returning Quickly: If dust seems to reappear almost immediately after dusting, you may need to address the underlying causes of dust accumulation, such as air circulation or pet dander.
* Allergic Reactions: If you experience allergic reactions while dusting, wear a mask and gloves to protect yourself from dust and allergens.
* Damaged Furniture Finish: If you accidentally damage the finish of your furniture, consult a professional furniture restorer for advice.
My Personal Dusting Routine: A Weekly Schedule
To keep my furniture dust-free, I follow a weekly dusting routine:
* Monday: Dust all
Conclusion
So, there you have it! This simple yet incredibly effective DIY dust-free furniture trick is a game-changer for anyone tired of constantly battling dust bunnies. We’ve shown you how easy it is to create a solution that not only minimizes dust accumulation but also leaves your furniture looking polished and refreshed. Say goodbye to endless dusting cycles and hello to a cleaner, healthier home environment.
The beauty of this method lies in its simplicity and adaptability. While we’ve outlined a basic recipe, feel free to experiment with different essential oils to find a scent that you truly love. Lavender, lemon, tea tree, and eucalyptus are all excellent choices, each offering its own unique aroma and potential benefits. For instance, lavender is known for its calming properties, while lemon provides a bright and invigorating scent. Tea tree oil boasts antibacterial qualities, and eucalyptus can help clear sinuses. Consider your personal preferences and any sensitivities when selecting your essential oil.
Furthermore, you can adjust the ratio of ingredients to suit your specific needs and furniture types. If you have delicate wood furniture, you might want to use a slightly higher proportion of water to dilute the solution further. For furniture that tends to attract more dust, you could increase the amount of fabric softener or glycerin to enhance its anti-static properties. Remember to always test the solution on an inconspicuous area first to ensure it doesn’t damage the finish.
This DIY dust-free furniture solution is more than just a cleaning hack; it’s an investment in your time, your health, and the longevity of your furniture. By reducing the amount of dust in your home, you’re also minimizing allergens and irritants, creating a more comfortable and breathable living space for yourself and your family. Plus, the natural ingredients are gentler on your furniture than many harsh commercial cleaning products, helping to preserve its beauty and value for years to come.
We wholeheartedly encourage you to give this DIY trick a try. It’s quick, easy, affordable, and incredibly effective. You’ll be amazed at the difference it makes in your home. Once you’ve experienced the joy of dust-free furniture, we’re confident you’ll never go back to your old dusting routine.
But don’t just take our word for it! We want to hear about your experiences. Did you try a different essential oil blend? Did you adjust the recipe to better suit your furniture? Share your tips, tricks, and results in the comments below. Let’s create a community of dust-busting enthusiasts and help each other achieve cleaner, healthier homes. Your feedback is invaluable, and we’re excited to learn from your experiences. So, grab your supplies, get mixing, and prepare to be amazed by the power of this simple DIY solution! Let’s conquer dust together!
Frequently Asked Questions (FAQ)
What exactly makes this DIY dust-free furniture solution work?
The magic lies in the combination of ingredients. The water acts as a carrier, allowing the other ingredients to be evenly distributed. The vinegar helps to cut through any existing grime and dirt, while also providing a mild disinfectant effect. The fabric softener or glycerin acts as an anti-static agent, preventing dust from clinging to the furniture surface. Finally, the essential oil adds a pleasant scent and can also offer additional benefits, depending on the oil chosen. The anti-static properties are key to keeping your furniture dust-free for longer.
Is this DIY solution safe for all types of furniture?
While this solution is generally safe for most furniture types, it’s always best to test it on an inconspicuous area first, especially if you have antique or delicate wood furniture. Avoid using it on unfinished wood, as the water could potentially damage the surface. For leather furniture, use a very diluted solution and follow up with a leather conditioner. If you’re unsure about a particular type of furniture, consult with a professional furniture cleaner.
How often should I use this DIY dust-free furniture solution?
The frequency of application will depend on how quickly dust accumulates in your home. In general, we recommend using it once or twice a week. However, if you live in a dusty environment or have pets, you may need to use it more often. Conversely, if you live in a relatively clean environment, you may be able to get away with using it less frequently. Observe how quickly dust accumulates on your furniture and adjust the frequency accordingly.
Can I use a different type of oil instead of essential oil?
While essential oils are preferred for their scent and potential therapeutic benefits, you can technically use a small amount of a light, non-greasy oil like mineral oil or baby oil as a substitute. However, be very cautious, as these oils can leave a residue if used in excess. Start with a very small amount (a few drops) and test it on an inconspicuous area first. We still highly recommend using essential oils for the best results and a more pleasant scent.
What if I don’t have fabric softener or glycerin? Can I still make the solution?
While fabric softener or glycerin are ideal for their anti-static properties, you can still make a basic version of the solution without them. Simply combine water, vinegar, and essential oil. However, keep in mind that the solution may not be as effective at preventing dust from clinging to your furniture. You may need to dust more frequently.
My solution seems to be leaving a residue on my furniture. What am I doing wrong?
If you’re experiencing residue, it’s likely that you’re using too much fabric softener, glycerin, or oil. Try reducing the amount of these ingredients in your solution. Also, make sure you’re using a clean, damp cloth to wipe the furniture after applying the solution. Avoid using a soaking wet cloth, as this can also contribute to residue.
Can I use this solution on other surfaces besides furniture?
While this solution is primarily designed for furniture, you can also use it on other surfaces like baseboards, window sills, and even some types of flooring. However, always test it on an inconspicuous area first to ensure it doesn’t damage the surface. Avoid using it on delicate surfaces like mirrors or glass, as the vinegar can leave streaks.
How long will the DIY dust-free furniture solution last?
The solution should last for several weeks when stored in an airtight container in a cool, dark place. However, it’s best to make a fresh batch every month or two to ensure the ingredients are still effective. If you notice any changes in the color or smell of the solution, discard it and make a new batch.
Is there a specific type of cloth I should use to apply the solution?
A microfiber cloth is ideal for applying this solution, as it’s gentle on furniture surfaces and effectively picks up dust and dirt. Avoid using abrasive cloths or sponges, as these can scratch or damage the finish. You can also use a soft cotton cloth, but microfiber is generally more effective.
Can I add other ingredients to the solution, like lemon juice or baking soda?
While you can experiment with adding other ingredients, we recommend sticking to the basic recipe for the best results. Lemon juice can be acidic and may damage certain furniture finishes. Baking soda can be abrasive and may leave a residue. If you do decide to add other ingredients, use them sparingly and always test the solution on an inconspicuous area first.

Leave a Comment