

Dollar Tree Rack Hacks: Unleash your inner gardener without breaking the bank! Have you ever dreamed of a lush, organized garden but felt intimidated by the cost of fancy planters and shelving? I know I have! Well, get ready to transform your outdoor space with these incredibly clever and budget-friendly DIY solutions using… you guessed it… Dollar Tree racks!
For generations, resourceful gardeners have been finding creative ways to maximize their yields and beautify their surroundings. From repurposing old tires to building vertical gardens from pallets, the spirit of “making do” is deeply rooted in gardening culture. These Dollar Tree rack hacks tap into that very spirit, offering a modern twist on traditional resourcefulness.
Why are these hacks so essential? Because gardening shouldn’t be exclusive! Everyone deserves the joy of growing their own herbs, vegetables, or flowers, regardless of their budget. These DIY tricks will help you create stunning plant displays, organize your gardening tools, and even start seedlings indoors, all while saving you a ton of money. Plus, it’s incredibly satisfying to build something beautiful and functional with your own two hands. So, let’s dive in and discover how to turn those humble Dollar Tree racks into gardening gold!
DIY: Foolproof Method for Growing Carrots (Even if You Think You Have a “Brown Thumb”)
Okay, let’s be honest. Carrots can be a little… temperamental. They need the right soil, the right amount of sun, and just the right touch. But don’t let that scare you! I’m going to share my foolproof method for growing carrots that practically guarantees a successful harvest, even if you’re convinced you have a “brown thumb.” This isn’t just about planting seeds; it’s about creating the perfect environment for those little orange wonders to thrive.
Understanding Carrot Needs: The Foundation for Success
Before we even think about seeds, let’s talk about what carrots need to be happy. This is crucial!
* Loose, Well-Drained Soil: This is non-negotiable. Carrots need to push their way down into the soil, and if it’s compacted or rocky, they’ll end up stunted, forked, or just plain sad. Think fluffy and easy to dig.
* Full Sun (at least 6 hours): Carrots love sunshine! The more, the better.
* Consistent Moisture: They need regular watering, especially when the seedlings are young. Think consistently moist, not soggy.
* Cool Temperatures: Carrots prefer cooler weather, which is why they’re often planted in the spring or fall.
* Patience: Carrots take time to mature, so don’t expect instant gratification.
Phase 1: Soil Preparation – The Key to Carrot Happiness
This is where the magic happens. Seriously, spend the time to get your soil right, and you’ll be rewarded with beautiful, straight carrots.
1. Choose Your Location: Select a spot in your garden that gets at least 6 hours of sunlight per day. Make sure it’s a place where you can easily access water.
2. Clear the Area: Remove any rocks, weeds, or debris from the planting area. Get rid of any big clumps of grass.
3. Loosen the Soil: This is the most important step! Use a garden fork or tiller to loosen the soil to a depth of at least 12 inches. The deeper, the better, especially if you’re growing longer carrot varieties.
4. Amend the Soil: This is where we make the soil carrot-perfect.
* Add Compost: Mix in plenty of compost to improve drainage, add nutrients, and create a loose, crumbly texture. I usually aim for about 2-3 inches of compost worked into the top 12 inches of soil.
* Add Sand (if needed): If your soil is heavy clay, add some coarse sand to improve drainage. Don’t use fine sand, as it can actually make drainage worse.
* Avoid Nitrogen-Rich Fertilizers: Carrots don’t need a lot of nitrogen. Too much nitrogen can lead to leafy tops but small, underdeveloped roots. If you’re using fertilizer, choose one that’s low in nitrogen and higher in phosphorus and potassium. Bone meal is a good option.
5. Rake Smooth: Once you’ve amended the soil, rake the surface smooth to create a level planting bed. This will make it easier to sow the seeds evenly.
6. Water Thoroughly: Give the prepared bed a good watering to settle the soil and prepare it for planting.
Phase 2: Sowing the Seeds – The Delicate Dance
Carrot seeds are tiny, which can make them a bit tricky to sow evenly. But don’t worry, I’ve got some tricks up my sleeve!
1. Choose Your Carrot Variety: There are many different carrot varieties to choose from, so pick one that suits your taste and growing conditions. Nantes varieties are known for their sweetness and cylindrical shape, while Danvers varieties are more tolerant of heavy soil. Chantenay carrots are shorter and stouter, making them a good choice for shallow or rocky soil.
2. Create Shallow Furrows: Use your finger or a garden tool to create shallow furrows in the soil, about 1/4 to 1/2 inch deep and about 2 inches apart.
3. Sow the Seeds Sparsely: This is the key to avoiding overcrowding and the need for excessive thinning. Carrot seeds are tiny, so it’s easy to sow them too thickly. Try mixing the seeds with sand or coffee grounds to help you spread them more evenly. I find this makes it easier to see where the seeds are going. Aim for about 1/2 inch spacing between seeds.
4. Cover the Seeds Lightly: Gently cover the seeds with a thin layer of soil or compost.
5. Water Gently: Water the area gently with a watering can or a hose with a gentle spray nozzle. Avoid blasting the seeds with water, as this can wash them away.
6. Keep the Soil Moist: Carrot seeds need consistent moisture to germinate. Keep the soil moist but not soggy until the seedlings emerge, which can take 1-3 weeks. I often cover the area with burlap or a piece of cardboard to help retain moisture. Just be sure to remove it as soon as the seedlings start to emerge.
Phase 3: Thinning and Weeding – Giving Carrots Room to Breathe
Thinning is crucial for giving your carrots enough space to develop properly. Weeding is also important, as weeds can compete with carrots for nutrients and sunlight.
1. Thin the Seedlings: Once the seedlings are about 1-2 inches tall, it’s time to thin them. This is probably the most dreaded part of growing carrots, but it’s essential! Use small scissors or tweezers to carefully snip or pull out the weaker seedlings, leaving about 1-2 inches between the remaining plants. Don’t be afraid to be ruthless! Overcrowding is the enemy of good carrots.
2. Weed Regularly: Keep the area around your carrots free of weeds. Weeds can steal nutrients and water from your carrots, so it’s important to remove them regularly. Hand-weeding is the best option, as it avoids disturbing the carrot roots.
3. Mulch (Optional): Applying a layer of mulch around your carrots can help to suppress weeds, retain moisture, and regulate soil temperature. Straw, wood chips, or shredded leaves are all good options.
Phase 4: Watering and Fertilizing – Keeping Carrots Happy and Healthy
Consistent watering and occasional fertilizing will help your carrots grow big and strong.
1. Water Regularly: Carrots need consistent moisture, especially during dry spells. Water deeply and regularly, aiming for about 1 inch of water per week. Avoid overwatering, as this can lead to root rot.
2. Fertilize Sparingly: Carrots don’t need a lot of fertilizer. If your soil is already rich in organic matter, you may not need to fertilize at all. If you do fertilize, use a low-nitrogen fertilizer or a side dressing of compost. Avoid over-fertilizing, as this can lead to leafy tops and small roots.
3. Monitor for Pests and Diseases: Keep an eye out for pests and diseases, such as carrot rust fly, aphids, and leaf blight. If you notice any problems, take action promptly to prevent them from spreading. Organic pest control methods, such as insecticidal soap or neem oil, can be effective.
Phase 5: Harvesting – The Sweet Reward
Harvesting carrots is the most rewarding part of the process!
1. Check for Maturity: Carrots are typically ready to harvest when they reach the size specified on the seed packet. However, you can harvest them earlier if you prefer smaller carrots.
2. Loosen the Soil: Before pulling the carrots, loosen the soil around them with a garden fork or trowel. This will make it easier to pull them out without breaking them.
3. Pull the Carrots: Grasp the carrot tops firmly and gently pull the carrots out of the ground. If they’re difficult to pull, use a garden fork to loosen the soil further.
4. Wash and Store: Wash the carrots thoroughly to remove any dirt. Store them in the refrigerator in a plastic bag or container. They should keep for several weeks.
Bonus Tip: Succession Planting for a Continuous Harvest
To enjoy a continuous harvest of carrots throughout the growing season, try succession planting. Sow a new batch of seeds every 2-3 weeks. This will ensure that you always have a supply of fresh carrots ready to harvest.
Troubleshooting Common Carrot Problems
Even with the best planning, sometimes things don’t go exactly as expected. Here are some common carrot problems and how to address them:
* Forked or Stunted Carrots: This is usually caused by compacted soil or rocks in the soil. Make sure to prepare your soil thoroughly before planting.
* Small Carrots: This can be caused by overcrowding, lack of sunlight, or poor soil fertility. Thin your seedlings properly, choose a sunny location, and amend your soil with compost.
* Bitter Carrots: This can be caused
Conclusion
So, there you have it! Transforming a simple Dollar Tree rack into a functional and stylish storage solution is not just a budget-friendly option; it’s a testament to the power of creativity and resourcefulness. We’ve explored how these inexpensive racks can be repurposed and customized to meet a variety of organizational needs, from shoe storage to pantry organization and even crafting supply displays. The beauty of these Dollar Tree rack hacks lies in their adaptability. You’re not limited to the suggestions we’ve provided; feel free to experiment with different configurations, paint colors, and embellishments to create a truly unique piece that reflects your personal style and complements your home decor.
Why is this a must-try? Because it’s a win-win! You save money, reduce clutter, and gain a sense of accomplishment from creating something useful and beautiful with your own hands. In a world of mass-produced, often overpriced storage solutions, this DIY approach offers a refreshing alternative. It empowers you to take control of your space and tailor it to your specific needs without breaking the bank. Plus, it’s a fantastic way to recycle and repurpose, contributing to a more sustainable lifestyle.
Consider these variations to further personalize your Dollar Tree rack hacks:
* **Add wheels:** Attach casters to the bottom of your rack for easy mobility. This is especially useful for storage solutions that you need to move around frequently, such as a craft supply cart or a rolling pantry organizer.
* **Incorporate fabric:** Drape fabric over the rack to create a makeshift curtain or backdrop. This can be used to conceal clutter or add a touch of elegance to your storage solution.
* **Use decorative paper:** Line the shelves of your rack with decorative paper or contact paper to add color and pattern. This is a simple way to personalize your storage solution and make it more visually appealing.
* **Combine multiple racks:** Stack or connect multiple racks to create a larger storage unit. This is a great option for organizing larger items or creating a more comprehensive storage system.
* **Incorporate lighting:** Add LED strip lights to illuminate your rack and make it easier to see your stored items. This is especially useful for dark corners or closets.
We truly believe that these Dollar Tree rack hacks offer a simple, affordable, and effective way to transform your home organization. Don’t be intimidated by the “DIY” label; these projects are designed to be accessible to everyone, regardless of their crafting experience. The most important ingredient is your imagination!
So, what are you waiting for? Head to your local Dollar Tree, grab a few racks, and let your creativity flow. We’re confident that you’ll be amazed at the transformations you can achieve. We encourage you to try these **Dollar Tree rack hacks** and share your creations with us! Post photos of your finished projects on social media using #DollarTreeHacks and tag us so we can see your amazing transformations. We can’t wait to see what you come up with! Your ingenuity might just inspire others to embrace the power of DIY and transform their own spaces. Let’s build a community of creative organizers, one Dollar Tree rack at a time!
FAQ
What kind of Dollar Tree racks work best for these hacks?
The most commonly used racks are the wire shelving units, often found in the organization or kitchen sections. Look for sturdy racks with a good weight capacity, even though they are inexpensive. Consider the size and shape of the rack based on your intended use. For example, a wider rack might be better for shoe storage, while a taller rack could be ideal for pantry organization. Remember to check for any damage before purchasing.
Are these racks sturdy enough to hold heavy items?
While Dollar Tree racks are surprisingly durable for their price, they are not designed to hold extremely heavy items. It’s important to distribute the weight evenly across the shelves and avoid overloading them. For heavier items, consider reinforcing the rack with zip ties, extra supports, or by placing it against a wall for added stability. If you plan to store particularly heavy items, it might be worth investing in a sturdier storage solution.
How can I paint or decorate the Dollar Tree racks?
Painting or decorating your Dollar Tree rack is a great way to personalize it and match your home decor. Before painting, clean the rack thoroughly with soap and water to remove any dirt or grease. You can use spray paint specifically designed for metal surfaces for a quick and easy finish. Alternatively, you can use acrylic paints and a brush for more detailed designs. Consider using a primer to help the paint adhere better and prevent rust. For decoration, you can use contact paper, washi tape, stencils, or even decoupage techniques.
What are some creative ways to use these racks in different rooms?
The possibilities are endless! In the kitchen, use them to organize pantry items, spices, or even pots and pans. In the bathroom, they can hold toiletries, towels, or cleaning supplies. In the bedroom, they can be used for shoe storage, clothing organization, or as a bedside table. In the craft room, they can hold yarn, fabric, paint, and other supplies. You can even use them in the garage to organize tools or gardening supplies. Think about your specific storage needs and how you can adapt the rack to meet them.
How can I make these racks more stable?
Stability is key, especially if you’re storing heavier items. Here are a few tips:
* **Secure to the wall:** Use wall anchors and screws to attach the rack to the wall. This is especially important if you have children or pets who might accidentally knock it over.
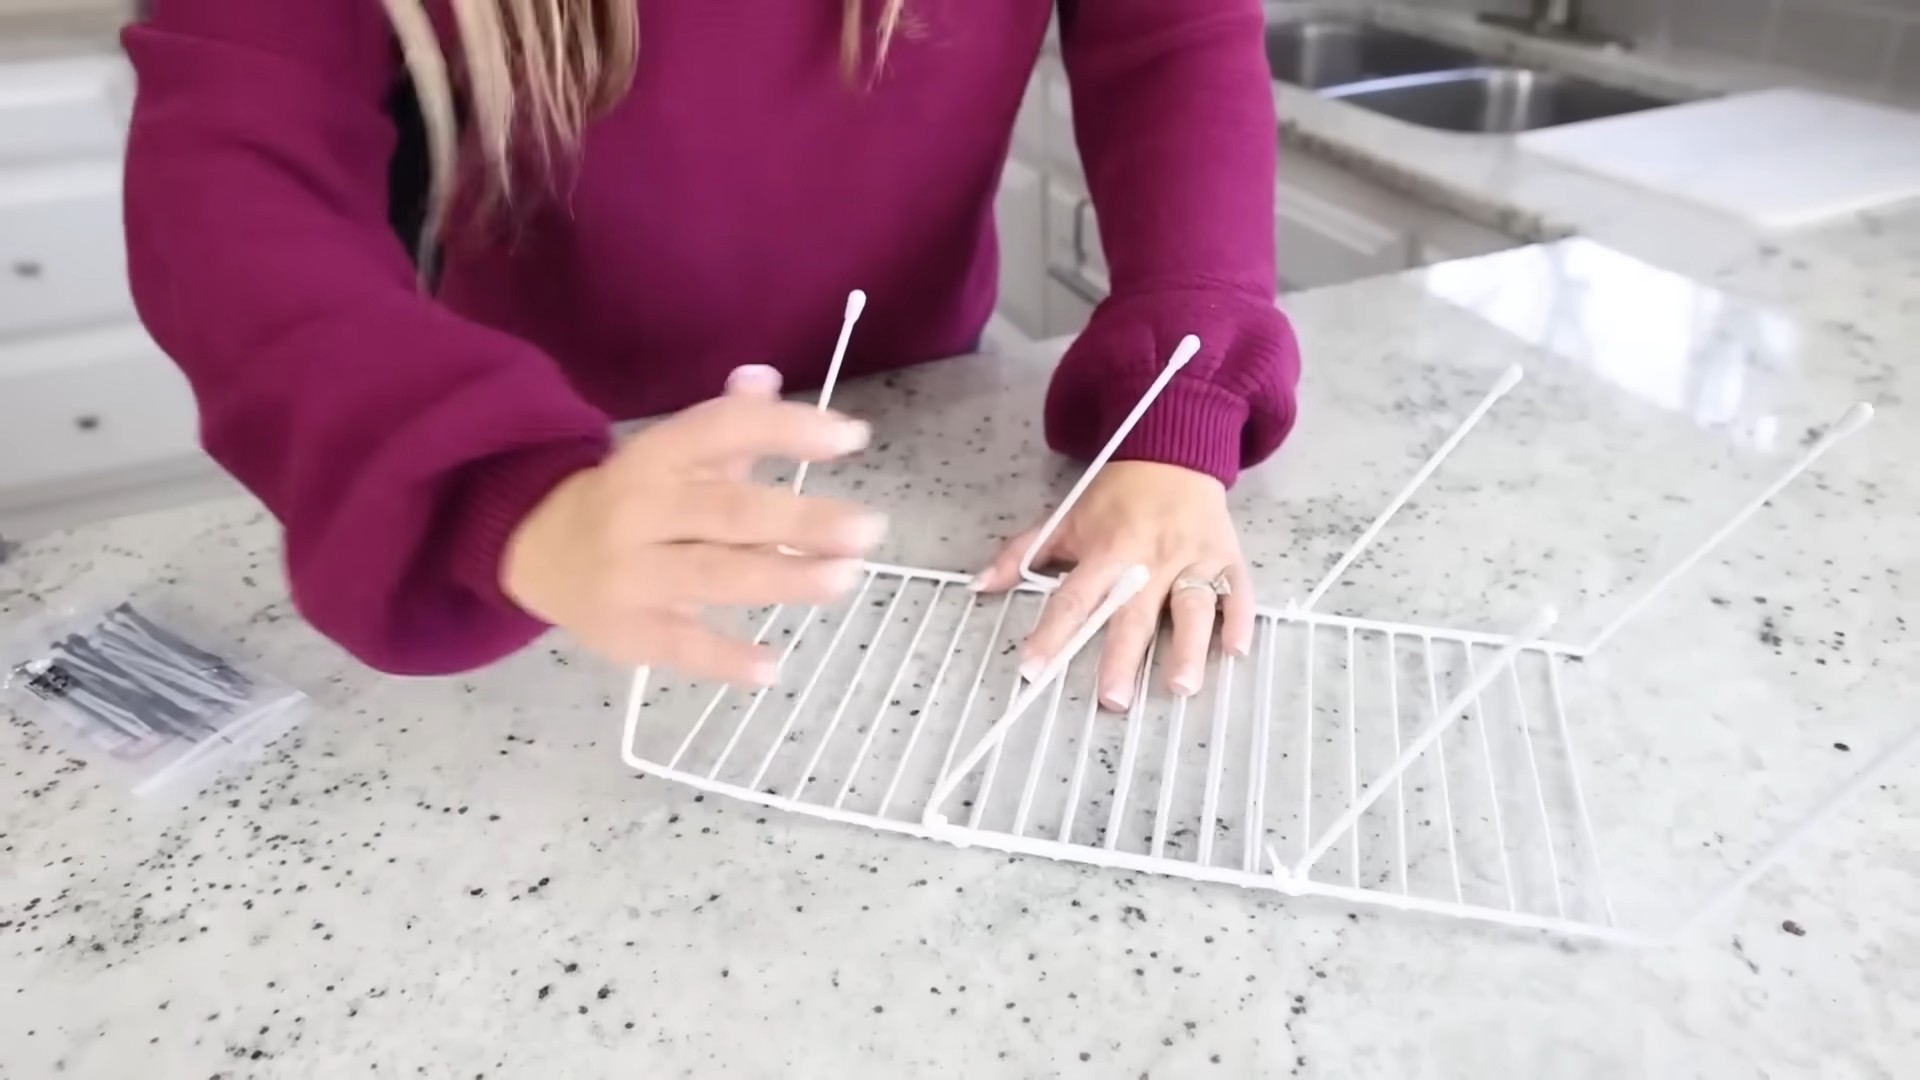
* **Use zip ties:** Secure the shelves to the frame with zip ties to prevent them from shifting or collapsing.
* **Add weight to the bottom:** Place heavier items on the bottom shelf to lower the center of gravity and make the rack more stable.
* **Use non-slip mats:** Place non-slip mats under the rack to prevent it from sliding around.
* **Reinforce with extra supports:** If you’re storing particularly heavy items, consider adding extra supports to the rack, such as wooden dowels or metal brackets.
Where can I find inspiration for Dollar Tree rack hacks?
The internet is a treasure trove of inspiration! Search for “Dollar Tree rack hacks” on Pinterest, YouTube, and other social media platforms to find countless ideas and tutorials. Look for projects that match your skill level and storage needs. Don’t be afraid to adapt existing ideas to create something unique and personalized. Remember to share your own creations online to inspire others!
Are there any safety precautions I should take when working on these DIY projects?
Yes, safety should always be a priority. When cutting or drilling, wear safety glasses to protect your eyes. Use gloves to protect your hands from paint, glue, or sharp edges. Work in a well-ventilated area when using spray paint or other chemicals. Be careful when lifting heavy items and ask for help if needed. Always follow the manufacturer’s instructions for any tools or materials you use. And most importantly, have fun and be creative!

Leave a Comment