

DIY Home Repair: Ever feel like your house is whispering for a little TLC, but your wallet is screaming “No more contractors!”? I get it! That’s why I’m so excited to share some fantastic DIY home repair tricks that will empower you to tackle those nagging issues yourself.
From leaky faucets to squeaky doors, many common household problems can be solved with a little know-how and a few basic tools. Think of it as reclaiming your space and saving a bundle in the process! The tradition of home repair is as old as homes themselves. Historically, families relied on their own skills to maintain their dwellings, fostering a sense of self-sufficiency and connection to their living space.
In today’s fast-paced world, we often outsource these tasks, but there’s a real satisfaction in learning to fix things yourself. Plus, understanding the inner workings of your home can prevent minor issues from escalating into costly disasters. This article is packed with easy-to-follow DIY home repair hacks that will boost your confidence and transform you into a home improvement hero. Let’s get started!
DIY Miracle Cream: Vinegar and Vaseline for Amazing Skin!
Hey everyone! I’m so excited to share this incredible DIY skincare hack with you. I stumbled upon this combination of vinegar and Vaseline while researching natural remedies, and honestly, I was skeptical at first. But after trying it out for myself, I was blown away by the results! This simple mixture can help with so many skin issues, from dry patches to minor blemishes. It’s super affordable and easy to make, so let’s get started!
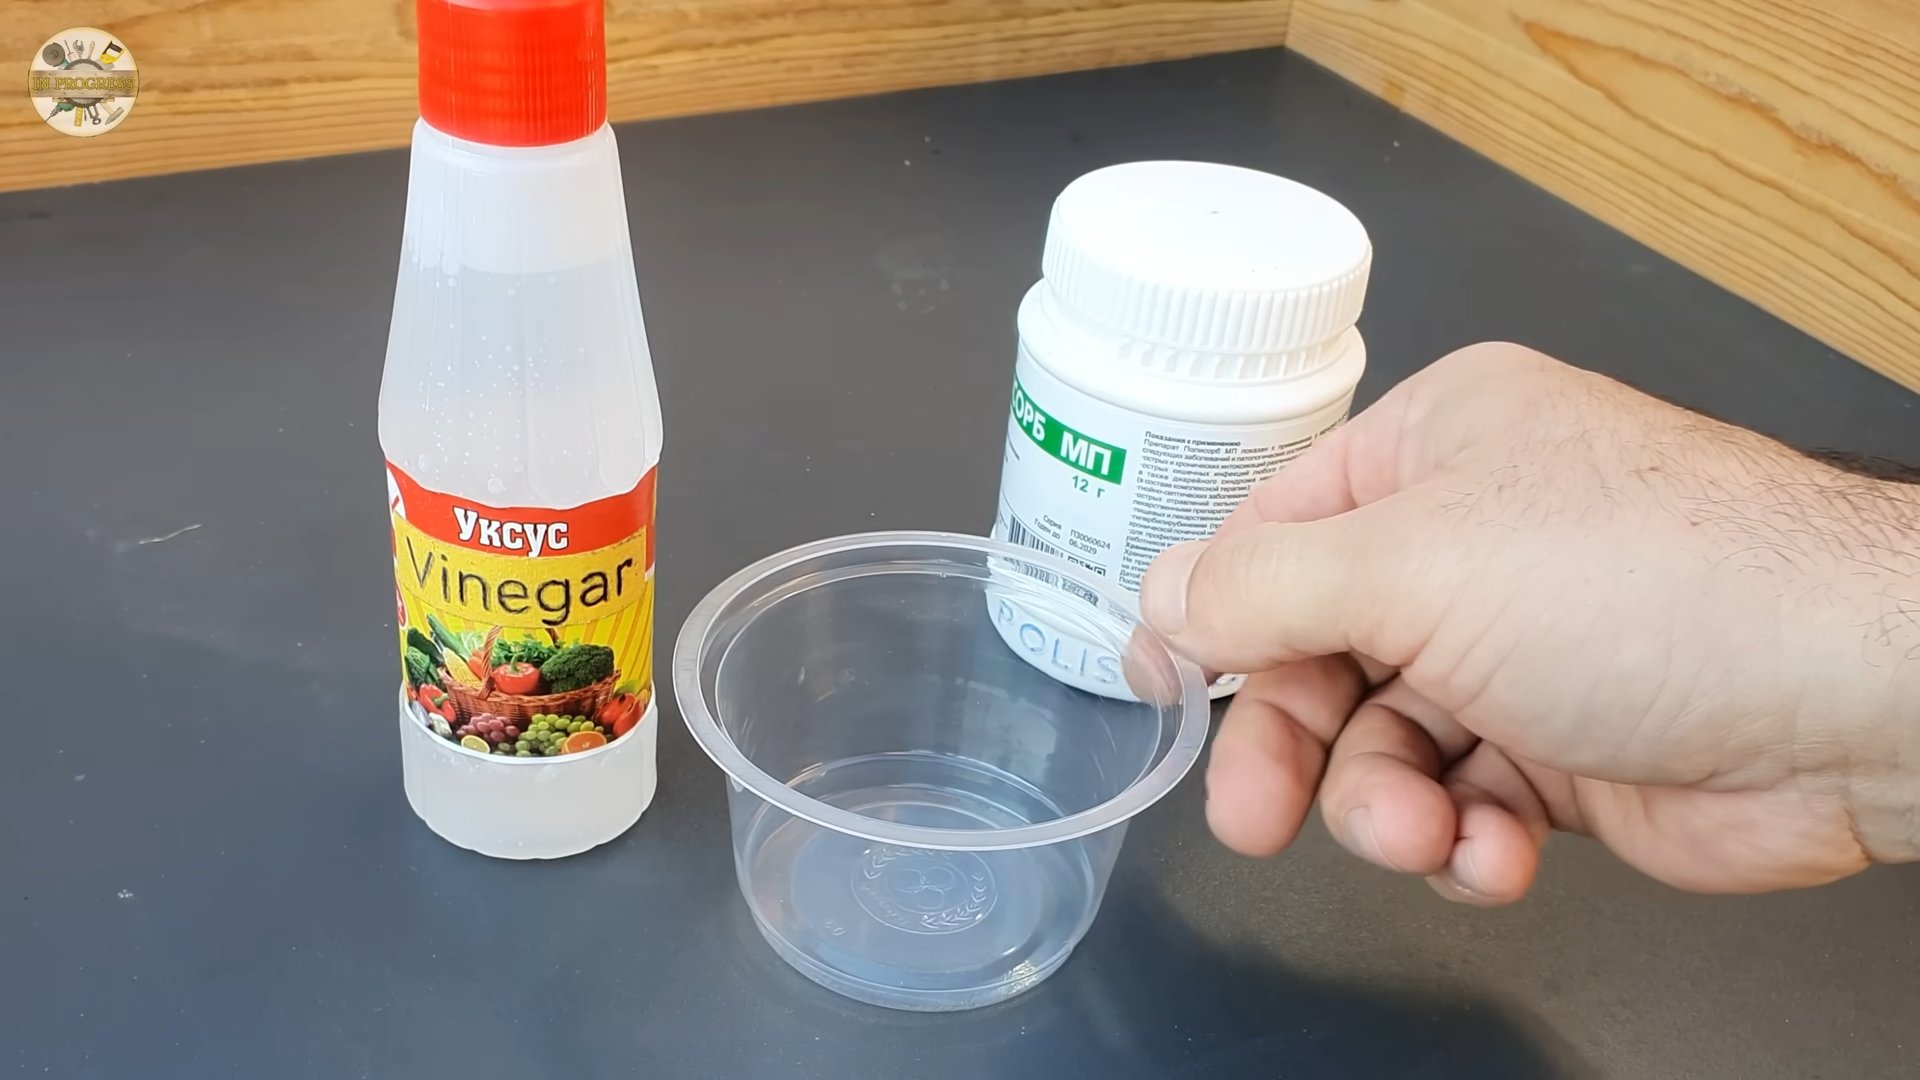
What You’ll Need
Before we dive into the process, let’s gather all the necessary ingredients and tools. This will make the whole experience smoother and more enjoyable.
* Vaseline (Petroleum Jelly): This is the base of our miracle cream. It acts as an occlusive, meaning it creates a barrier on the skin to lock in moisture. I recommend using plain, unscented Vaseline for this DIY.
* Apple Cider Vinegar (ACV): ACV is the star ingredient! It’s known for its antibacterial, antifungal, and exfoliating properties. Make sure you’re using raw, unfiltered ACV with “the mother” for the best results. The “mother” contains beneficial enzymes and probiotics.
* A Clean Jar or Container: You’ll need a container to store your finished cream. I prefer using a small glass jar with a lid, but any clean, airtight container will work.
* A Mixing Spoon or Spatula: This will help you combine the Vaseline and ACV thoroughly.
* Measuring Spoons: Accurate measurements are key to getting the right consistency and effectiveness.
* Optional: Essential Oils (for fragrance): If you’re sensitive to the smell of ACV, you can add a few drops of your favorite essential oil to mask the scent. Lavender, tea tree, or chamomile are great options for skincare.
Understanding the Benefits
Before we get our hands dirty, let’s quickly understand why this combination works so well.
* Vaseline: As mentioned earlier, Vaseline is an excellent occlusive. It creates a protective barrier on the skin, preventing moisture loss and helping to heal dry, cracked skin. It’s also non-comedogenic, meaning it won’t clog pores for most people.
* Apple Cider Vinegar: ACV is a powerhouse of benefits. Its acetic acid content helps to balance the skin’s pH, which can improve its overall health and appearance. It also has antibacterial and antifungal properties, making it effective against acne and other skin infections. The gentle exfoliating action of ACV can help to remove dead skin cells, revealing brighter, smoother skin.
Making Your DIY Vinegar and Vaseline Cream
Now for the fun part! Follow these step-by-step instructions to create your own miracle cream.
1. Prepare Your Workspace: Make sure you have a clean and organized workspace. This will help you stay focused and prevent any accidental spills or messes.
2. Measure the Vaseline: Scoop out 2 tablespoons of Vaseline and place it into your clean jar or container. You can adjust the amount depending on how much cream you want to make, but keep the ratio of Vaseline to ACV consistent.
3. Measure the Apple Cider Vinegar: Now, carefully measure out 1 teaspoon of apple cider vinegar. It’s crucial to use the correct ratio (2:1 Vaseline to ACV) to avoid irritating your skin. Too much ACV can cause redness and sensitivity.
4. Combine the Ingredients: Pour the apple cider vinegar into the jar with the Vaseline.
5. Mix Thoroughly: Using your mixing spoon or spatula, start mixing the Vaseline and ACV together. This might take a few minutes, as the two ingredients don’t naturally blend easily. Be patient and keep stirring until you achieve a smooth, creamy consistency. It might not be perfectly homogenous, and that’s okay!
6. Add Essential Oils (Optional): If you’re using essential oils, now is the time to add them. I usually add 2-3 drops of lavender oil for its calming and soothing properties. Mix well to distribute the oil evenly throughout the cream.
7. Store Your Cream: Once you’re satisfied with the consistency, seal the jar or container tightly. Store your DIY vinegar and Vaseline cream in a cool, dry place away from direct sunlight. It should last for several weeks.
Using Your DIY Cream
Now that you’ve made your miracle cream, let’s talk about how to use it effectively.
1. Patch Test: Before applying the cream to your entire face or body, it’s essential to do a patch test. Apply a small amount to a discreet area of skin, such as your inner arm or behind your ear. Wait 24-48 hours to see if you experience any adverse reactions, such as redness, itching, or irritation. If you do, discontinue use immediately.
2. Cleanse Your Skin: Before applying the cream, make sure your skin is clean and dry. Use a gentle cleanser to remove any dirt, oil, or makeup.
3. Apply a Thin Layer: Take a small amount of the cream and gently apply it to the affected areas. A little goes a long way! Avoid applying it to open wounds or broken skin.
4. Massage Gently: Use your fingertips to gently massage the cream into your skin in circular motions. This will help it absorb better and improve circulation.
5. Leave it On: You can leave the cream on overnight or for a few hours during the day. If you’re using it as an overnight treatment, be sure to protect your pillowcase with a towel, as Vaseline can be greasy.
6. Wash Off (Optional): If you prefer, you can wash off the cream after a few hours. Use lukewarm water and a gentle cleanser.
7. Moisturize (Optional): After washing off the cream, you can apply a light moisturizer to further hydrate your skin.
Targeting Specific Skin Concerns
This DIY cream can be used to address a variety of skin concerns. Here are a few examples:
* Dry Skin: Apply the cream to dry, cracked areas like elbows, knees, and heels. The Vaseline will lock in moisture and help to heal the skin.
* Acne: The antibacterial properties of ACV can help to fight acne-causing bacteria. Apply a small amount to blemishes and pimples.
* Eczema: The cream can help to soothe and moisturize dry, itchy skin associated with eczema.
* Minor Burns and Scrapes: The Vaseline can create a protective barrier over minor burns and scrapes, promoting healing.
* Dark Spots: With consistent use, the exfoliating properties of ACV may help to lighten dark spots and hyperpigmentation.
Important Considerations and Precautions
While this DIY cream is generally safe for most people, there are a few things to keep in mind:
* Dilution is Key: Always use the correct ratio of Vaseline to ACV. Too much ACV can irritate your skin.
* Patch Test is Crucial: Never skip the patch test! This will help you identify any potential allergies or sensitivities.
* Avoid Sensitive Areas: Avoid applying the cream to sensitive areas like the eyes, mouth, and genitals.
* Sun Sensitivity: ACV can make your skin more sensitive to the sun. Be sure to wear sunscreen when using this cream during the day.
* Not a Substitute for Medical Treatment: This DIY cream is not a substitute for professional medical treatment. If you have a serious skin condition, consult a dermatologist.
* Smell: The smell of ACV can be strong. If you find it unpleasant, add a few drops of essential oil to mask the scent.
* Discontinue Use if Irritation Occurs: If you experience any redness, itching, or irritation, discontinue use immediately.
Troubleshooting
Sometimes, things don’t go exactly as planned. Here are a few common issues you might encounter and how to fix them:
* Cream is Too Runny: If your cream is too runny, add a little more Vaseline to thicken it up.
* Cream is Too Thick: If your cream is too thick, add a tiny bit more ACV to thin it out. Be careful not to add too much!
* Cream is Separating: If your cream is separating, it means the ingredients aren’t fully combined. Try mixing it again for a longer period of time.
* Skin is Irritated: If your skin is irritated, it could be due to too much ACV. Discontinue use and try a different ratio next time.
My Personal Experience
I’ve been using this DIY vinegar and Vaseline cream for a few weeks now, and I’m absolutely loving the results! I’ve noticed a significant improvement in the texture and hydration of my skin. My dry patches are gone, and my skin feels so much smoother and softer. I’ve also seen a reduction in the appearance of my acne scars. I highly recommend giving
Conclusion
So, there you have it! This simple yet effective DIY home repair trick is more than just a quick fix; it’s a game-changer for maintaining the beauty and functionality of your home without breaking the bank. We’ve shown you how to tackle a common problem with readily available materials and a straightforward process. Why spend a fortune on professional services when you can achieve professional-quality results yourself?
This DIY approach isn’t just about saving money; it’s about empowering yourself to take control of your living space. It’s about understanding the inner workings of your home and developing the skills to address minor issues before they escalate into major headaches. Think of it as an investment in your home’s longevity and your own self-sufficiency.
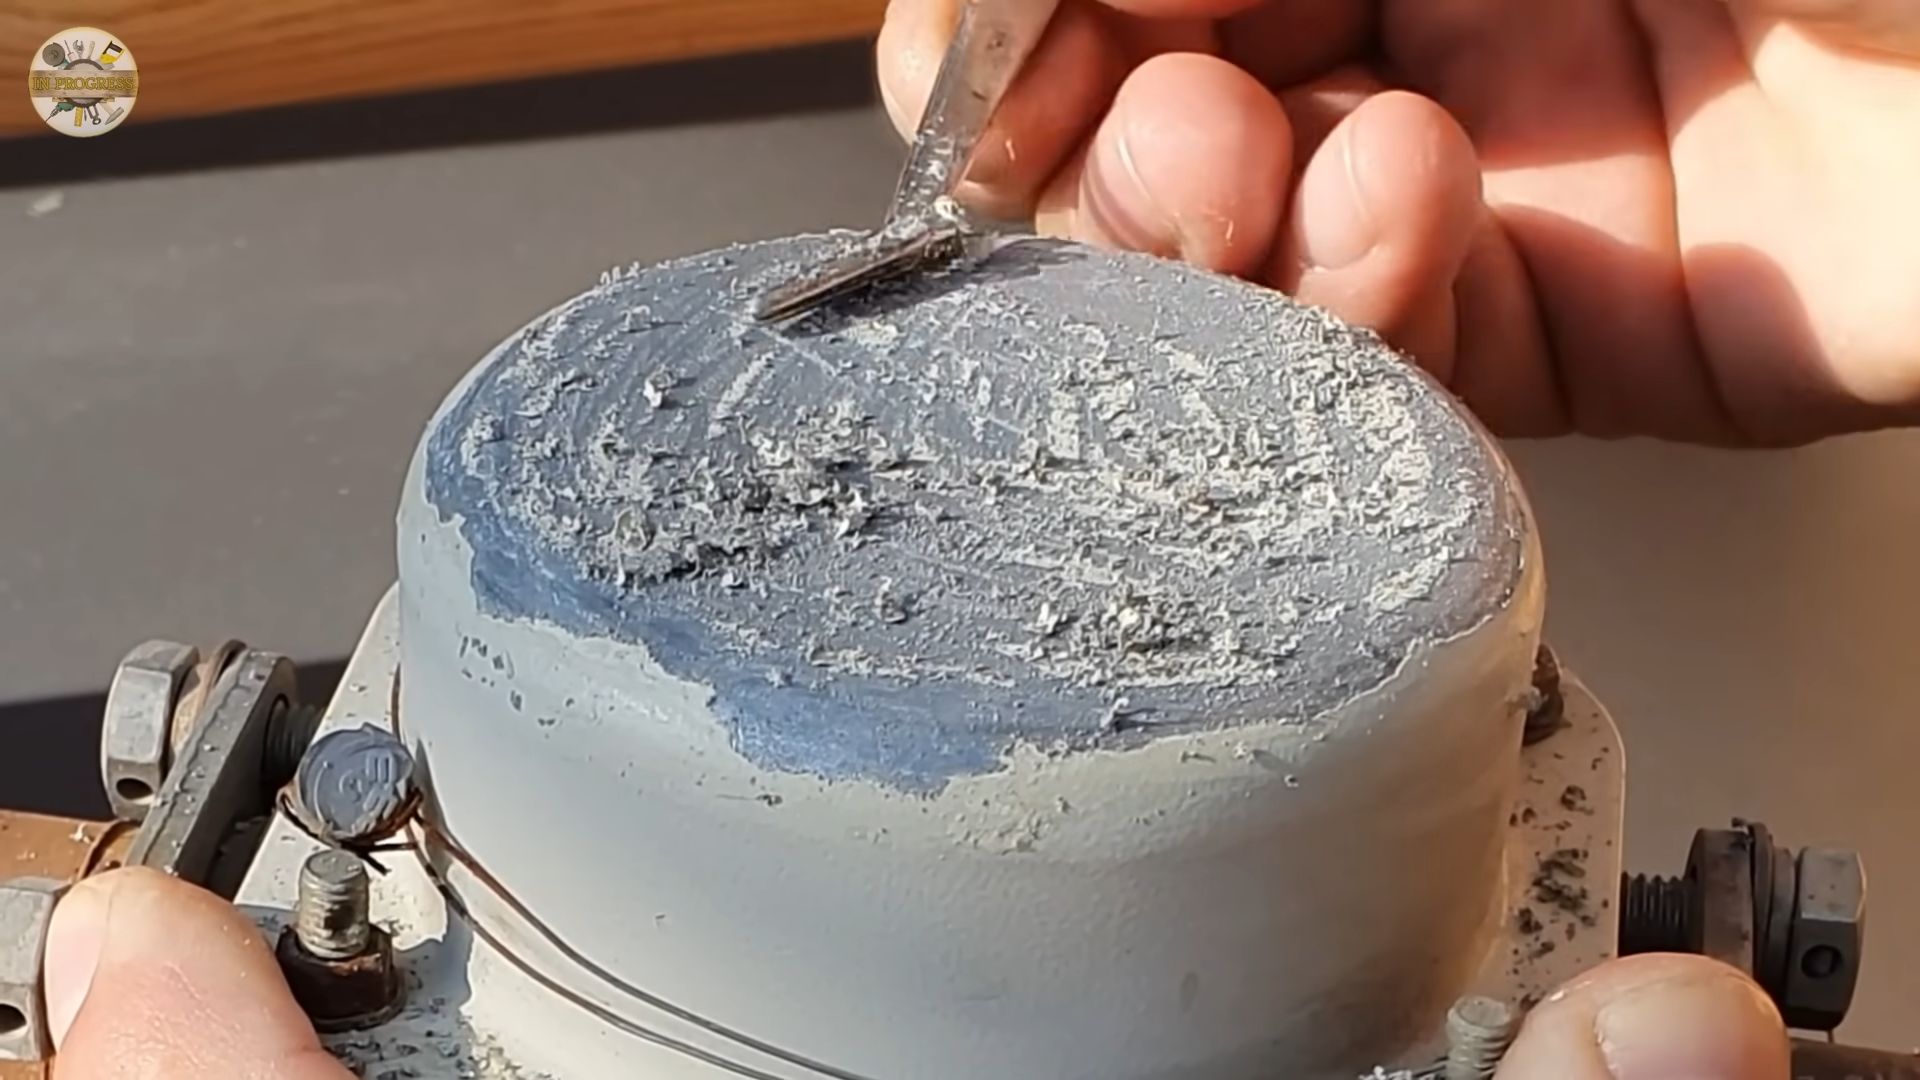
But the beauty of this DIY home repair method lies in its adaptability. Feel free to experiment with variations to suit your specific needs and preferences. For instance, if you’re dealing with a particularly stubborn crack, consider using a slightly thicker patching compound or applying multiple thin layers for optimal adhesion. If you’re aiming for a seamless finish on a textured surface, explore different texturing techniques to match the existing pattern. You could even add a touch of color to your patching compound to blend it perfectly with the surrounding area, eliminating the need for extensive painting.
Don’t be afraid to get creative and personalize the process. The key is to understand the underlying principles and adapt them to your unique situation. Remember, every home is different, and what works for one might not work for another. That’s why it’s so important to observe, experiment, and learn from your experiences.
We wholeheartedly encourage you to give this DIY home repair trick a try. You might be surprised at how easy and rewarding it is to fix things around your house. Not only will you save money and gain valuable skills, but you’ll also experience the satisfaction of knowing that you’ve contributed to the upkeep and improvement of your home.
Once you’ve tried it, we’d love to hear about your experience! Share your tips, tricks, and variations in the comments section below. Let us know what worked for you, what challenges you encountered, and any advice you have for other DIY enthusiasts. Your feedback will help us refine this guide and make it even more useful for the entire community. Together, we can empower each other to become confident and capable homeowners. So, grab your tools, roll up your sleeves, and get ready to transform your home, one DIY repair at a time! Let’s make DIY home repair a rewarding and accessible experience for everyone.
Frequently Asked Questions (FAQ)
What if I don’t have all the materials listed? Can I substitute anything?
Absolutely! The materials listed are suggestions, and you can often find suitable substitutes. For example, if you don’t have patching compound, you can use spackle or even a mixture of drywall mud and joint compound. Just be sure to choose a product that is appropriate for the type of surface you’re repairing. If you don’t have sandpaper, you can use a sanding sponge or even a piece of fine-grit emery cloth. The key is to use something that will smooth the surface without damaging it. If you don’t have a putty knife, a flexible plastic scraper or even a sturdy piece of cardboard can work in a pinch. The goal is to apply the patching material evenly and smoothly.
How do I match the texture of my wall after patching?
Matching the texture can be tricky, but there are several techniques you can try. For light textures, you can use a damp sponge to dab the patched area while the compound is still wet. For heavier textures, you can use a texture roller or even a brush with stiff bristles to create the desired effect. You can also purchase texture sprays that are specifically designed for matching existing textures. Practice on a piece of cardboard or scrap drywall before applying the texture to your wall. This will help you get a feel for the technique and ensure that you achieve the desired result. Remember to work in small sections and blend the texture seamlessly with the surrounding area.
How long does the patching compound take to dry?
Drying time depends on several factors, including the type of patching compound, the thickness of the application, and the humidity level. Generally, most patching compounds will dry to the touch within a few hours, but it’s best to wait at least 24 hours before sanding or painting. Check the manufacturer’s instructions for specific drying times. If you’re applying multiple layers of patching compound, allow each layer to dry completely before applying the next. Using a fan to circulate air can help speed up the drying process. Avoid applying patching compound in extremely humid conditions, as this can significantly prolong drying time.
What if the crack is too big to fill with patching compound?
For larger cracks, you may need to use a different approach. First, clean out any loose debris from the crack. Then, apply a layer of fiberglass mesh tape over the crack. This will provide a strong base for the patching compound. Apply several thin layers of patching compound over the tape, allowing each layer to dry completely before applying the next. Feather the edges of the patching compound to blend it seamlessly with the surrounding surface. For very large cracks, you may need to consult a professional.
Can I use this trick on ceilings?
Yes, this trick can be used on ceilings, but you’ll need to take extra precautions to prevent the patching compound from dripping. Use a lightweight patching compound and apply it in thin layers. You may also want to use a taping knife with a wider blade to help support the compound. Wear eye protection to prevent any drips from getting into your eyes. If you’re working on a high ceiling, use a ladder or scaffolding to ensure that you can reach the area safely and comfortably.
What type of paint should I use after patching?
Use a paint that is compatible with the patching compound and the existing paint on your wall. If you’re unsure, consult with a paint specialist at your local hardware store. Prime the patched area before painting to ensure proper adhesion and a uniform finish. Use a high-quality paint brush or roller to apply the paint evenly. Apply two coats of paint for optimal coverage and durability.
How do I prevent cracks from reappearing?
Preventing cracks from reappearing can be challenging, but there are several things you can do to minimize the risk. First, address the underlying cause of the crack. If the crack is caused by structural issues, you may need to consult a professional. Use high-quality patching compound and apply it properly. Reinforce the patched area with fiberglass mesh tape. Avoid applying excessive stress to the wall. Maintain a stable humidity level in your home. Consider using a flexible caulk along the edges of the wall to prevent future cracking.
Is this DIY home repair safe for everyone?
While this DIY home repair is generally safe, it’s important to take precautions to protect yourself. Wear safety glasses to protect your eyes from dust and debris. Wear gloves to protect your hands from the patching compound. Work in a well-ventilated area to avoid inhaling dust or fumes. If you have any respiratory problems, wear a dust mask. If you’re working on a ladder, be sure to follow safety guidelines to prevent falls. If you’re unsure about any aspect of the repair, consult a professional. Always prioritize safety when undertaking any DIY project.

Leave a Comment