

DIY Grape Growing System: Unleash Your Inner Vintner!
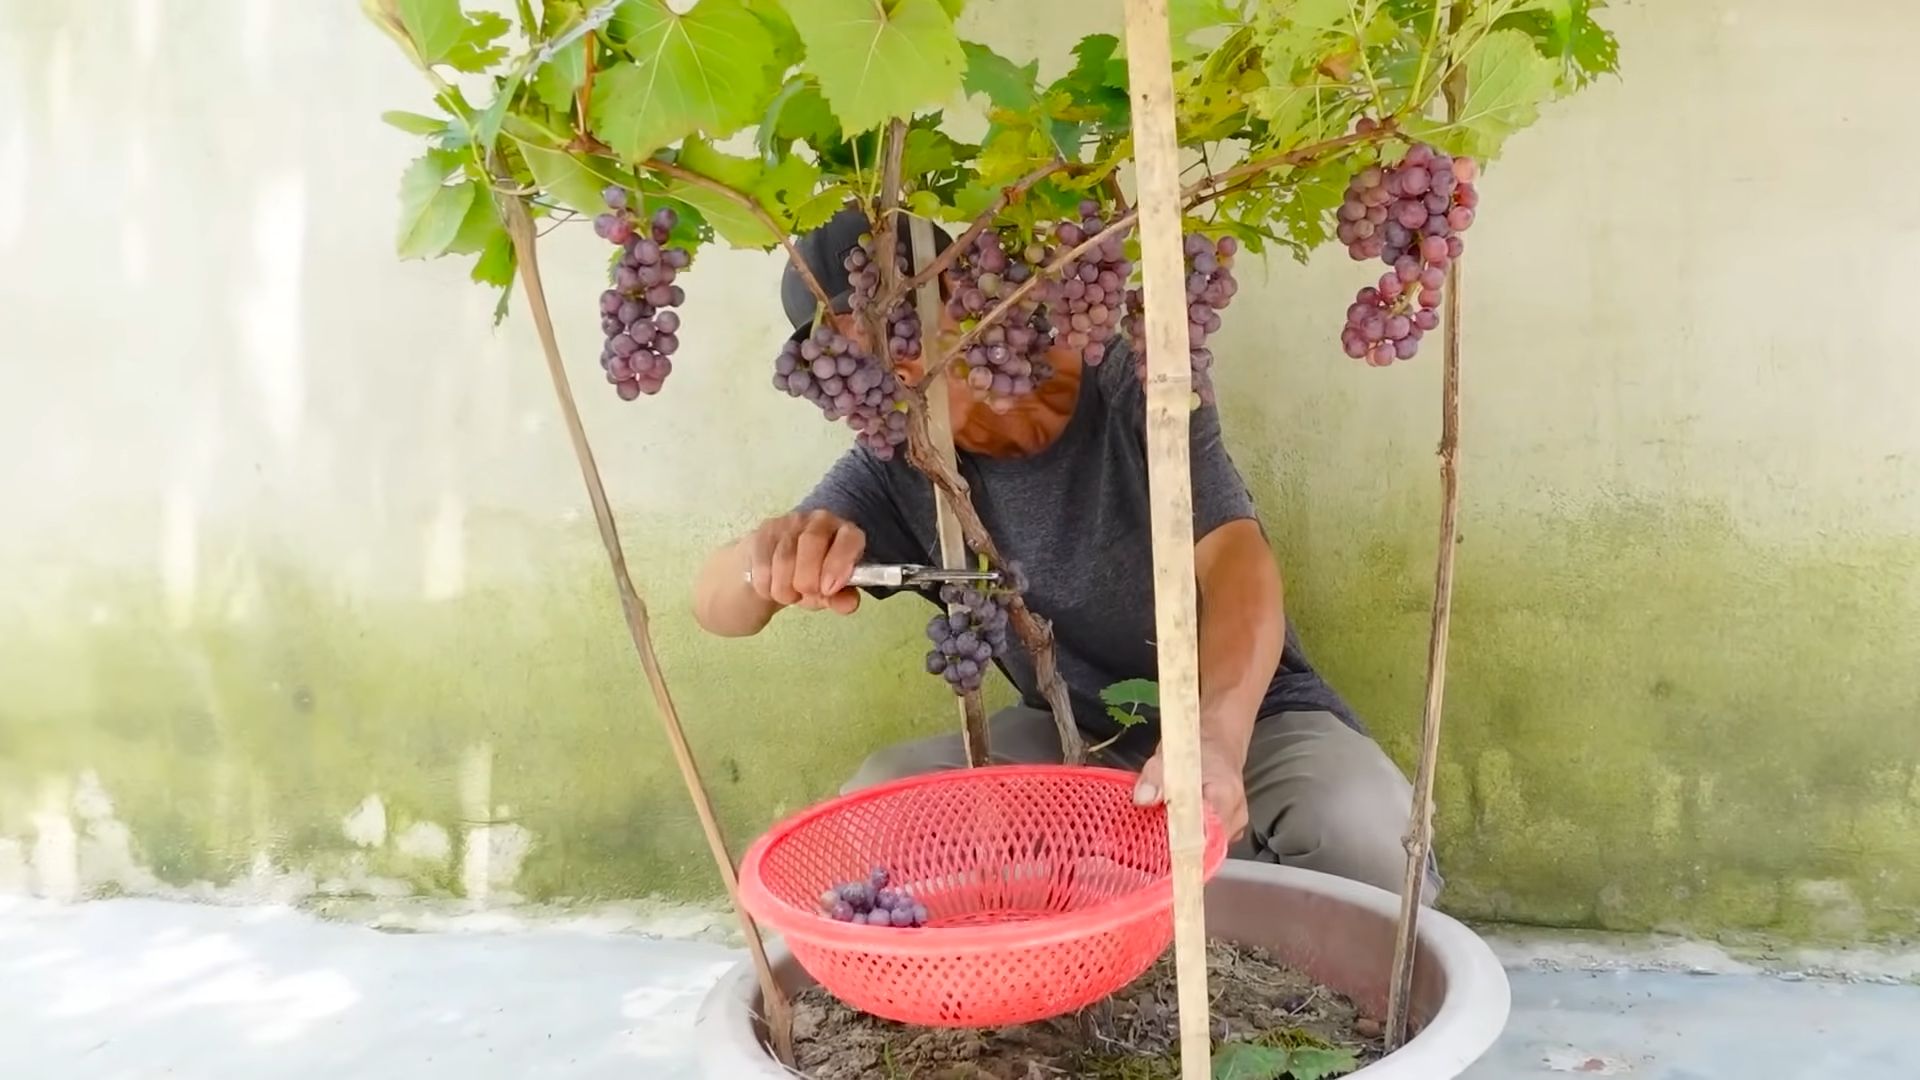
Have you ever dreamed of strolling through your own backyard vineyard, plucking sun-ripened grapes straight from the vine? It sounds idyllic, doesn’t it? Well, with a little ingenuity and our DIY grape growing system guide, that dream can become a delicious reality! For centuries, grapes have been cultivated, not just for their delectable fruit, but also for their cultural significance. From ancient Roman feasts to modern-day wine cellars, grapes have held a special place in our hearts (and stomachs!).
But let’s be honest, the thought of growing grapes can seem intimidating. Visions of sprawling vineyards and complicated trellising might fill your head. That’s where our DIY grape growing system comes in. We’re breaking down the process into manageable, easy-to-follow steps, perfect for even the most novice gardener. Forget expensive equipment and complicated techniques. We’ll show you how to create a thriving grape-growing haven right in your own backyard, using simple materials and clever hacks.
Why do you need this DIY trick? Because fresh, homegrown grapes taste infinitely better than anything you can buy at the store! Plus, you’ll have the satisfaction of knowing you nurtured these delicious fruits from tiny buds to juicy perfection. Imagine the envy of your neighbors as you proudly display your bountiful harvest. So, grab your gardening gloves, and let’s get started on building your very own DIY grape growing system!
DIY Grape Growing System: From Seedling to Sweet Harvest!
Hey there, fellow gardening enthusiasts! I’m so excited to share my experience building a DIY grape growing system. Growing your own grapes can seem intimidating, but trust me, with a little planning and elbow grease, you can enjoy delicious, homegrown grapes right in your backyard. This guide will walk you through every step, from choosing the right location to building a sturdy trellis system. Let’s get started!
Choosing the Right Grape Variety and Location
Before we even think about building anything, we need to consider what kind of grapes you want to grow and where they’ll thrive.
* Grape Variety: Research different grape varieties suitable for your climate. Consider factors like disease resistance, ripening time, and intended use (table grapes, wine grapes, juice grapes). Some popular and relatively easy-to-grow varieties include Concord, Thompson Seedless, and Niagara. I personally went with a disease-resistant Concord variety for my first attempt.
* Sunlight: Grapes need at least 6-8 hours of direct sunlight per day. Choose a location that gets plenty of sun throughout the growing season.
* Soil: Grapes prefer well-drained soil with a slightly acidic to neutral pH (around 6.0-7.0). Conduct a soil test to determine your soil’s pH and nutrient levels. Amend the soil with compost or other organic matter to improve drainage and fertility.
* Space: Grapevines need plenty of space to grow. Allow at least 8-10 feet between vines and 10-12 feet between rows. Consider the mature size of your chosen variety when planning your layout.
* Air Circulation: Good air circulation helps prevent fungal diseases. Avoid planting grapes in low-lying areas or areas with poor air flow.
Building a Sturdy Trellis System
A strong trellis is essential for supporting your grapevines as they grow. There are several trellis designs you can choose from, but I’ll show you how to build a simple and effective two-wire trellis.
* Materials You’ll Need:
* Treated wooden posts (4×4 or 6×6, depending on the size of your vines) – I used 8-foot posts.
* High-tensile wire (12.5 gauge is a good choice)
* Wire tensioners (also called wire strainers)
* Wire clips or staples
* Concrete mix (optional, for setting posts)
* Post hole digger or shovel
* Level
* Wire cutters
* Hammer or staple gun
* Safety glasses
* Gloves
Step-by-Step Trellis Construction
1. Mark Post Locations: Determine the spacing between your posts. I recommend spacing them 15-20 feet apart for optimal support. Mark the locations for your posts using stakes or flags.
2. Dig Post Holes: Dig post holes that are at least 2-3 feet deep. The deeper the holes, the more stable your trellis will be. Use a post hole digger or shovel to create the holes.
3. Set the Posts: Place the posts in the holes and ensure they are plumb (perfectly vertical) using a level. If desired, you can set the posts in concrete for added stability. Mix the concrete according to the manufacturer’s instructions and pour it into the holes around the posts. Allow the concrete to cure completely before proceeding. If you’re not using concrete, backfill the holes with soil and tamp it down firmly around the posts.
4. Install the Wires: Once the posts are securely in place, it’s time to install the wires. The first wire should be about 3-4 feet above the ground, and the second wire should be about 2-3 feet above the first wire.
5. Attach Wire Tensioners: Attach wire tensioners to one end post for each wire. These tensioners will allow you to tighten the wires as needed. Follow the manufacturer’s instructions for attaching the tensioners.
6. Thread the Wire: Thread the wire through the tensioners and along the length of the trellis. Secure the wire to the other end post using wire clips or staples.
7. Tighten the Wires: Use the wire tensioners to tighten the wires until they are taut. Be careful not to overtighten the wires, as this could damage the posts. The wires should be tight enough to provide adequate support for the grapevines.
8. Secure the Wires: Use wire clips or staples to secure the wires to the posts at regular intervals. This will prevent the wires from sagging or shifting.
Planting Your Grapevines
Now that your trellis is built, it’s time to plant your grapevines!
* Timing: The best time to plant grapevines is in early spring or late fall, when the plants are dormant.
* Preparation: Before planting, soak the roots of the grapevines in water for a few hours. This will help rehydrate the roots and give the plants a good start.
* Planting Depth: Dig a hole that is large enough to accommodate the root ball of the grapevine. Plant the grapevine at the same depth it was growing in the nursery container.
* Spacing: Space the grapevines according to the recommended spacing for your chosen variety.
* Backfilling: Backfill the hole with soil and gently tamp it down around the grapevine.
* Watering: Water the grapevine thoroughly after planting.
* Mulching: Apply a layer of mulch around the base of the grapevine to help retain moisture and suppress weeds.
Step-by-Step Planting Guide
1. Dig the Hole: Dig a hole twice as wide as the root ball and just as deep. This gives the roots room to spread.
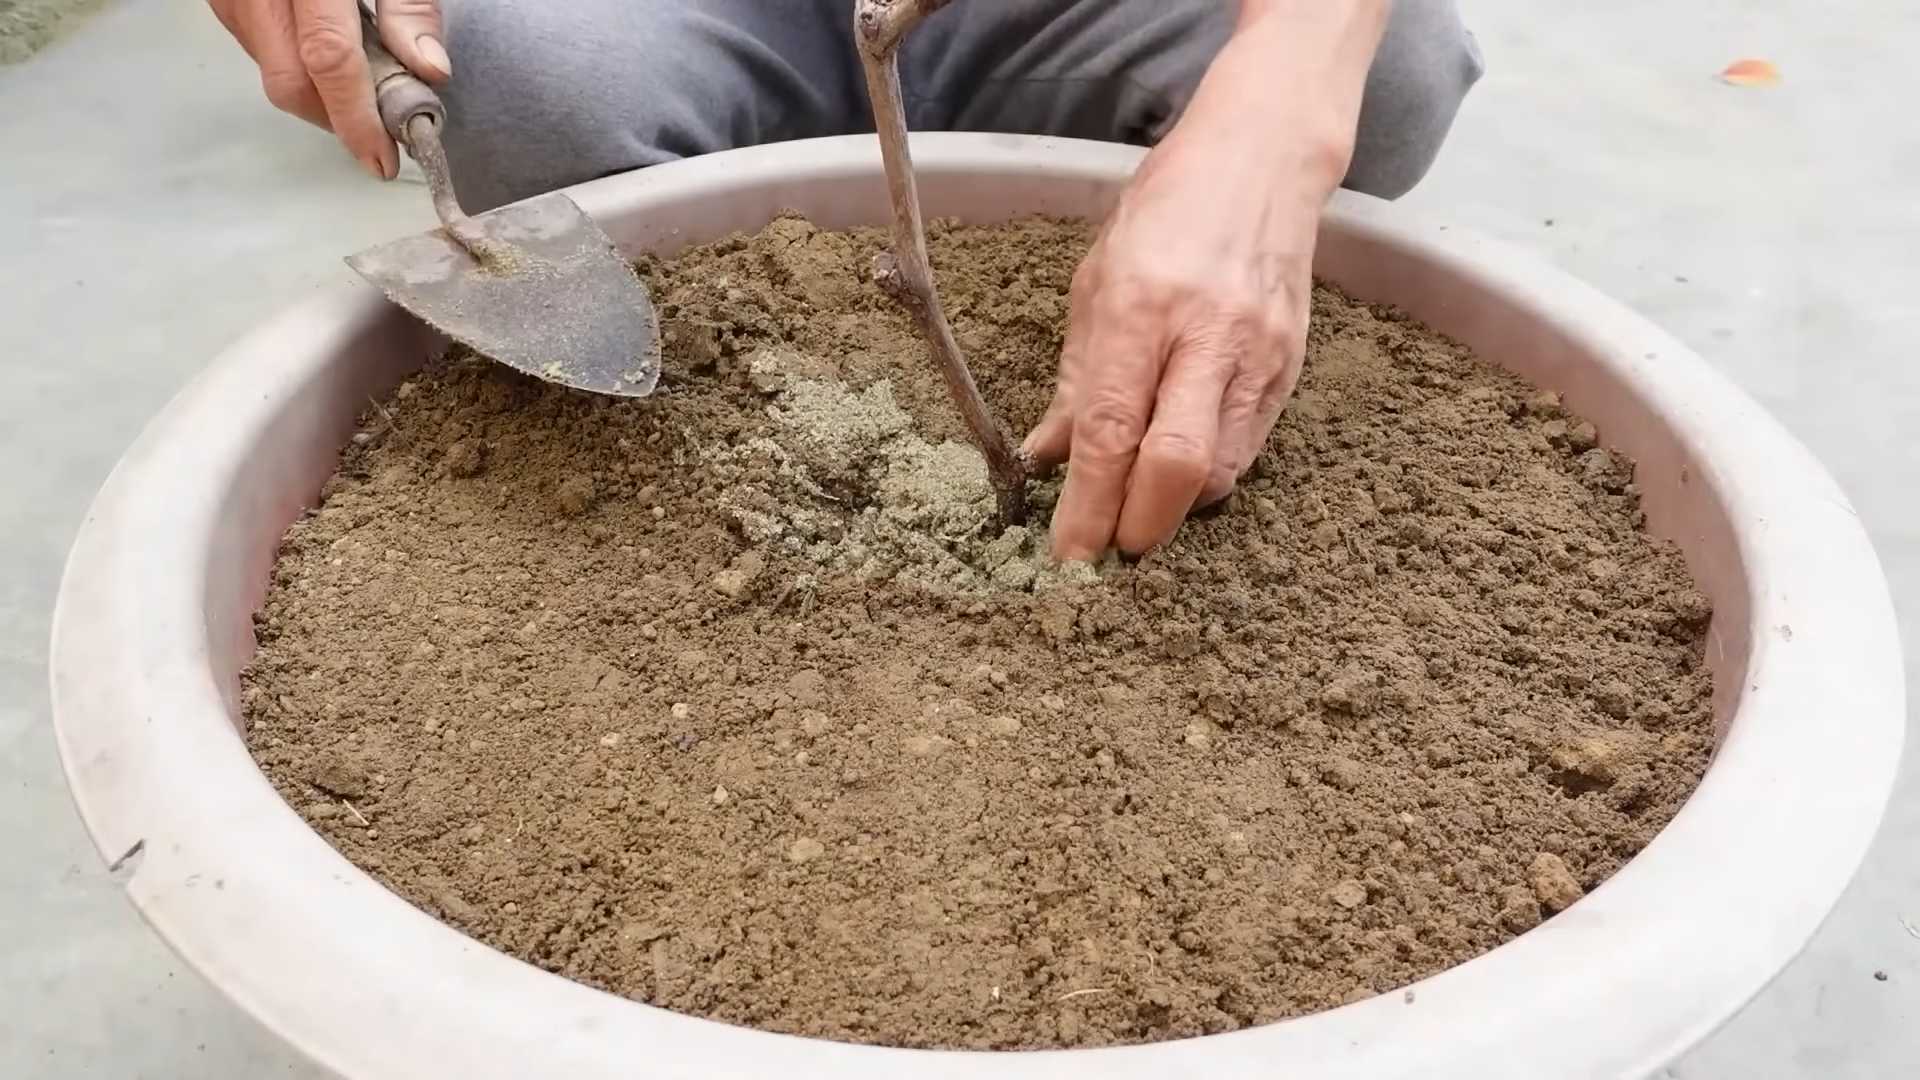
2. Amend the Soil (Optional): If your soil is poor, mix some compost or well-rotted manure into the soil you removed from the hole.
3. Remove the Grapevine from its Container: Gently remove the grapevine from its container, being careful not to damage the roots. If the roots are circling the pot, gently loosen them.
4. Position the Grapevine: Place the grapevine in the hole, ensuring the top of the root ball is level with the surrounding soil.
5. Backfill and Tamp: Backfill the hole with the amended soil, gently tamping it down as you go.
6. Water Thoroughly: Water the newly planted grapevine deeply. This helps settle the soil and encourages root growth.
7. Mulch: Apply a 2-3 inch layer of organic mulch around the base of the grapevine, keeping the mulch a few inches away from the trunk. This helps retain moisture, suppress weeds, and regulate soil temperature.
Training and Pruning Your Grapevines
Training and pruning are essential for shaping your grapevines and maximizing fruit production.
* Training: Training involves guiding the growth of the grapevine along the trellis. The goal is to establish a strong trunk and cordon (horizontal arms) that will support the fruiting canes.
* Pruning: Pruning involves removing unwanted growth to improve air circulation, sunlight penetration, and fruit quality. Pruning is typically done in late winter or early spring, before the buds begin to swell.
Year 1: Establishing the Trunk
1. Select a Shoot: In the first year, select the strongest, most upright shoot and tie it loosely to a stake or the trellis wire. This will become the main trunk.
2. Remove Other Shoots: Remove all other shoots that emerge from the base of the grapevine.
3. Encourage Vertical Growth: As the selected shoot grows, continue to tie it to the stake or trellis wire, encouraging it to grow vertically.
4. Pinch Back the Tip: Once the shoot reaches the first wire of the trellis, pinch back the tip to encourage lateral growth.
Hey there, fellow gardening enthusiasts! I’m so excited to share my experience building a DIY grape growing system. Growing your own grapes can seem intimidating, but trust me, with a little planning and elbow grease, you can enjoy delicious, homegrown grapes right in your backyard. This guide will walk you through every step, from choosing the right location to building a sturdy trellis system. Let’s get started!
Choosing the Right Grape Variety and Location
Before we even think about building anything, we need to consider what kind of grapes you want to grow and where they’ll thrive.
* Grape Variety: Research different grape varieties suitable for your climate. Consider factors like disease resistance, ripening time, and intended use (table grapes, wine grapes, juice grapes). Some popular and relatively easy-to-grow varieties include Concord, Thompson Seedless, and Niagara. I personally went with a disease-resistant Concord variety for my first attempt.
* Sunlight: Grapes need at least 6-8 hours of direct sunlight per day. Choose a location that gets plenty of sun throughout the growing season.
* Soil: Grapes prefer well-drained soil with a slightly acidic to neutral pH (around 6.0-7.0). Conduct a soil test to determine your soil’s pH and nutrient levels. Amend the soil with compost or other organic matter to improve drainage and fertility.
* Space: Grapevines need plenty of space to grow. Allow at least 8-10 feet between vines and 10-12 feet between rows. Consider the mature size of your chosen variety when planning your layout.
* Air Circulation: Good air circulation helps prevent fungal diseases. Avoid planting grapes in low-lying areas or areas with poor air flow.
Building a Sturdy Trellis System
A strong trellis is essential for supporting your grapevines as they grow. There are several trellis designs you can choose from, but I’ll show you how to build a simple and effective two-wire trellis.
* Materials You’ll Need:
* Treated wooden posts (4×4 or 6×6, depending on the size of your vines) – I used 8-foot posts.
* High-tensile wire (12.5 gauge is a good choice)
* Wire tensioners (also called wire strainers)
* Wire clips or staples
* Concrete mix (optional, for setting posts)
* Post hole digger or shovel
* Level
* Wire cutters
* Hammer or staple gun
* Safety glasses
* Gloves
Step-by-Step Trellis Construction
1. Mark Post Locations: Determine the spacing between your posts. I recommend spacing them 15-20 feet apart for optimal support. Mark the locations for your posts using stakes or flags.
2. Dig Post Holes: Dig post holes that are at least 2-3 feet deep. The deeper the holes, the more stable your trellis will be. Use a post hole digger or shovel to create the holes.
3. Set the Posts: Place the posts in the holes and ensure they are plumb (perfectly vertical) using a level. If desired, you can set the posts in concrete for added stability. Mix the concrete according to the manufacturer’s instructions and pour it into the holes around the posts. Allow the concrete to cure completely before proceeding. If you’re not using concrete, backfill the holes with soil and tamp it down firmly around the posts.
4. Install the Wires: Once the posts are securely in place, it’s time to install the wires. The first wire should be about 3-4 feet above the ground, and the second wire should be about 2-3 feet above the first wire.
5. Attach Wire Tensioners: Attach wire tensioners to one end post for each wire. These tensioners will allow you to tighten the wires as needed. Follow the manufacturer’s instructions for attaching the tensioners.
6. Thread the Wire: Thread the wire through the tensioners and along the length of the trellis. Secure the wire to the other end post using wire clips or staples.
7. Tighten the Wires: Use the wire tensioners to tighten the wires until they are taut. Be careful not to overtighten the wires, as this could damage the posts. The wires should be tight enough to provide adequate support for the grapevines.
8. Secure the Wires: Use wire clips or staples to secure the wires to the posts at regular intervals. This will prevent the wires from sagging or shifting.
Planting Your Grapevines
Now that your trellis is built, it’s time to plant your grapevines!
* Timing: The best time to plant grapevines is in early spring or late fall, when the plants are dormant.
* Preparation: Before planting, soak the roots of the grapevines in water for a few hours. This will help rehydrate the roots and give the plants a good start.
* Planting Depth: Dig a hole that is large enough to accommodate the root ball of the grapevine. Plant the grapevine at the same depth it was growing in the nursery container.
* Spacing: Space the grapevines according to the recommended spacing for your chosen variety.
* Backfilling: Backfill the hole with soil and gently tamp it down around the grapevine.
* Watering: Water the grapevine thoroughly after planting.
* Mulching: Apply a layer of mulch around the base of the grapevine to help retain moisture and suppress weeds.
Step-by-Step Planting Guide
1. Dig the Hole: Dig a hole twice as wide as the root ball and just as deep. This gives the roots room to spread.
2. Amend the Soil (Optional): If your soil is poor, mix some compost or well-rotted manure into the soil you removed from the hole.
3. Remove the Grapevine from its Container: Gently remove the grapevine from its container, being careful not to damage the roots. If the roots are circling the pot, gently loosen them.
4. Position the Grapevine: Place the grapevine in the hole, ensuring the top of the root ball is level with the surrounding soil.
5. Backfill and Tamp: Backfill the hole with the amended soil, gently tamping it down as you go.
6. Water Thoroughly: Water the newly planted grapevine deeply. This helps settle the soil and encourages root growth.
7. Mulch: Apply a 2-3 inch layer of organic mulch around the base of the grapevine, keeping the mulch a few inches away from the trunk. This helps retain moisture, suppress weeds, and regulate soil temperature.
Training and Pruning Your Grapevines
Training and pruning are essential for shaping your grapevines and maximizing fruit production.
* Training: Training involves guiding the growth of the grapevine along the trellis. The goal is to establish a strong trunk and cordon (horizontal arms) that will support the fruiting canes.
* Pruning: Pruning involves removing unwanted growth to improve air circulation, sunlight penetration, and fruit quality. Pruning is typically done in late winter or early spring, before the buds begin to swell.
Year 1: Establishing the Trunk
1. Select a Shoot: In the first year, select the strongest, most upright shoot and tie it loosely to a stake or the trellis wire. This will become the main trunk.
2. Remove Other Shoots: Remove all other shoots that emerge from the base of the grapevine.
3. Encourage Vertical Growth: As the selected shoot grows, continue to tie it to the stake or trellis wire, encouraging it to grow vertically.
4. Pinch Back the Tip: Once the shoot reaches the first wire of the trellis, pinch back the tip to encourage lateral growth.
Year 2: Developing the Cordons
1. Select Two Shoots: In the second year, select two strong shoots that emerge from the trunk near the first wire. These will become the cordons.
2. Train the Cordons: Train the cordons horizontally along the first wire, one in each direction. Tie them loosely to the wire.
3. Remove Other Shoots: Remove any other shoots that emerge from the trunk or cordons.
4. Pinch Back the Tips: Once the cordons reach the desired length (about half the distance between the posts), pinch back the tips to encourage lateral growth.
Year 3 and Beyond: Fruiting and Maintenance Pruning
1. Select Fruiting Canes: In subsequent years, select fruiting canes (one-year-old shoots) that emerge from the cordons. These canes will produce the grapes.
2. Prune Fruiting Canes: Prune the fruiting canes to the desired length, leaving 6-
Conclusion
So, there you have it! Creating your own DIY grape growing system isn’t just a fun project; it’s a gateway to enjoying the freshest, most delicious grapes imaginable, right from your own backyard. We’ve walked you through the process, highlighting the key steps and considerations to ensure your success. But why is this DIY approach a must-try?
Firstly, it offers unparalleled control over the growing environment. You dictate the soil composition, watering schedule, and pest control methods, ensuring your grapes are cultivated organically and sustainably, if you choose. This level of control translates to superior flavor and quality compared to store-bought grapes, which often travel long distances and may be treated with chemicals.
Secondly, a DIY grape growing system is incredibly cost-effective in the long run. While there’s an initial investment in materials, you’ll quickly recoup those costs by harvesting your own grapes year after year. Think of all the delicious grape juice, homemade wine, jams, and fresh snacks you can create! Plus, you’ll be reducing your reliance on grocery stores and supporting a more sustainable lifestyle.
Thirdly, it’s a fantastic learning experience. Gardening, in general, is incredibly therapeutic and rewarding. Growing grapes specifically allows you to connect with nature, understand the intricacies of plant life, and develop valuable skills that you can apply to other gardening endeavors. It’s a project that the whole family can enjoy, fostering a sense of accomplishment and appreciation for the food we eat.
But the benefits don’t stop there. Consider the variations you can explore! Perhaps you want to experiment with different grape varieties, each offering unique flavors and characteristics. Maybe you’ll want to build a more elaborate trellis system to accommodate a larger yield. Or perhaps you’ll want to integrate companion planting to naturally deter pests and enhance the growth of your grapes. The possibilities are endless!
For example, if you live in a colder climate, you might consider building a small greenhouse around your DIY grape growing system to extend the growing season. Or, if you have limited space, you could explore vertical gardening techniques to maximize your yield in a small area. You could even incorporate a rainwater harvesting system to further reduce your environmental impact.
Don’t be afraid to get creative and tailor your DIY grape growing system to your specific needs and preferences. The most important thing is to start!
We’re confident that you’ll find this project to be both enjoyable and rewarding. So, gather your materials, follow our guide, and get ready to experience the joy of harvesting your own delicious grapes.
We encourage you to try this DIY grape growing system and share your experiences with us! Post photos of your setup, share your tips and tricks, and let us know what grape varieties you’re growing. We’re eager to see your creations and learn from your experiences. Let’s build a community of grape-growing enthusiasts!
Frequently Asked Questions (FAQ)
What are the best grape varieties to grow for beginners?
For beginners, some of the easiest and most rewarding grape varieties to grow include Concord, Niagara, and Thompson Seedless. These varieties are known for their hardiness, disease resistance, and delicious flavor. Concord grapes are great for juice and jelly, Niagara grapes are sweet and aromatic, and Thompson Seedless grapes are perfect for snacking. Consider your local climate and soil conditions when selecting a variety. Your local agricultural extension office can provide valuable advice on the best grape varieties for your region.
How much space do I need for a DIY grape growing system?
The amount of space you need depends on the grape variety and the trellis system you choose. Generally, grapevines need at least 8-10 feet of space between each plant. A single grapevine can easily spread 10-15 feet wide, so plan accordingly. If you’re using a traditional trellis system, you’ll need enough space to accommodate the trellis and allow for easy access for pruning and harvesting. Vertical gardening techniques can help maximize space in smaller areas. Consider the mature size of the grape variety you choose when planning your layout.
What kind of soil is best for growing grapes?
Grapes prefer well-drained soil with a slightly acidic to neutral pH (between 6.0 and 7.0). The soil should be rich in organic matter and nutrients. Before planting, it’s a good idea to test your soil to determine its pH and nutrient levels. Amend the soil with compost, manure, or other organic matter to improve its drainage and fertility. Avoid heavy clay soils, as they can retain too much water and lead to root rot. Proper soil preparation is crucial for the success of your DIY grape growing system.
How often should I water my grapevines?
Watering frequency depends on the climate, soil type, and age of the grapevine. Young grapevines need more frequent watering than established vines. In general, water deeply and infrequently, allowing the soil to dry out slightly between waterings. During hot, dry periods, you may need to water more frequently. Avoid overwatering, as this can lead to root rot. A good rule of thumb is to water when the top inch of soil feels dry to the touch. Mulching around the base of the grapevine can help retain moisture and reduce the need for frequent watering.
How do I prune my grapevines?
Pruning is essential for maintaining the health and productivity of your grapevines. The best time to prune is during the dormant season, typically in late winter or early spring before new growth begins. Pruning helps to remove dead or diseased wood, improve air circulation, and encourage fruit production. There are different pruning methods depending on the grape variety and the trellis system you use. Research the specific pruning requirements for your chosen grape variety. Don’t be afraid to prune aggressively, as this will encourage new growth and better fruit production.
How do I protect my grapes from pests and diseases?
Grapes are susceptible to various pests and diseases, including aphids, Japanese beetles, powdery mildew, and black rot. Regular monitoring of your grapevines is crucial for early detection and prevention. Use organic pest control methods whenever possible, such as insecticidal soap, neem oil, and beneficial insects. Ensure good air circulation around your grapevines by pruning properly. Choose disease-resistant grape varieties. Consider using netting to protect your grapes from birds and other animals. A proactive approach to pest and disease management will help ensure a healthy and productive DIY grape growing system.
Can I grow grapes in containers?
Yes, you can grow grapes in containers, but it requires careful planning and attention. Choose a large container with good drainage. Select a grape variety that is well-suited for container growing, such as dwarf or compact varieties. Use a high-quality potting mix that is well-draining and rich in organic matter. Water regularly and fertilize as needed. Provide adequate support for the grapevine with a trellis or stake. Container-grown grapes may require more frequent watering and fertilization than grapes grown in the ground.
How long does it take for grapevines to produce fruit?
Grapevines typically take 2-3 years to produce a significant crop of fruit. The first year is focused on establishing the root system and vine structure. The second year, you may see some fruit, but the yield will be limited. By the third year, you should have a more substantial harvest. Proper care and pruning are essential for maximizing fruit production. Be patient and persistent, and you’ll be rewarded with delicious grapes from your DIY grape growing system.
Leave a Comment