

Coke and salt experiment: Ever stumbled upon a gardening problem that felt utterly unsolvable? I know I have! We’ve all been there, battling stubborn weeds, nutrient-deficient soil, or pesky pests that seem immune to everything. But what if I told you that the solution to some of your most frustrating garden woes might be lurking in your pantry?
For generations, gardeners have passed down unconventional wisdom, often relying on readily available household items to nurture their green spaces. Think of it as a form of folk wisdom, a testament to human ingenuity and our deep connection to the earth. While some of these tricks might sound a little “out there,” they often stem from a basic understanding of chemistry and plant biology.
That’s where the coke and salt experiment comes in! You might be skeptical, and that’s perfectly fine. But before you dismiss it entirely, consider the potential benefits. This DIY hack promises to tackle common gardening issues in a cost-effective and surprisingly simple way. In this article, I’ll guide you through the process, explain the science (or lack thereof) behind it, and help you decide if this experiment is right for your garden. Let’s dive in and see if this unusual combination can truly work wonders!
DIY Rust Removal with Coke and Salt: A Surprisingly Effective Hack!
Hey everyone! I’m always on the lookout for budget-friendly ways to tackle common household problems, and rust is definitely one of those! I recently stumbled upon a trick using just two ingredients you probably already have: Coke and salt. I was skeptical at first, but I gave it a try, and I was genuinely impressed with the results. So, I’m sharing my experience with you, complete with a step-by-step guide. Let’s get that rust gone!
What You’ll Need
Before we dive in, let’s gather our supplies. This is a pretty simple project, so the list is short and sweet:
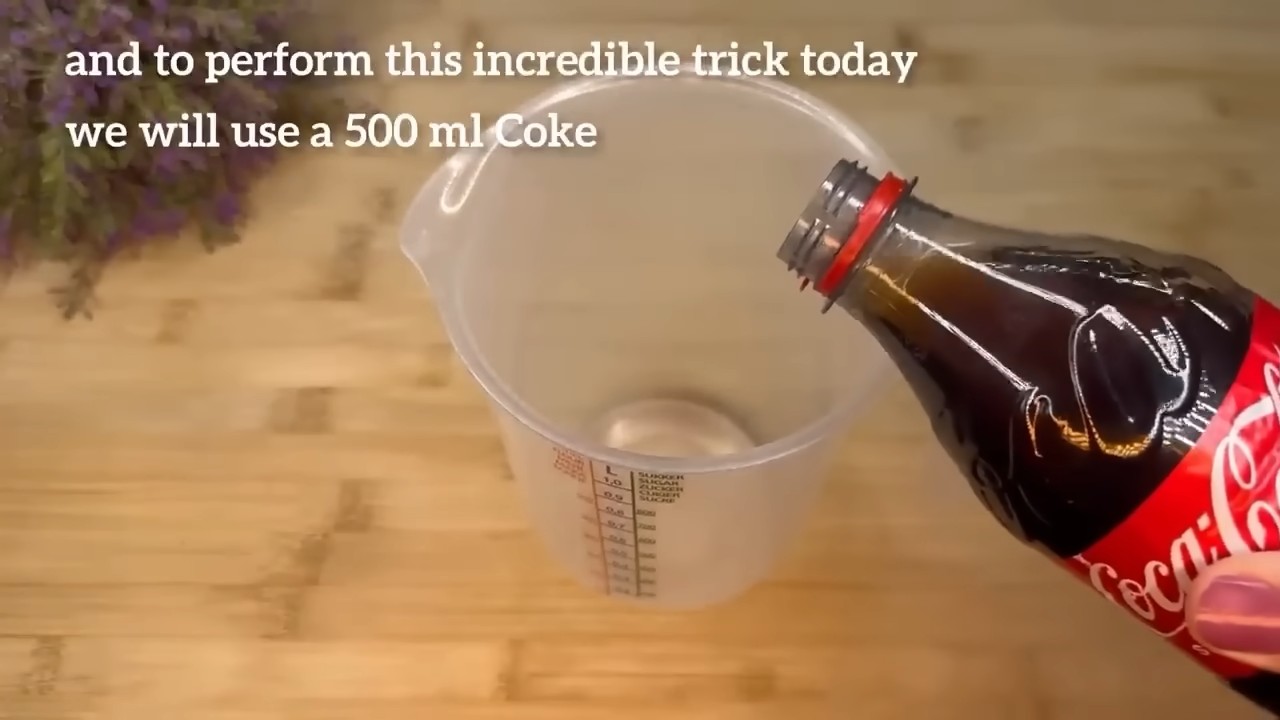
* Coke (Regular, not Diet): The phosphoric acid in Coke is the key ingredient here.
* Table Salt: Acts as a mild abrasive to help scrub away the rust.
* A Container (if soaking): A bowl, bucket, or even a plastic bag, depending on the size of the rusty item.
* Scrub Brush or Sponge: Something with a little texture to help lift the rust. An old toothbrush works great for small, intricate areas.
* Gloves (Optional but Recommended): To protect your hands from the Coke and rust.
* Safety Glasses (Recommended): Especially if you’re dealing with loose rust particles.
* Clean Water: For rinsing.
* Clean Cloth or Towel: For drying.
* Optional: Aluminum Foil: For scrubbing stubborn spots.
* Optional: Wire Brush: For heavily rusted items.
Understanding the Science (A Little Bit!)
Okay, I’m no chemist, but here’s the gist of why this works. Coke contains phosphoric acid, which reacts with iron oxide (rust). This reaction helps to dissolve the rust, making it easier to remove. The salt acts as a mild abrasive, helping to physically scrub away the loosened rust particles. It’s a simple but effective combination!
Step-by-Step Guide to Rust Removal
Here’s the process I followed, broken down into easy-to-understand steps. Remember to always test in an inconspicuous area first, especially on delicate or painted surfaces.
1. Prepare the Rusty Item:
* First, give the rusty item a good once-over. Remove any loose debris, dirt, or flaking rust with a wire brush or a stiff brush. This will help the Coke and salt solution penetrate the rust more effectively.
* If the item is greasy or oily, clean it with a degreaser first. This will ensure the Coke and salt can properly react with the rust.
2. Choose Your Method: Soaking or Direct Application
* You have two main options for applying the Coke and salt: soaking the item or applying the mixture directly. The best method depends on the size and shape of the rusty item.
* Soaking: This is ideal for smaller items that can be fully submerged.
* Direct Application: This is better for larger items or areas that can’t be easily soaked.
3. Mixing the Coke and Salt:
* This isn’t an exact science, but I found that a good ratio is about 1/4 cup of salt per 12 ounces of Coke.
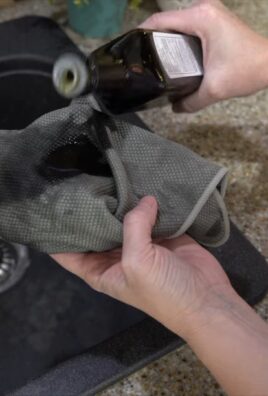
* Pour the Coke into your container (if soaking) or directly onto the rusty area (if applying directly).
* Add the salt to the Coke. You’ll notice some fizzing – that’s normal!
* Stir the mixture gently to dissolve the salt as much as possible. It doesn’t have to dissolve completely.
4. Soaking the Item (If Applicable):
* Submerge the rusty item completely in the Coke and salt solution.
* Make sure all the rusted areas are covered.
* Let it soak for at least 30 minutes. For heavily rusted items, you might need to soak them for several hours, or even overnight. I’ve found that patience is key here!
5. Direct Application (If Applicable):
* Pour the Coke and salt mixture directly onto the rusty area.
* Use a scrub brush or sponge to work the mixture into the rust.
* Apply a generous amount and let it sit for at least 30 minutes. Again, for heavier rust, you’ll need to let it sit longer.
* To prevent the Coke from drying out too quickly, you can cover the area with plastic wrap. This will help keep it moist and allow the solution to work its magic.
6. Scrubbing Away the Rust:
* After soaking or letting the mixture sit, it’s time to scrub!
* Use your scrub brush, sponge, or old toothbrush to scrub the rusted areas.
* Apply firm, even pressure. You should see the rust starting to loosen and come off.
* For stubborn spots, try using aluminum foil. Crumple a piece of aluminum foil into a ball and use it to scrub the rust. The aluminum is abrasive enough to remove the rust without scratching the underlying metal.
* If you’re dealing with heavily rusted items, you might need to use a wire brush for the initial scrubbing. Be careful not to scratch the metal too much.
7. Rinsing and Drying:
* Once you’ve scrubbed away as much rust as possible, rinse the item thoroughly with clean water.
* Make sure to remove all traces of the Coke and salt solution.
* Dry the item completely with a clean cloth or towel.
* Don’t let it air dry, as this can cause new rust to form.
8. Inspecting and Repeating (If Necessary):
* Inspect the item to see if you’ve removed all the rust.
* If there are still some stubborn spots, repeat the process. You might need to soak or apply the Coke and salt mixture again and scrub a little harder.
* Sometimes, it takes a few tries to completely remove all the rust.
9. Protecting the Metal:
* After removing the rust, it’s important to protect the metal from future corrosion.
* You can apply a rust inhibitor, paint, or sealant to the metal surface.
* This will help prevent the rust from coming back.
* For tools, I like to apply a light coat of oil to prevent rust.
Tips and Tricks for Best Results
* Warm Coke Works Better: I’ve found that slightly warming the Coke (not boiling!) can help it work even better. The heat helps to speed up the chemical reaction.
* Patience is Key: Don’t expect instant results. Rust removal takes time and effort. Be patient and persistent, and you’ll eventually see results.
* Ventilation is Important: Work in a well-ventilated area, especially if you’re using a wire brush or other abrasive tools.
* Don’t Use on Certain Metals: Avoid using this method on aluminum, as the Coke can damage it.
* Dispose of the Coke Properly: Don’t pour the used Coke down the drain. It can be harmful to the environment. Dispose of it properly according to your local regulations.
* Consider the Finish: Be mindful of the original finish of the item. This method can sometimes dull or remove the finish, so test in an inconspicuous area first.
* For Chrome: This method can work on chrome, but be extra careful not to scratch the surface. Use a soft cloth and gentle pressure.
* Heavily Rusted Items: For extremely rusty items, you might need to combine this method with other rust removal techniques, such as using a commercial rust remover or electrolysis.
Troubleshooting
* Rust Isn’t Coming Off: If the rust isn’t coming off easily, try soaking the item for a longer period of time. You can also try using a stronger abrasive, such as a wire brush.
* Metal is Discolored: If the metal is discolored after using this method, try polishing it with a metal polish.
* New Rust is Forming: If new rust is forming, make sure you’re drying the item completely after rinsing. You should also apply a rust inhibitor or sealant to protect the metal.
Alternative Uses for Coke and Salt
Besides rust removal, Coke and salt can also be used for other cleaning tasks:
* Cleaning Battery Terminals: The Coke can help to dissolve corrosion on battery terminals.
* Loosening Rusted Bolts: Pour Coke on rusted bolts to help loosen them.
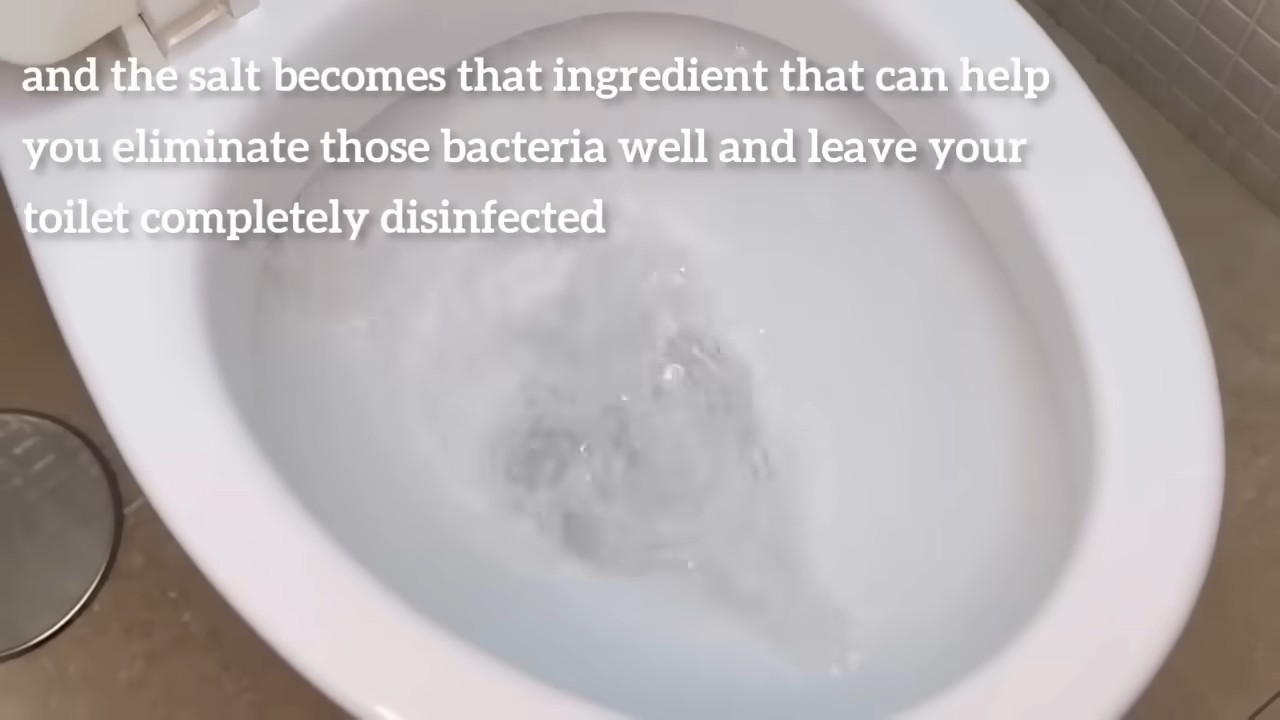
* Cleaning Toilets: Pour Coke into the toilet bowl and let it sit for a few hours to help remove stains.
Final Thoughts
I was genuinely surprised at how well this Coke and salt trick worked for removing rust. It’s a cheap, easy, and relatively safe alternative to harsh chemical rust removers. While it might not be
Conclusion
So, there you have it! The seemingly simple, yet surprisingly effective, Coke and salt experiment. It’s more than just a fun science trick; it’s a testament to the power of understanding basic chemical reactions and applying them in unexpected ways. This DIY cleaning hack is a game-changer for anyone looking to tackle stubborn rust, grime, or even just add a little sparkle back to their tarnished treasures.
Why is this a must-try? Because it’s inexpensive, readily accessible, and remarkably effective. You likely already have the ingredients in your pantry! Forget about harsh chemicals and expensive cleaning solutions. This method offers a gentler, more environmentally friendly alternative that delivers impressive results. The fizzing action of the Coke, combined with the abrasive properties of the salt, work together to lift away dirt and corrosion without damaging the underlying surface.
But the beauty of this experiment lies in its adaptability. Feel free to experiment with variations to suit your specific needs. For instance, if you’re dealing with particularly stubborn rust, try letting the Coke and salt mixture sit for a longer period, perhaps even overnight. You could also add a squeeze of lemon juice for an extra boost of cleaning power, thanks to its natural acidity. For delicate items, consider using a softer brush or cloth to avoid scratching. Remember to always test a small, inconspicuous area first to ensure compatibility.
Beyond cleaning, the Coke and salt reaction can also be used for other interesting applications. Some have found it effective in loosening corroded bolts or screws, making them easier to remove. Others have used it to clean battery terminals in their cars, restoring optimal performance. The possibilities are truly endless!
We strongly encourage you to give this DIY trick a try. It’s a fun, educational, and practical way to put your knowledge of chemistry to work. Whether you’re cleaning rusty tools, polishing silverware, or simply looking for a unique science experiment to try with your kids, the Coke and salt experiment is sure to impress.
Don’t just take our word for it! We’re eager to hear about your experiences. Share your results, variations, and any other creative uses you discover in the comments below. Let’s build a community of DIY enthusiasts who are passionate about finding innovative and effective solutions to everyday problems. Your insights could help others discover new and exciting applications for this simple yet powerful technique. Let us know what you think about the Coke and salt experiment!
Frequently Asked Questions (FAQ)
What exactly happens when you mix Coke and salt?
The magic lies in the chemical reaction. Coke contains phosphoric acid, a mild acid that helps to dissolve rust and other mineral deposits. Salt, on the other hand, acts as an abrasive, helping to scrub away the loosened debris. When combined, the fizzing action of the Coke helps to lift the dirt and grime, while the salt provides the necessary scrubbing power to remove it completely. The carbonation in the Coke also plays a role in dislodging particles.
Is the Coke and salt mixture safe to use on all surfaces?
While generally safe, it’s always best to exercise caution and test the mixture on a small, inconspicuous area first. Some delicate materials, such as certain types of paint or polished metals, may be susceptible to scratching or discoloration. Avoid using it on surfaces that are known to be sensitive to acids or abrasives. For example, you might want to avoid using it on certain types of natural stone, like marble, as the acid could etch the surface.
How long should I let the Coke and salt mixture sit on the surface I’m cleaning?
The ideal soaking time depends on the severity of the rust or grime. For light cleaning, a few minutes may suffice. For more stubborn stains, you may need to let it sit for several hours, or even overnight. Keep an eye on the surface and check periodically to ensure that the mixture isn’t causing any damage. If you’re unsure, start with a shorter soaking time and gradually increase it as needed.
What kind of salt should I use?
Ordinary table salt works perfectly well for this experiment. However, you can also experiment with other types of salt, such as sea salt or kosher salt. The key is to choose a salt with a relatively fine grain to avoid scratching delicate surfaces. Coarse salt may be too abrasive for some applications.
Can I use diet Coke instead of regular Coke?
While diet Coke may still have some cleaning properties due to its acidity, regular Coke is generally more effective because of its higher sugar content. The sugar helps to create a stickier mixture that adheres better to the surface being cleaned, allowing the acid and salt to work more effectively. However, if you’re concerned about the sugar content, you can certainly try using diet Coke and see if it works for your specific needs.
What other variations can I try with the Coke and salt experiment?
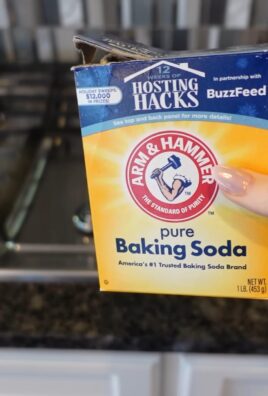
As mentioned earlier, adding a squeeze of lemon juice can boost the cleaning power. You can also try adding a small amount of baking soda to create a more alkaline solution, which can be effective for removing certain types of stains. Some people have also found success by heating the Coke and salt mixture before applying it to the surface. However, be careful when heating liquids, and always use appropriate safety precautions.
How do I dispose of the Coke and salt mixture after I’m done cleaning?
The Coke and salt mixture can be safely disposed of down the drain. However, if you’ve used any additional ingredients, such as lemon juice or baking soda, you may want to check with your local waste disposal guidelines to ensure proper disposal.
Is this method effective for removing rust from car parts?
Yes, the Coke and salt experiment can be quite effective for removing rust from car parts, especially smaller components like bolts, screws, and brackets. However, for larger, more heavily rusted parts, you may need to use a more aggressive method, such as a wire brush or a rust remover specifically designed for automotive applications. Always be careful when working on your car, and follow all safety precautions.
Can I use this method to clean jewelry?
While the Coke and salt experiment can be used to clean some types of jewelry, it’s important to be very careful and avoid using it on delicate or porous stones. The acid in the Coke could potentially damage certain gemstones or cause discoloration. It’s always best to consult with a professional jeweler before using any cleaning method on your valuable jewelry.
What safety precautions should I take when performing the Coke and salt experiment?
While the Coke and salt mixture is generally safe, it’s always a good idea to wear gloves to protect your hands from irritation. Avoid getting the mixture in your eyes, and if you do, rinse them thoroughly with water. If you’re working in a poorly ventilated area, consider wearing a mask to avoid inhaling any fumes. And as always, keep the mixture out of reach of children and pets.
Leave a Comment