

Clean Your Refrigerator Quickly – sounds like a dream, right? I know, tackling that appliance can feel like climbing Mount Everest! But trust me, it doesn’t have to be a dreaded chore. We’ve all been there, staring into the abyss of forgotten leftovers and questionable spills, wondering where to even begin.
Refrigerators, in their modern form, have only been around for a little over a century, but the desire to preserve food is as old as civilization itself. From ice houses to root cellars, humans have always sought ways to keep food fresh. Now, we have the luxury of temperature-controlled boxes, but keeping them clean? That’s still on us!
Let’s face it, a clean refrigerator isn’t just about aesthetics. It’s about food safety, preventing cross-contamination, and extending the life of your groceries. Plus, who wants to reach for a healthy snack only to be greeted by a funky odor? This DIY guide will provide you with simple, effective tricks to clean your refrigerator quickly and efficiently, saving you time and hassle. I’ll show you how to banish those lingering smells, conquer sticky shelves, and create a system that keeps your fridge sparkling clean for longer. Get ready to transform your refrigerator from a source of stress to a source of pride!
DIY: The Ultimate Refrigerator Refresh (Fast!)
Okay, let’s be honest. Cleaning the fridge is nobody’s favorite chore. But a clean fridge is a happy fridge (and a healthier one!), and I’m going to show you how to tackle this task quickly and efficiently. We’re talking a sparkling, organized refrigerator in under an hour! Ready? Let’s dive in!
What You’ll Need: The Prep List
Before we even think about pulling out a single shelf, let’s gather our supplies. Having everything at hand will make the whole process so much smoother. Trust me on this one!
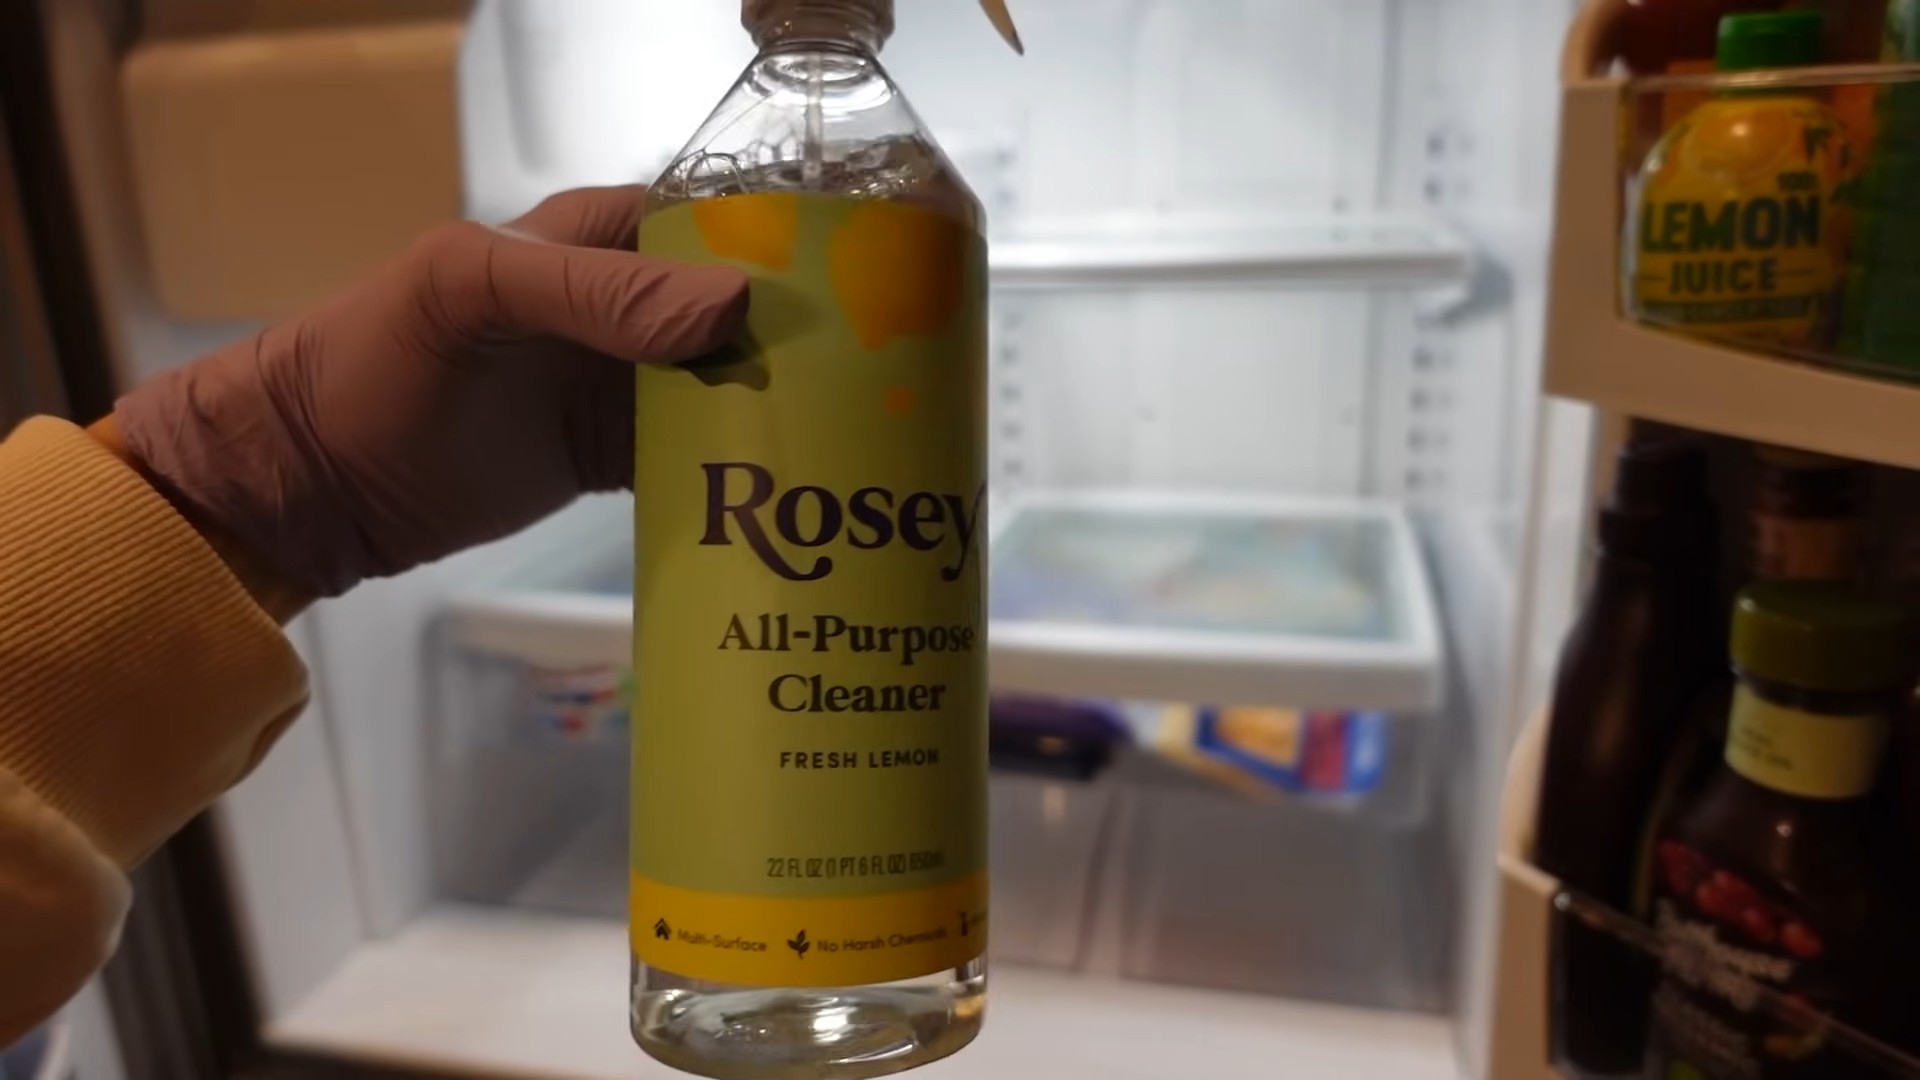
* Cleaning Solution: I personally love a simple mix of warm water and a little bit of dish soap. It’s effective and safe for food surfaces. You can also use a solution of equal parts water and white vinegar for a natural cleaning option. Avoid harsh chemicals or abrasive cleaners!
* Microfiber Cloths: These are my go-to for cleaning everything! They’re super absorbent and won’t leave streaks. Grab a few, because you’ll be using them a lot.
* Warm Water: For rinsing and wiping down surfaces.
* Trash Bags: For tossing out expired food and packaging.
* Cooler or Insulated Bag: To keep perishable items cold while you’re cleaning.
* Baking Soda (Optional): For absorbing odors.
* Old Toothbrush (Optional): For scrubbing those hard-to-reach corners.
* Paper Towels (Optional): For quick cleanups.
* Dish Soap: For washing removable shelves and drawers.
* Sink or Large Basin: To wash the shelves and drawers.
Phase 1: The Great Purge (Decluttering Time!)
This is where we get rid of all the old, forgotten, and questionable items lurking in the depths of your refrigerator. Be ruthless!
1. Unplug the Refrigerator (Optional but Recommended): This is a safety precaution, especially if you’re going to be working with water near electrical components. Plus, it saves energy! If you choose not to unplug, just be extra careful.
2. Empty the Refrigerator: Take everything out! Yes, everything. Place perishable items in your cooler or insulated bag with ice packs to keep them cold. Group similar items together on your countertop so you can easily see what you have.
3. Toss Expired Items: This is the most important step! Check expiration dates on everything. If it’s past its prime, toss it! Don’t be tempted to keep it “just in case.” Be honest with yourself – if you haven’t used it, you probably won’t.
4. Discard Questionable Items: Anything that looks or smells off? Toss it! It’s better to be safe than sorry. Moldy cheese, wilted vegetables, anything with an unidentifiable odor – into the trash it goes!
5. Consolidate: Combine similar items to save space. For example, if you have two half-empty jars of pickles, combine them into one. This will free up valuable shelf space.
6. Take Inventory: As you’re emptying the fridge, take a mental note of what you have. This will help you avoid buying duplicates on your next grocery trip.
Phase 2: Scrub-a-Dub-Dub (Cleaning the Interior)
Now for the fun part (okay, maybe not fun, but definitely satisfying!). We’re going to give the inside of your fridge a good scrub-down.
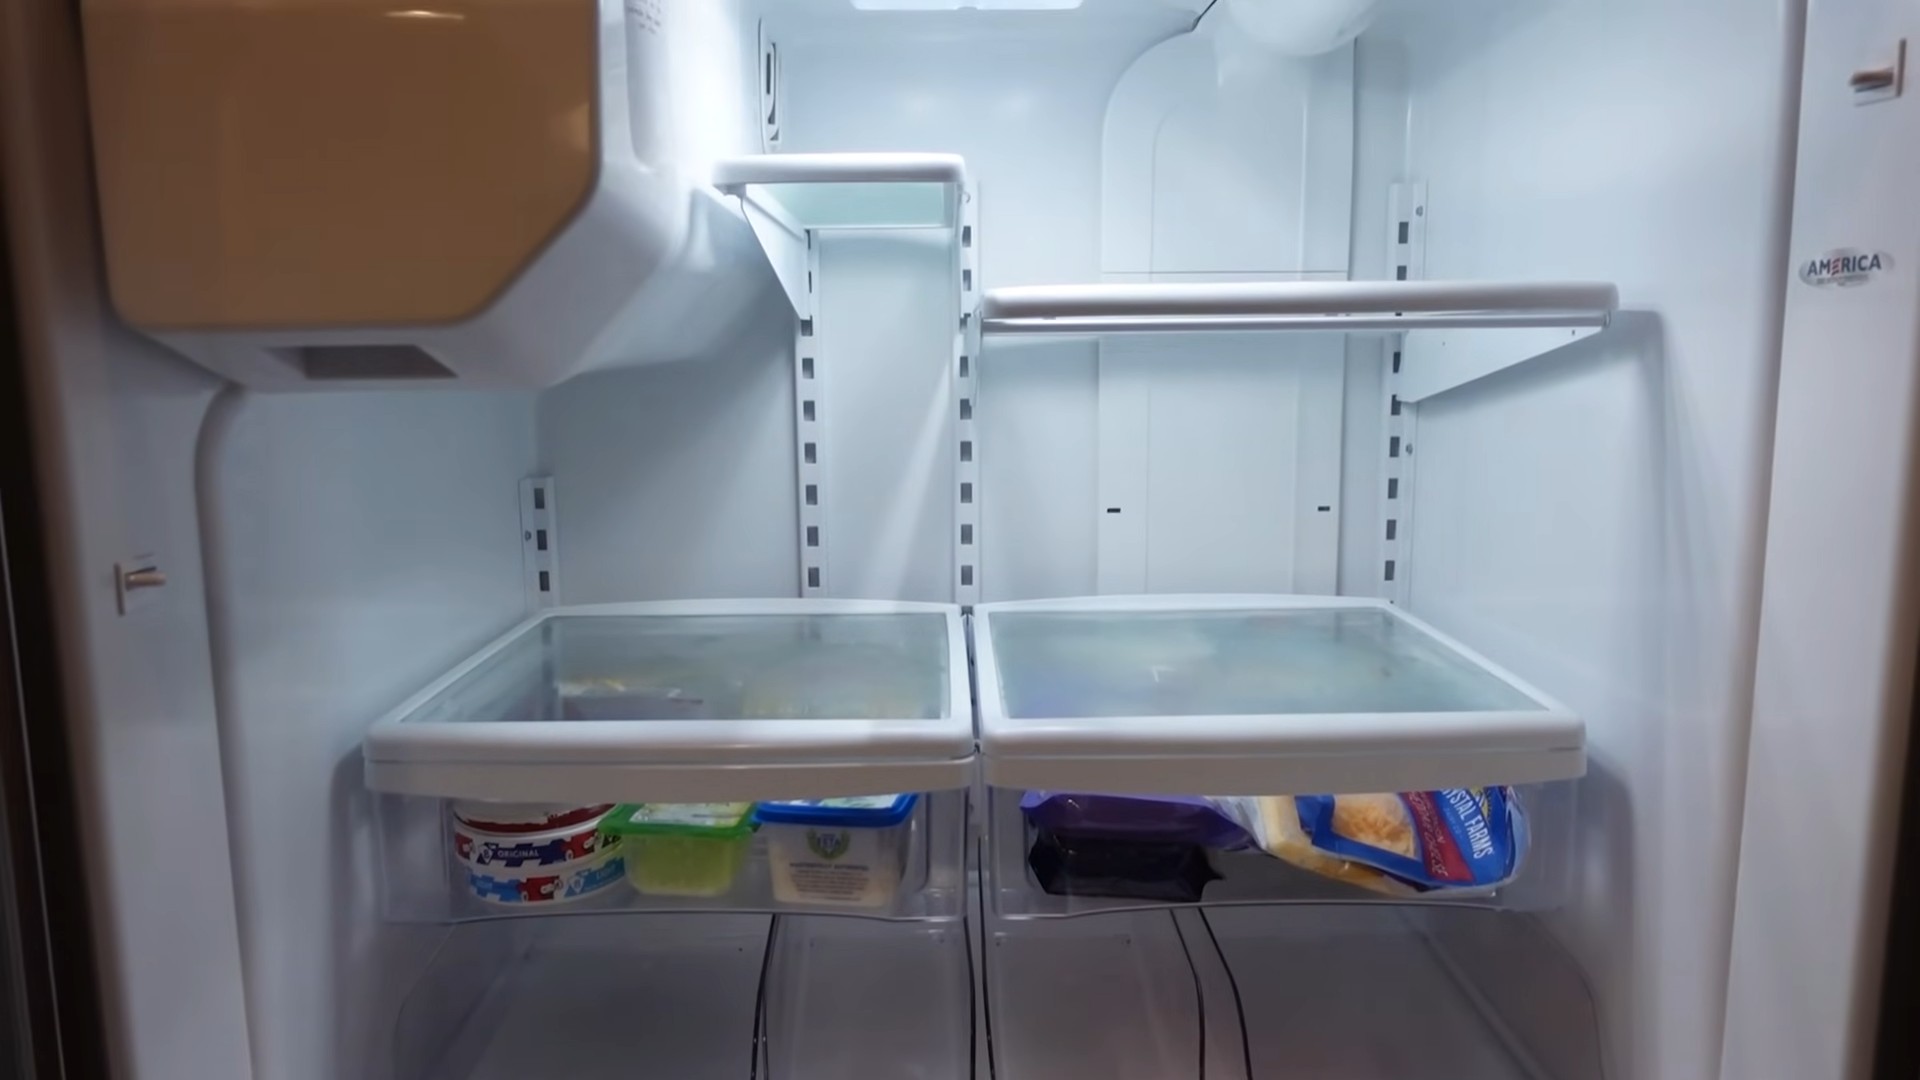
1. Remove Shelves and Drawers: Take out all the removable shelves, drawers, and bins. This will give you access to every nook and cranny of the refrigerator.
2. Wash Shelves and Drawers: Wash the shelves and drawers in your sink or basin with warm, soapy water. Use a sponge or cloth to scrub away any food residue or spills. Rinse thoroughly with clean water and let them air dry or dry them with a clean towel.
3. Wipe Down the Interior: Dip a microfiber cloth into your cleaning solution (warm water and dish soap or water and vinegar). Wring out the cloth so it’s damp, not soaking wet. Wipe down all the interior surfaces of the refrigerator, including the walls, ceiling, and floor. Pay special attention to any spills or sticky spots.
4. Clean Door Compartments: Don’t forget the door compartments! These often get overlooked, but they can accumulate spills and crumbs. Wipe them down with your cleaning solution.
5. Tackle Stubborn Spots: If you encounter any stubborn spots or dried-on food, use an old toothbrush to gently scrub them away. You can also let the cleaning solution sit on the spot for a few minutes to loosen the grime.
6. Rinse and Dry: Once you’ve wiped down all the surfaces, rinse them with a clean, damp cloth. Then, dry everything thoroughly with a clean towel. This will prevent water spots and mildew.
7. Clean the Gasket: The rubber gasket around the refrigerator door can accumulate dirt and grime. Wipe it down with a damp cloth to ensure a tight seal. A clean gasket helps keep your refrigerator cold and efficient.
Phase 3: Reassembly and Organization (Putting it All Back Together)
Almost there! Now we get to put everything back in its place, but this time with a plan for optimal organization.
1. Replace Shelves and Drawers: Once the shelves and drawers are completely dry, put them back into the refrigerator.
2. Organize Food Items: As you’re putting food back into the refrigerator, think about how you can organize it for maximum efficiency. Here are a few tips:
* Top Shelf: Store ready-to-eat foods like leftovers, yogurt, and drinks.
* Middle Shelves: Store dairy products, eggs, and cheeses.
* Bottom Shelf: Store raw meat, poultry, and seafood in sealed containers to prevent cross-contamination.
* Drawers: Use the crisper drawers for fruits and vegetables. Adjust the humidity settings to keep them fresh longer.
* Door Compartments: Store condiments, sauces, and drinks. Avoid storing milk or eggs in the door, as the temperature fluctuates more in this area.
3. Use Containers: Store loose items like berries, grapes, and cut vegetables in airtight containers. This will help them stay fresh longer and prevent them from drying out.
4. Label Everything: Label leftovers and homemade items with the date you made them. This will help you keep track of what needs to be eaten first and prevent food waste.
5. Baking Soda for Odor Control: Place an open box of baking soda in the refrigerator to absorb odors. Replace it every three months.
6. Plug it Back In: If you unplugged your refrigerator, plug it back in.
7. Monitor the Temperature: Make sure your refrigerator is set to the correct temperature (around 37-40°F or 3-4°C). Use a refrigerator thermometer to monitor the temperature.
Extra Tips and Tricks for a Sparkling Fridge:
* Prevent Spills: Place a layer of paper towels or shelf liners on the shelves to catch spills and make cleanup easier.
* Clean Regularly: Aim to clean your refrigerator every 1-2 weeks to prevent food buildup and odors. A quick wipe-down is all it takes to maintain a clean fridge.
* Check Expiration Dates Regularly: Make it a habit to check expiration dates on food items every time you open the refrigerator.
* Don’t Overcrowd: Overcrowding can restrict airflow and make it harder for your refrigerator to maintain a consistent temperature.
* Use a Refrigerator Organizer: Consider using a refrigerator organizer to maximize space and keep everything tidy. There are many different types of organizers available, such as shelf dividers, drawer organizers, and can dispensers.
* Homemade Air Freshener: Instead of baking soda, you can also use a cotton ball soaked in vanilla extract or lemon juice to freshen up your refrigerator.
* Lemon Power: Cut a lemon in half and place it in the fridge to absorb odors.
* Activated Charcoal: Similar to baking soda, activated charcoal is a great odor absorber. Place a small container of it in your fridge.
And there you have it! A sparkling clean and organized refrigerator in under an hour. Now you can enjoy the peace of mind that comes with knowing your food is stored safely and efficiently. Happy cleaning!
Conclusion
So, there you have it! A simple, effective, and surprisingly satisfying way to tackle that often-dreaded chore: cleaning your refrigerator. We’ve walked you through a method that not only saves you time and energy but also utilizes ingredients you likely already have in your pantry. Forget harsh chemicals and hours of scrubbing; this DIY approach to cleaning your refrigerator is a game-changer.
Why is this a must-try? Because a clean refrigerator isn’t just about aesthetics; it’s about food safety and extending the life of your groceries. Lingering spills and forgotten leftovers can harbor bacteria, leading to unpleasant odors and, more importantly, potential health risks. By regularly cleaning your refrigerator, you’re creating a healthier environment for your food and your family. Plus, a well-organized and clean refrigerator makes it easier to find what you need, reducing food waste and saving you money in the long run.
But the benefits don’t stop there. This DIY method is also environmentally friendly. By using natural cleaning agents like baking soda and vinegar, you’re avoiding the harsh chemicals found in many commercial cleaners. This is not only better for the planet but also safer for your family, especially if you have young children or pets.
Now, let’s talk about variations. While the baking soda and vinegar solution is a powerhouse on its own, you can customize it to suit your preferences. For a refreshing scent, add a few drops of your favorite essential oil, such as lemon, grapefruit, or tea tree oil. Just be sure to choose an oil that is safe for use around food. Another option is to use a microfiber cloth instead of a sponge for even better cleaning power. Microfiber cloths are excellent at trapping dirt and grime, and they’re also reusable, making them an eco-friendly choice.
For stubborn stains or sticky residue, create a paste of baking soda and water. Apply the paste to the affected area, let it sit for a few minutes, and then scrub gently with a soft cloth or sponge. This method is particularly effective for removing dried-on food or sticky spills.
If you’re dealing with persistent odors, place an open box of baking soda in your refrigerator to absorb any lingering smells. You can also try placing a cotton ball soaked in vanilla extract in your refrigerator for a few hours to freshen the air.
We’re confident that once you try this DIY trick, you’ll never go back to using harsh chemicals to clean your refrigerator again. It’s quick, easy, effective, and environmentally friendly – what’s not to love?
So, what are you waiting for? Grab your baking soda, vinegar, and a clean cloth, and get ready to transform your refrigerator from a cluttered mess to a sparkling clean oasis. We encourage you to give this DIY refrigerator cleaning method a try and share your experience with us. Let us know what variations you tried, what worked best for you, and any tips or tricks you discovered along the way. Your feedback will help us improve this guide and help others achieve a cleaner, healthier refrigerator. Share your before-and-after photos on social media using #DIYCleanRefrigerator and inspire others to join the clean refrigerator revolution! We can’t wait to see your sparkling results!
FAQ
Why is it important to clean my refrigerator regularly?
Cleaning your refrigerator regularly is crucial for several reasons. First and foremost, it helps prevent the growth of bacteria and mold, which can contaminate your food and lead to foodborne illnesses. Spills and forgotten leftovers create a breeding ground for these harmful microorganisms. Secondly, a clean refrigerator helps to eliminate unpleasant odors that can affect the taste and quality of your food. Thirdly, a well-organized and clean refrigerator makes it easier to find what you need, reducing food waste and saving you money. Finally, regular cleaning can extend the life of your refrigerator by preventing the buildup of dirt and grime that can damage its components.
How often should I clean my refrigerator?
Ideally, you should aim to clean your refrigerator thoroughly at least once a month. However, the frequency may vary depending on your usage and the amount of food you store. If you notice spills or messes, clean them up immediately to prevent them from becoming stubborn stains or harboring bacteria. You should also wipe down the shelves and drawers regularly to remove any crumbs or food particles. A quick weekly wipe-down can go a long way in keeping your refrigerator clean and fresh.
What are the best natural cleaning agents for cleaning my refrigerator?
Several natural cleaning agents are effective for cleaning your refrigerator. Baking soda is a versatile cleaner that can be used to absorb odors, scrub away stains, and disinfect surfaces. Vinegar is another excellent option for removing grime, killing bacteria, and leaving your refrigerator smelling fresh. Lemon juice is a natural degreaser and can also help to eliminate odors. A mixture of water and dish soap can be used for general cleaning and wiping down surfaces. Avoid using harsh chemicals or abrasive cleaners, as they can damage the interior of your refrigerator and leave behind harmful residues.
Can I use bleach to clean my refrigerator?
While bleach is a powerful disinfectant, it’s generally not recommended for cleaning your refrigerator. Bleach can be harsh and corrosive, and it can leave behind harmful fumes that can contaminate your food. If you choose to use bleach, be sure to dilute it properly with water and rinse the surfaces thoroughly with clean water afterward. However, natural cleaning agents like baking soda and vinegar are generally safer and more effective for cleaning your refrigerator.
How do I remove stubborn stains from my refrigerator?
For stubborn stains, create a paste of baking soda and water. Apply the paste to the affected area, let it sit for a few minutes, and then scrub gently with a soft cloth or sponge. You can also try using a mixture of vinegar and water or lemon juice to dissolve the stain. For sticky residue, try using a mixture of warm water and dish soap. If the stain persists, you may need to use a specialized cleaning product designed for refrigerators, but be sure to choose one that is safe for use around food.
How do I get rid of bad odors in my refrigerator?
To get rid of bad odors, start by removing all the food from your refrigerator and discarding any spoiled or expired items. Clean the interior thoroughly with a mixture of baking soda and water or vinegar and water. Place an open box of baking soda in your refrigerator to absorb any lingering odors. You can also try placing a cotton ball soaked in vanilla extract in your refrigerator for a few hours to freshen the air. Another option is to place a bowl of activated charcoal in your refrigerator, as it is highly effective at absorbing odors.
How can I prevent my refrigerator from getting dirty in the first place?
Preventing your refrigerator from getting dirty is easier than cleaning it after it’s already a mess. Store food in airtight containers to prevent spills and leaks. Wipe up spills immediately to prevent them from becoming stubborn stains. Label and date leftovers to ensure that you use them before they expire. Regularly check your refrigerator for spoiled or expired food and discard it promptly. Organize your refrigerator so that you can easily see what you have and avoid forgetting about food in the back. By following these simple tips, you can keep your refrigerator clean and fresh for longer.
Is it safe to use essential oils to clean my refrigerator?
Some essential oils can be used to clean your refrigerator, but it’s important to choose oils that are safe for use around food. Lemon, grapefruit, and tea tree oil are all good options. Add a few drops of your chosen essential oil to your cleaning solution for a refreshing scent and added antibacterial properties. However, avoid using essential oils that are toxic or irritating, such as peppermint or eucalyptus. Always dilute essential oils properly with water before using them to clean your refrigerator.

Leave a Comment