

Bush Bean Planting Guide: Your Gateway to a Bountiful Harvest!
Imagine stepping outside your back door and harvesting fresh, crisp bush beans for dinner – a truly rewarding experience! For centuries, beans have been a staple crop in cultures worldwide, from ancient civilizations in the Americas to bustling European farms. Their ease of cultivation and nutritional value have made them a beloved garden addition. But let’s face it, sometimes getting those beans to thrive can feel like a bit of a mystery. That’s where this DIY guide comes in!
I’m here to share my tried-and-true secrets for successful bush bean planting, transforming even the most novice gardener into a bean-growing pro. We’ll cover everything from selecting the perfect variety for your climate to mastering the art of watering and pest control.
Why do you need this guide? Because store-bought beans simply can’t compare to the flavor and satisfaction of homegrown. Plus, knowing exactly where your food comes from and how it’s grown is incredibly empowering. With the right knowledge, anyone can enjoy a thriving bush bean planting and a delicious harvest. So, grab your gardening gloves, and let’s get started!
Growing Bush Beans: A Beginner’s Guide to a Bountiful Harvest
Hey there, fellow garden enthusiasts! I’m so excited to share my tried-and-true method for growing bush beans. They’re a fantastic choice for beginner gardeners because they’re relatively low-maintenance and produce a generous harvest. Plus, nothing beats the taste of fresh, homegrown beans! Let’s dive in and get our hands dirty!
Choosing Your Bush Bean Variety
Before we even think about planting, let’s talk about bean varieties. There are tons of different bush bean types, each with its own unique flavor, color, and growing characteristics. Here are a few of my favorites:
* Blue Lake Bush Beans: These are classic green beans, known for their excellent flavor and productivity. They’re also great for canning or freezing.
* Contender Bush Beans: As the name suggests, these beans are tough and reliable. They’re early producers and resistant to many common bean diseases.
* Provider Bush Beans: Another early variety, Provider beans are known for their high yields and adaptability to different climates.
* Roma Bush Beans: These flat, Italian-style beans have a rich, buttery flavor. They’re delicious steamed, sautéed, or added to soups and stews.
* Yellow Wax Beans: For a pop of color in your garden, try yellow wax beans. They have a slightly sweeter flavor than green beans.
Consider your climate, taste preferences, and intended use when choosing your bean variety. You can even try growing a few different types to see which ones you like best!
Preparing Your Garden Bed
Bush beans need a sunny spot with well-drained soil. Here’s how I prepare my garden bed for planting:
* Sunlight: Choose a location that gets at least 6-8 hours of direct sunlight per day.
* Soil: Bush beans prefer soil that is loose, fertile, and well-draining. If your soil is heavy clay or sandy, amend it with compost or other organic matter.
* Soil Testing: Ideally, you should test your soil’s pH level. Bush beans thrive in soil with a pH between 6.0 and 7.0. You can purchase a soil testing kit at most garden centers.
* Clearing the Area: Remove any weeds, rocks, or debris from the planting area.
* Tilling or Digging: Loosen the soil to a depth of about 12 inches using a tiller or garden fork. This will help the bean roots grow easily.
* Adding Amendments: Incorporate compost, aged manure, or other organic matter into the soil. This will improve drainage, fertility, and water retention. I usually add a generous layer of compost, about 2-3 inches thick.
* Leveling the Soil: Rake the soil smooth to create a level planting surface.
Planting Your Bush Beans
Now for the fun part – planting! Here’s my step-by-step guide:
1. Timing is Key: Bush beans are warm-season crops, so wait until the danger of frost has passed before planting. The soil temperature should be at least 60°F (16°C). You can check the soil temperature with a soil thermometer. I usually plant my bush beans about two weeks after the last expected frost.
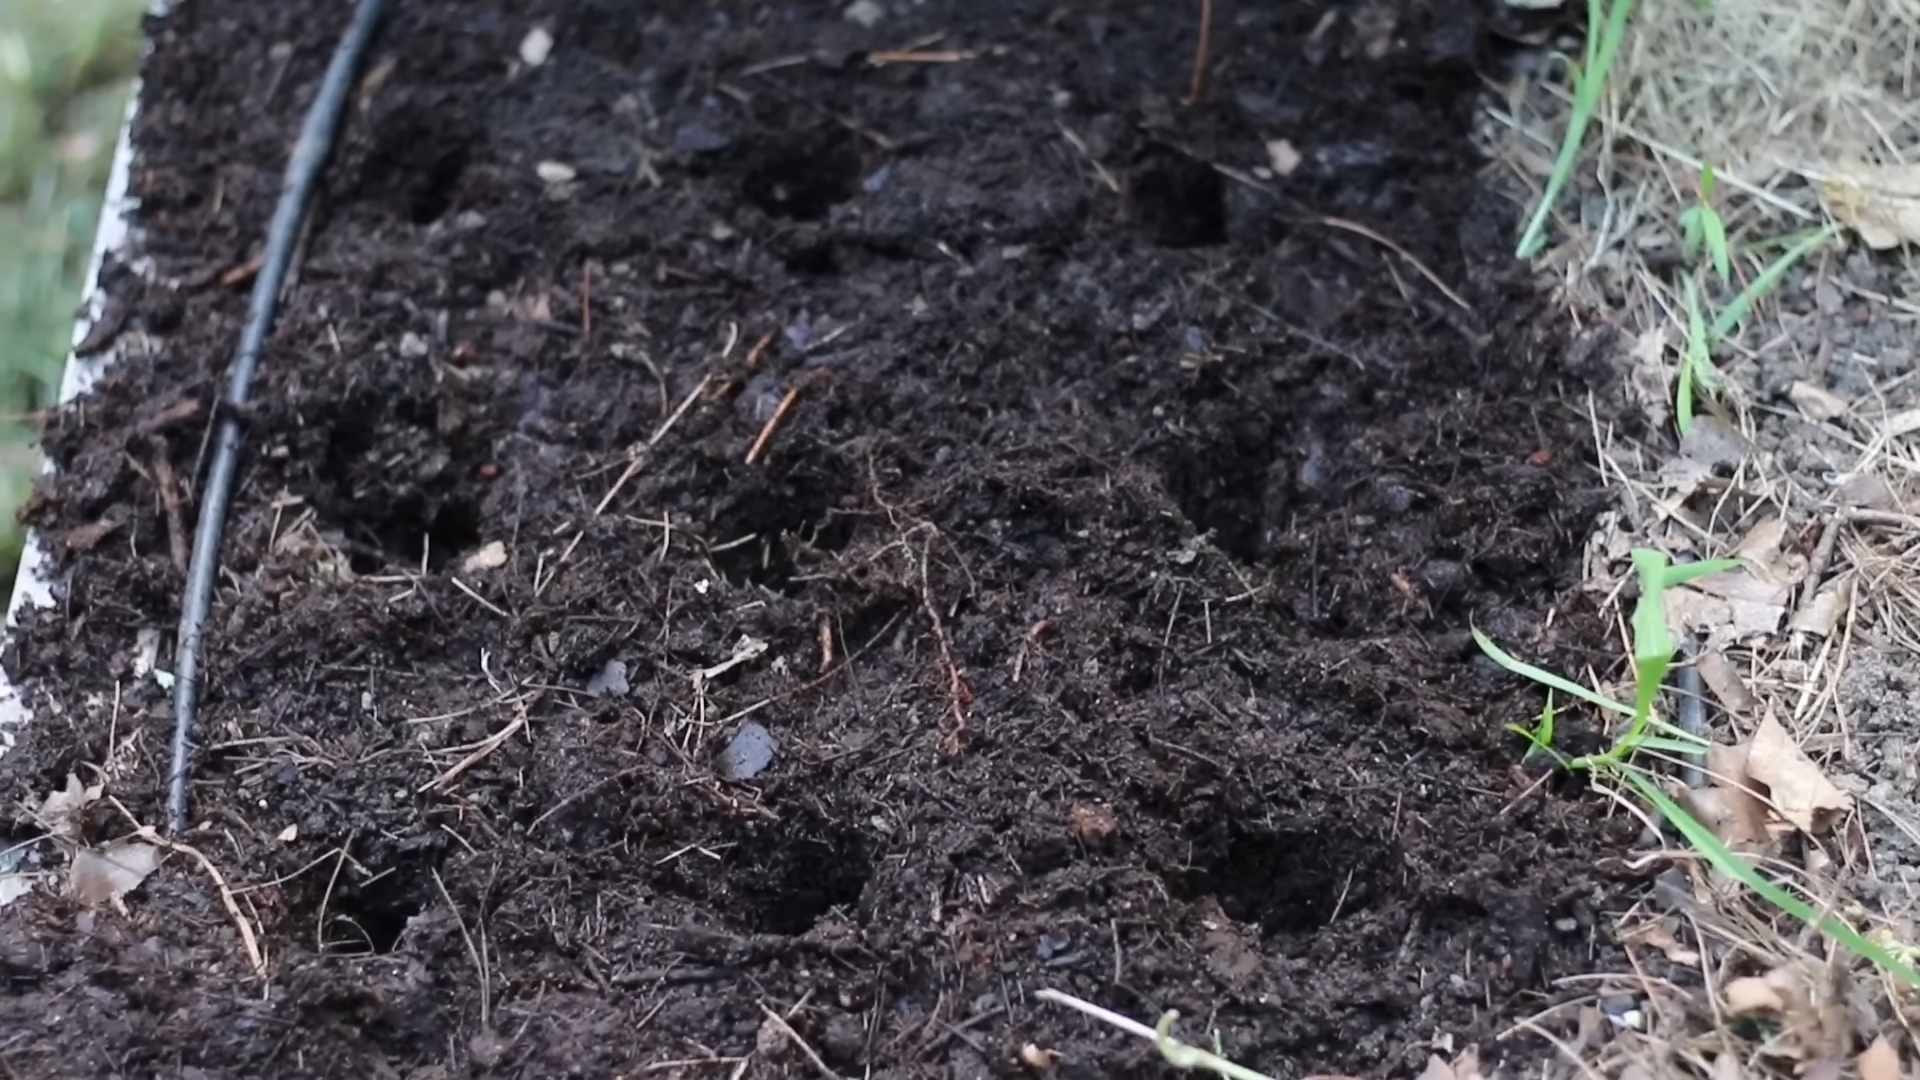
2. Direct Sowing: Bush beans are best direct-sown into the garden. This means planting the seeds directly into the soil, rather than starting them indoors.
3. Spacing: Plant the seeds about 1-2 inches deep and 2-4 inches apart in rows that are 18-24 inches apart. I like to use a garden trowel to create small furrows for the seeds.
4. Watering: After planting, water the soil gently but thoroughly. Keep the soil consistently moist until the seeds germinate.
5. Marking Rows: I always mark my rows with plant markers so I know what I’ve planted and where. You can use simple wooden stakes or more elaborate plant labels.
Caring for Your Bush Beans
Once your bush beans are planted, it’s important to provide them with the care they need to thrive. Here’s what I do:
* Watering: Bush beans need consistent moisture, especially during flowering and pod development. Water deeply and regularly, especially during dry spells. Avoid overhead watering, which can promote fungal diseases. Soaker hoses or drip irrigation are ideal.
* Weeding: Keep the garden bed free of weeds, which can compete with the beans for nutrients and water. Hand-pull weeds regularly or use a hoe to cultivate the soil.
* Fertilizing: Bush beans are relatively light feeders, but they can benefit from a side dressing of compost or a balanced fertilizer a few weeks after planting. Avoid over-fertilizing, which can lead to excessive foliage growth and reduced pod production.
* Pest Control: Keep an eye out for common bean pests, such as aphids, bean beetles, and spider mites. You can control these pests with insecticidal soap, neem oil, or other organic pest control methods. I prefer to use natural methods whenever possible.
* Disease Prevention: To prevent fungal diseases, such as powdery mildew and bean rust, ensure good air circulation around the plants. Avoid overhead watering and remove any infected leaves promptly.
Hey there, fellow garden enthusiasts! I’m so excited to share my tried-and-true method for growing bush beans. They’re a fantastic choice for beginner gardeners because they’re relatively low-maintenance and produce a generous harvest. Plus, nothing beats the taste of fresh, homegrown beans! Let’s dive in and get our hands dirty!
Choosing Your Bush Bean Variety
Before we even think about planting, let’s talk about bean varieties. There are tons of different bush bean types, each with its own unique flavor, color, and growing characteristics. Here are a few of my favorites:
* Blue Lake Bush Beans: These are classic green beans, known for their excellent flavor and productivity. They’re also great for canning or freezing.
* Contender Bush Beans: As the name suggests, these beans are tough and reliable. They’re early producers and resistant to many common bean diseases.
* Provider Bush Beans: Another early variety, Provider beans are known for their high yields and adaptability to different climates.
* Roma Bush Beans: These flat, Italian-style beans have a rich, buttery flavor. They’re delicious steamed, sautéed, or added to soups and stews.
* Yellow Wax Beans: For a pop of color in your garden, try yellow wax beans. They have a slightly sweeter flavor than green beans.
Consider your climate, taste preferences, and intended use when choosing your bean variety. You can even try growing a few different types to see which ones you like best!
Preparing Your Garden Bed
Bush beans need a sunny spot with well-drained soil. Here’s how I prepare my garden bed for planting:
* Sunlight: Choose a location that gets at least 6-8 hours of direct sunlight per day.
* Soil: Bush beans prefer soil that is loose, fertile, and well-draining. If your soil is heavy clay or sandy, amend it with compost or other organic matter.
* Soil Testing: Ideally, you should test your soil’s pH level. Bush beans thrive in soil with a pH between 6.0 and 7.0. You can purchase a soil testing kit at most garden centers.
* Clearing the Area: Remove any weeds, rocks, or debris from the planting area.
* Tilling or Digging: Loosen the soil to a depth of about 12 inches using a tiller or garden fork. This will help the bean roots grow easily.
* Adding Amendments: Incorporate compost, aged manure, or other organic matter into the soil. This will improve drainage, fertility, and water retention. I usually add a generous layer of compost, about 2-3 inches thick.
* Leveling the Soil: Rake the soil smooth to create a level planting surface.
Planting Your Bush Beans
Now for the fun part – planting! Here’s my step-by-step guide:
1. Timing is Key: Bush beans are warm-season crops, so wait until the danger of frost has passed before planting. The soil temperature should be at least 60°F (16°C). You can check the soil temperature with a soil thermometer. I usually plant my bush beans about two weeks after the last expected frost.
2. Direct Sowing: Bush beans are best direct-sown into the garden. This means planting the seeds directly into the soil, rather than starting them indoors.
3. Spacing: Plant the seeds about 1-2 inches deep and 2-4 inches apart in rows that are 18-24 inches apart. I like to use a garden trowel to create small furrows for the seeds.
4. Watering: After planting, water the soil gently but thoroughly. Keep the soil consistently moist until the seeds germinate.
5. Marking Rows: I always mark my rows with plant markers so I know what I’ve planted and where. You can use simple wooden stakes or more elaborate plant labels.
Caring for Your Bush Beans
Once your bush beans are planted, it’s important to provide them with the care they need to thrive. Here’s what I do:
* Watering: Bush beans need consistent moisture, especially during flowering and pod development. Water deeply and regularly, especially during dry spells. Avoid overhead watering, which can promote fungal diseases. Soaker hoses or drip irrigation are ideal.
* Weeding: Keep the garden bed free of weeds, which can compete with the beans for nutrients and water. Hand-pull weeds regularly or use a hoe to cultivate the soil.
* Fertilizing: Bush beans are relatively light feeders, but they can benefit from a side dressing of compost or a balanced fertilizer a few weeks after planting. Avoid over-fertilizing, which can lead to excessive foliage growth and reduced pod production.
* Pest Control: Keep an eye out for common bean pests, such as aphids, bean beetles, and spider mites. You can control these pests with insecticidal soap, neem oil, or other organic pest control methods. I prefer to use natural methods whenever possible.
* Disease Prevention: To prevent fungal diseases, such as powdery mildew and bean rust, ensure good air circulation around the plants. Avoid overhead watering and remove any infected leaves promptly.
Harvesting Your Bush Beans
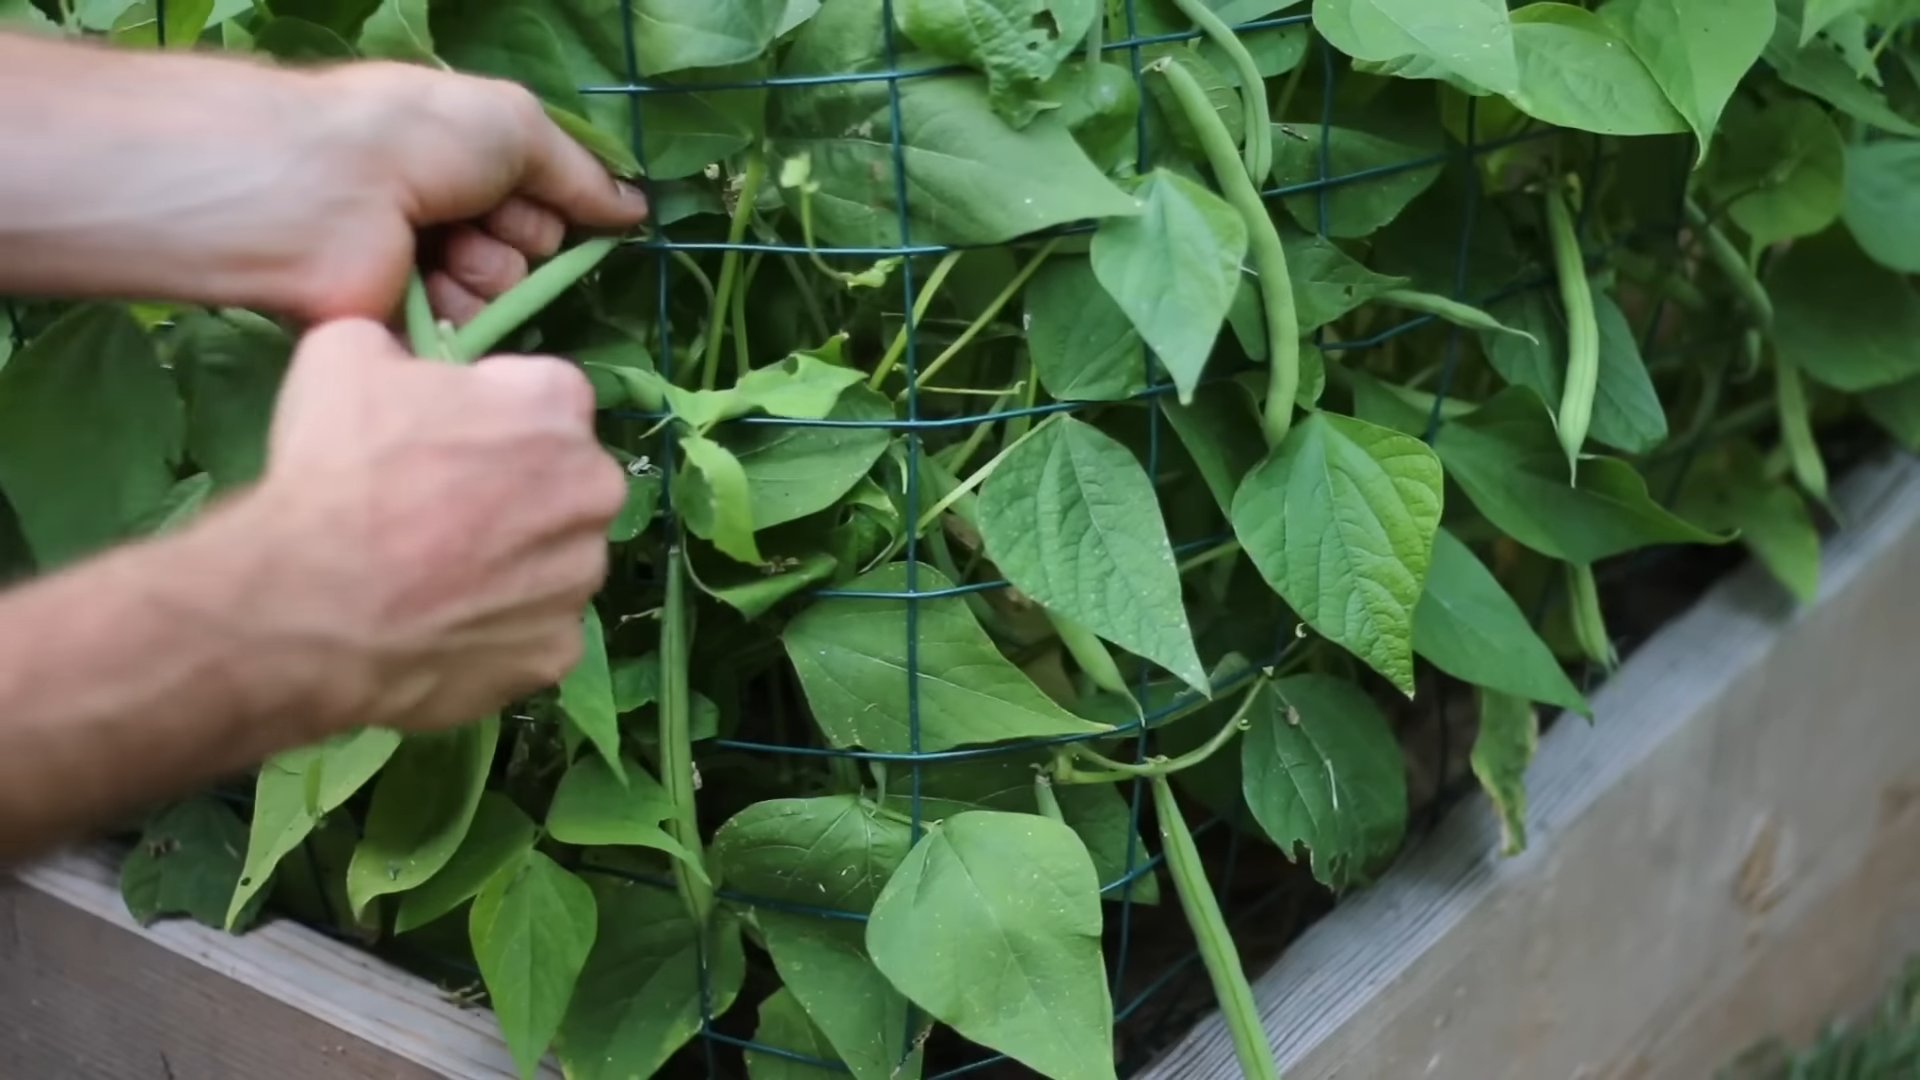
The moment we’ve all been waiting for – harvesting! Here’s how I know when my bush beans are ready to pick:
* Timing: Bush beans are typically ready to harvest about 50-60 days after planting, depending on the variety.
* Appearance: The pods should be firm, plump, and brightly colored. They should snap easily when bent.
* Size: Harvest the beans when they are about 4-6 inches long, depending on the variety.
* Technique: Gently snap the pods off the plant, being careful not to damage the stems.
* Frequency: Harvest the beans regularly, every few days, to encourage continued production. Overripe beans will become tough and stringy.
Extending Your Harvest
Want to keep those beans coming? Here are a few tips for extending your bush bean harvest:
* Succession Planting: Plant a new batch of bush beans every 2-3 weeks to ensure a continuous harvest throughout the growing season.
* Choosing Heat-Tolerant Varieties: If you live in a hot climate, choose bush bean varieties that are known for their heat tolerance.
* Providing Shade: During the hottest part of the day, provide your bean plants with some shade using shade cloth or other materials.
* Watering Deeply: Water deeply and regularly to help the plants withstand heat stress.
Dealing with Common Problems
Even with the best care, you might encounter some problems while growing bush beans. Here are a few common issues and how to address them:
* Poor Germination: If your bean seeds aren’t germinating, it could be due to cold soil, poor soil drainage, or old seeds. Make sure the soil temperature is at least 60°F (16°C) before planting. Use fresh seeds and ensure the soil is well-draining.
* Yellowing Leaves: Yellowing leaves can be a sign of nutrient deficiency, overwatering, or disease. Check the soil pH and nutrient levels. Ensure the soil is well-draining and avoid overwatering.
* Pest Infestations: As mentioned earlier, keep an eye out for common bean pests and take action promptly to control them.
* Disease: Prevent fungal diseases by ensuring good air circulation around the plants and avoiding overhead watering. Remove any infected leaves promptly.
Saving Bean Seeds
If you want to save seeds from your bush beans for next year, here’s how I do it:
1. Choose Healthy Plants: Select healthy, vigorous plants with desirable traits.
2. Allow Pods to Mature: Allow some of the pods to mature fully on the plant. They will become dry and brown.
3. Harvest the Pods: Harvest the dry pods and remove the seeds.
4. Dry the Seeds: Spread the seeds out on a screen or tray and allow them to dry completely in a cool, dry place.
5. Store the Seeds: Store the dried seeds in an airtight container in a cool, dark place. They should remain viable for several years.
Enjoying Your Harvest
Now that you’ve harvested your bountiful crop of bush beans, it’s time to enjoy them! Here are a few of my favorite ways to prepare and eat bush beans:
* Steamed: Steamed bush beans are a simple and healthy side dish.
* Sautéed: Sautéed bush beans with garlic and olive oil are a delicious and flavorful treat.
* Roasted: Roasted bush beans are a crispy and satisfying snack.
* In Salads: Add cooked bush beans to salads for a boost
Conclusion
So, there you have it! Mastering the art of bush bean planting is not only achievable but also incredibly rewarding. From selecting the perfect variety to nurturing your seedlings and harvesting your bountiful crop, every step of the process is a testament to the joys of gardening. This DIY trick, focusing on direct sowing for bush beans, is a must-try for several compelling reasons.
First and foremost, it simplifies the planting process. Bypassing the need for indoor seed starting eliminates the complexities of managing temperature, humidity, and lighting, making it an ideal choice for beginner gardeners. Secondly, direct sowing encourages stronger root development. When bush beans germinate directly in the garden soil, their roots are less likely to experience transplant shock, leading to healthier and more resilient plants. This translates to a more abundant harvest and less susceptibility to pests and diseases.
Furthermore, this method is incredibly cost-effective. You’ll save money on seed starting trays, potting mix, and grow lights. All you need are your seeds, well-prepared soil, and a little bit of patience. It’s a budget-friendly way to enjoy fresh, homegrown vegetables.
But the benefits don’t stop there. Direct sowing allows you to tailor your planting schedule to your specific climate and growing season. You can plant multiple successions of bush beans throughout the summer, ensuring a continuous supply of fresh beans for your table.
Ready to take your bush bean planting to the next level? Consider these variations to personalize your approach:
* Companion Planting: Plant bush beans alongside other beneficial crops like carrots, cucumbers, or marigolds. These companions can help deter pests, improve soil health, and enhance the overall growth of your beans.
* Succession Planting: Plant a new row of bush beans every two to three weeks to extend your harvest season. This will ensure a continuous supply of fresh beans throughout the summer.
* Vertical Gardening: While bush beans are naturally compact, you can still train them to grow up a trellis or fence for added support and to save space in your garden.
* Soil Amendments: Incorporate compost, aged manure, or other organic matter into your soil before planting to improve its fertility and drainage. This will provide your bush beans with the nutrients they need to thrive.
We are confident that this DIY trick will transform your bush bean planting experience. It’s a simple, effective, and rewarding way to grow your own fresh vegetables.
Now, it’s your turn! We encourage you to try this DIY trick for planting bush beans in your garden. Share your experiences with us in the comments below. We’d love to hear about your successes, challenges, and any variations you’ve tried. Let’s learn from each other and create a community of thriving bush bean gardeners! Don’t forget to share pictures of your bountiful harvests! Happy gardening!
FAQ
What are the best varieties of bush beans to plant using this method?
There are many excellent bush bean varieties that thrive when directly sown. Some popular choices include ‘Blue Lake Bush,’ known for its classic flavor and high yields; ‘Contender,’ an early-maturing variety that’s resistant to common bean diseases; ‘Provider,’ a reliable and productive bean that’s well-suited for cooler climates; and ‘Roma II,’ a flat-podded Italian bean with a rich, nutty flavor. Consider your local climate and growing conditions when selecting the best variety for your garden. Also, check seed packet descriptions for disease resistance and days to maturity.
How do I prepare the soil for direct sowing bush beans?
Proper soil preparation is crucial for successful bush bean planting. Start by clearing the planting area of any weeds, rocks, or debris. Then, loosen the soil to a depth of at least 6 inches using a garden fork or tiller. Incorporate plenty of organic matter, such as compost, aged manure, or leaf mold, to improve soil fertility, drainage, and water retention. Aim for a soil pH between 6.0 and 7.0. If your soil is heavy clay, consider adding sand or other amendments to improve drainage. A well-drained, fertile soil will provide the ideal environment for your bush beans to thrive.
How deep and far apart should I plant the bush bean seeds?
Plant bush bean seeds about 1 inch deep and 2-3 inches apart in rows that are 18-24 inches apart. This spacing allows for adequate air circulation and sunlight penetration, which helps prevent disease. After planting, gently water the soil to ensure good seed-to-soil contact. Avoid overwatering, as this can lead to seed rot. Once the seedlings emerge, thin them to about 4-6 inches apart to give them enough room to grow.
How often should I water bush beans after they germinate?
Bush beans need consistent moisture to thrive, especially during hot, dry weather. Water deeply and regularly, aiming to keep the soil consistently moist but not waterlogged. Water at the base of the plants to avoid wetting the foliage, which can increase the risk of fungal diseases. A good rule of thumb is to water when the top inch of soil feels dry to the touch. Mulching around the plants with straw or wood chips can help retain moisture and suppress weeds.
What are some common pests and diseases that affect bush beans, and how can I prevent them?
Bush beans are susceptible to several pests and diseases, including bean beetles, aphids, spider mites, and fungal diseases like powdery mildew and bean rust. To prevent these problems, practice good garden hygiene by removing any diseased or infested plants promptly. Encourage beneficial insects, such as ladybugs and lacewings, which prey on aphids and other pests. Use organic pest control methods, such as insecticidal soap or neem oil, if necessary. Ensure good air circulation around the plants to prevent fungal diseases. Choose disease-resistant varieties of bush beans whenever possible. Crop rotation can also help prevent soilborne diseases from building up in your garden.
How long does it take for bush beans to mature and be ready for harvest?
Bush beans typically mature in 50-60 days after planting, depending on the variety and growing conditions. You’ll know they’re ready to harvest when the pods are firm, plump, and snap easily when bent. Harvest the beans regularly, every few days, to encourage continued production. Overripe beans can become tough and stringy.
Can I plant bush beans in containers?
Yes, bush beans can be successfully grown in containers. Choose a container that is at least 12 inches deep and wide to provide enough room for the roots to grow. Use a well-draining potting mix and provide regular watering and fertilization. Bush beans grown in containers may need more frequent watering than those grown in the ground, especially during hot weather.
What kind of fertilizer should I use for bush beans?
Bush beans are relatively light feeders, but they benefit from a balanced fertilizer. A fertilizer with an NPK ratio of 5-10-10 is a good choice. Apply the fertilizer at planting time and again when the plants begin to flower. Avoid over-fertilizing, as this can lead to excessive foliage growth and reduced bean production. You can also amend the soil with compost or aged manure to provide a slow-release source of nutrients.
Can I save seeds from my bush bean plants for next year?
Yes, you can save seeds from your bush bean plants, but it’s important to choose open-pollinated varieties rather than hybrid varieties. Allow some of the bean pods to mature fully on the plant until they are dry and brown. Harvest the pods and shell the seeds. Dry the seeds thoroughly for several weeks before storing them in an airtight container in a cool, dry place. Be aware that saved seeds may not always produce plants that are identical to the parent plant, especially if cross-pollination has occurred.
Leave a Comment