

Borax cleaner DIY: Unlock the secrets to a sparkling clean home with this simple, yet powerful solution! Are you tired of harsh chemicals and sky-high cleaning product prices? I know I was! That’s why I dove headfirst into the world of DIY cleaning, and let me tell you, I haven’t looked back since.
Borax, a naturally occurring mineral, has been used for centuries – some say even since ancient times – for its cleaning and disinfecting properties. Our grandmothers and great-grandmothers likely relied on it for everything from laundry to scrubbing sinks. It’s a time-tested solution that’s making a comeback, and for good reason!
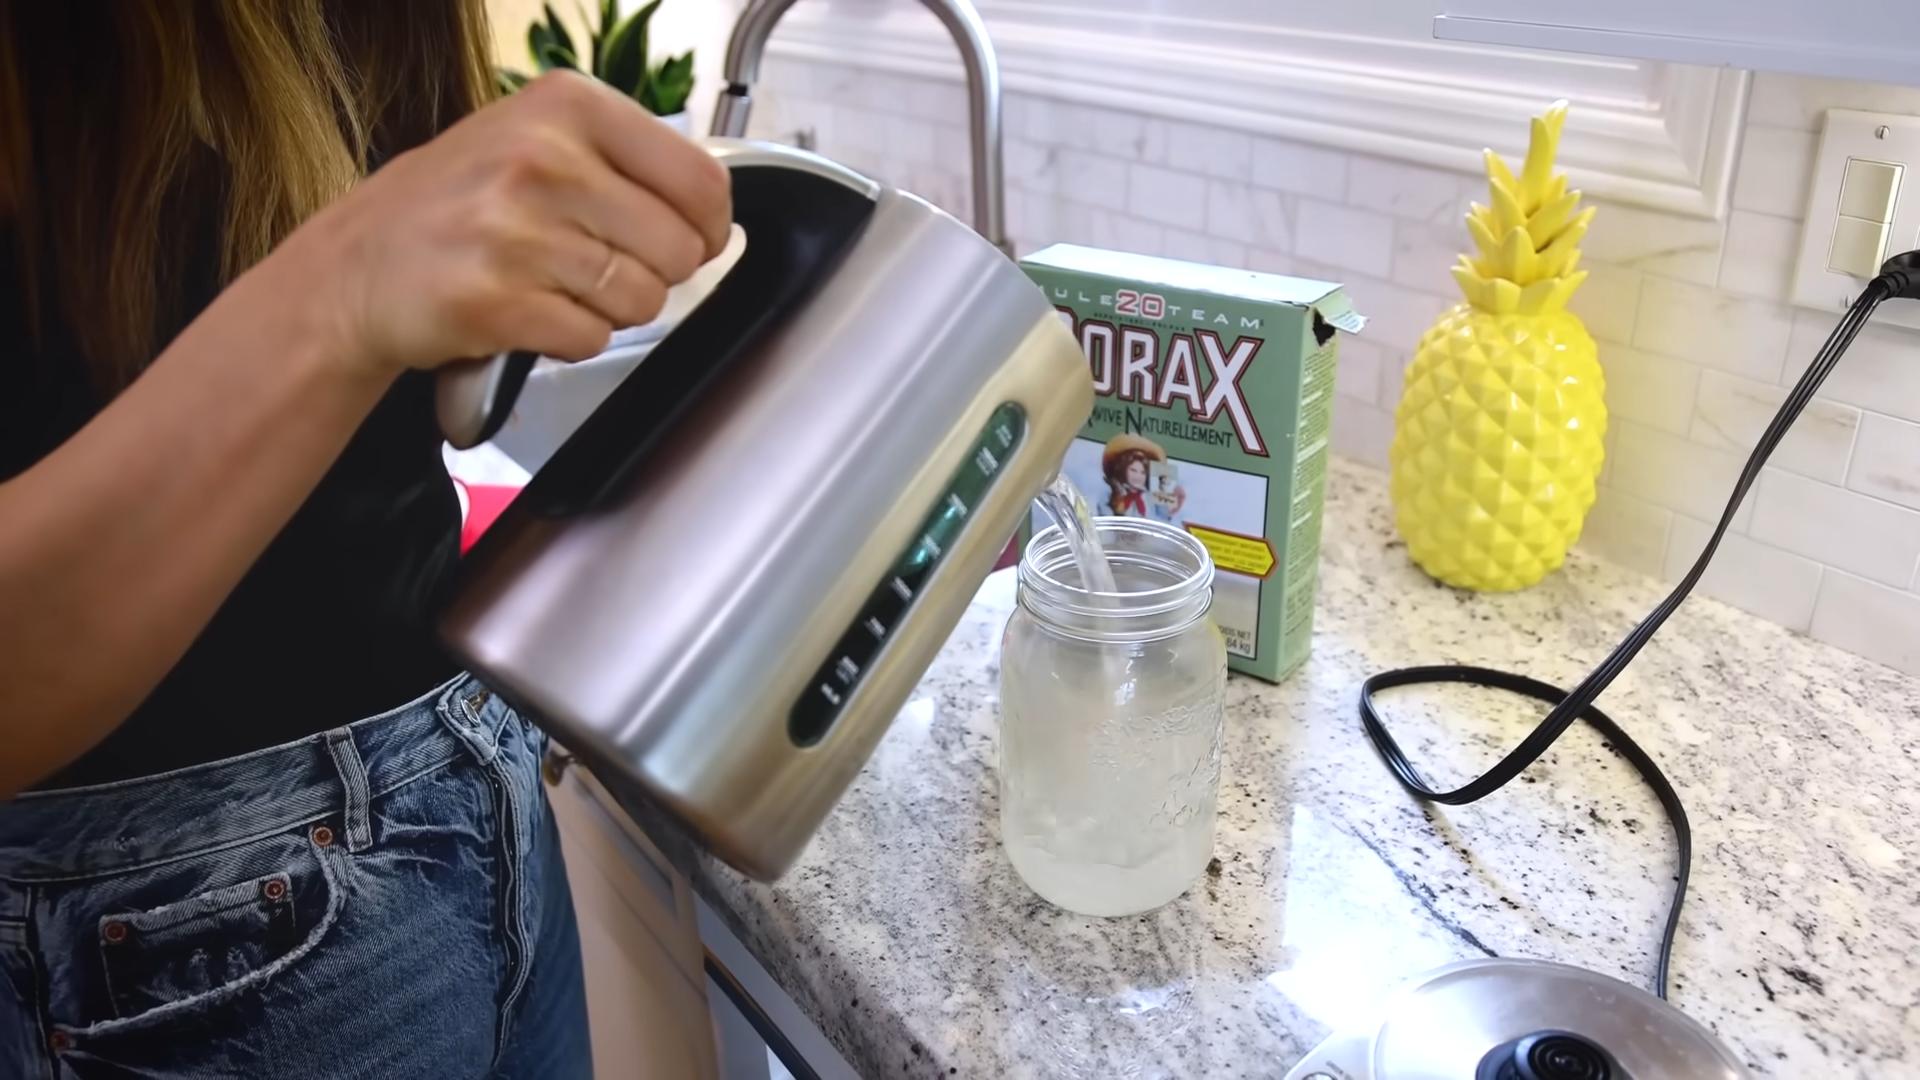
In today’s world, we’re all looking for ways to save money and reduce our exposure to potentially harmful chemicals. A Borax cleaner DIY project is the perfect answer. Not only is it incredibly cost-effective, but you also have complete control over the ingredients, ensuring a safer and healthier home environment for you and your family. Plus, it’s surprisingly versatile! From tackling stubborn stains to freshening up your laundry, this DIY cleaner can handle it all. So, ditch the expensive store-bought products and let’s get started on creating your own powerful and eco-friendly cleaning solution!
How to Grow Giant Zucchinis: My Secret DIY Gardening Hack
Okay, zucchini lovers, let’s talk about growing some serious monsters! I’m not talking about your average, run-of-the-mill zucchini that barely makes it into a stir-fry. I’m talking about zucchinis so big, they’ll be the envy of the neighborhood and provide you with enough zucchini bread to feed an army. This isn’t just about luck; it’s about a few simple DIY tricks that I’ve learned over the years that can dramatically increase the size and yield of your zucchini plants. Get ready to roll up your sleeves and get your hands dirty!
Choosing the Right Variety
Before we even think about soil or fertilizer, let’s talk about the foundation: the zucchini variety. Not all zucchinis are created equal. Some are naturally smaller and bushier, while others are bred for size and productivity.
* Black Beauty: A classic, reliable variety that produces dark green, cylindrical fruits. While not the absolute biggest, it’s a consistent producer and a great starting point.
* Costata Romanesco: This Italian heirloom is known for its ribbed fruits and nutty flavor. It can get quite large and is a favorite among gardeners.
* Fordhook Hybrid: A high-yielding hybrid that produces uniform, dark green fruits. It’s known for its disease resistance and ability to produce large zucchinis.
* Trombocino: Technically a summer squash, but often referred to as a zucchini. It can grow incredibly long and has a mild, slightly sweet flavor. This is my personal favorite for sheer size potential!
I always recommend trying a few different varieties to see which one thrives best in your specific climate and soil conditions. Don’t be afraid to experiment!
Preparing the Soil: The Foundation for Growth
Zucchinis are heavy feeders, meaning they need a lot of nutrients to fuel their rapid growth. Proper soil preparation is absolutely crucial for growing giant zucchinis.
* Sunlight: Zucchinis need at least 6-8 hours of direct sunlight per day. Choose a location in your garden that gets plenty of sun.
* Soil Type: Zucchinis prefer well-drained, fertile soil with a pH between 6.0 and 7.5.
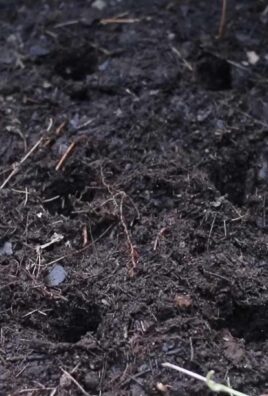
* Compost: This is your secret weapon! Amend your soil with plenty of compost before planting. Compost provides essential nutrients, improves drainage, and helps retain moisture. I usually add a generous layer (about 4-6 inches) of compost to my planting area.
* Manure (Optional): If you have access to well-rotted manure, you can also incorporate it into the soil. Manure is a great source of nitrogen, which is essential for leafy growth. Be sure to use well-rotted manure to avoid burning the roots of your plants.
* Fertilizer: I like to add a slow-release fertilizer to the soil at planting time. Look for a fertilizer that is high in phosphorus (the middle number) to promote strong root development.
Step-by-Step Soil Preparation:
1. Clear the Area: Remove any weeds, rocks, or debris from the planting area.
2. Dig Deep: Dig down at least 12 inches to loosen the soil.
3. Amend the Soil: Mix in the compost, manure (if using), and slow-release fertilizer.
4. Rake Smooth: Rake the soil smooth to create a level planting surface.
5. Water Thoroughly: Water the soil thoroughly to help settle it and activate the fertilizer.
Planting Your Zucchini Seeds or Seedlings
You can start zucchini seeds indoors or direct sow them in the garden. I usually prefer to direct sow because zucchinis grow so quickly and don’t transplant particularly well.
* Timing: Wait until the danger of frost has passed and the soil has warmed up to at least 60°F (15°C) before planting.
* Spacing: Zucchinis need plenty of space to grow. Space plants at least 2-3 feet apart. If you’re planting in rows, space the rows 3-4 feet apart.
* Depth: Plant seeds about 1 inch deep.
* Watering: Water the seeds or seedlings thoroughly after planting.
Step-by-Step Planting Instructions:
1. Prepare the Planting Hole: Dig a hole that is about 1 inch deep and wide enough to accommodate the seed or seedling.
2. Plant the Seed or Seedling: Place the seed or seedling in the hole and gently cover it with soil.
3. Water Thoroughly: Water the area thoroughly after planting.
4. Mulch (Optional): Add a layer of mulch around the plants to help retain moisture and suppress weeds. I like to use straw or wood chips.
Watering and Feeding: Keeping Your Zucchinis Happy
Consistent watering and feeding are essential for growing giant zucchinis.
* Watering: Zucchinis need consistent moisture, especially during hot, dry weather. Water deeply and regularly, aiming for about 1 inch of water per week. Avoid overhead watering, as this can lead to fungal diseases. I prefer to use a soaker hose or drip irrigation to water at the base of the plants.
* Fertilizing: In addition to the slow-release fertilizer you added at planting time, you’ll need to feed your zucchinis regularly throughout the growing season. I like to use a liquid fertilizer that is high in phosphorus and potassium (the last two numbers on the fertilizer label). Fertilize every 2-3 weeks, following the instructions on the fertilizer label.
* Foliar Feeding (Optional): You can also supplement your regular fertilizing with foliar feeding. Foliar feeding involves spraying a diluted fertilizer solution directly onto the leaves of the plants. This allows the plants to absorb nutrients quickly and can be especially helpful during periods of stress.
My Watering and Feeding Schedule:
1. Water Deeply: Water deeply every 2-3 days, or more often during hot, dry weather.
2. Liquid Fertilizer: Apply a liquid fertilizer every 2-3 weeks.
3. Foliar Feed (Optional): Foliar feed every 2-3 weeks, alternating with the liquid fertilizer.
Pruning and Training: Directing the Plant’s Energy
Pruning and training can help direct the plant’s energy towards fruit production, resulting in larger zucchinis.
* Pruning: Remove any yellowing or damaged leaves. This will help improve air circulation and prevent disease. You can also prune away some of the excess foliage to allow more sunlight to reach the fruits.
* Training: Zucchinis are naturally bushy plants, but you can train them to grow more vertically by using stakes or trellises. This can help save space and improve air circulation.
Step-by-Step Pruning and Training:
1. Remove Damaged Leaves: Regularly inspect your plants for yellowing or damaged leaves and remove them.
2. Prune Excess Foliage: If the plants are very dense, prune away some of the excess foliage to allow more sunlight to reach the fruits.
3. Stake or Trellis (Optional): If you want to train your zucchinis to grow vertically, insert stakes or trellises near the plants and tie the stems to them.
Pest and Disease Control: Protecting Your Investment
Zucchinis are susceptible to a few common pests and diseases. It’s important to monitor your plants regularly and take action if you notice any problems.
* Squash Bugs: These pests can suck the sap from the leaves and stems, weakening the plants. Handpick them off the plants or use an insecticidal soap.
* Squash Vine Borers: These pests bore into the stems of the plants, causing them to wilt and die. Wrap the base of the stems with aluminum foil to prevent the borers from entering.
* Powdery Mildew: This fungal disease causes a white, powdery coating on the leaves. Improve air circulation by pruning the plants and avoid overhead watering. You can also treat with a fungicide.
My Pest and Disease Control Strategy:
1. Regular Monitoring: Inspect your plants regularly for pests and diseases.
2. Handpicking: Handpick squash bugs and other pests off the plants.
3. Insecticidal Soap: Use insecticidal soap to control pests.
4. Fungicide: Treat powdery mildew with a fungicide.
The Secret Weapon: Blossom End Rot Prevention
Blossom end rot is a common problem in zucchinis, especially during hot, dry weather. It’s caused by a calcium deficiency and results in a dark, sunken spot on the blossom end of the fruit.
* Consistent Watering: Consistent watering is crucial for preventing blossom end rot.
* Calcium Supplement: You can add a calcium supplement to the soil or spray the plants with a calcium solution. I like to use bone meal or egg
Conclusion
So, there you have it! This simple yet incredibly effective Borax cleaner DIY method is a game-changer for anyone looking to reduce their reliance on harsh chemicals and embrace a more natural approach to cleaning. We’ve walked you through the process, highlighting its ease, affordability, and versatility. But the real magic lies in experiencing the results firsthand.
Why is this a must-try? Because it’s not just about cleaning; it’s about making a conscious choice for your health, your home, and the environment. Commercial cleaners are often packed with synthetic fragrances, dyes, and chemicals that can trigger allergies, irritate skin, and contribute to indoor air pollution. Our Borax cleaner DIY recipe offers a powerful alternative that’s gentle yet effective.
Think about it: you can tackle tough stains, disinfect surfaces, and deodorize spaces with just a few simple ingredients you likely already have on hand. Plus, you have complete control over what goes into your cleaner, allowing you to customize it to your specific needs and preferences.
Speaking of customization, here are a few suggestions to elevate your Borax cleaner DIY experience:
* Scent Sensations: Add a few drops of your favorite essential oils for a natural fragrance boost. Lavender, lemon, tea tree, and eucalyptus are all excellent choices, each offering unique aromatherapy benefits. For example, lavender promotes relaxation, while lemon provides an invigorating and uplifting scent.
* Vinegar Power: For extra cleaning power, especially on stubborn stains or hard water deposits, consider adding a splash of white vinegar to your Borax cleaner solution. Just be mindful of the surfaces you’re cleaning, as vinegar can be acidic and may not be suitable for all materials.
* Baking Soda Boost: To tackle tough odors and gently scrub surfaces, add a tablespoon or two of baking soda to your Borax cleaner mixture. Baking soda is a natural deodorizer and abrasive, making it a valuable addition to your cleaning arsenal.
* Concentrated Cleaning Paste: For targeted stain removal, create a paste by mixing Borax with a small amount of water. Apply the paste directly to the stain, let it sit for a few minutes, and then scrub gently with a damp cloth.
Don’t just take our word for it – try this Borax cleaner DIY method yourself and witness the difference it can make. We’re confident that you’ll be impressed by its cleaning power, its affordability, and its eco-friendliness.
We encourage you to experiment with different variations, find what works best for your home, and share your experiences with us! Let us know in the comments below how you’re using your homemade Borax cleaner and any tips or tricks you’ve discovered along the way. Your feedback will not only help us improve our recipe but also inspire others to embrace the power of DIY cleaning.
Ready to ditch the harsh chemicals and embrace a cleaner, healthier home? Give our Borax cleaner DIY recipe a try today!
Frequently Asked Questions (FAQs)
What exactly is Borax, and is it safe to use in my home?
Borax, also known as sodium borate, is a naturally occurring mineral compound that has been used for cleaning and laundry purposes for over a century. While it’s generally considered safe when used as directed, it’s important to handle it with care. Avoid ingestion and prolonged skin contact. Always keep Borax out of reach of children and pets. When using Borax cleaner DIY recipes, ensure adequate ventilation and wear gloves if you have sensitive skin. Some individuals may experience skin irritation from prolonged exposure, so it’s best to err on the side of caution.
Can I use this Borax cleaner DIY on all surfaces in my home?
While Borax cleaner is versatile, it’s not suitable for all surfaces. Avoid using it on delicate materials like silk, wool, or untreated wood. It’s also not recommended for use on aluminum, as it can cause discoloration. Always test the cleaner on an inconspicuous area first to ensure it doesn’t damage the surface. For surfaces like granite or marble, which can be sensitive to alkaline cleaners, it’s best to use a pH-neutral cleaner specifically designed for those materials. When in doubt, consult the manufacturer’s instructions for the surface you’re cleaning.
How does this Borax cleaner DIY compare to commercial cleaning products in terms of effectiveness?
Our Borax cleaner DIY recipe is surprisingly effective at tackling a wide range of cleaning tasks. It can effectively remove stains, disinfect surfaces, and deodorize spaces. While it may not be as potent as some heavy-duty commercial cleaners, it offers a gentler and more natural alternative that’s less likely to cause irritation or environmental harm. For particularly stubborn stains or heavily soiled areas, you may need to use a slightly more concentrated solution or allow the cleaner to sit for a longer period of time before scrubbing. The key is to experiment and find what works best for your specific cleaning needs.
How long does the Borax cleaner DIY solution last?
The Borax cleaner DIY solution typically lasts for several weeks when stored in an airtight container. However, it’s best to use it within a month or two to ensure optimal effectiveness. Over time, the solution may become less potent, especially if it’s exposed to air or sunlight. To maximize its shelf life, store the cleaner in a cool, dark place. If you notice any changes in color, odor, or consistency, it’s best to discard the solution and make a fresh batch.
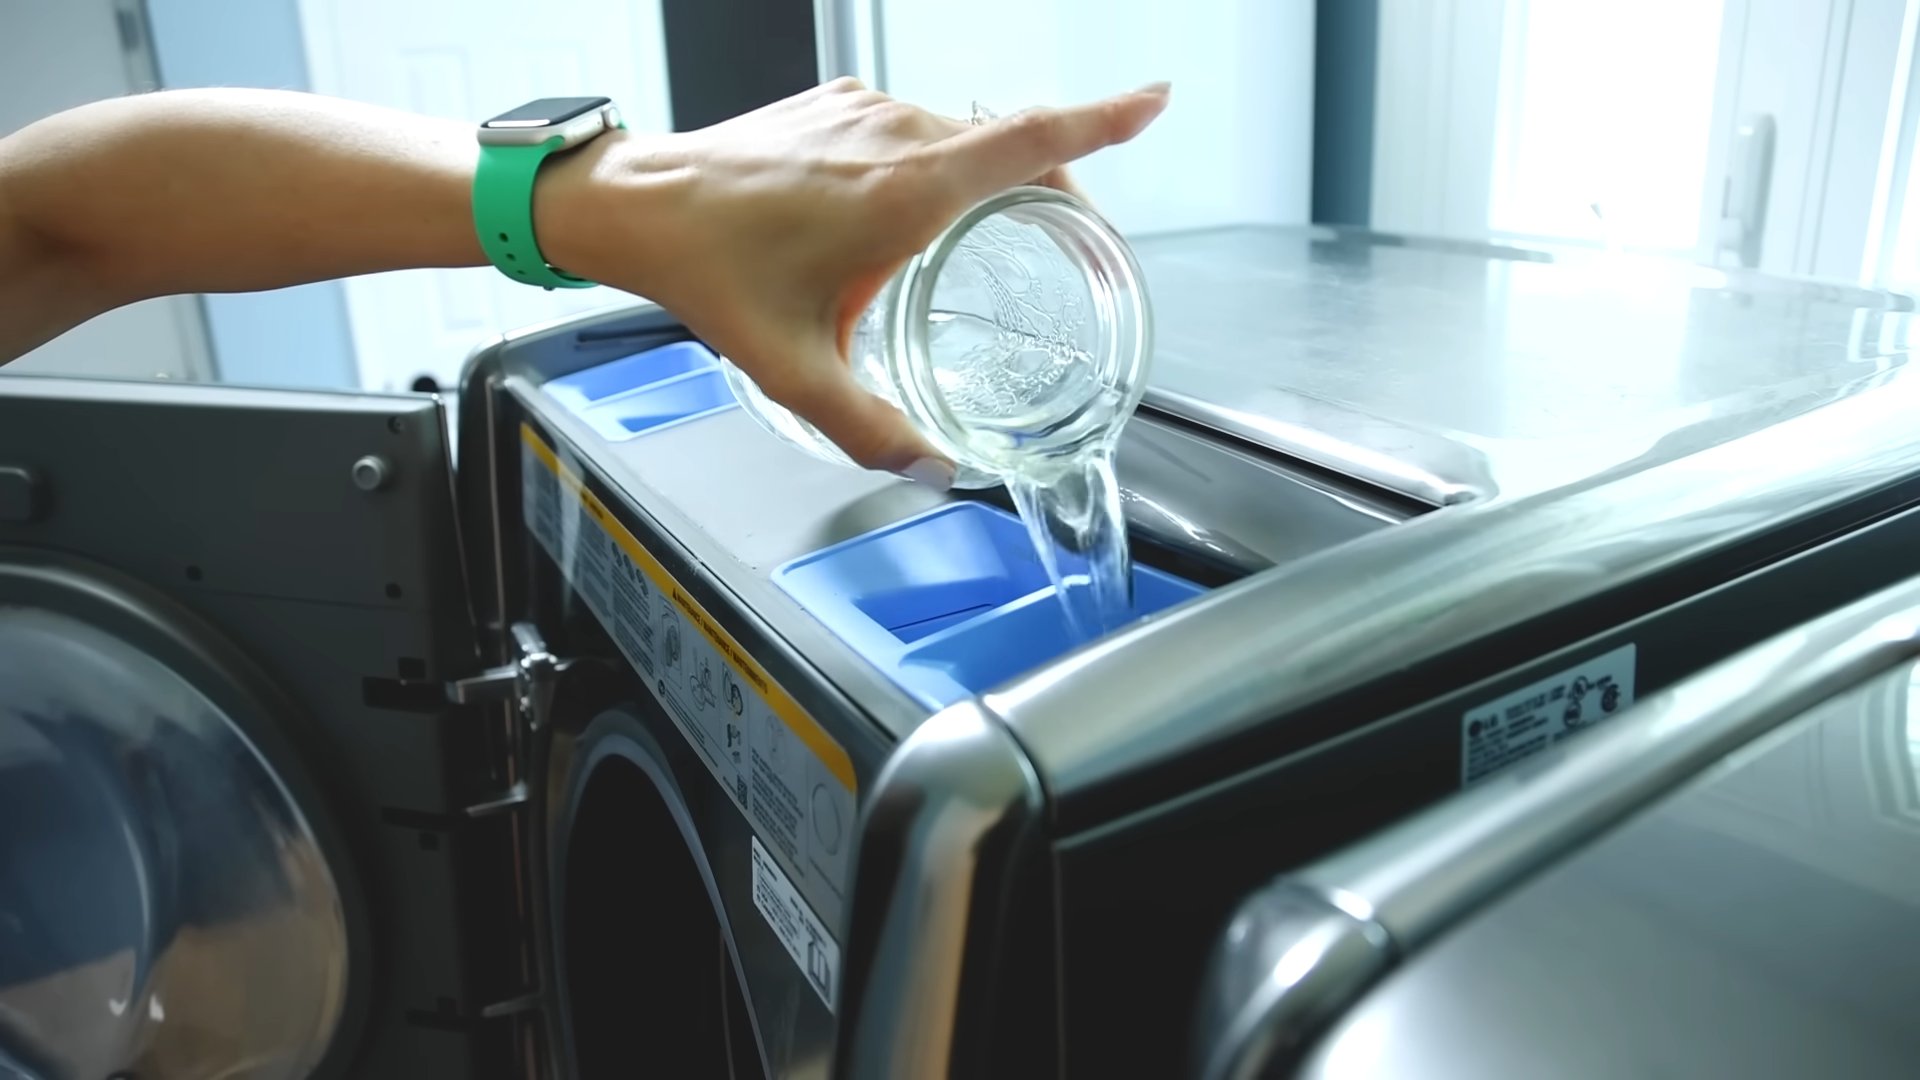
Can I use this Borax cleaner DIY in my laundry?
Yes, Borax can be a great addition to your laundry routine. It can help boost the cleaning power of your detergent, remove stains, and brighten whites. Add about half a cup of Borax to your washing machine along with your regular detergent. However, it’s important to note that Borax is not a substitute for detergent. It’s best used as a laundry booster to enhance the cleaning performance of your detergent. Also, always follow the care instructions on your clothing labels to avoid damaging delicate fabrics.
Is Borax safe for septic systems?
Yes, Borax is generally considered safe for septic systems when used in moderation. It doesn’t contain harsh chemicals that can disrupt the balance of bacteria in your septic tank. However, it’s important to avoid using excessive amounts of Borax, as this could potentially overload your septic system. Stick to the recommended amounts in our Borax cleaner DIY recipes and avoid pouring large quantities of Borax down the drain. If you have any concerns about the impact of Borax on your septic system, it’s always best to consult with a septic system professional.
What are some other uses for Borax besides cleaning?
Beyond cleaning, Borax has a variety of other uses around the home. It can be used as a natural weed killer, a pest control agent, and even a flux for soldering. However, it’s important to use Borax with caution and follow safety guidelines when using it for these purposes. Always keep Borax out of reach of children and pets, and avoid using it in areas where it could contaminate food or water sources. When using Borax for non-cleaning purposes, it’s best to research the specific application and follow the recommended instructions carefully.

Leave a Comment