

Indoor Fennel Growing: A Beginner’s Guide to Fresh Herbs All Year Round
Indoor fennel growing might sound intimidating, but I promise you, it’s easier than you think! I’ve always loved the unique licorice-like flavor of fennel, but fresh fennel can be surprisingly expensive and often lacks the vibrant freshness of homegrown herbs. That’s why I decided to tackle the challenge of growing my own, and let me tell you, the results have been incredibly rewarding. This article is your passport to a year-round supply of this delicious herb, right from your kitchen windowsill.
The history of fennel is fascinating! Cultivated for thousands of years, it holds a significant place in various cultures, appearing in ancient Greek mythology and traditional medicine. But you don’t need to be a botanist or a history buff to enjoy the benefits of indoor fennel growing. Whether you’re a seasoned gardener or a complete novice, this guide will walk you through everything you need to know, from selecting the right seeds to harvesting your own flavorful bounty.
Why Grow Fennel Indoors?
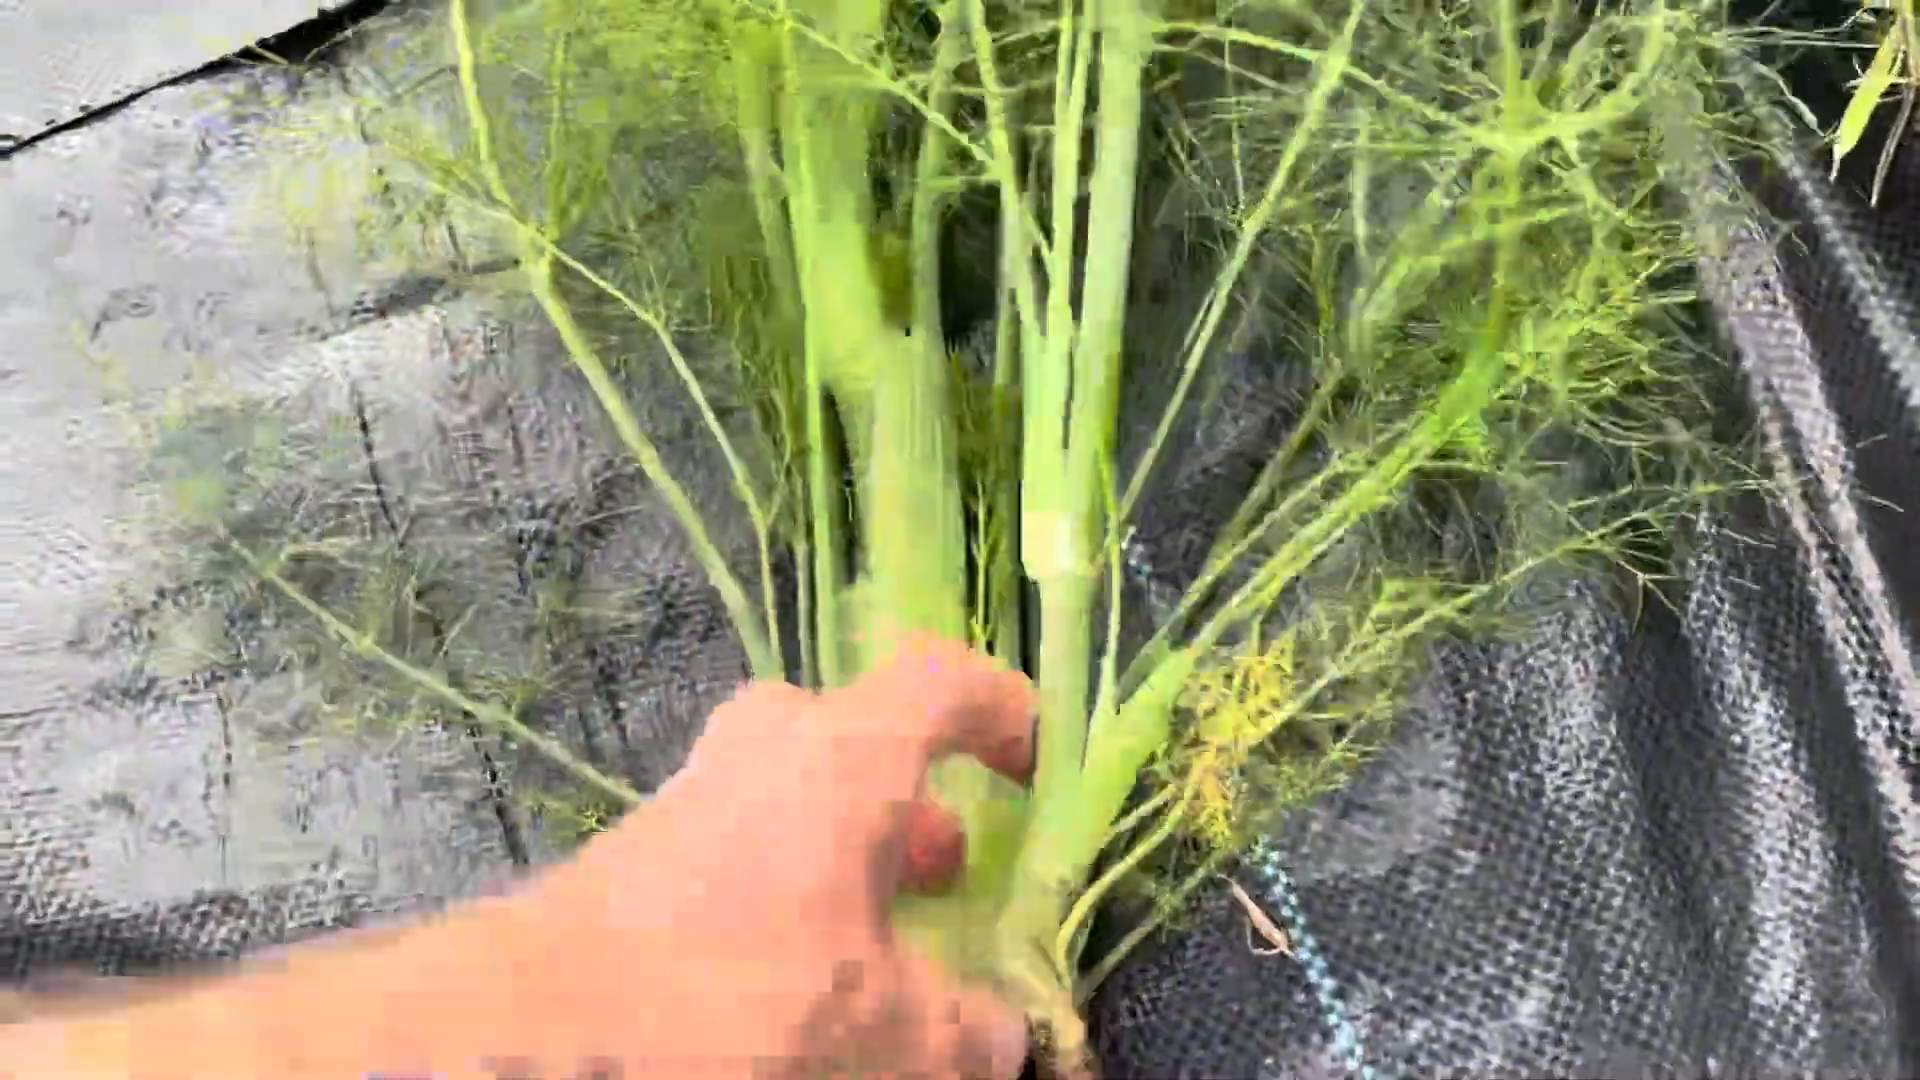
Let’s be honest, the convenience alone is a huge draw. Imagine snipping fresh fennel fronds for your pasta dishes or salads anytime you want, regardless of the season or weather outside. Plus, growing your own fennel ensures you’re getting the freshest, most flavorful herbs possible, free from pesticides and other chemicals. This indoor fennel growing method is perfect for apartment dwellers, those with limited outdoor space, or anyone who simply wants to enjoy the satisfaction of nurturing a plant from seed to harvest.
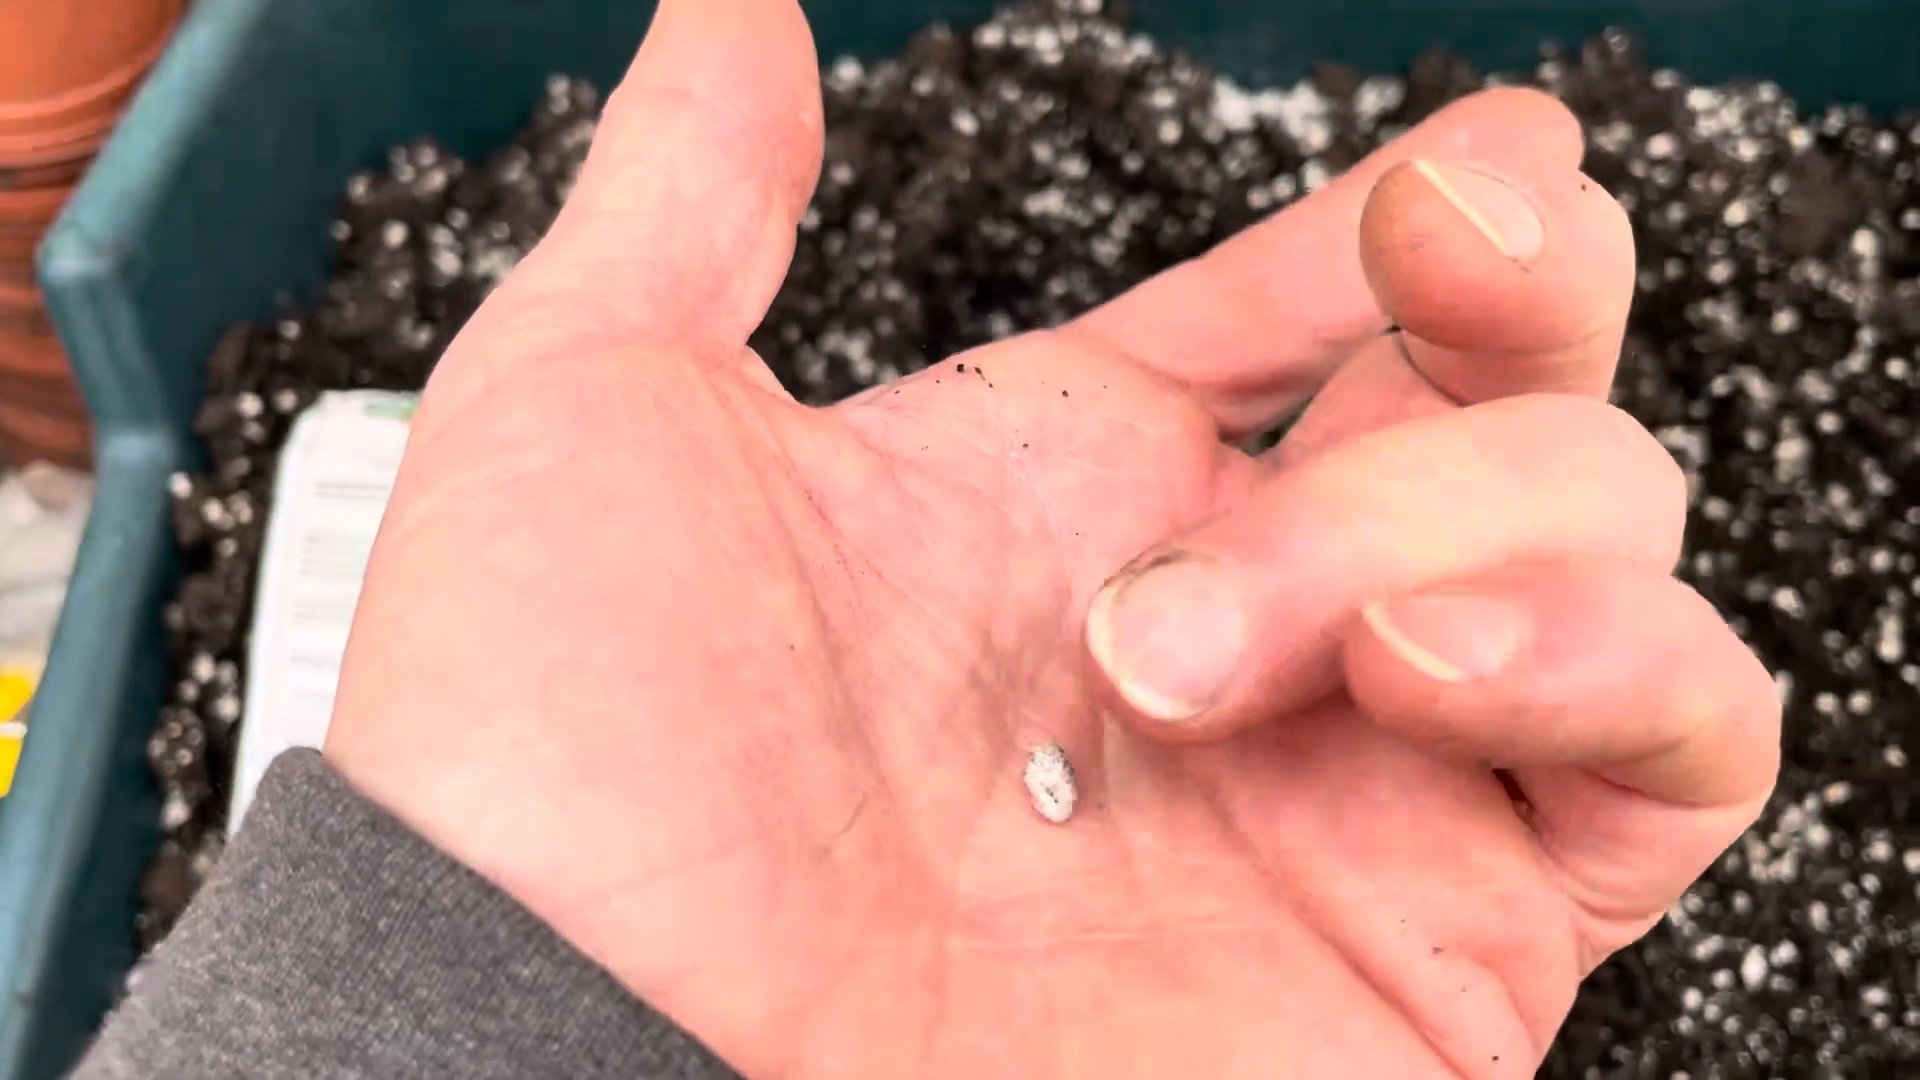
So, are you ready to embark on this exciting journey? Let’s get started with my simple, step-by-step guide to successfully growing your own delicious fennel indoors!
My Amazing Vinegar Cleaning Solutions: A DIY Guide
Vinegar. It’s not just for salads anymore! I’ve been using vinegar for cleaning for years, and I’m amazed at how versatile and effective it is. It’s cheap, readily available, and environmentally friendly – what’s not to love? This guide will walk you through some of my favorite vinegar cleaning solutions, perfect for tackling almost any cleaning job around the house.
Section 1: Gathering Your Supplies
- White distilled vinegar (the cheapest kind works perfectly!)
- Spray bottles (various sizes are helpful)
- Microfiber cloths (these are my absolute favorite for cleaning)
- Optional: Essential oils (for a pleasant scent – lavender and lemon are my go-tos)
- Optional: Baking soda (for scrubbing power)
- Rubber gloves (protect your hands, especially when dealing with tougher messes)
Section 2: Basic Vinegar Cleaning Solution
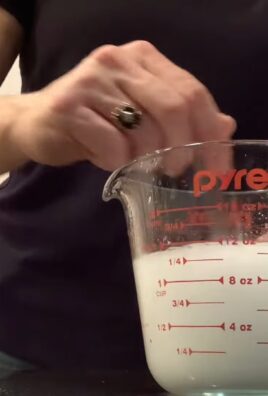
This is your go-to recipe for everyday cleaning. It’s simple, effective, and a great starting point for more specialized solutions.
- Fill your spray bottle about halfway with white distilled vinegar.
- Top off the bottle with water.
- If you want to add a scent, add 10-15 drops of your favorite essential oil. A little goes a long way!
- Put the lid on tightly and shake gently to mix.
- Spray the solution onto the surface you’re cleaning.
- Wipe clean with a microfiber cloth. For tougher messes, let the solution sit for a few minutes before wiping.
Section 3: Specialized Vinegar Cleaning Solutions
Now for the fun part! Let’s explore some specific cleaning tasks and how to tailor your vinegar solution for optimal results.
3.1 Tackling Greasy Surfaces
Vinegar is surprisingly effective at cutting through grease. This solution is perfect for cleaning your stovetop, oven (after it’s cooled down!), and even your microwave.
- Combine equal parts white vinegar and water in your spray bottle.
- Spray generously onto the greasy surface.
- Let it sit for 10-15 minutes to allow the vinegar to break down the grease.
- Scrub with a microfiber cloth or a non-abrasive sponge. For stubborn grease, you might need a little elbow grease!
- Wipe clean with a fresh, damp cloth.
3.2 Cleaning Your Windows and Mirrors
For sparkling clean windows and mirrors, ditch the chemical cleaners and try this vinegar solution. You’ll be amazed at the streak-free shine!
- Mix one part white vinegar with four parts water in your spray bottle.
- Spray onto your windows and mirrors.
- Wipe clean with a clean, dry microfiber cloth or newspaper (newspaper works surprisingly well!). Work in sections for best results.
- For extra stubborn streaks, try using a clean squeegee.
3.3 Descaling Your Showerhead
Hard water deposits can clog your showerhead and reduce water pressure. Vinegar is a fantastic way to remove these mineral build-ups.
- Fill a plastic bag with white vinegar.
- Secure the bag around your showerhead using a rubber band or twist tie.
- Let it soak for at least an hour, or even overnight for more stubborn deposits.
- Remove the bag and rinse the showerhead thoroughly with water.
- Turn on the shower to check the water flow. You might need to repeat the process if necessary.
3.4 Cleaning Your Dishwasher
Keep your dishwasher sparkling clean and running efficiently with this simple vinegar solution.
- Place a cup of white vinegar in a dishwasher-safe container on the top rack of your empty dishwasher.
- Run a full cycle on the hottest setting.
- This will help remove food residue and mineral deposits.
3.5 Removing Soap Scum
Soap scum is a common problem in bathrooms. Vinegar can help eliminate it and leave your surfaces sparkling.
- Mix equal parts white vinegar and water in a spray bottle.
- Spray onto the affected areas.
- Let it sit for a few minutes.
- Scrub with a microfiber cloth or a non-abrasive sponge.
- Rinse thoroughly with water.
3.6 Cleaning Your Washing Machine
Keep your washing machine clean and prevent mold and mildew build-up with this simple trick.
- Pour two cups of white vinegar into the washing machine drum.
- Run a hot water cycle without any laundry.
- This will help clean and deodorize your washing machine.
3.7 Making a Vinegar and Baking Soda Paste for Tough Scratches
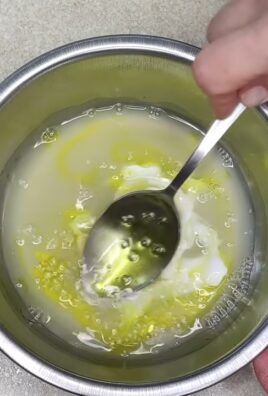
For really stubborn stains or baked-on food, a paste of baking soda and vinegar can work wonders. Be cautious, though, as this combination fizzes vigorously!
- Make a paste by combining baking soda and a small amount of vinegar. It will fizz, so do this in a bowl.
- Apply the paste to the affected area.
- Let it sit for a few minutes.
- Scrub gently with a soft brush or sponge.
- Wipe clean with a damp cloth.
Section 4: Safety Precautions
- Always test your cleaning solution on a small, inconspicuous area first to ensure it doesn’t damage the surface.
- Avoid using vinegar on marble, granite, or other natural stone surfaces, as it can etch the stone.
- Always wear rubber gloves to protect your hands.
- Ventilate the area well when using vinegar, especially in enclosed spaces.
Conclusion
So there you have it – a comprehensive guide to the rewarding experience of indoor fennel growing. This DIY trick isn’t just about fresh, flavorful fennel at your fingertips; it’s about connecting with nature, even within the confines of your home. The satisfaction of nurturing a plant from seed to harvest, witnessing its delicate fronds unfurl, and ultimately savoring the fruits (or rather, the bulbs and fronds!) of your labor is unparalleled. This method offers a level of control and freshness you simply can’t achieve with store-bought fennel. You’ll be amazed by the superior taste and aroma of homegrown fennel, a testament to the power of simple, sustainable gardening. Beyond the culinary benefits, indoor fennel growing offers a therapeutic escape, a calming ritual that connects you to the natural world. It’s a project suitable for beginners and experienced gardeners alike, offering a rewarding experience regardless of your green thumb expertise.
Beyond the basic method outlined, there are countless ways to personalize your indoor fennel growing journey. Experiment with different types of fennel – Florence fennel for its bulb, or bronze fennel for its striking foliage. Consider using different containers – terracotta pots offer excellent drainage, while self-watering pots provide convenience. You can also explore companion planting, pairing your fennel with herbs like basil or dill, which can enhance its growth and flavor. Remember to adjust your watering and fertilizing schedule based on your environment and the fennel’s growth stage. Don’t be afraid to experiment and find what works best for you and your space. The beauty of indoor gardening lies in its adaptability and the opportunity for continuous learning and refinement.
We strongly encourage you to try this simple yet effective indoor fennel growing method. Share your experiences, successes, and even your challenges with us and the wider gardening community. Post pictures of your thriving fennel plants on social media using #IndoorFennelGrowing and tag us! Let’s build a supportive network of indoor gardeners, sharing tips, tricks, and inspiration. Your journey into the world of indoor fennel growing is just beginning, and we’re excited to see what you create. Remember, the most important ingredient is your passion and dedication – the rest will follow naturally. Happy growing!
Frequently Asked Questions
What type of soil is best for indoor fennel growing?
Fennel prefers well-draining soil that’s rich in organic matter. A good potting mix specifically designed for vegetables or herbs is ideal. Ensure the soil is loose enough to allow for proper root development. Avoid heavy clay soils, which can retain too much moisture and lead to root rot.
How much sunlight does fennel need indoors?
Fennel requires at least 6-8 hours of sunlight daily. A south-facing window is ideal, but you can supplement with grow lights if necessary. Ensure the light source is positioned appropriately to avoid scorching the delicate leaves. Observe your plants closely – if they appear leggy or pale, they likely need more light.
How often should I water my indoor fennel?
Water your fennel when the top inch of soil feels dry to the touch. Avoid overwatering, which can lead to root rot. Allow the soil to dry slightly between waterings. The frequency of watering will depend on factors such as the size of your pot, the type of soil, and the ambient temperature and humidity. Always check the soil moisture before watering.
What are the common problems encountered when growing fennel indoors?
Common problems include pests like aphids and spider mites, and diseases like fungal leaf spots. Regularly inspect your plants for signs of infestation or disease. Use appropriate organic pest control methods if necessary. Ensure good air circulation to prevent fungal diseases. Proper watering and fertilization are crucial to prevent many common problems.
Can I harvest fennel leaves and bulbs at the same time?
Yes, you can harvest both the leaves and the bulb of Florence fennel. The leaves can be harvested regularly throughout the growing season, while the bulb is typically harvested when it reaches maturity, usually around 3-4 months after planting. Harvesting the leaves encourages bushier growth. For a larger bulb, avoid harvesting too many leaves early in the growing season.
How long does it take to grow fennel indoors?
The time it takes to grow fennel indoors varies depending on the variety and growing conditions. Generally, it takes around 3-4 months to harvest the bulb of Florence fennel, while the leaves can be harvested sooner. Factors such as light intensity, temperature, and soil quality can influence the growth rate. Be patient and provide optimal growing conditions for the best results.
What should I do if my fennel plant is not growing well?
If your fennel plant is not growing well, consider the following factors: Insufficient sunlight, improper watering, nutrient deficiencies, pests, or diseases. Assess your growing conditions and make necessary adjustments. Ensure your plant receives adequate sunlight, water appropriately, and provide sufficient nutrients. Address any pest or disease issues promptly. If the problem persists, consult a gardening expert for further assistance.
Can I grow fennel from cuttings?
While fennel can be grown from seed, it’s generally not recommended to propagate it from cuttings. Fennel is a taproot plant, and cuttings typically do not root easily. Starting from seed is the most reliable method for successful indoor fennel growing.

Leave a Comment