

Dish Soap Baking Soda Cleaner: Your Secret Weapon for a Sparkling Home!
Ever feel like you’re battling grime with an arsenal of harsh chemicals? I know I have! But what if I told you that the solution to a sparkling clean home is likely already sitting in your kitchen? For generations, resourceful homemakers have relied on simple, natural ingredients to tackle tough cleaning jobs. Think back to your grandmother’s cleaning rituals – chances are, she wasn’t reaching for a bottle filled with unpronounceable chemicals. She was probably whipping up a paste of baking soda and something else!
This powerful duo, Dish Soap Baking Soda Cleaner, is more than just a cleaning hack; it’s a return to simpler, more sustainable living. In a world increasingly concerned about the environmental impact of our choices, embracing DIY cleaning solutions is a small but significant step towards a greener lifestyle. Plus, let’s be honest, who doesn’t love saving money? Store-bought cleaners can be expensive, and often contain ingredients that are harmful to our health and the environment.
This article is your ultimate guide to harnessing the cleaning power of dish soap and baking soda. I’ll show you how to create effective and safe cleaning solutions for everything from stubborn stovetop stains to grimy bathroom tiles. Get ready to ditch the harsh chemicals and embrace the magic of this dynamic cleaning duo! You’ll be amazed at how effective and versatile a simple Dish Soap Baking Soda Cleaner can be.
DIY All-Purpose Cleaner: Dish Soap & Baking Soda Powerhouse
Hey everyone! I’m so excited to share this super simple, yet incredibly effective, DIY all-purpose cleaner recipe with you. I’ve been using this for months now, and it’s replaced so many of the harsh chemical cleaners I used to buy. It’s safe, budget-friendly, and smells amazing (depending on the dish soap you choose!). Plus, it’s a fantastic way to reduce your environmental impact. Let’s get started!
Why This Cleaner Works
Before we dive into the how-to, let’s quickly touch on why this combination is so powerful. Dish soap is a fantastic degreaser and surfactant, meaning it helps to lift dirt and grime from surfaces. Baking soda, on the other hand, is a mild abrasive and deodorizer. Together, they create a cleaning powerhouse that can tackle everything from kitchen counters to bathroom sinks.
What You’ll Need
* Dish Soap (your favorite scent!)
* Baking Soda
* Spray Bottle (a clean, empty one)
* Water (optional, depending on your preference)
* Measuring Spoons (optional, for precision)
* Funnel (optional, for easier pouring)
* Microfiber Cloths or Sponges
Step-by-Step Instructions
Okay, let’s get down to business! Here’s how to make your own all-purpose cleaner:
1. Prepare Your Spray Bottle: Make sure your spray bottle is clean and completely empty. I usually rinse mine out with hot water and let it air dry before using it. This helps prevent any unwanted residue from mixing with your new cleaner.
2. Add Baking Soda: This is where the magic begins! I usually add about 1-2 tablespoons of baking soda to the spray bottle. If you’re using a funnel, this step is a breeze. If not, just be careful not to spill! The amount of baking soda you use will affect the cleaning power and the consistency of the cleaner. Start with less and add more if needed.
3. Add Dish Soap: Now for the fun part – the dish soap! I typically add about 1-2 tablespoons of dish soap as well. Again, the amount you use will depend on the concentration of your dish soap and your personal preference. I like to use a dish soap with a pleasant scent, like lemon or lavender, to give my cleaner a nice aroma.
4. Add Water (Optional): This step is optional, but I usually add a bit of water to dilute the mixture slightly. This helps to prevent the cleaner from being too thick and potentially clogging the spray nozzle. If you choose to add water, I recommend using distilled water to avoid any mineral buildup. Fill the spray bottle about ¾ full with water.
5. Shake Well: This is crucial! Once you’ve added all the ingredients, tightly screw on the spray nozzle and shake the bottle vigorously for at least 30 seconds. This will ensure that the baking soda and dish soap are thoroughly mixed and dissolved. You might notice some fizzing at first, which is perfectly normal.
6. Test Before Use: Before you go crazy cleaning everything in sight, it’s always a good idea to test the cleaner on a small, inconspicuous area first. This will help you ensure that it doesn’t damage or discolor the surface you’re cleaning.
7. Spray and Wipe: Now you’re ready to clean! Simply spray the cleaner onto the surface you want to clean and let it sit for a few seconds. Then, wipe it away with a clean microfiber cloth or sponge. For tougher stains, you may need to let the cleaner sit for a bit longer or scrub a little harder.
Cleaning Different Surfaces
This cleaner is pretty versatile, but here are some specific tips for cleaning different surfaces:
Kitchen Counters
This cleaner works wonders on kitchen counters! It easily cuts through grease and grime, leaving your counters sparkling clean. Just be sure to wipe up any spills immediately to prevent staining. For granite or marble countertops, I recommend using a very diluted solution to avoid damaging the stone.
Bathroom Sinks and Tubs
Say goodbye to soap scum! This cleaner is great for cleaning bathroom sinks and tubs. The baking soda acts as a mild abrasive to help remove stubborn stains. Just be sure to rinse thoroughly after cleaning to remove any residue.
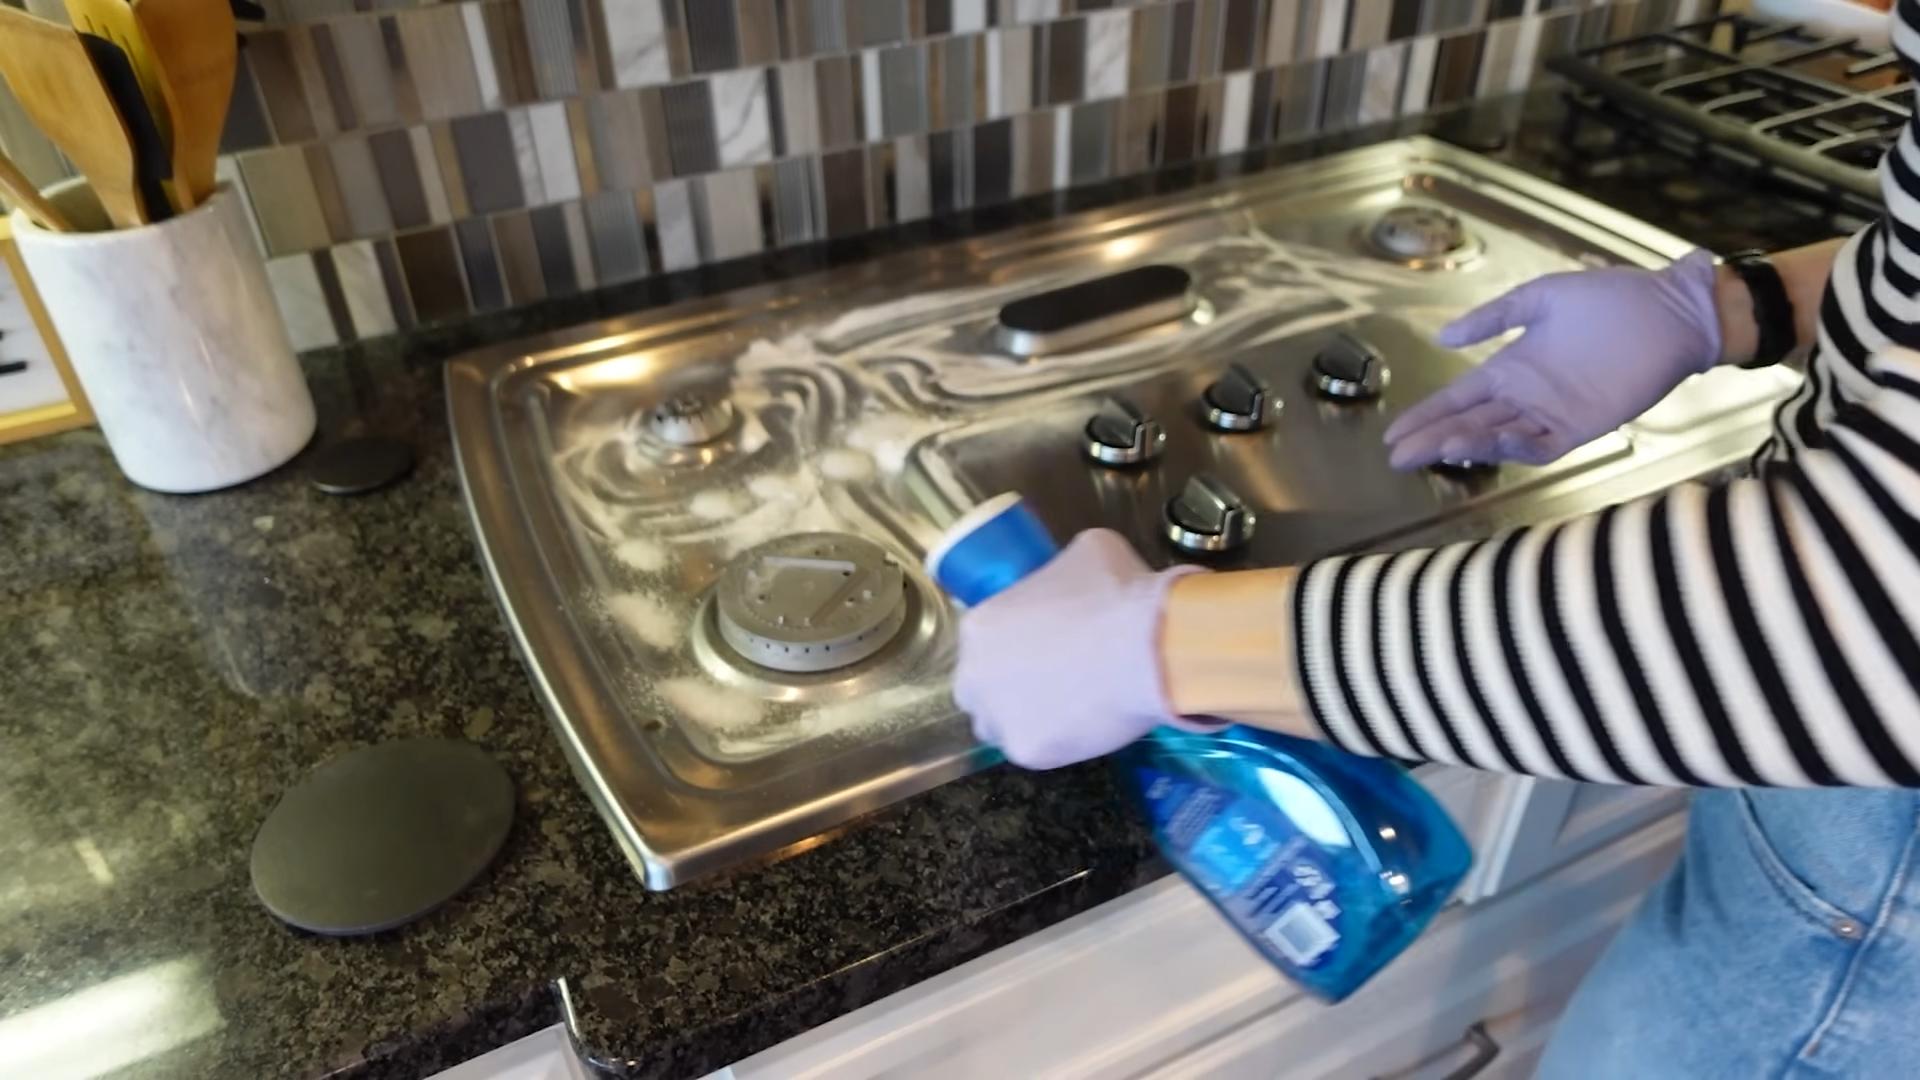
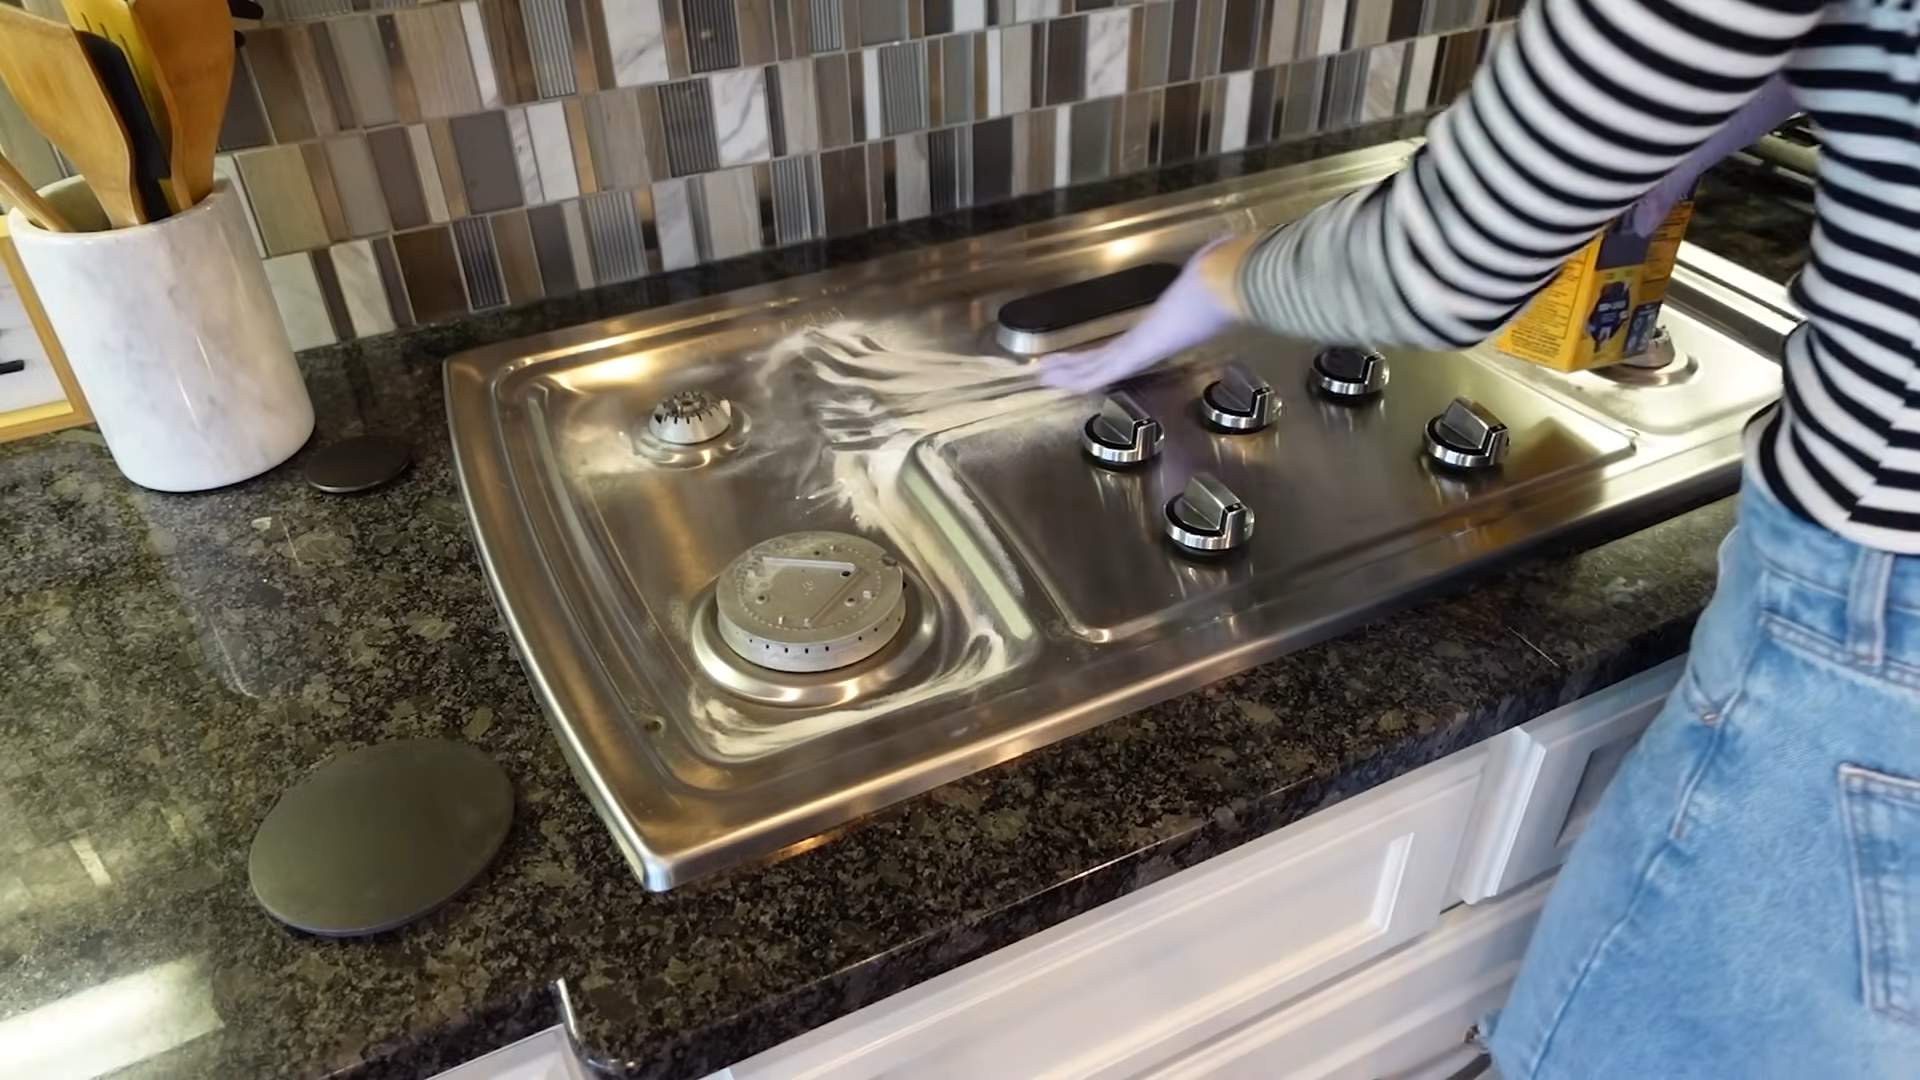
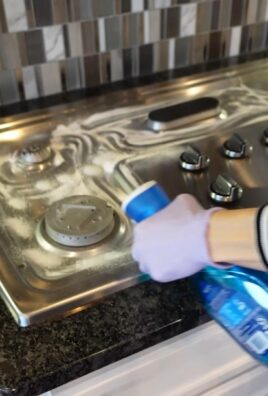
Stovetops
Burnt-on food is no match for this cleaner! Spray the cleaner onto your stovetop and let it sit for a few minutes. Then, use a sponge or scrub brush to scrub away the burnt-on food. You may need to repeat this process for particularly stubborn stains.
Microwaves
Cleaning the microwave is a breeze with this cleaner! Simply spray the cleaner onto a damp sponge and wipe down the inside of the microwave. For tough stains, you can also microwave a cup of water with a few tablespoons of vinegar for a few minutes to loosen the grime before wiping it away.
Floors (Spot Cleaning)
While I wouldn’t recommend using this cleaner for your entire floor, it’s great for spot cleaning spills and stains. Just be sure to dilute the cleaner with plenty of water to avoid leaving a sticky residue.
Troubleshooting
Sometimes, things don’t go exactly as planned. Here are a few common issues you might encounter and how to fix them:
* Clogged Spray Nozzle: If your spray nozzle gets clogged, it’s likely due to undissolved baking soda. Try shaking the bottle again to dissolve the baking soda. If that doesn’t work, you can try removing the nozzle and rinsing it with warm water.
* Streaky Residue: If you’re noticing a streaky residue after cleaning, it could be due to using too much dish soap. Try diluting the cleaner with more water or using less dish soap in your next batch.
* Unpleasant Smell: If you don’t like the smell of your cleaner, try using a different dish soap. There are tons of different scents to choose from, so you’re sure to find one you love. You can also add a few drops of essential oil to your cleaner for an extra boost of fragrance.
Safety Precautions
While this cleaner is generally safe, it’s always a good idea to take a few precautions:
* Keep out of reach of children and pets.
* Avoid contact with eyes. If contact occurs, rinse thoroughly with water.
* Do not ingest.
* Test on an inconspicuous area before using on delicate surfaces.
* Do not mix with bleach or other harsh chemicals.
Variations and Customization
The beauty of DIY is that you can customize things to your liking! Here are a few variations you can try:
* Add Essential Oils: For an extra boost of fragrance and cleaning power, add a few drops of your favorite essential oils. Lemon, tea tree, and lavender are all great options.
* Vinegar Boost: For extra cleaning power, especially for tackling hard water stains, add a splash of white vinegar. Be careful when mixing vinegar with baking soda, as it can create a fizzy reaction. Add the vinegar slowly and in a well-ventilated area.
* Borax for Tough Stains: For really tough stains, you can add a small amount of borax to the mixture. Borax is a powerful cleaning agent, but it can be irritating to the skin, so be sure to wear gloves when using it.
Storage
Store your DIY all-purpose cleaner in a cool, dry place away from direct sunlight. It should last for several months. I usually make a new batch every few weeks to ensure that it’s fresh and effective.
Final Thoughts
I hope you enjoy making and using this DIY all-purpose cleaner as much as I do! It’s a simple, affordable, and effective way to keep your home clean and healthy. Plus, it’s a great feeling knowing that you’re using natural ingredients and reducing your reliance on harsh chemicals. Happy cleaning!
Conclusion
So, there you have it! A simple, effective, and surprisingly powerful DIY cleaning solution using just two ingredients you likely already have in your home: dish soap and baking soda. This isn’t just another cleaning hack; it’s a game-changer for tackling stubborn grime, grease, and everyday messes without resorting to harsh chemicals. The beauty of this **dish soap baking soda cleaner** lies in its versatility and affordability.
Why is this a must-try? Because it works! We’ve all been there, staring down a greasy stovetop, a stained sink, or a grimy bathroom tile, wondering how to conquer the mess without spending a fortune on specialized cleaners. This solution offers a cost-effective and environmentally friendly alternative. Baking soda acts as a gentle abrasive, lifting dirt and grime, while dish soap cuts through grease and helps to dissolve stubborn residues. Together, they create a powerful cleaning synergy that’s tough on messes but gentle on your surfaces.
But the benefits don’t stop there. Unlike many commercial cleaners laden with harsh chemicals and overpowering fragrances, this DIY solution is relatively mild and safe for use around children and pets. You can breathe easy knowing you’re not exposing your family to potentially harmful toxins. Plus, the simple ingredients make it easy to customize the solution to suit your specific needs.
Looking for variations? Consider adding a few drops of your favorite essential oil for a pleasant scent. Lemon, lavender, and tea tree oil not only smell great but also possess natural antibacterial properties, adding an extra layer of cleaning power. For particularly stubborn stains, you can create a paste of baking soda and a small amount of dish soap, applying it directly to the affected area and letting it sit for a few minutes before scrubbing. You can also adjust the ratio of dish soap to baking soda depending on the type of mess you’re tackling. For lighter cleaning, use more dish soap; for heavier cleaning, use more baking soda.
We’ve found this DIY cleaner to be incredibly effective on a wide range of surfaces, including stovetops, ovens, sinks, bathtubs, tiles, and even grout. However, as with any cleaning product, it’s always a good idea to test it on an inconspicuous area first to ensure it doesn’t damage the surface. Avoid using it on delicate surfaces like marble or granite, as the baking soda can be abrasive.
Ultimately, this DIY dish soap and baking soda cleaner is more than just a cleaning hack; it’s a sustainable and effective way to keep your home sparkling clean without breaking the bank or compromising your health. We’re confident that once you try it, you’ll be amazed by the results.
So, what are you waiting for? Gather your dish soap and baking soda, and get ready to experience the cleaning power of this dynamic duo. We encourage you to try this DIY trick and share your experience with us! Let us know in the comments below how it worked for you, what variations you tried, and any tips or tricks you discovered along the way. We can’t wait to hear from you! Share your before and after photos on social media and tag us – we love seeing your sparkling clean results! Let’s revolutionize the way we clean, one DIY solution at a time.
Frequently Asked Questions (FAQ)
Is this dish soap baking soda cleaner safe for all surfaces?
While this cleaner is generally safe for many surfaces, it’s crucial to exercise caution and test it on an inconspicuous area first. Avoid using it on delicate surfaces like marble, granite, or polished wood, as the baking soda can be abrasive and may cause scratching or dulling. It’s generally safe for use on stainless steel, ceramic, porcelain, tile, and glass, but always test first. When in doubt, consult the manufacturer’s instructions for your specific surface.
What type of dish soap works best?
Any standard liquid dish soap will work for this DIY cleaner. However, for extra cleaning power, consider using a dish soap that is specifically formulated to cut through grease. You can also experiment with different scents to find one you prefer. Avoid using dish soap that contains bleach, as this can react with the baking soda and create harmful fumes.
How much baking soda and dish soap should I use?
The ratio of baking soda to dish soap can be adjusted depending on the type of mess you’re tackling. A general guideline is to start with a 1:1 ratio, such as 1/2 cup of baking soda and 1/2 cup of dish soap. For lighter cleaning, you can use more dish soap and less baking soda. For heavier cleaning, you can use more baking soda and less dish soap. You can also adjust the consistency by adding a small amount of water if needed.
Can I store this cleaner for later use?
It’s best to use this cleaner immediately after mixing it, as the baking soda and dish soap can separate over time. If you do need to store it, keep it in an airtight container and shake well before each use. However, we recommend making a fresh batch each time for optimal cleaning power.
Does this cleaner have a strong smell?
The smell of this cleaner will depend on the dish soap you use. If you prefer a scented cleaner, choose a dish soap with a pleasant fragrance. You can also add a few drops of your favorite essential oil to the mixture for an extra boost of scent. Lemon, lavender, and tea tree oil are popular choices.
Can I use this cleaner to clean my oven?
Yes, this cleaner can be used to clean your oven. However, it may require some extra elbow grease for baked-on messes. To clean your oven, first, remove any loose debris. Then, create a paste of baking soda and dish soap and apply it to the interior of the oven, avoiding the heating elements. Let the paste sit for several hours or overnight. Finally, scrub the oven clean with a damp sponge or cloth.
Is this cleaner safe for septic systems?
Yes, this cleaner is generally safe for septic systems. Baking soda is a natural substance that won’t harm the bacteria in your septic tank. However, it’s always a good idea to use cleaning products sparingly to avoid overloading your septic system.
Can I use this cleaner to clean my toilet?
Yes, you can use this cleaner to clean your toilet. Sprinkle baking soda into the toilet bowl, then add a squirt of dish soap. Let it sit for a few minutes, then scrub with a toilet brush and flush.
What if the baking soda doesn’t dissolve completely?
It’s normal for some of the baking soda to remain undissolved, especially if you’re using a higher concentration. The undissolved baking soda will act as a gentle abrasive, helping to scrub away dirt and grime. Just be sure to rinse thoroughly after cleaning.
Where can I find more DIY cleaning recipes?
There are many resources available online and in libraries that offer DIY cleaning recipes. You can also search for DIY cleaning tips on social media platforms like Pinterest and YouTube. Remember to always research and test any new cleaning recipe before using it on a large area. Always prioritize safety and use caution when working with cleaning products.
Leave a Comment