

Microwave cleaning vinegar steam – sounds like a science experiment, right? Well, it’s actually one of the easiest and most effective DIY tricks I’ve discovered for keeping my kitchen sparkling! Let’s be honest, the microwave is a kitchen workhorse, reheating leftovers, popping popcorn, and generally saving us time. But all that use comes at a cost: splatters, spills, and a lingering odor that can make even the most delicious food seem less appealing.
For generations, vinegar has been a go-to cleaning agent, prized for its natural disinfecting properties. Our grandmothers knew the power of vinegar, using it for everything from laundry to window cleaning. This simple microwave cleaning vinegar steam method builds on that tradition, harnessing the power of steam to loosen grime and make wiping away messes a breeze.
Why do you need this DIY trick? Because nobody wants to spend hours scrubbing a microwave! This method is quick, easy, and uses ingredients you probably already have in your pantry. Plus, it’s a chemical-free alternative to harsh cleaning products, making it safer for your family and the environment. I’m going to show you how to banish those stubborn splatters and get your microwave looking (and smelling!) fresh in just a few minutes. Get ready to say goodbye to microwave messes and hello to a sparkling clean kitchen!
DIY Microwave Cleaning with Vinegar Steam: A Sparkling Clean in Minutes!
Hey everyone! Are you tired of staring into your microwave and seeing a Jackson Pollock painting of splattered food? I know I am! Cleaning the microwave is one of those chores I always put off, but it doesn’t have to be a dreaded task. This simple DIY hack using vinegar and steam will have your microwave sparkling clean in just a few minutes, with minimal effort. Trust me, it’s a game-changer!
What You’ll Need:
Before we dive in, let’s gather our supplies. The best part? You probably already have everything you need!
* A microwave-safe bowl (glass or ceramic works best)
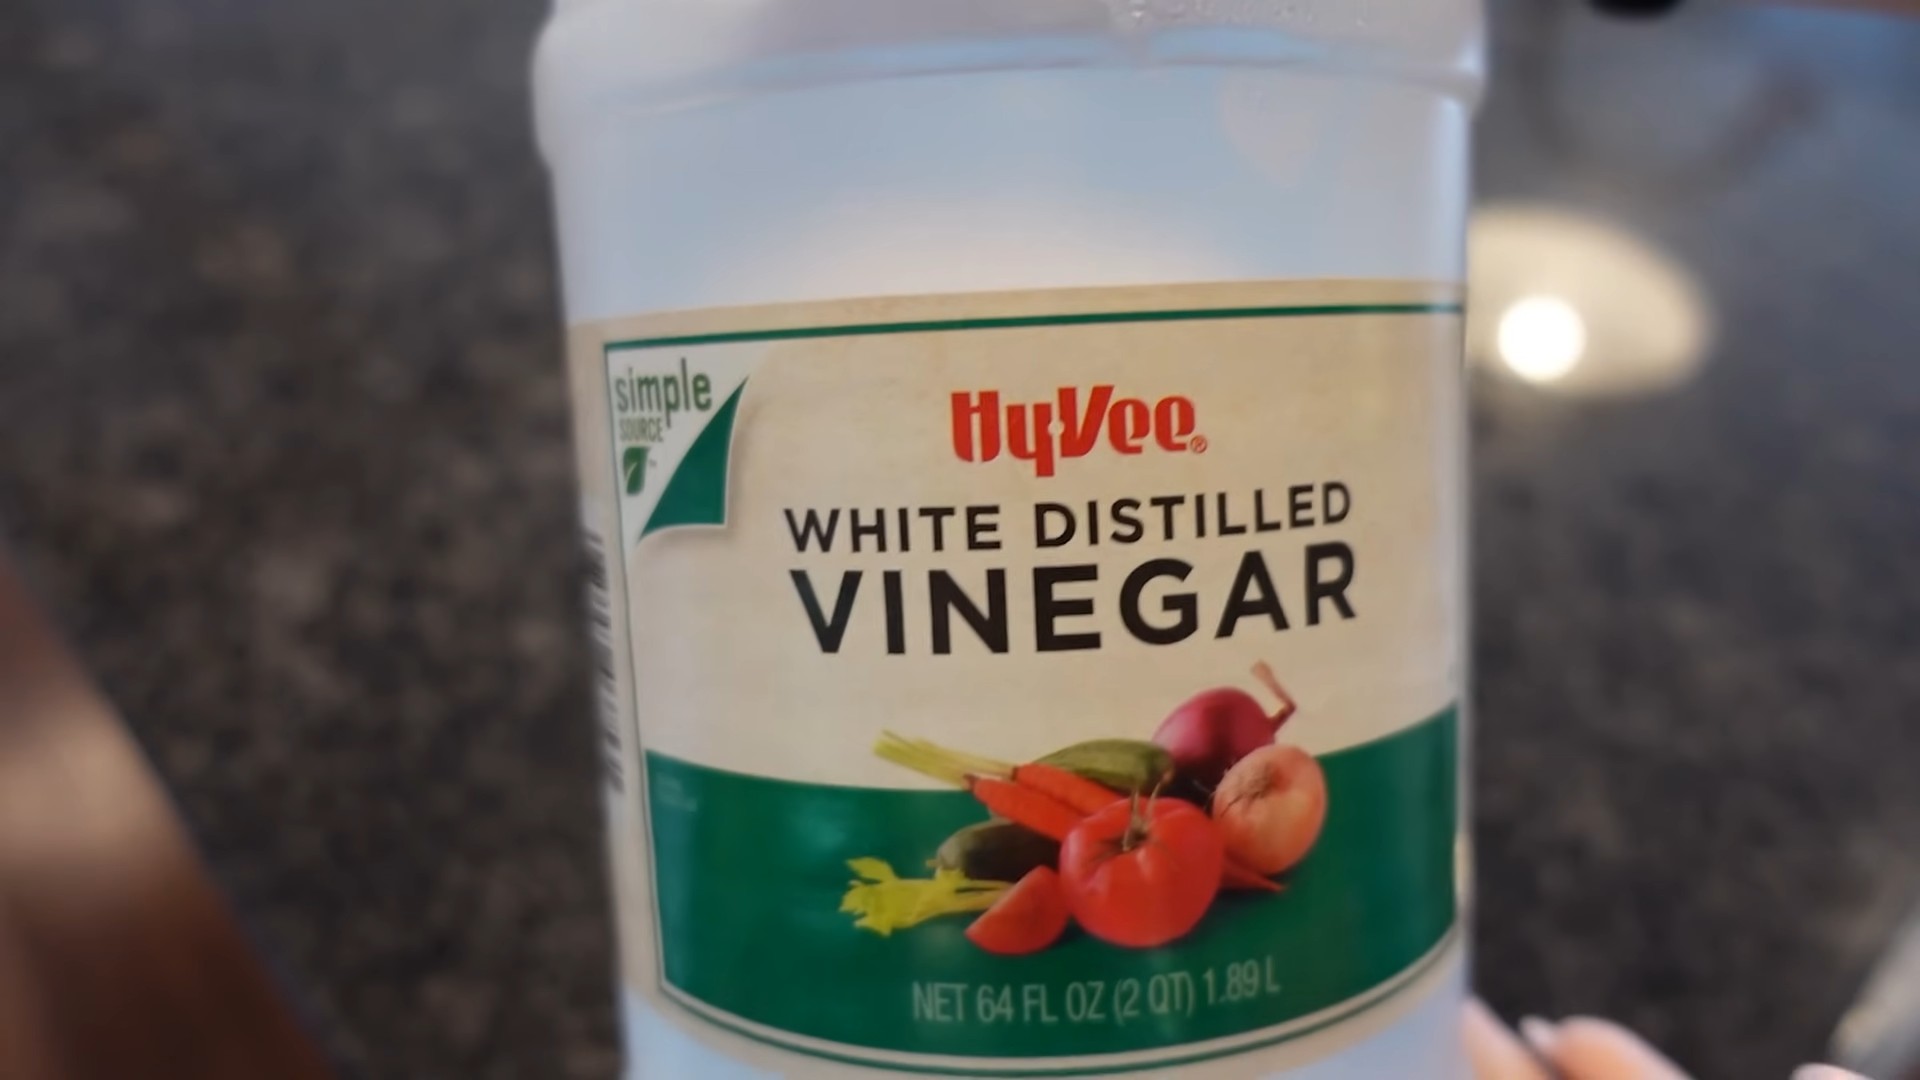
* White vinegar (the star of the show!)
* Water (tap water is perfectly fine)
* A clean sponge or cloth (microfiber cloths are my go-to)
* Oven mitts or pot holders (safety first!)
The Magic of Vinegar Steam: Why It Works
Vinegar is a natural cleaning powerhouse. Its acidity helps to loosen dried-on food particles, making them much easier to wipe away. The steam created in the microwave helps to penetrate even the toughest grime, softening it from the inside out. Plus, vinegar is a natural deodorizer, so it will help to eliminate any lingering food odors. It’s a win-win!
Step-by-Step Instructions: Let’s Get Cleaning!
Okay, let’s get down to business. Follow these simple steps, and you’ll have a sparkling clean microwave in no time.
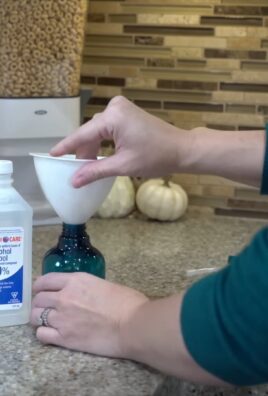
1. Prepare the Vinegar Solution: Grab your microwave-safe bowl and pour in one cup of water. Then, add one to two tablespoons of white vinegar. I usually start with one tablespoon, and if my microwave is particularly grimy, I’ll add a second. Don’t worry about the vinegar smell; it dissipates quickly.
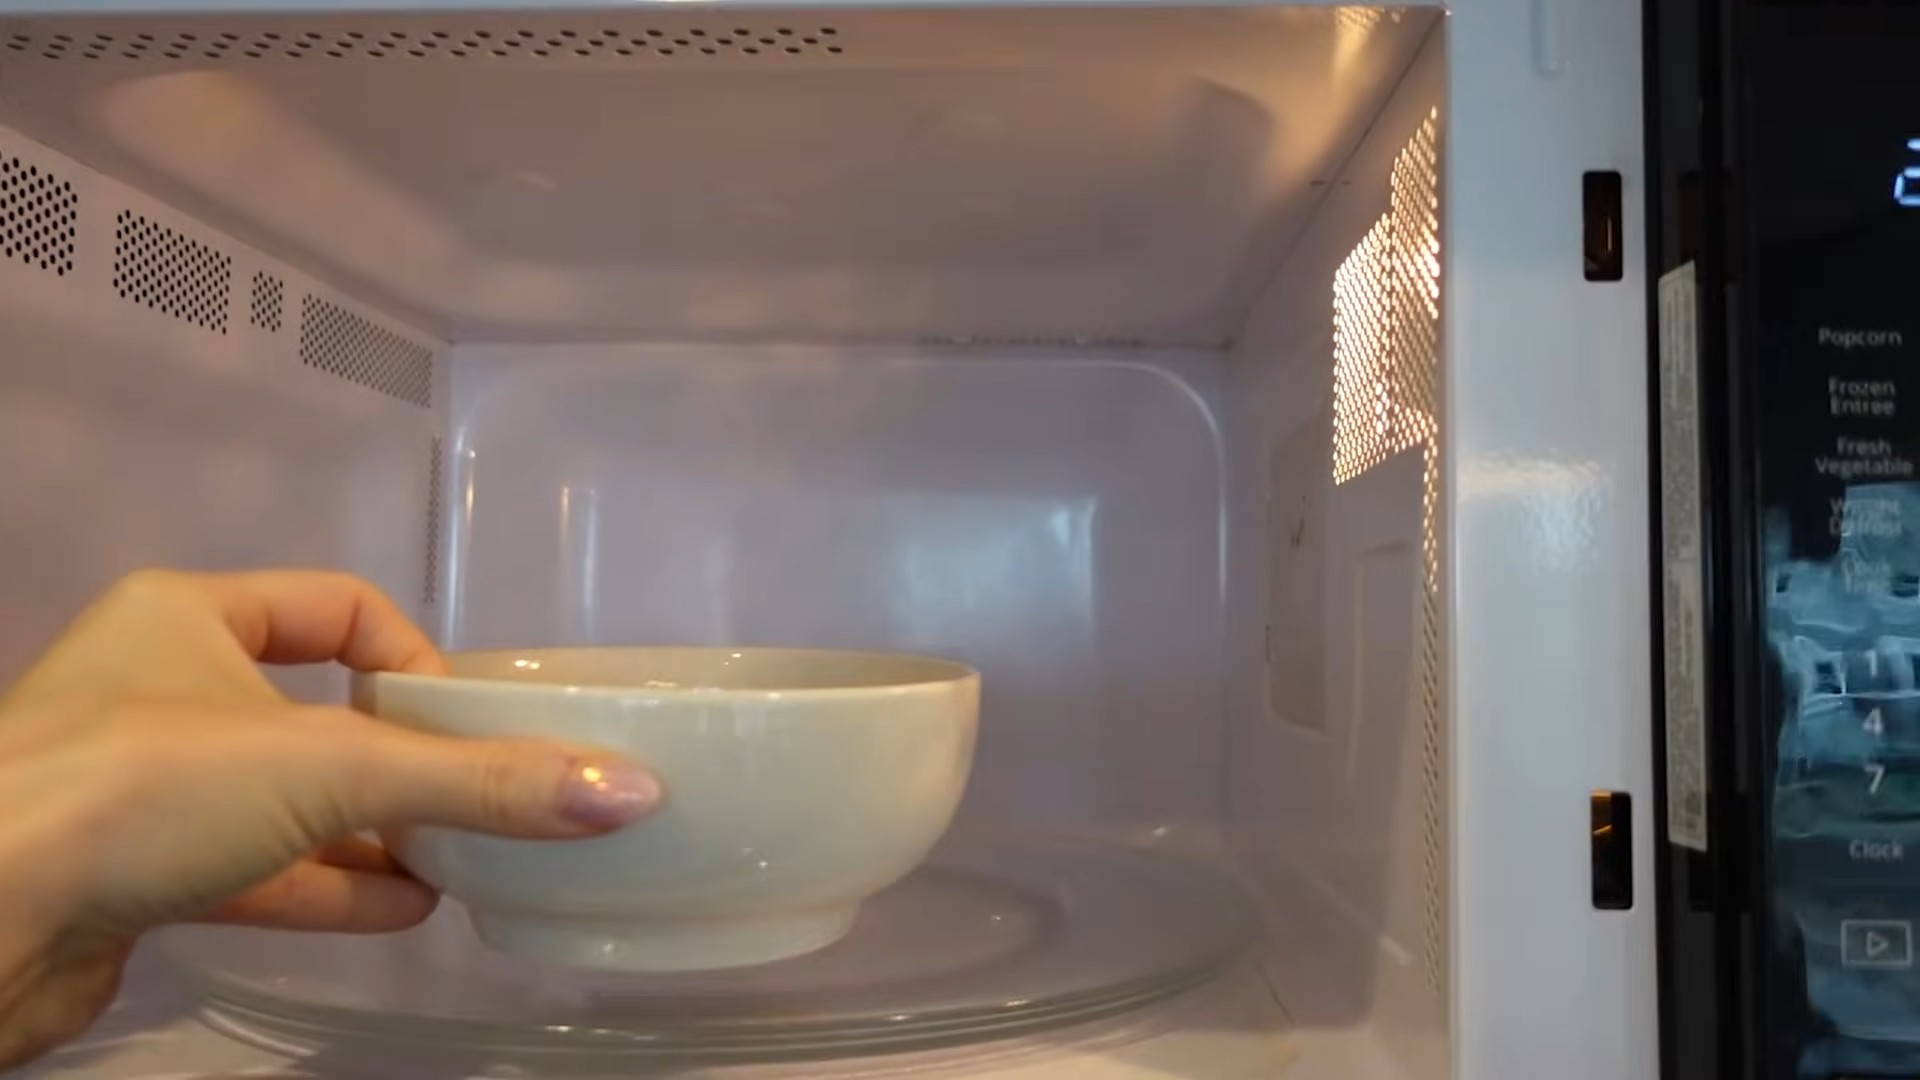
2. Microwave the Solution: Place the bowl of vinegar solution in the center of your microwave. Now, set the timer for 3-5 minutes on high. The goal is to bring the solution to a rolling boil, creating plenty of steam. Keep a close eye on it, and if it starts to boil over, stop the microwave immediately.
3. Let the Steam Work Its Magic: Once the timer goes off, resist the urge to open the microwave door right away! Let the steam sit inside for another 3-5 minutes. This is crucial because the steam needs time to loosen all the stuck-on food particles. The longer you let it sit, the easier the next step will be.
4. Carefully Remove the Bowl: This is where those oven mitts or pot holders come in handy! The bowl will be very hot, so be extra careful when removing it from the microwave. Place the bowl on a heat-resistant surface.
5. Wipe Down the Interior: Now for the satisfying part! Take your clean sponge or cloth and start wiping down the interior of the microwave. You’ll be amazed at how easily the grime comes off. Pay special attention to the top, sides, and bottom of the microwave. Don’t forget the door and the turntable!
6. Clean the Turntable and Roller Ring: Remove the turntable and the roller ring from the microwave. Wash them with warm, soapy water. Rinse them thoroughly and dry them before placing them back in the microwave. These parts often accumulate food splatters, so it’s important to give them a good cleaning.
7. Dry the Interior: Once you’ve wiped down the entire interior, use a clean, dry cloth to dry any remaining moisture. This will help prevent water spots and keep your microwave looking its best.
8. Enjoy Your Sparkling Clean Microwave! Step back and admire your handiwork! Your microwave should now be sparkling clean and free of any lingering food odors.
Tackling Stubborn Stains:
Sometimes, you might encounter some particularly stubborn stains that don’t come off easily with just the vinegar steam. Don’t worry; I’ve got a few tricks up my sleeve!
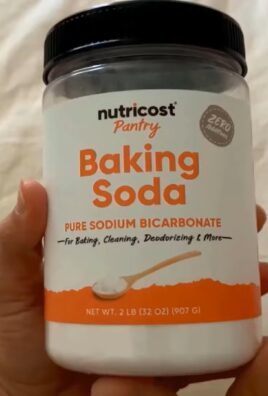
* Baking Soda Paste: Make a paste of baking soda and water. Apply the paste to the stubborn stain and let it sit for a few minutes. Then, scrub gently with a sponge or cloth. Baking soda is a mild abrasive that can help to lift tough stains.
* Lemon Juice: Lemon juice is another natural cleaning agent that can help to remove stains and odors. Cut a lemon in half and squeeze the juice into a microwave-safe bowl. Add a cup of water and microwave for 3-5 minutes, just like with the vinegar solution. The lemon steam will help to loosen the stains and leave your microwave smelling fresh.
* Magic Eraser: For really tough stains, a Magic Eraser can be a lifesaver. Wet the Magic Eraser and gently scrub the stain. Be careful not to scrub too hard, as it can scratch the surface of the microwave.
Maintaining Your Clean Microwave: Prevention is Key!
Now that you’ve got your microwave sparkling clean, let’s talk about how to keep it that way. The best way to avoid having to do a deep clean is to prevent splatters in the first place.
* Use Microwave-Safe Covers: Invest in some microwave-safe covers or splatter guards. These will help to contain splatters and prevent them from sticking to the interior of the microwave.
* Vent Food Properly: When heating up food with a high moisture content, make sure to vent it properly. This will help to prevent steam from building up and causing splatters. You can vent food by leaving a small opening in the corner of the cover or by using a microwave-safe container with a vent.
* Wipe Up Spills Immediately: Don’t let spills sit in the microwave. Wipe them up as soon as they happen. The longer they sit, the harder they will be to remove.
* Regular Cleaning: Make it a habit to clean your microwave at least once a week. A quick wipe-down with a damp cloth is usually all it takes to keep it clean.
Troubleshooting: Common Issues and Solutions
Even with the best instructions, you might encounter a few issues along the way. Here are some common problems and how to solve them.
* Vinegar Smell: Don’t worry about the vinegar smell; it will dissipate quickly. You can also open a window or turn on the exhaust fan to help air out the kitchen.
* Not Enough Steam: If you’re not getting enough steam, try adding more water to the bowl or increasing the microwave time. Make sure the bowl is microwave-safe and that it’s not too small.
* Stubborn Stains: As mentioned earlier, try using baking soda paste, lemon juice, or a Magic Eraser to tackle stubborn stains.
* Microwave Smells Burnt: If your microwave smells burnt after cleaning, it could be due to food particles that were not completely removed. Try cleaning the microwave again, paying special attention to the corners and crevices. You can also place a bowl of baking soda in the microwave overnight to absorb any lingering odors.
Safety First: Important Precautions
Before you start cleaning your microwave, it’s important to take a few safety precautions.
* Always use oven mitts or pot holders when handling hot bowls or containers.
* Be careful not to burn yourself with the steam.
* Never microwave metal objects.
* Unplug the microwave before cleaning the exterior.
* If you’re using a Magic Eraser, test it on an inconspicuous area first to make sure it doesn’t scratch the surface.
Alternative Cleaning Solutions: Beyond Vinegar
While I swear by the vinegar steam method, there are other options you can try if you’re not a fan of the vinegar smell.
* Lemon Steam: As mentioned earlier, lemon juice is a great alternative to vinegar. It’s a natural cleaner and deodorizer, and it will leave your microwave smelling fresh.
* Dish Soap and Water: A simple solution of dish soap and water can also be effective for cleaning the microwave. Mix a few drops of dish soap with a cup of water and microwave for 3-5 minutes. Then, wipe down the interior with a sponge or cloth.
* Commercial Microwave Cleaners: There are also many commercial microwave cleaners available on the market. However, I prefer to use natural cleaning solutions whenever possible, as they are safer for the environment and for my family.
Conclusion: A Clean Microwave is a Happy Microwave!
So there you have it! A simple and effective DIY hack for cleaning your microwave using vinegar steam. I hope you found this guide helpful. Remember, a clean microwave is a happy microwave (and a happy you!). By following these tips and tricks, you can keep your microwave sparkling clean and free of food splatters and odors. Happy cleaning!
Conclusion
So, there you have it! This simple yet incredibly effective DIY trick for cleaning your microwave using vinegar steam is a game-changer. Forget harsh chemicals, endless scrubbing, and lingering food odors. This method harnesses the natural power of vinegar to loosen grime and grease, making cleanup a breeze. It’s not just about convenience; it’s about creating a healthier kitchen environment for you and your family.
Why is this a must-try? Because it’s quick, easy, inexpensive, and environmentally friendly. You likely already have the ingredients on hand, and the entire process takes just a few minutes. Plus, the results speak for themselves – a sparkling clean microwave without the elbow grease.
But don’t just take our word for it! We encourage you to give this microwave cleaning vinegar steam method a try. And feel free to experiment!
Here are a few suggestions and variations to consider:
* Lemon Power: Add a few lemon slices or a tablespoon of lemon juice to the vinegar and water mixture for an extra burst of freshness and cleaning power. The citric acid in lemons is a natural degreaser and deodorizer.
* Essential Oil Boost: For a pleasant aroma, add a few drops of your favorite essential oil to the mixture. Lavender, tea tree, or eucalyptus are great choices for their antibacterial properties and refreshing scents. Just be sure to use food-safe essential oils.
* Baking Soda Scrub: For stubborn stains, after steaming, sprinkle a little baking soda on a damp sponge and gently scrub the affected areas. Baking soda is a mild abrasive that can help lift away tough grime.
* Adjust the Ratio: While the 50/50 vinegar and water ratio works well for most microwaves, you can adjust it slightly depending on the level of grime. For heavily soiled microwaves, increase the amount of vinegar.
* Pre-Soak Option: For extremely stubborn messes, let the vinegar and water mixture sit in the microwave for a few minutes before starting the steaming process. This will help to loosen the grime and make it easier to remove.
We’re confident that you’ll be amazed by how effective this DIY trick is. It’s a simple solution to a common kitchen problem, and it will save you time, money, and effort.
Once you’ve tried it, we’d love to hear about your experience! Share your results, variations, and any tips you discover in the comments below. Let’s create a community of clean microwave enthusiasts! Your feedback will help others discover the magic of microwave cleaning vinegar steam and enjoy a cleaner, healthier kitchen. So go ahead, give it a whirl, and let us know what you think! We can’t wait to hear from you.
Frequently Asked Questions (FAQ)
1. Is it safe to use vinegar to clean my microwave?
Yes, it is generally safe to use vinegar to clean your microwave. Vinegar is a natural and non-toxic cleaning agent. The steam created from heating vinegar and water helps to loosen food particles and grease, making it easier to wipe away. However, always ensure proper ventilation by opening a window or turning on the exhaust fan while steaming. Also, be cautious when removing the hot bowl or container from the microwave to avoid burns. Never use undiluted vinegar, as the fumes can be too strong.
2. What type of vinegar should I use?
White distilled vinegar is the best choice for cleaning your microwave. It’s inexpensive, readily available, and doesn’t contain any coloring agents that could stain your microwave. While other types of vinegar, such as apple cider vinegar, could technically be used, they may leave a slight odor or residue. White distilled vinegar is the most effective and neutral option.
3. How often should I clean my microwave using this method?
The frequency of cleaning depends on how often you use your microwave and how messy it gets. As a general guideline, cleaning your microwave with vinegar steam every one to two weeks is a good practice to prevent buildup and maintain cleanliness. If you frequently heat up foods that splatter or spill, you may need to clean it more often.
4. What if the grime is really stubborn and doesn’t come off easily?
For stubborn grime, try these tips:
* Pre-Soak: Let the vinegar and water mixture sit in the microwave for 5-10 minutes before starting the steaming process. This will help to loosen the grime.
* Increase Vinegar: Slightly increase the amount of vinegar in the mixture.
* Baking Soda Scrub: After steaming, sprinkle a little baking soda on a damp sponge and gently scrub the affected areas.
* Repeat the Process: If necessary, repeat the steaming process a second time.
5. Will the vinegar leave a strong smell in my microwave or kitchen?
Vinegar does have a distinct smell, but it typically dissipates quickly after cleaning. To minimize the odor, ensure proper ventilation by opening a window or turning on the exhaust fan. You can also add lemon slices or essential oils to the vinegar and water mixture to create a more pleasant scent. After cleaning, leave the microwave door open for a few minutes to allow any remaining odor to dissipate.
6. Can I use a plastic container instead of a glass bowl?
While a glass bowl is generally recommended for its heat resistance and safety, you can use a microwave-safe plastic container if you don’t have a glass bowl. Ensure that the plastic container is specifically labeled as microwave-safe and can withstand high temperatures. Avoid using containers that are cracked, damaged, or not designed for microwave use.
7. What if I don’t have vinegar? Can I use something else?
While vinegar is the most effective and readily available option, you can try using lemon juice as an alternative. Lemon juice contains citric acid, which is a natural degreaser and deodorizer. Mix equal parts lemon juice and water, and follow the same steaming process as with vinegar. However, vinegar is generally more effective at removing stubborn grime.
8. Is this method safe for all types of microwaves?
This method is generally safe for most types of microwaves. However, it’s always a good idea to consult your microwave’s user manual for any specific cleaning instructions or warnings. If you have a microwave with a stainless steel interior, be sure to wipe it down thoroughly after steaming to prevent water spots.
9. How do I clean the turntable after steaming?
After steaming, carefully remove the turntable from the microwave. Wash it with warm, soapy water and a sponge. Rinse thoroughly and dry before placing it back in the microwave. If the turntable is heavily soiled, you can soak it in warm, soapy water for a few minutes before washing.
10. What other cleaning tips can I use to maintain my microwave?
In addition to using vinegar steam, here are some other tips for maintaining a clean microwave:
* Cover Food: Always cover food when microwaving to prevent splatters.
* Wipe Up Spills Immediately: Clean up any spills or splatters as soon as they occur to prevent them from hardening.
* Regularly Wipe Down the Interior: Wipe down the interior of your microwave with a damp cloth or sponge after each use.
* Clean the Exterior: Wipe down the exterior of your microwave with a damp cloth or cleaning spray.
By following these tips and using the microwave cleaning vinegar steam method, you can keep your microwave clean, fresh, and hygienic.

Leave a Comment