

Grow Sweet Melons Easily, you say? Absolutely! Imagine biting into a juicy, sun-ripened melon, bursting with flavor, all thanks to your own green thumb. Sounds like a dream, right? Well, it doesn’t have to be! For centuries, cultivating melons has been a cherished tradition, from the ancient Egyptians who revered them to the Renaissance gardens where they were a symbol of luxury.
But let’s be honest, growing melons can sometimes feel like a gamble. Pests, diseases, and unpredictable weather can all conspire to ruin your harvest. That’s where these DIY tricks and hacks come in. I’m going to share some simple, yet effective, techniques that will help you grow sweet melons easily, even if you’re a beginner gardener.
Think of this article as your secret weapon against common melon-growing woes. We’ll cover everything from soil preparation and watering techniques to pest control and harvesting tips. So, ditch the store-bought melons and get ready to enjoy the satisfaction of growing your own delicious, homegrown treats. Let’s get started!
Grow Sweet Melons Easily: A DIY Guide to Melon Mania!
Okay, melon lovers, let’s get real. Growing your own sweet, juicy melons can seem intimidating, but trust me, it’s totally achievable! I’m going to walk you through everything you need to know to transform your garden (or even a sunny balcony!) into a melon-producing paradise. We’ll cover everything from seed starting to harvesting, ensuring you get the sweetest, most satisfying melons imaginable.
Choosing Your Melon Variety
Before we dive into the nitty-gritty, let’s talk melons! The type of melon you choose will influence your growing process slightly, so it’s important to pick one that suits your climate and space. Here are a few popular and relatively easy-to-grow options:
* Cantaloupe: A classic choice! Cantaloupes are known for their orange flesh and netted rind. They need plenty of sun and warmth.
* Honeydew: These melons have smooth, pale green skin and sweet, light green flesh. They’re a bit more sensitive to cold than cantaloupes.
* Watermelon: The king of summer! Watermelons come in various sizes and colors, from the classic red-fleshed varieties to yellow and even seedless options. They need a lot of space and a long growing season.
* Personal-Sized Melons: If you’re short on space, look for varieties like ‘Sugar Baby’ watermelon or smaller cantaloupe types. These are bred to be more compact and perfect for smaller gardens or containers.
Getting Started: Seeds vs. Transplants
You have two main options for starting your melon plants: seeds or transplants.
* Seeds: Starting from seed gives you more control over the entire process and allows you to choose from a wider variety of melons. However, it requires a bit more time and effort.
* Transplants: Buying transplants from a local nursery is a quicker and easier option, especially if you’re short on time or don’t have a lot of experience with seed starting. Just make sure the transplants look healthy and vigorous.
I personally prefer starting from seed because I love watching the little seedlings emerge! But either way works.
Starting Seeds Indoors (Recommended for Most Climates)
Starting your melon seeds indoors gives them a head start, especially if you live in a region with a shorter growing season. Here’s how I do it:
1. Gather Your Supplies: You’ll need:
* Melon seeds
* Seed starting trays or small pots (I like using biodegradable pots to minimize root disturbance when transplanting)
* Seed starting mix (a light, well-draining mix is essential)
* A spray bottle or watering can with a gentle nozzle
* A heat mat (optional, but it helps with germination)
* A grow light (optional, but it provides consistent light for healthy seedlings)
2. Sow the Seeds: Fill your seed starting trays or pots with seed starting mix. Moisten the mix thoroughly, but don’t soak it. Make a small indentation (about 1/2 inch deep) in the center of each cell or pot. Place one or two melon seeds in each indentation and cover them gently with more seed starting mix.
3. Water and Warmth: Gently water the seeds using a spray bottle or watering can. Place the trays or pots on a heat mat (if using) and cover them with a clear plastic dome or plastic wrap to create a humid environment.
4. Germination: Keep the seed starting mix consistently moist but not soggy. Place the trays or pots in a warm location (ideally around 80-85°F). Melon seeds typically germinate within 5-10 days.
5. Light and Growth: Once the seedlings emerge, remove the plastic dome or plastic wrap and place the trays or pots under a grow light or in a sunny window. If using a grow light, keep it a few inches above the seedlings. Water the seedlings regularly, allowing the soil to dry out slightly between waterings.
6. Thinning (If Necessary): If you planted two seeds per cell or pot and both germinate, thin them out by snipping off the weaker seedling at the soil line. This will give the remaining seedling more room to grow.
7. Hardening Off: Before transplanting your melon seedlings outdoors, you need to “harden them off.” This process gradually acclimates them to outdoor conditions. Start by placing the seedlings outdoors in a sheltered location for a few hours each day, gradually increasing the amount of time they spend outside over the course of a week or two. Protect them from strong winds and direct sunlight during this process.
Preparing Your Garden Bed
Melons are heavy feeders, meaning they need a lot of nutrients to thrive. So, preparing your garden bed properly is crucial for success.
1. Choose a Sunny Location: Melons need at least 6-8 hours of direct sunlight per day. Choose a location in your garden that receives plenty of sun.
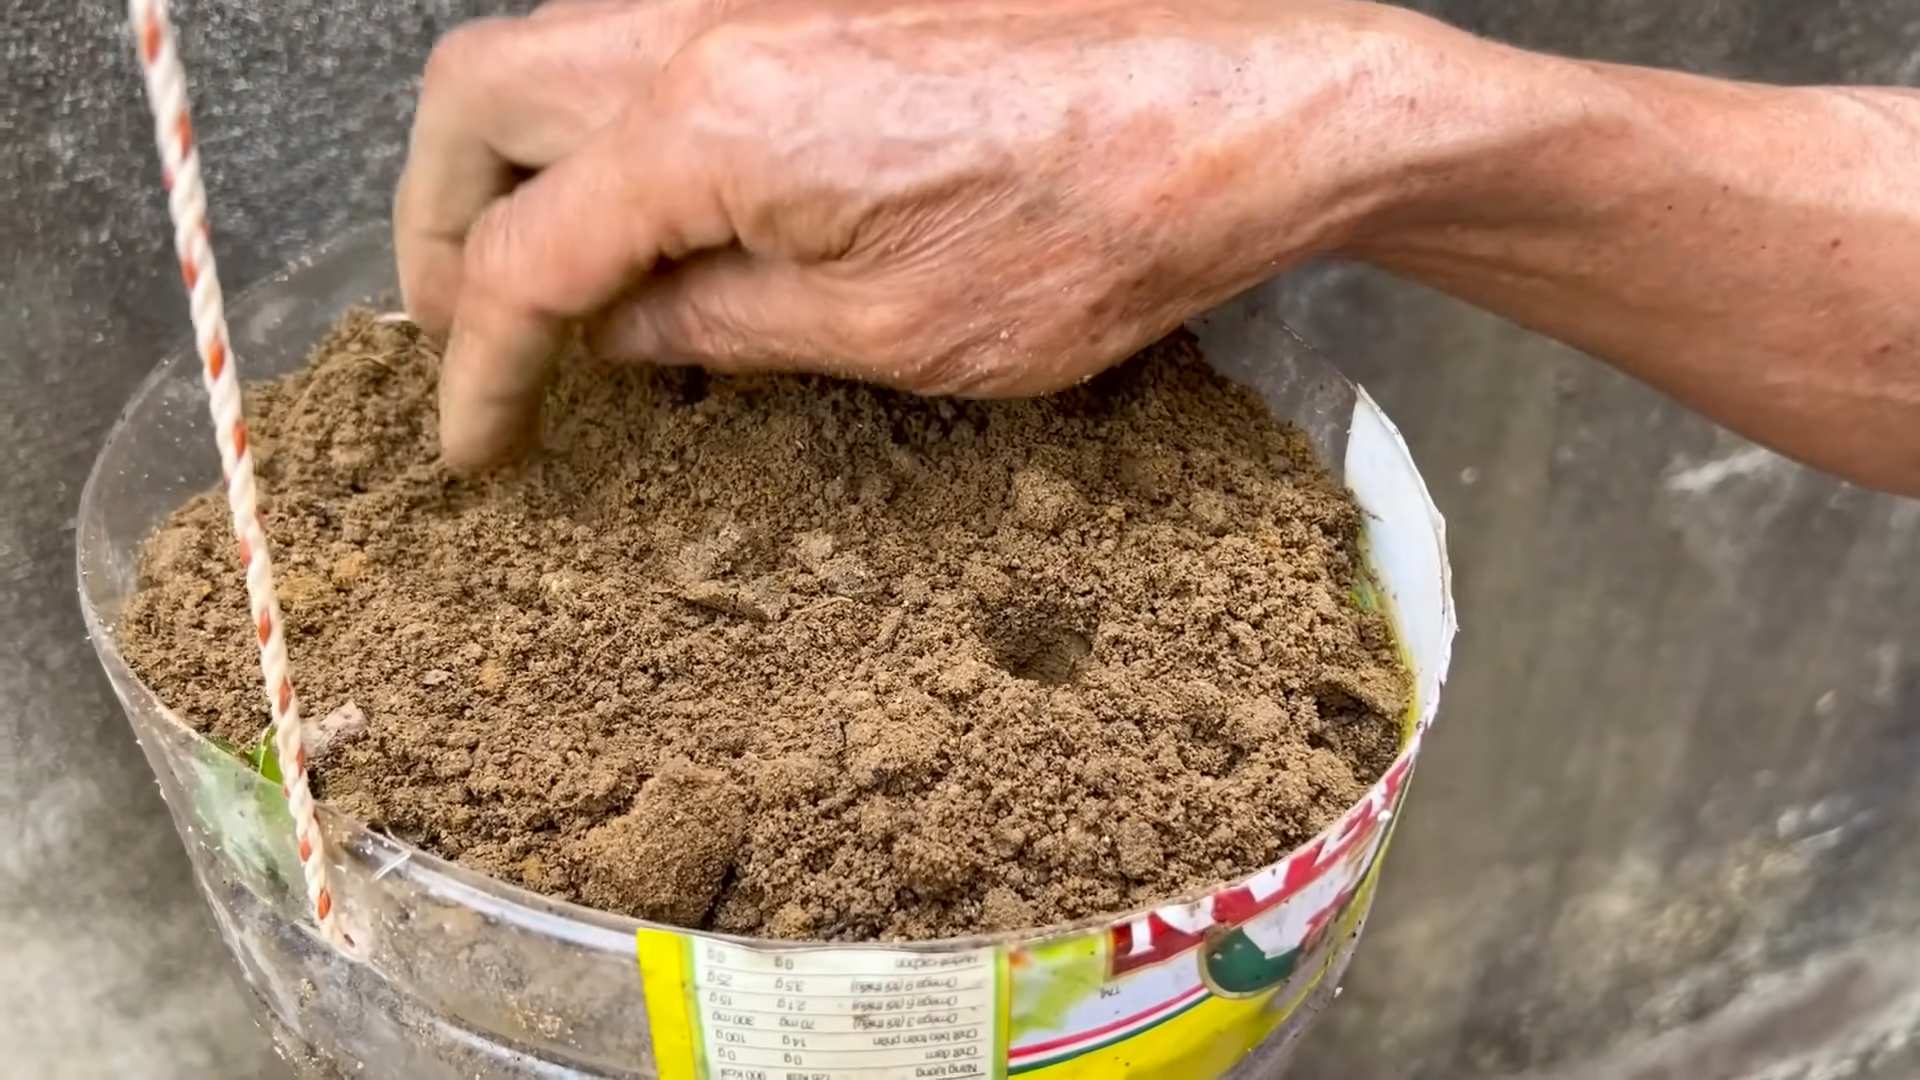
2. Soil Preparation: Melons prefer well-drained, fertile soil with a pH of 6.0-6.8. Amend your soil with plenty of compost or well-rotted manure to improve drainage and fertility. I like to add a generous amount of compost a few weeks before planting.
3. Raised Beds (Optional): Growing melons in raised beds can improve drainage and soil warmth, especially in cooler climates.
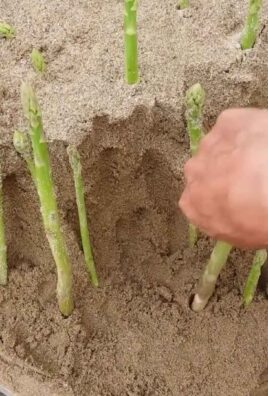
4. Spacing: Give your melon plants plenty of space to spread out. Cantaloupes and honeydews typically need 2-3 feet between plants, while watermelons need 3-4 feet. Check the specific recommendations for your chosen variety.
5. Mulching: Mulching around your melon plants with straw or black plastic can help retain moisture, suppress weeds, and warm the soil. Black plastic is especially helpful for watermelons, as they love the extra warmth.
Transplanting Your Melon Seedlings
Once your melon seedlings have been hardened off and the danger of frost has passed, it’s time to transplant them into your garden bed.
1. Timing: Transplant your melon seedlings in the late afternoon or early evening to minimize stress.
2. Planting: Dig a hole that is slightly larger than the root ball of the seedling. Gently remove the seedling from its pot, being careful not to damage the roots. Place the seedling in the hole and backfill with soil, gently firming it around the base of the plant.
3. Watering: Water the transplanted seedlings thoroughly.
4. Protection (Optional): If you’re concerned about pests or cool temperatures, you can cover the seedlings with row covers or cloches for the first few weeks.
Caring for Your Melon Plants
Now that your melon plants are in the ground, it’s time to provide them with the care they need to thrive.
1. Watering: Water your melon plants deeply and regularly, especially during hot, dry weather. Avoid overhead watering, as this can promote fungal diseases. Drip irrigation is an excellent option for melons.
2. Fertilizing: Melons are heavy feeders, so fertilize them regularly with a balanced fertilizer. I like to use a fertilizer that is high in phosphorus and potassium, as these nutrients are important for fruit development. Follow the instructions on the fertilizer label.
3. Weeding: Keep your garden bed free of weeds, as they can compete with your melon plants for nutrients and water.
4. Pruning (Optional): Some gardeners prune their melon plants to encourage fruit production. You can prune off any suckers (small shoots that grow from the base of the plant) and any leaves that are touching the ground. However, pruning is not essential, and some varieties may not benefit from it.
5. Pest and Disease Control: Keep an eye out for pests and diseases, such as aphids, squash bugs, and powdery mildew. Treat any problems promptly with appropriate organic or chemical controls. I prefer using organic methods whenever possible.
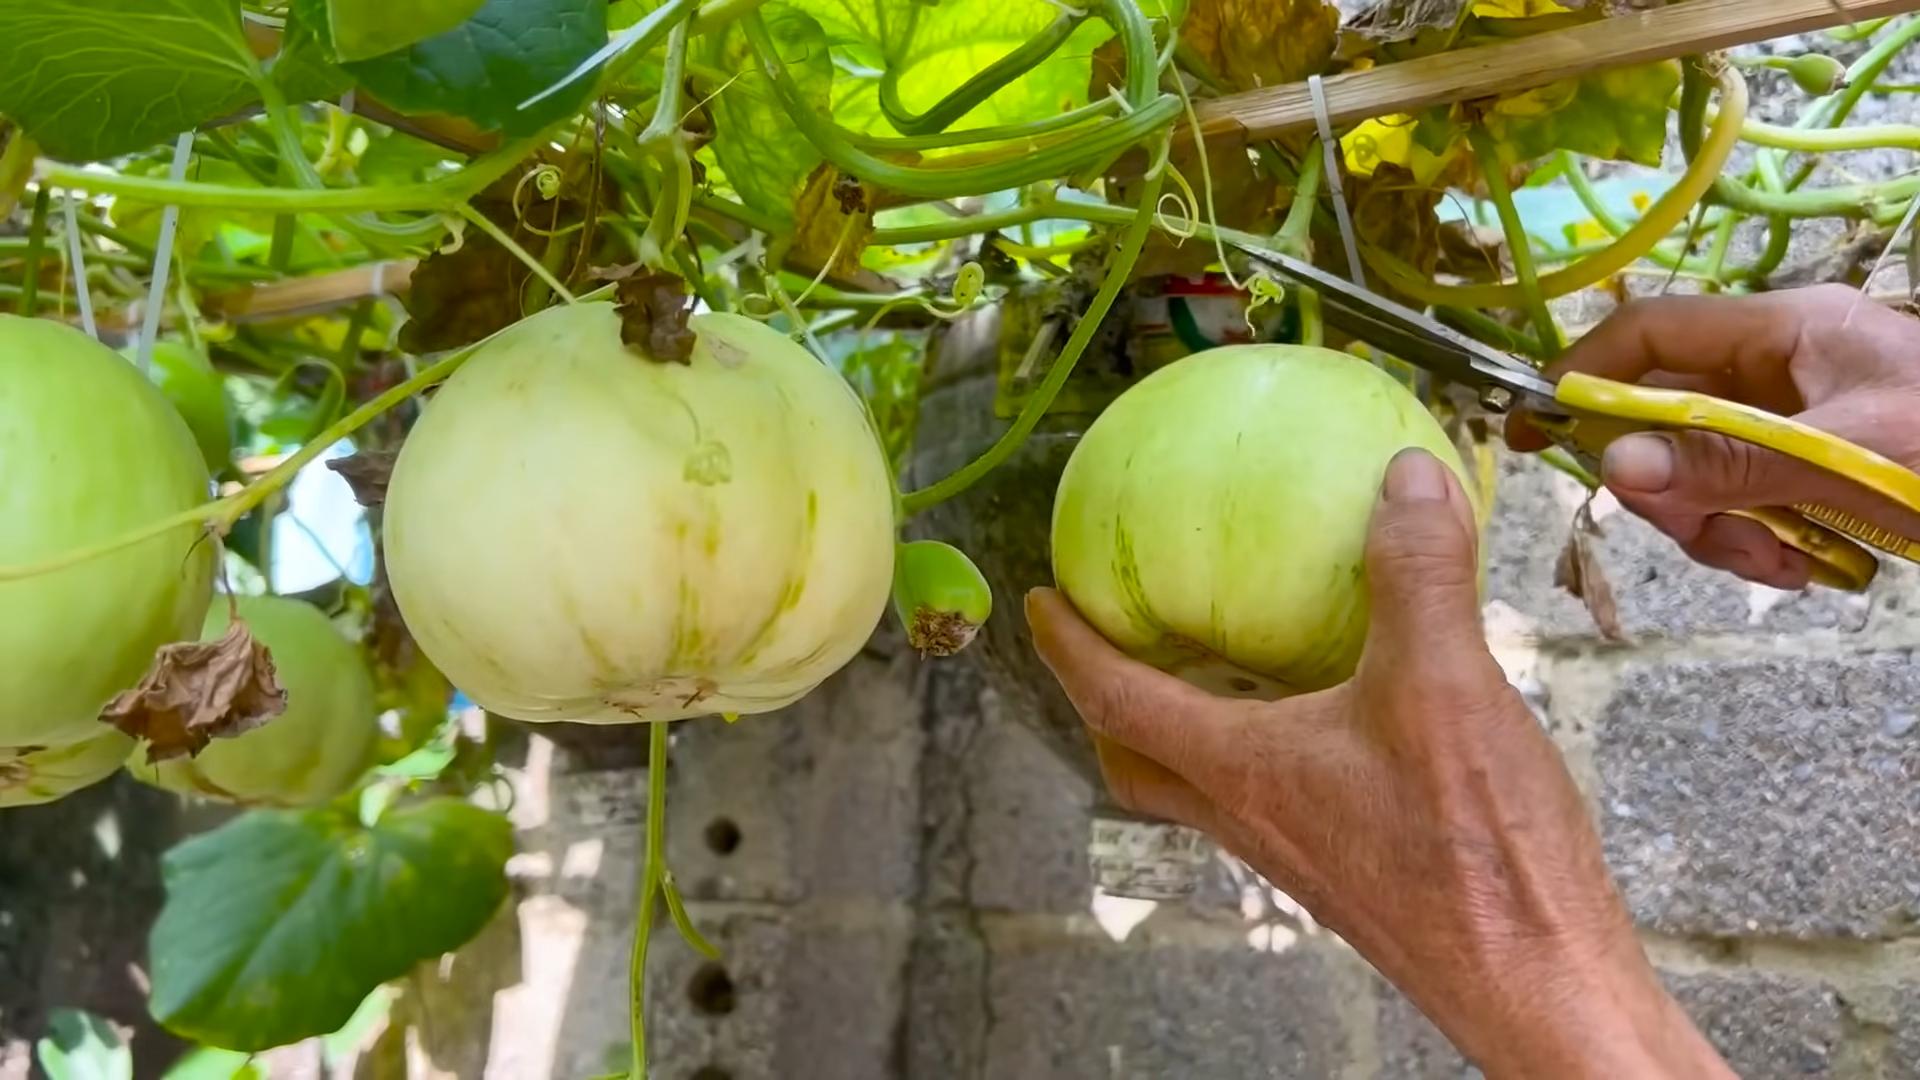
6. Supporting the Fruit (Optional): As your melons grow larger, you may need to support them to prevent them from rotting on the ground. You can use melon cradles, slings, or even just place them on a bed of straw. This is especially important for larger watermelon varieties.
Pollination
Melons need to be pollinated in order to produce fruit. Bees are the primary pollinators of melons, so encourage them to visit your garden by planting flowers that attract bees. If you’re not seeing a lot of bees in your garden, you may need to hand-pollinate your melon flowers.
1. Identifying Male and Female Flowers: Melon plants have separate male and female flowers. Male flowers have a long, thin stem, while female flowers have a small, immature melon at the base of the flower.
2. Hand-Pollinating: To hand-pollinate, use a small paintbrush or cotton swab to collect pollen from a male flower. Then, gently brush the pollen onto the stigma (the center part) of a female flower.
Conclusion
So, there you have it! Growing sweet melons doesn’t have to be a gamble with unpredictable weather and finicky vines. This simple DIY trick, focusing on creating a mini-greenhouse environment right at the base of your melon plants, can truly revolutionize your harvest. We’ve shown you how to provide consistent warmth, protect against pests, and retain crucial moisture, all leading to sweeter, juicier, and more abundant melons than you ever thought possible.
Think about biting into a perfectly ripe cantaloupe, the sweetness exploding on your tongue, knowing you nurtured it from a tiny seed to that moment of pure deliciousness. Or imagine sharing slices of your homegrown watermelon with friends and family at a summer barbecue, the vibrant red flesh a testament to your gardening prowess. This isn’t just about growing melons; it’s about creating an experience, a connection to nature, and a sense of accomplishment.
This method is particularly effective for varieties like Honeydew, Galia, and even smaller watermelons. Don’t be afraid to experiment! You can adjust the size of your DIY greenhouse based on the specific melon variety you’re growing. For larger watermelons, you might need a slightly larger enclosure or consider using multiple smaller enclosures around the developing fruit.
Consider adding a layer of reflective mulch around the base of the plant, inside the enclosure. This will bounce sunlight back onto the developing melon, further enhancing its sweetness and color. You can also incorporate companion planting within the enclosure. Marigolds, for example, can help deter pests, while basil can improve the overall health of the melon plant.
We understand that gardening can sometimes feel daunting, but this DIY trick is designed to be accessible to everyone, regardless of their experience level. It’s a cost-effective, environmentally friendly way to boost your melon production and enjoy the fruits (literally!) of your labor.
Don’t just take our word for it. We wholeheartedly encourage you to try this DIY trick for growing sweet melons this season. We’re confident that you’ll be amazed by the results. And most importantly, we want to hear about your experiences! Share your photos, tips, and stories with us in the comments section below. Let’s create a community of melon-growing enthusiasts and learn from each other’s successes (and even the occasional setback!). Your insights could help other gardeners achieve their melon-growing dreams. So, get out there, get your hands dirty, and get ready to enjoy the sweetest melons you’ve ever tasted! Remember, the key to success is consistent care and attention, and this DIY trick provides the perfect foundation for a bountiful harvest. Happy gardening!
Frequently Asked Questions (FAQ)
What kind of plastic should I use for the DIY greenhouse?
The best type of plastic to use is clear polyethylene plastic, often sold as greenhouse film or construction plastic. It’s durable, allows ample sunlight to pass through, and is relatively inexpensive. Avoid using thin plastic bags or flimsy materials that might tear easily in the wind or under the weight of rain. You can find polyethylene plastic at most hardware stores or garden centers. Look for a thickness of at least 4-6 mil for added durability. Recycled plastic is also a great option if you are looking for a more sustainable approach.
How often should I water the melon plants inside the enclosure?
Watering frequency depends on the weather conditions and the type of soil you’re using. Generally, you should aim to keep the soil consistently moist but not waterlogged. Check the soil moisture level regularly by sticking your finger about an inch into the soil. If it feels dry, it’s time to water. When watering, try to avoid getting the foliage wet, as this can increase the risk of fungal diseases. Drip irrigation or soaker hoses are excellent options for delivering water directly to the roots. Remember that the enclosure will help retain moisture, so you might need to water less frequently than you would with plants grown in the open.
How do I prevent overheating inside the enclosure?
Overheating can be a concern, especially during hot summer days. To prevent this, you can create ventilation by cutting small holes in the plastic or lifting the edges of the enclosure during the hottest part of the day. You can also use shade cloth to partially cover the enclosure and reduce the amount of direct sunlight. Monitoring the temperature inside the enclosure is crucial. A simple thermometer placed inside will help you keep track and make adjustments as needed. If the temperature consistently exceeds 90°F (32°C), you’ll need to increase ventilation or provide more shade.
What about pests and diseases? Will the enclosure make them worse?
While the enclosure can provide some protection against pests, it can also create a humid environment that favors certain diseases. Regularly inspect your melon plants for signs of pests or diseases, such as aphids, squash bugs, or powdery mildew. If you spot any problems, take action immediately. Organic pest control methods, such as insecticidal soap or neem oil, can be effective for controlling pests. For diseases, ensure good air circulation within the enclosure and avoid overhead watering. You can also use organic fungicides if necessary. Companion planting with pest-repelling herbs like basil or marigolds can also help prevent pest infestations.
When should I remove the enclosure?
The timing of when to remove the enclosure depends on the weather conditions and the maturity of the melons. Generally, you can remove the enclosure once the melons have reached a significant size and the weather has consistently warmed up. This is usually around the time the melons start to change color and develop their characteristic aroma. Removing the enclosure allows for better air circulation and reduces the risk of fungal diseases. However, if you’re expecting a sudden cold snap or frost, you might want to keep the enclosure in place for a little longer to protect the developing melons.
Can I use this trick for other types of plants?
While this DIY trick is specifically designed for growing sweet melons, the basic principles can be applied to other heat-loving plants, such as peppers, tomatoes, and cucumbers. However, you’ll need to adjust the size and design of the enclosure to suit the specific needs of each plant. For example, taller plants will require a taller enclosure. You should also consider the plant’s ventilation requirements and adjust the number and size of the ventilation holes accordingly. Experimentation is key! Don’t be afraid to try different variations and see what works best for your specific plants and growing conditions.
What kind of soil is best for growing melons in this DIY setup?
Melons thrive in well-drained, fertile soil that is rich in organic matter. Before planting, amend your soil with compost, aged manure, or other organic amendments to improve its structure and fertility. The ideal soil pH for melons is between 6.0 and 6.8. You can test your soil pH using a soil testing kit and adjust it accordingly. Good drainage is essential to prevent root rot, so avoid planting in heavy clay soils. If your soil is poorly drained, consider planting in raised beds or containers. Adding perlite or vermiculite to the soil mix can also improve drainage.
How do I know when my melons are ripe?
Knowing when a melon is ripe can be tricky, but there are a few telltale signs to look for. For cantaloupes, the stem should slip easily from the vine with a gentle tug. The skin should also change color from green to a tan or yellowish hue. For watermelons, look for a dull thud when you tap the melon with your knuckles. The underside of the melon, where it rests on the ground, should also turn from white to yellow. Honeydew melons are ripe when they have a creamy yellow color and a slightly waxy feel. The best way to be sure is to taste a small piece of the melon. If it’s sweet and juicy, it’s ready to harvest!
Leave a Comment