

Restore old pans and breathe new life into your kitchen essentials! Are your trusty frying pans looking a little worse for wear? Scratched, stained, and losing their non-stick magic? Don’t toss them out just yet! Before you rush to replace them, I’m going to share some amazing DIY tricks that will have your old pans looking and performing like new again.
For generations, resourceful cooks have been finding clever ways to extend the life of their cookware. From using simple household ingredients to employing time-tested techniques, restoring pans has always been a part of kitchen culture. Think of your grandmother meticulously scrubbing her cast iron skillet – that’s the spirit we’re channeling here!
Why is restoring your pans so important? Well, for starters, it’s incredibly budget-friendly. Replacing cookware can be expensive, and these DIY methods offer a cost-effective alternative. More importantly, it’s a sustainable practice. By restoring instead of replacing, you’re reducing waste and contributing to a more eco-conscious lifestyle. Plus, there’s a certain satisfaction in giving new life to something old and well-loved. So, let’s dive in and discover how you can restore old pans with these simple, effective, and fun DIY hacks!
Revive Your Beloved Cookware: A DIY Guide to Restoring Old Pans
Okay, let’s face it. We all have that one (or maybe several!) pan lurking in the back of the cupboard, scarred by years of faithful service. Burnt-on food, stubborn stains, and a general lack of shine can make even the best cookware look ready for the trash. But hold on! Before you toss those trusty pans, I’m going to show you how to bring them back to life with some simple DIY magic. This isn’t just about aesthetics; restoring your pans can actually improve their performance and extend their lifespan. So, grab your supplies, roll up your sleeves, and let’s get started!
What You’ll Need
Before we dive in, let’s gather our arsenal of cleaning supplies. The exact items you’ll need will depend on the type of pan and the severity of the grime, but here’s a comprehensive list:
* Baking Soda: This is our workhorse. Baking soda is a mild abrasive and a fantastic deodorizer.
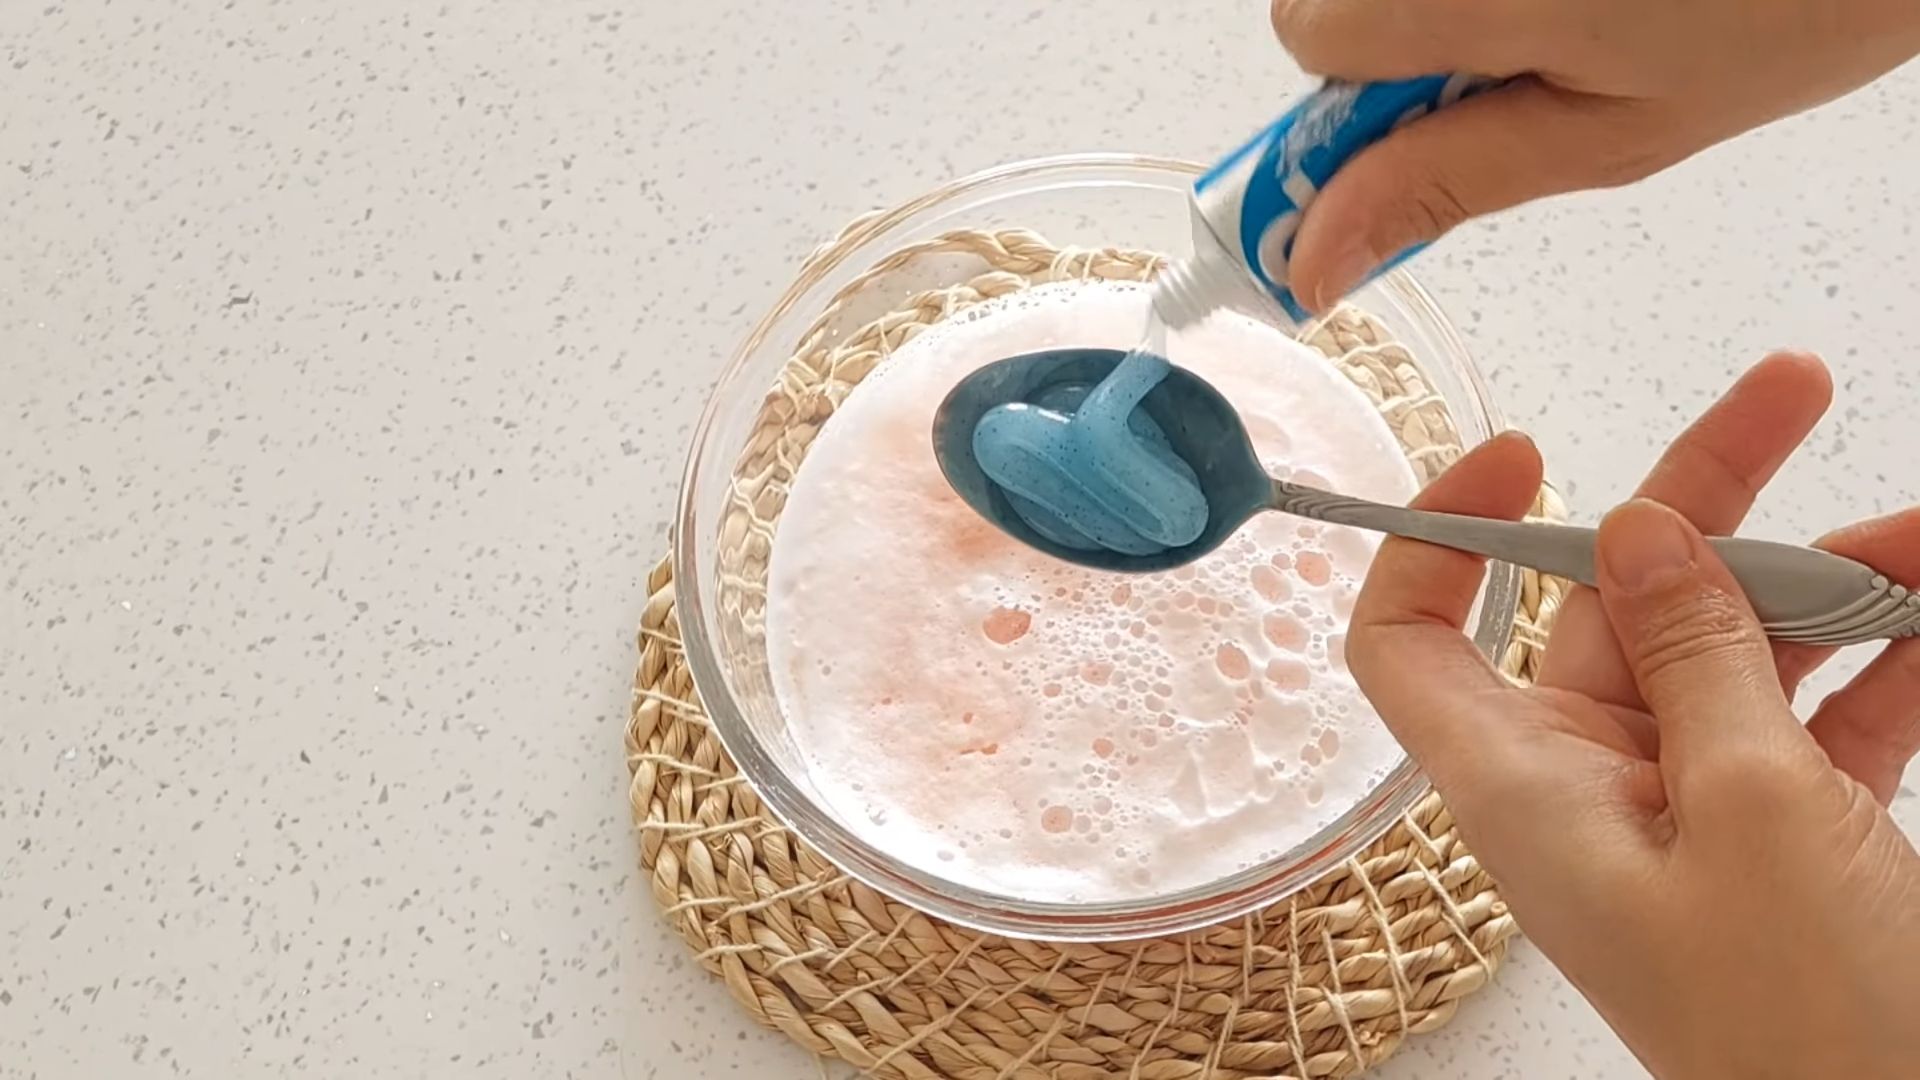
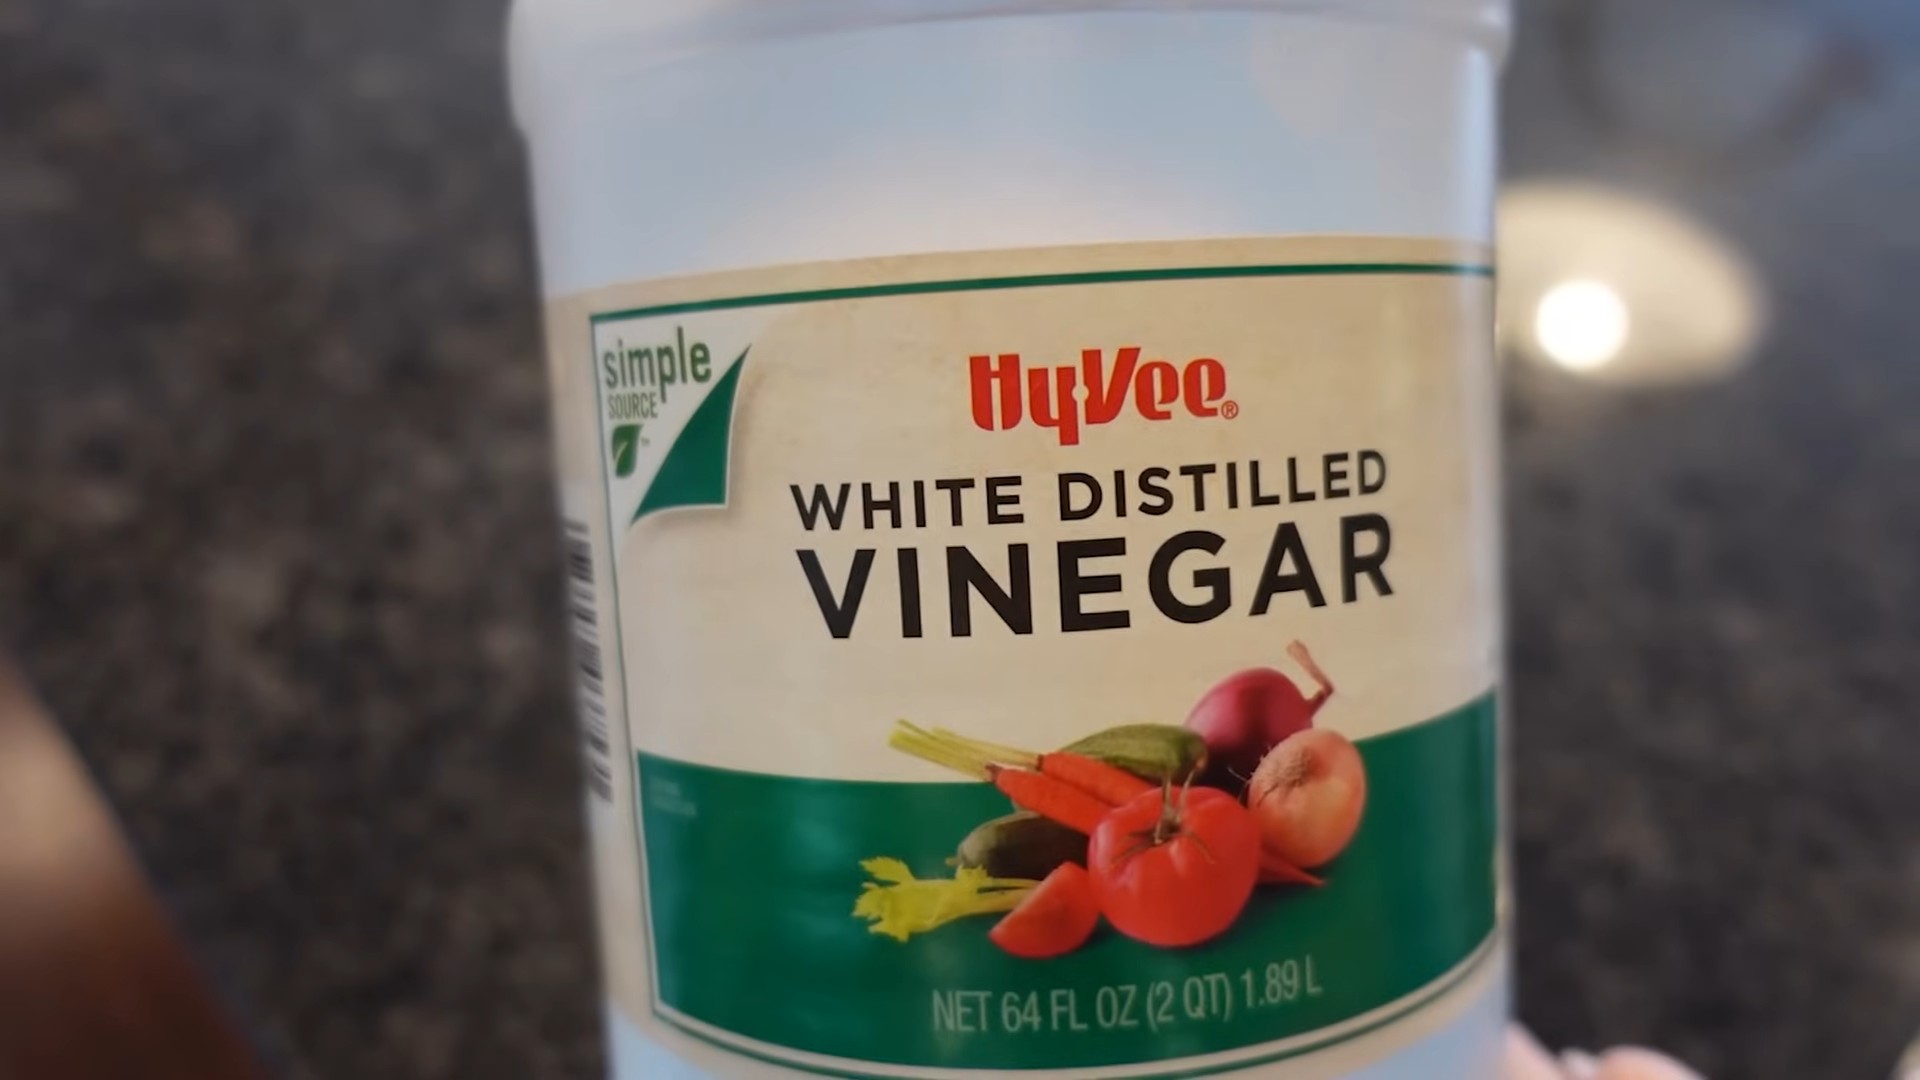
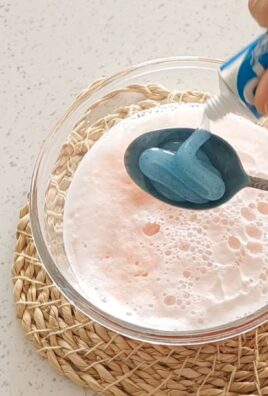
* White Vinegar: The acid in vinegar helps to dissolve mineral deposits and cut through grease.
* Dish Soap: A good quality dish soap is essential for general cleaning and degreasing.
* Salt (Coarse): Coarse salt acts as a gentle abrasive, perfect for scrubbing without scratching.
* Lemon: The citric acid in lemon juice is a natural cleaner and brightener.
* Steel Wool (Fine Grade): Use with caution, but fine steel wool can be effective for removing stubborn burnt-on food. Test in an inconspicuous area first!
* Scrubbing Pads (Non-Scratch): These are your go-to for everyday scrubbing.
* Sponges: For general cleaning and wiping.
* Paper Towels or Cleaning Cloths: For drying and wiping surfaces.
* Rubber Gloves: Protect your hands from harsh chemicals and hot water.
* Large Pot or Sink: Big enough to submerge your pan.
* Tongs: For safely handling hot pans.
* Bar Keeper’s Friend (Optional): This is a powerful cleaner that can be very effective on stainless steel, but use it sparingly and always follow the instructions.
* Oven Cleaner (Optional): For extremely stubborn burnt-on food, especially on the outside of pans. Use with extreme caution and in a well-ventilated area.
Restoring Stainless Steel Pans
Stainless steel is durable and relatively easy to clean, but it can still suffer from burnt-on food and discoloration. Here’s how to bring your stainless steel pans back to their former glory:
Removing Burnt-On Food
1. Soak the Pan: Fill the pan with hot, soapy water and let it soak for at least 30 minutes, or even overnight for really stubborn messes. This will help to loosen the burnt-on food.
2. Baking Soda Paste: Make a paste of baking soda and water (about 1/4 cup baking soda to 2 tablespoons of water). The consistency should be thick enough to spread easily.
3. Apply the Paste: Apply the baking soda paste to the burnt areas of the pan.
4. Scrub Gently: Using a non-scratch scrubbing pad or sponge, gently scrub the affected areas. Avoid using excessive force, as this can scratch the stainless steel.
5. Add Salt for Extra Scrubbing Power: If the baking soda paste isn’t doing the trick, sprinkle some coarse salt onto the paste and continue scrubbing. The salt will act as a gentle abrasive.
6. Boil Baking Soda and Water (For Stubborn Cases): If the burnt-on food is particularly stubborn, fill the pan with water and add 2 tablespoons of baking soda. Bring the mixture to a boil and let it simmer for 10-15 minutes. This will help to loosen the remaining food particles.
7. Cool and Scrub Again: Let the pan cool slightly, then scrub again with a non-scratch scrubbing pad.
8. Rinse Thoroughly: Rinse the pan thoroughly with hot water to remove all traces of baking soda and food particles.
9. Dry Completely: Dry the pan completely with a clean towel to prevent water spots.
Removing Discoloration and Water Spots
1. Vinegar Rinse: Fill the pan with a mixture of equal parts white vinegar and water.
2. Boil the Mixture: Bring the mixture to a boil and let it simmer for 5-10 minutes. The vinegar will help to dissolve mineral deposits and remove discoloration.
3. Cool and Rinse: Let the pan cool slightly, then rinse thoroughly with hot water.
4. Lemon Juice Polish: For extra shine, cut a lemon in half and rub the cut side over the surface of the pan. The citric acid in the lemon juice will help to brighten the stainless steel.
5. Rinse and Dry: Rinse the pan thoroughly with hot water and dry completely with a clean towel.
Using Bar Keeper’s Friend (Optional)
1. Wet the Pan: Wet the pan thoroughly with water.
2. Sprinkle Bar Keeper’s Friend: Sprinkle a small amount of Bar Keeper’s Friend onto the wet surface.
3. Scrub Gently: Using a non-scratch scrubbing pad, gently scrub the pan in a circular motion.
4. Rinse Thoroughly: Rinse the pan thoroughly with hot water to remove all traces of Bar Keeper’s Friend.
5. Dry Completely: Dry the pan completely with a clean towel.
Important Note: Always test Bar Keeper’s Friend in an inconspicuous area first to ensure it doesn’t damage the finish of your pan.
Restoring Non-Stick Pans
Non-stick pans require a more delicate approach, as harsh abrasives can damage the non-stick coating. Here’s how to clean them safely and effectively:
Removing Burnt-On Food
1. Soak the Pan: Fill the pan with hot, soapy water and let it soak for at least 30 minutes.
2. Gentle Scrubbing: Use a soft sponge or non-scratch scrubbing pad to gently scrub the burnt areas. Avoid using steel wool or abrasive cleaners, as these can damage the non-stick coating.
3. Baking Soda Paste (Gentle Application): If gentle scrubbing isn’t enough, make a thin paste of baking soda and water. Apply the paste to the burnt areas and let it sit for 15-20 minutes.
4. Gentle Scrubbing Again: Gently scrub the paste with a soft sponge.
5. Boiling Water and Baking Soda (For Stubborn Cases): For particularly stubborn burnt-on food, fill the pan with water and add 1 tablespoon of baking soda. Bring the mixture to a boil and let it simmer for 5-10 minutes.
6. Cool and Clean: Let the pan cool slightly, then clean with a soft sponge and soapy water.
7. Rinse and Dry: Rinse the pan thoroughly with hot water and dry completely with a clean towel.
Removing Stains and Residue
1. Vinegar and Water Solution: Mix equal parts white vinegar and water in the pan.
2. Heat the Solution: Heat the solution over low heat for 2-3 minutes. Do not boil.
3. Cool and Clean: Let the pan cool slightly, then clean with a soft sponge and soapy water.
4. Rinse and Dry: Rinse the pan thoroughly with hot water and dry completely with a clean towel.
Re-Seasoning Your Non-Stick Pan (Optional)
Over time, the non-stick coating on your pan may lose its effectiveness. Re-seasoning can help to restore its non-stick properties.
1. Clean the Pan: Thoroughly clean the pan with soap and water.
2. Dry Completely: Dry the pan completely with a clean towel.
3. Apply Oil: Apply a thin layer of cooking oil (such as vegetable oil or canola oil) to the entire surface of the pan, including the sides.
4. Wipe Off Excess Oil: Use a clean paper towel to wipe off any excess oil. The pan should be lightly coated, not greasy.
5. Bake the Pan: Place the pan upside down on the middle rack of your oven.
6. Bake at 350°F (175°C): Bake the pan at 350°F (175°C) for 1 hour.
7. Cool Completely: Turn off the oven and let the pan cool completely inside the oven.
Restoring Cast Iron Pans
Cast iron pans are incredibly durable and can last for generations, but they require special care to prevent rust and maintain their seasoning.
Removing Rust
1. Remove
Conclusion
So, there you have it! Reviving your beloved, yet battle-scarred, cookware doesn’t require a trip to the store or a hefty investment in new pots and pans. This simple, effective DIY trick to restore old pans is a game-changer for anyone who values sustainability, frugality, and the satisfaction of breathing new life into something old. We’ve shown you how to tackle even the most stubborn baked-on grime and rust, transforming your cookware from unusable to almost-new condition.
Why is this a must-try? Because it’s more than just cleaning; it’s about extending the lifespan of your cookware, reducing waste, and saving money. Imagine the joy of cooking in a pan you thought was destined for the trash, now gleaming and ready to perform. Plus, it’s incredibly satisfying to witness the transformation firsthand.
But the fun doesn’t stop there! Feel free to experiment with variations. For instance, if you’re dealing with particularly stubborn stains, try adding a tablespoon of cream of tartar to the baking soda paste. For cast iron pans, after the initial cleaning, consider re-seasoning them in the oven to build up a protective layer and prevent future rust. You can also use a dedicated cast iron conditioner for this purpose. If you find the vinegar smell too strong, add a few drops of your favorite essential oil to the cleaning solution. Lavender, lemon, or tea tree oil not only mask the vinegar scent but also offer additional cleaning properties.
This DIY method is not just a cleaning hack; it’s a sustainable practice. By restoring your old pans, you’re actively participating in reducing waste and minimizing your environmental footprint. Think about all the resources that go into manufacturing new cookware – from mining the raw materials to the energy used in production and transportation. By extending the life of your existing pans, you’re contributing to a more circular economy.
We’re confident that once you try this method, you’ll be amazed by the results. It’s a simple, cost-effective, and environmentally friendly way to keep your cookware in top condition. Don’t let those old pans gather dust in the back of your cupboard any longer. Give them a new lease on life with this easy DIY trick.
Now, we want to hear from you! Have you tried this method to restore old pans? What were your results? Did you experiment with any variations? Share your experiences, tips, and photos in the comments below. Let’s create a community of resourceful cooks who are passionate about extending the life of their cookware and reducing waste. Your insights could help others discover the joy of restoring their own beloved pans. We can’t wait to see your transformations!
Frequently Asked Questions
What types of pans can I restore using this method?
This method is generally safe and effective for most types of cookware, including stainless steel, aluminum, enamel-coated, and even cast iron. However, it’s always a good idea to test a small, inconspicuous area first, especially if you’re dealing with delicate or antique cookware. Avoid using abrasive scrubbers on non-stick surfaces, as this can damage the coating. For cast iron, be sure to re-season the pan after cleaning to prevent rust. If you have any doubts about a particular type of pan, consult the manufacturer’s instructions or a professional cookware specialist.
How often should I restore my pans?
The frequency of restoration depends on how often you use your pans and the types of food you cook. If you notice a buildup of grime or rust, or if food starts to stick to the pan more easily, it’s a good time to give it a thorough cleaning. For pans that are used frequently, a deep clean every few months may be sufficient. For pans that are used less often, you may only need to restore them once or twice a year. Regular cleaning and maintenance, such as washing your pans immediately after use and avoiding harsh detergents, can also help to extend the time between restorations.
Is baking soda safe for all types of pans?
Baking soda is generally safe for most types of pans, including stainless steel, aluminum, and enamel-coated cookware. However, it’s important to use it with caution on non-stick surfaces, as it can be mildly abrasive and may damage the coating over time. When cleaning non-stick pans, use a soft sponge or cloth and avoid scrubbing too vigorously. For cast iron pans, baking soda can be used to remove rust, but it’s essential to re-season the pan afterward to protect it from further corrosion. Always test a small, inconspicuous area first to ensure that the baking soda doesn’t damage the surface of your pan.
What if the stains are really stubborn and won’t come off?
For particularly stubborn stains, you can try a few different approaches. First, increase the concentration of baking soda in the paste. You can also add a tablespoon of cream of tartar to the paste, which can help to boost its cleaning power. Another option is to let the baking soda paste sit on the stain for a longer period of time, even overnight. If the stain is still persistent, you can try gently scrubbing it with a non-abrasive scouring pad or a toothbrush. For burnt-on food, try boiling water in the pan with a few tablespoons of baking soda for about 15 minutes before attempting to scrub it clean. Remember to always test a small area first to ensure that your cleaning method doesn’t damage the pan.
Can I use this method to remove rust from my cast iron pans?
Yes, this method can be effective for removing rust from cast iron pans. The combination of baking soda and vinegar helps to loosen and dissolve the rust, making it easier to scrub away. After removing the rust, it’s crucial to thoroughly dry the pan and re-season it to prevent future rust formation. To re-season your cast iron pan, coat it with a thin layer of oil (such as vegetable oil, canola oil, or flaxseed oil) and bake it in the oven at 350 degrees Fahrenheit for about an hour. Repeat this process several times to build up a protective layer of seasoning. Regular seasoning will help to keep your cast iron pan in good condition and prevent rust from returning.
What are some alternative cleaning solutions I can use?
While baking soda and vinegar are effective and readily available cleaning agents, there are other alternatives you can try. For example, you can use a mixture of lemon juice and salt to scrub away stains and grime. The acidity of the lemon juice helps to dissolve the buildup, while the salt acts as a mild abrasive. Another option is to use a commercial cookware cleaner specifically designed for the type of pan you’re cleaning. Always follow the manufacturer’s instructions when using commercial cleaners. For burnt-on food, you can try using a dishwasher detergent tablet. Simply place the tablet in the pan with some water and let it soak overnight before scrubbing.
How can I prevent my pans from getting so dirty in the first place?
Prevention is always better than cure! To keep your pans clean and prevent the buildup of grime and rust, follow these tips: Wash your pans immediately after use to prevent food from drying and hardening. Avoid using harsh detergents or abrasive scrubbers, as these can damage the surface of your pans. When cooking, use the appropriate heat setting to prevent food from burning and sticking. Store your pans properly to prevent them from getting scratched or damaged. For cast iron pans, be sure to re-season them regularly to protect them from rust. By following these simple tips, you can keep your pans in good condition and reduce the need for frequent restorations.
Is this method safe for the environment?
Yes, this method is generally considered to be safe for the environment. Baking soda and vinegar are both natural and biodegradable substances that don’t pose a significant threat to the environment. Unlike some commercial cleaning products, they don’t contain harsh chemicals or toxins that can pollute waterways or harm wildlife. However, it’s still important to use these cleaning agents responsibly and avoid excessive use. When disposing of the cleaning solution, dilute it with plenty of water to minimize its impact on the environment. By choosing natural and eco-friendly cleaning methods, you can help to protect the planet and reduce your environmental footprint.

Leave a Comment