

Growing Green Beans Indoors might sound like a challenge reserved for seasoned gardeners, but trust me, it’s totally achievable, even if you’re a beginner like I once was! Imagine plucking fresh, crisp green beans right from your indoor garden, adding them to your salad, or steaming them as a delicious side dish – all without stepping foot outside.
The history of cultivating beans stretches back millennia, with evidence suggesting their domestication in the Americas as early as 7,000 years ago. While traditionally grown outdoors, the desire for fresh produce year-round has led to innovative techniques like indoor gardening. And that’s where we come in!
In today’s busy world, finding time for a traditional outdoor garden can be tough. Plus, unpredictable weather and pesky pests can wreak havoc on your crops. That’s why learning how to grow green beans indoors is a game-changer. It allows you to control the environment, ensuring a consistent harvest regardless of the season. I’m going to share some simple, effective DIY tricks and hacks that will have you enjoying homegrown green beans in no time. Get ready to transform your living space into a mini-farm and enjoy the satisfaction of nurturing your own food!
Growing Green Beans Indoors: A Complete DIY Guide
Hey there, fellow plant enthusiasts! Ever dreamt of fresh, homegrown green beans gracing your table even when the snow is falling outside? Well, dream no more! I’m here to guide you through the surprisingly simple process of growing green beans indoors. It’s easier than you think, and the reward of snapping into a crisp, homegrown bean in the dead of winter is absolutely worth it. Let’s get started!
What You’ll Need
Before we dive in, let’s gather our supplies. Here’s a checklist to make sure you’re all set:
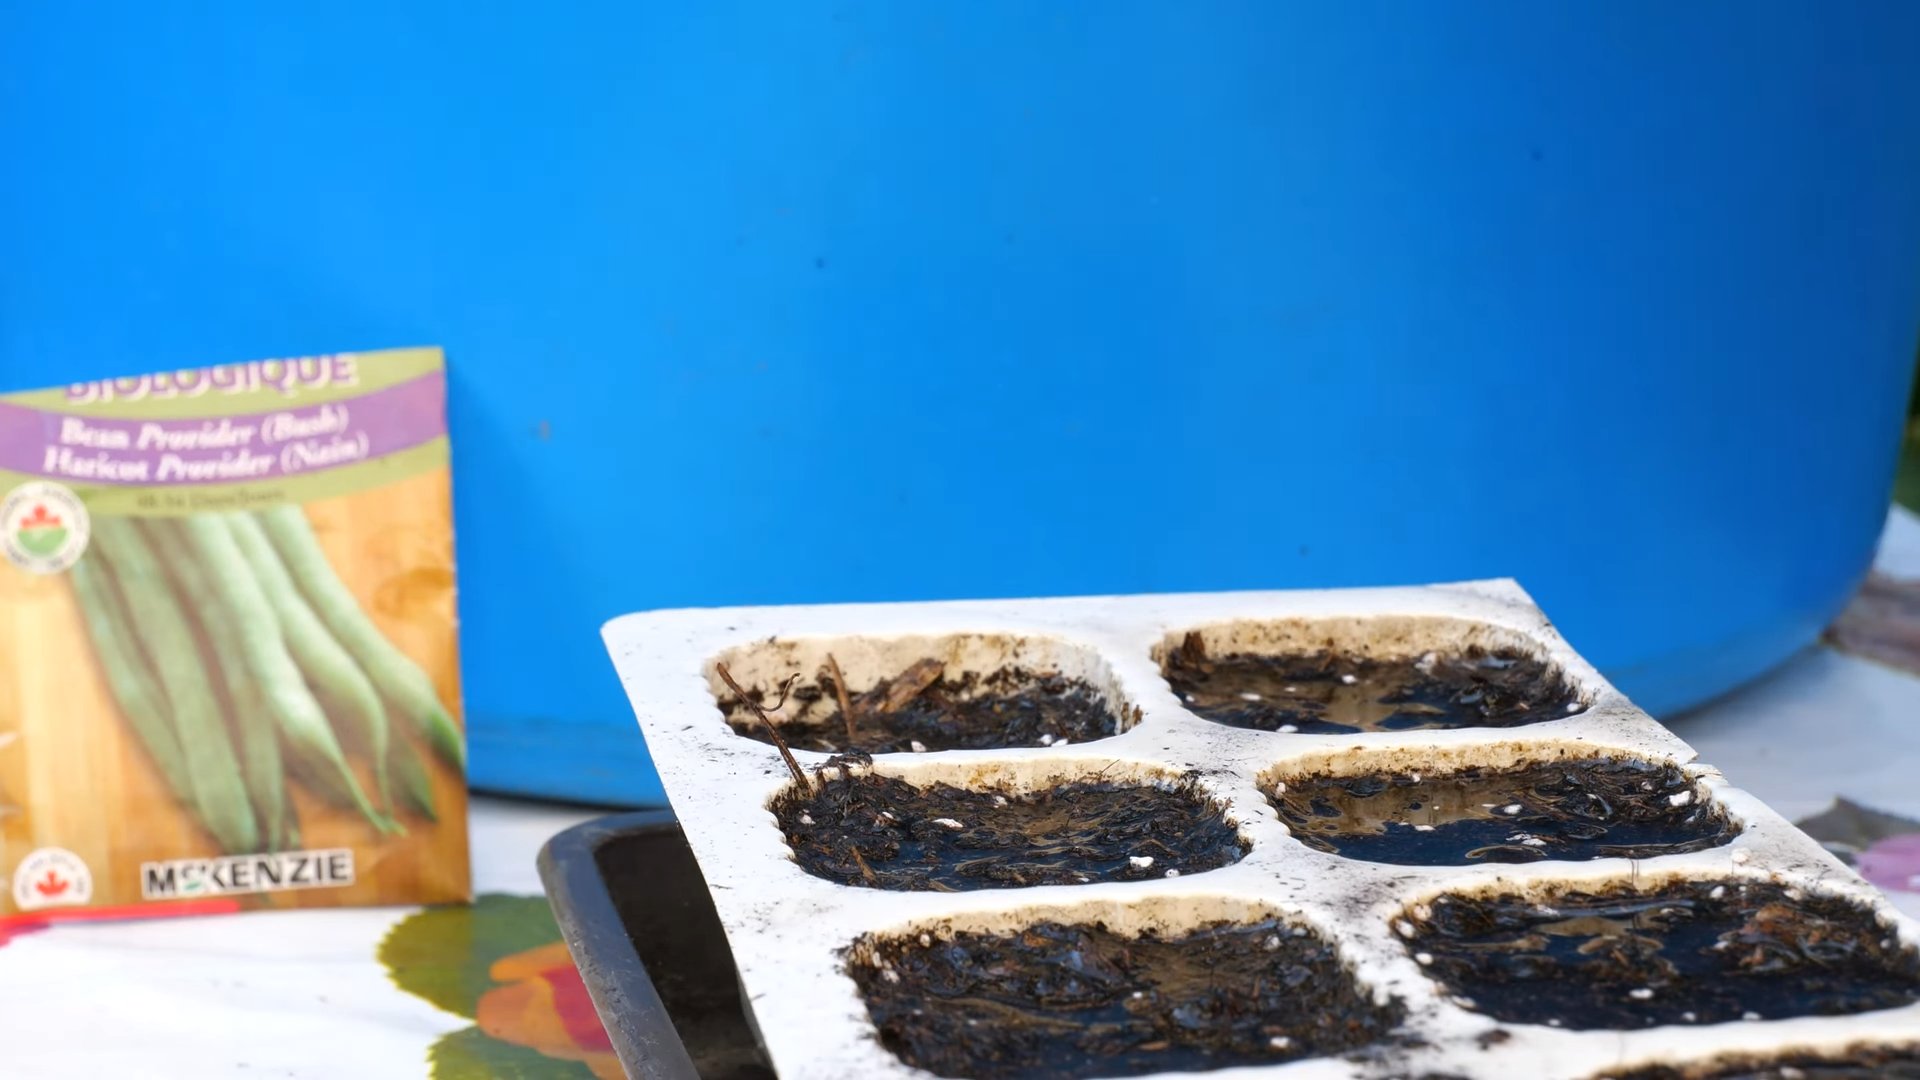
* Green Bean Seeds: Opt for bush bean varieties. They’re more compact and better suited for indoor growing than pole beans. Look for varieties like ‘Bush Blue Lake’, ‘Contender’, or ‘Provider’.
* Pots or Containers: Choose pots that are at least 8 inches deep and wide. Good drainage is crucial, so make sure your pots have drainage holes. Fabric pots are also a great option as they allow for excellent aeration.
* Potting Mix: Use a high-quality, well-draining potting mix. Avoid using garden soil, as it can compact and not drain well in containers.
* Grow Lights: Green beans need plenty of light to thrive. A good quality LED grow light is essential, especially if you don’t have a sunny south-facing window.
* Watering Can or Spray Bottle: For gentle and even watering.
* Optional:
* Seed starting tray and dome (for starting seeds indoors).
* Liquid fertilizer formulated for vegetables.
* Small trellis or stakes (for support, even for bush beans).
Phase 1: Getting Started – Sowing the Seeds
Okay, let’s get our hands dirty! This is where the magic begins.
1. Pre-Soak the Seeds (Optional): While not strictly necessary, soaking your green bean seeds in lukewarm water for a few hours (up to 12) can help speed up germination. I usually do this; it seems to give them a little boost.
2. Fill Your Pots: Fill your chosen pots with the potting mix, leaving about an inch of space at the top. Gently tap the pot to settle the soil.
3. Sow the Seeds: Make small holes about 1 inch deep and 2-3 inches apart. Place 2-3 seeds in each hole. This increases your chances of at least one seed germinating in each spot.
4. Cover the Seeds: Gently cover the seeds with potting mix and lightly pat down the soil.
5. Water Thoroughly: Water the soil gently but thoroughly until water drains out of the drainage holes. This ensures the soil is evenly moist.
6. Provide Warmth: Green beans germinate best in warm conditions (around 70-80°F). If your home is cooler, consider placing the pots on a heat mat designed for seed starting.
7. Consider Seed Starting Trays: If you prefer, you can start your seeds in a seed starting tray with a humidity dome. This helps maintain consistent moisture and warmth. Once the seedlings have a few true leaves, you can transplant them into your larger pots.
Phase 2: Nurturing Your Green Bean Plants
Now that our seeds are sown, it’s time to provide the right environment for them to flourish.
1. Light is Key: Once the seedlings emerge (usually within 7-14 days), they need plenty of light. If you’re using grow lights, position them about 6-12 inches above the plants. Aim for 12-16 hours of light per day. If you have a sunny south-facing window, place the plants there, but supplement with grow lights if needed, especially during the shorter days of winter.
2. Watering: Keep the soil consistently moist, but not soggy. Water when the top inch of soil feels dry to the touch. Overwatering can lead to root rot, so be careful. I usually check the soil moisture every day or two.
3. Temperature: Green beans prefer temperatures between 65-80°F. Avoid placing them near drafty windows or vents.
4. Fertilizing: Once the plants have developed a few sets of true leaves, start fertilizing them every 2-3 weeks with a liquid fertilizer formulated for vegetables. Follow the instructions on the fertilizer label. I like to use a balanced fertilizer with equal parts nitrogen, phosphorus, and potassium.
5. Support (Optional): Even bush bean varieties can benefit from some support, especially as they start producing beans. You can use small trellises, stakes, or even just a few twigs stuck into the soil to provide support. This will help prevent the plants from sprawling and potentially breaking under the weight of the beans.
6. Air Circulation: Good air circulation is important to prevent fungal diseases. Make sure there’s adequate space between your plants and consider using a small fan to circulate the air.
Phase 3: Dealing with Pests and Problems
Even indoors, your green beans can be susceptible to pests and diseases. Here’s how to handle them:
1. Aphids: These tiny pests can suck the sap from your plants, causing them to weaken and become distorted. You can control aphids by spraying them with a strong stream of water, or by using insecticidal soap or neem oil.
2. Spider Mites: These tiny mites can also cause damage to your plants. They thrive in dry conditions, so increasing the humidity around your plants can help prevent them. You can also treat them with insecticidal soap or neem oil.
3. Whiteflies: These small, white, flying insects can also infest your green bean plants. They can be controlled with insecticidal soap or neem oil.
4. Fungal Diseases: Overwatering and poor air circulation can lead to fungal diseases such as powdery mildew. Make sure to water properly and provide good air circulation. You can also treat fungal diseases with a fungicide.
5. Prevention is Key: Regularly inspect your plants for signs of pests or diseases. Early detection is crucial for effective treatment.
Phase 4: Harvesting Your Bounty
The moment you’ve been waiting for! Harvesting your homegrown green beans is incredibly satisfying.
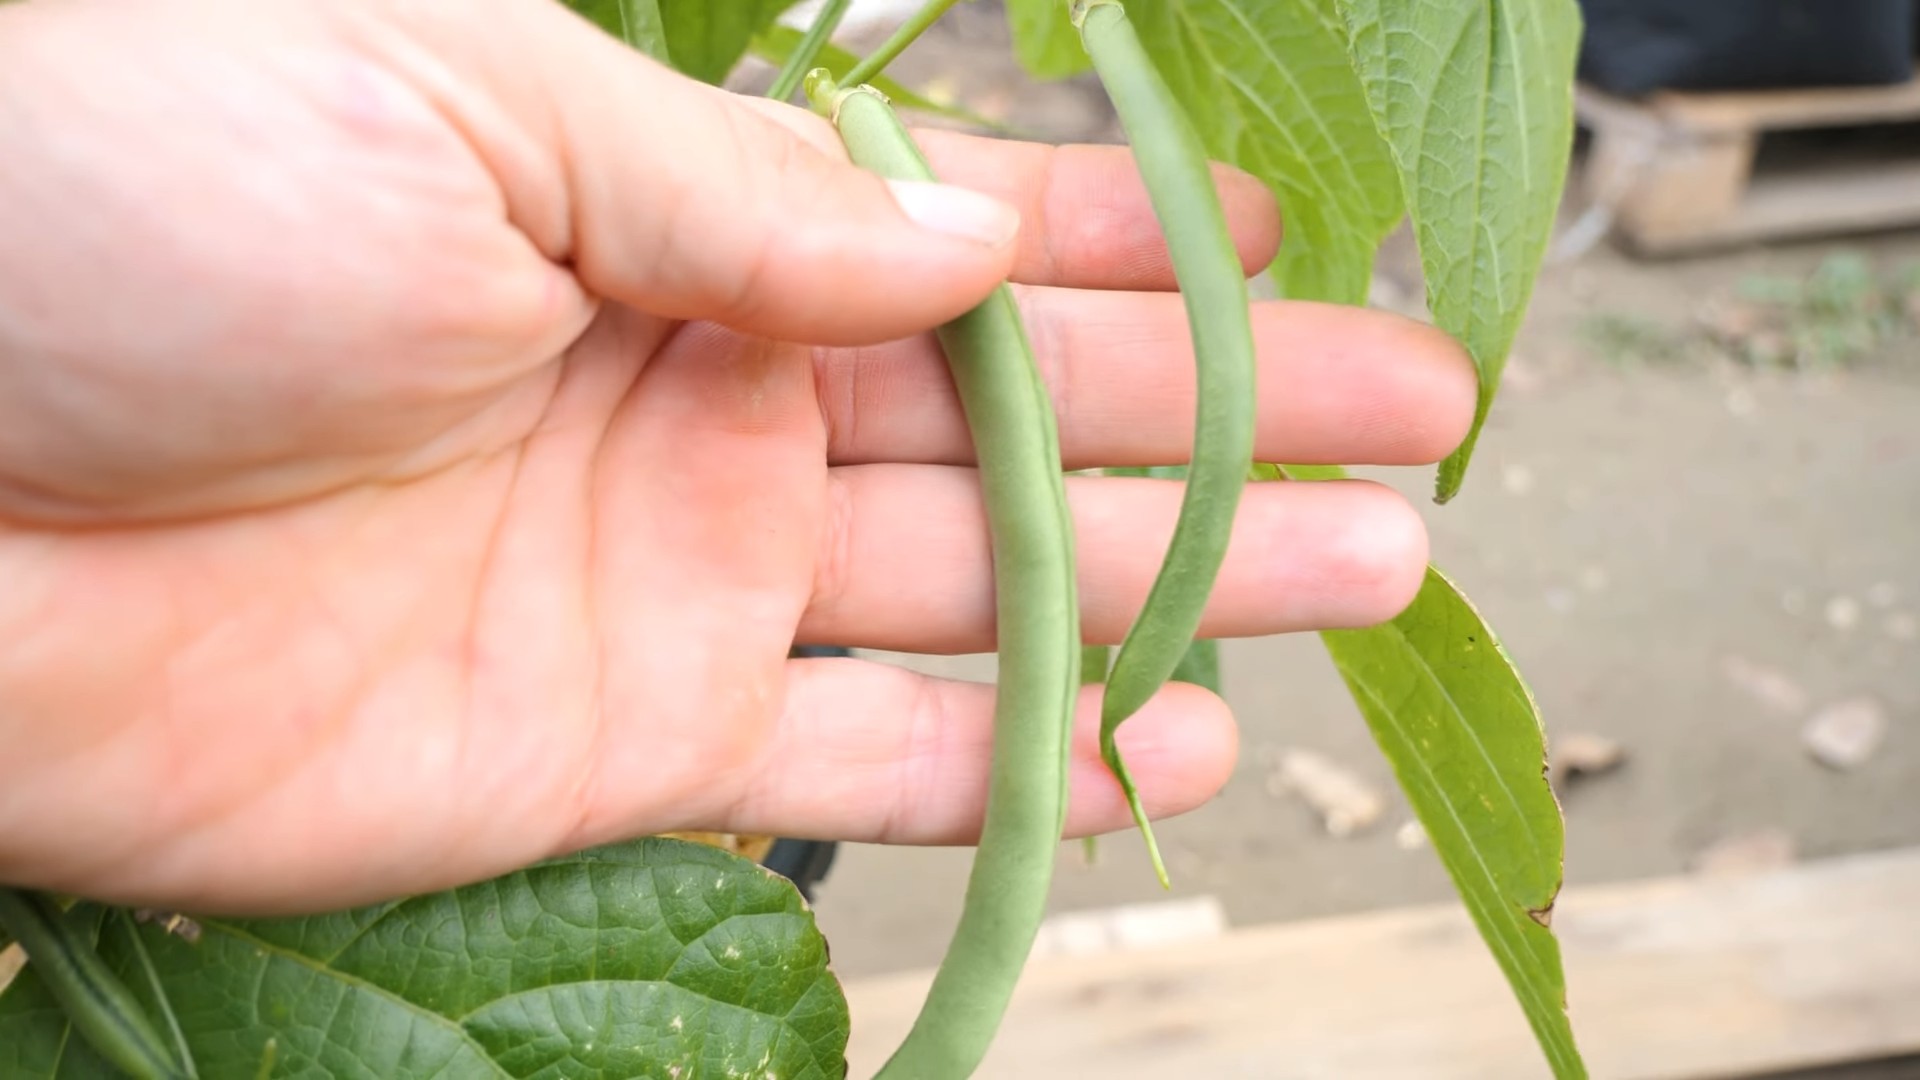
1. Timing is Everything: Green beans are typically ready to harvest about 50-60 days after planting. The beans should be firm, plump, and easily snap off the plant.
2. Harvest Regularly: Harvest your green beans regularly, about every 2-3 days. This will encourage the plant to produce more beans.
3. How to Harvest: Gently snap the beans off the plant, being careful not to damage the plant.
4. Enjoy Your Harvest: Freshly harvested green beans are best enjoyed immediately. You can eat them raw, steamed, sautéed, or roasted. They’re also great in salads and soups.
5. Succession Planting: To extend your harvest, consider succession planting. Sow a new batch of seeds every 2-3 weeks. This will ensure a continuous supply of fresh green beans.
Troubleshooting Tips
* Yellowing Leaves: This could be a sign of overwatering, underwatering, or nutrient deficiency. Check the soil moisture and adjust your watering accordingly. If the soil is consistently moist, it could be overwatering. If the soil is dry, it could be underwatering. If you’re fertilizing regularly, it could be a nutrient deficiency.
* Leggy Plants: This is usually a sign of insufficient light. Make sure your plants are getting enough light, either from a sunny window or grow lights.
* No Flowers or Beans: This could be due to a lack of pollination. While green beans are self-pollinating, you can help the process by gently shaking the plants or using a small brush to transfer pollen from one flower to another. It could also be due to temperature stress. Make sure the temperature is within the ideal range for green beans.
Growing green beans indoors is a rewarding experience that can provide you with fresh, delicious vegetables even during the off-season. With a little care and attention, you can enjoy a bountiful harvest of homegrown green beans. Happy gardening!
Conclusion
So, there you have it! Growing green beans indoors might seem like a challenge, but with a little know-how and the right setup, you can enjoy fresh, homegrown green beans even when the weather outside isn’t cooperating. This DIY trick is a must-try for several reasons. First, it extends your growing season, allowing you to harvest delicious green beans long before or after you typically would outdoors. Second, it gives you complete control over the growing environment, minimizing the risk of pests and diseases that can plague outdoor gardens. Finally, and perhaps most importantly, it’s incredibly rewarding to nurture a plant from seed to harvest, especially when that harvest provides you with a healthy and flavorful addition to your meals.
Think of the possibilities! You could experiment with different varieties of green beans, from the classic bush beans to the more visually striking purple or yellow varieties. You could also try companion planting indoors, placing herbs like basil or rosemary near your green beans to deter pests and enhance their flavor. For those with limited space, consider using vertical gardening techniques, such as trellises or stacked planters, to maximize your yield. If you’re feeling adventurous, you could even try hydroponic growing for an even more efficient and controlled environment.
Don’t be intimidated by the process. Start small, with just a few plants, and gradually expand your indoor garden as you gain confidence. Remember to pay close attention to your plants’ needs, providing them with adequate light, water, and nutrients. And don’t be afraid to experiment and learn from your mistakes. Every gardener, even the most experienced, has faced challenges along the way.
We are confident that you’ll find growing green beans indoors to be a fun, rewarding, and ultimately delicious experience. So, gather your supplies, plant your seeds, and get ready to enjoy the taste of homegrown goodness. We encourage you to try this DIY trick and share your experiences with us! Let us know what varieties you’re growing, what challenges you’ve faced, and what successes you’ve celebrated. Share your photos and tips in the comments below. We can’t wait to hear about your indoor green bean adventures! Happy gardening!
Frequently Asked Questions (FAQ)
What are the best varieties of green beans to grow indoors?
Bush bean varieties are generally the best choice for indoor growing because they are more compact and don’t require as much vertical space as pole beans. Some popular and productive bush bean varieties for indoor gardens include ‘Blue Lake Bush’, ‘Contender’, ‘Provider’, and ‘Bush Kentucky Wonder’. These varieties are known for their high yields, disease resistance, and excellent flavor. However, if you have ample vertical space and are willing to provide a trellis or other support structure, you can also try growing pole bean varieties indoors. Just be sure to choose a variety that is well-suited to container gardening and provide it with plenty of light and support.
How much light do indoor green beans need?
Green beans require a significant amount of light to thrive indoors. Ideally, they need at least 6-8 hours of direct sunlight per day. If you don’t have a sunny window that provides enough light, you’ll need to supplement with artificial grow lights. LED grow lights are a great option because they are energy-efficient and provide the full spectrum of light that plants need to grow. Place the grow lights about 6-12 inches above the plants and adjust the height as the plants grow. You can also use a timer to ensure that the plants receive the appropriate amount of light each day. Insufficient light can lead to leggy growth, reduced yields, and overall poor plant health.
What type of soil is best for growing green beans indoors?
Green beans prefer well-draining soil that is rich in organic matter. A good potting mix for indoor green beans should consist of a combination of peat moss, perlite, and vermiculite. You can also add compost or other organic matter to improve the soil’s fertility and drainage. Avoid using garden soil, as it can be too heavy and compacted for container gardening. The ideal pH for green beans is between 6.0 and 7.0. You can test the pH of your soil using a soil testing kit and adjust it as needed with lime or sulfur.
How often should I water my indoor green beans?
Water your green beans regularly, keeping the soil consistently moist but not waterlogged. The frequency of watering will depend on several factors, including the size of the container, the type of soil, and the temperature and humidity of your home. A good rule of thumb is to water when the top inch of soil feels dry to the touch. Be sure to water thoroughly, allowing the water to drain out of the bottom of the container. Avoid overwatering, as this can lead to root rot.
How do I fertilize my indoor green beans?
Green beans are heavy feeders and require regular fertilization to produce a good yield. Start fertilizing your plants about two weeks after they germinate, using a balanced liquid fertilizer diluted to half strength. Fertilize every two weeks throughout the growing season. You can also supplement with organic fertilizers, such as compost tea or fish emulsion. Avoid over-fertilizing, as this can lead to excessive foliage growth and reduced yields.
How do I pollinate my indoor green beans?
Green beans are self-pollinating, meaning they don’t require insects or wind to transfer pollen from the male to the female parts of the flower. However, indoor plants may benefit from a little help with pollination. You can hand-pollinate your green beans by gently shaking the plants or using a small paintbrush to transfer pollen from one flower to another. Do this in the morning, when the flowers are open and the pollen is most viable.
How long does it take for green beans to mature indoors?
The time it takes for green beans to mature indoors depends on the variety and growing conditions. Generally, bush beans will be ready to harvest in about 50-60 days from planting, while pole beans may take a bit longer. You’ll know your green beans are ready to harvest when they are firm, crisp, and about the size of a pencil. Harvest regularly to encourage continued production.
What are some common pests and diseases that affect indoor green beans?
While indoor gardens are generally less susceptible to pests and diseases than outdoor gardens, they can still be affected by certain problems. Common pests that may attack indoor green beans include aphids, spider mites, and whiteflies. You can control these pests with insecticidal soap or neem oil. Common diseases that may affect indoor green beans include powdery mildew and root rot. Prevent these diseases by providing good air circulation, avoiding overwatering, and using a well-draining potting mix.
Can I grow green beans indoors year-round?
Yes, you can grow green beans indoors year-round, provided you have the right setup and growing conditions. This is one of the biggest advantages of indoor gardening. By controlling the light, temperature, and humidity, you can create an ideal environment for your green beans to thrive, regardless of the season.
What size container should I use for growing green beans indoors?
For bush beans, a container that is at least 8-12 inches deep and wide is sufficient. For pole beans, you’ll need a larger container, at least 12-18 inches deep and wide, to accommodate their larger root systems and provide adequate support for their climbing vines. Make sure the container has drainage holes to prevent waterlogging.


Leave a Comment