

DIY vinegar cleaner: it’s not just a trend; it’s a revolution in how we approach cleaning our homes! Are you tired of harsh chemicals, overpowering smells, and the nagging worry about what you’re exposing your family and pets to? I know I was! That’s why I dove headfirst into the world of natural cleaning, and let me tell you, I haven’t looked back since.
Vinegar, that humble staple in your pantry, has a surprisingly rich history as a cleaning agent. From ancient civilizations using it to disinfect wounds to our grandmothers relying on it for sparkling windows, vinegar has been a trusted ally for centuries. It’s a testament to its effectiveness and versatility that it continues to be a go-to solution even in our modern, chemical-laden world.
But why should you embrace the DIY vinegar cleaner movement? Simple: it’s effective, affordable, eco-friendly, and incredibly easy to make! In this article, I’m going to share my favorite DIY vinegar cleaner recipes and hacks that will transform your cleaning routine. We’ll cover everything from all-purpose sprays to tackling stubborn stains, all while saving you money and reducing your environmental impact. Get ready to ditch the chemicals and embrace the power of vinegar!
DIY All-Purpose Vinegar Cleaner: Your Guide to a Sparkling Home!
Hey there, fellow cleaning enthusiasts! I’m so excited to share my go-to recipe for an all-purpose vinegar cleaner. It’s incredibly simple, budget-friendly, and surprisingly effective. Plus, it’s a fantastic way to reduce your reliance on harsh chemicals. Let’s dive in!
What You’ll Need
Before we get started, let’s gather our supplies. This is a super simple list, I promise!
* **White Distilled Vinegar:** This is the star of the show! Make sure it’s white distilled vinegar, as other types might stain.
* **Water:** Tap water works just fine.
* **Essential Oils (Optional):** These are for fragrance and can add some extra cleaning power. I personally love lemon, lavender, tea tree, or eucalyptus.
* **Spray Bottle:** A clean, empty spray bottle is essential for application.
* **Measuring Cup or Spoons:** For accurate measurements.
* **Funnel (Optional):** Makes pouring liquids into the spray bottle much easier.
The Basic Recipe: Vinegar and Water
This is the foundation of our cleaner. It’s simple, effective, and perfect for everyday cleaning.
1. **Prepare Your Spray Bottle:** Make sure your spray bottle is clean and dry. Any residue inside could interfere with the cleaner’s effectiveness or even react with the vinegar.
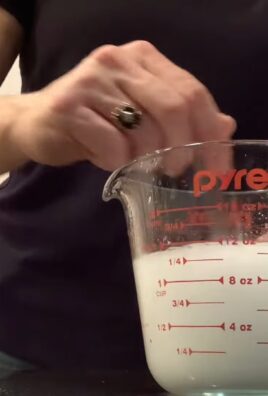
2. **Combine Vinegar and Water:** In your measuring cup, combine equal parts white distilled vinegar and water. For example, if your spray bottle holds 16 ounces, use 8 ounces of vinegar and 8 ounces of water. I usually go for a 50/50 mix, but you can adjust the ratio to your liking. For tougher cleaning jobs, you can increase the vinegar concentration.
3. **Pour into Spray Bottle:** Carefully pour the mixture into your spray bottle. This is where the funnel comes in handy!
4. **Shake Well:** Give the bottle a good shake to ensure the vinegar and water are thoroughly mixed.
5. **Label Your Bottle:** This is important! Clearly label the bottle as “Vinegar Cleaner” to avoid any confusion.
Adding Essential Oils for Scent and Extra Cleaning Power
This is where you can customize your cleaner to your liking! Essential oils not only add a pleasant scent but also have their own antibacterial and antiviral properties.
1. **Choose Your Essential Oils:** Select your favorite essential oils. As I mentioned earlier, lemon, lavender, tea tree, and eucalyptus are great choices. Lemon is uplifting and degreasing, lavender is calming and antibacterial, tea tree is a powerful antiseptic, and eucalyptus is refreshing and antiviral.
2. **Add Essential Oils to the Mixture:** Add 10-20 drops of essential oil per 16 ounces of cleaner. Start with a smaller amount and add more if you prefer a stronger scent. I usually go for about 15 drops.
3. **Shake Well Again:** After adding the essential oils, shake the bottle vigorously to ensure they are evenly dispersed.
4. **Let it Sit:** Allow the mixture to sit for a few hours, or even overnight, to allow the essential oils to fully blend with the vinegar and water. This will help the scent last longer.
Using Your DIY Vinegar Cleaner
Now for the fun part – putting your cleaner to work!
1. **Spray the Surface:** Spray the cleaner directly onto the surface you want to clean.
2. **Let it Sit (Optional):** For tougher stains or grime, let the cleaner sit for a few minutes to allow the vinegar to work its magic.
3. **Wipe Clean:** Use a clean cloth or sponge to wipe the surface clean.
4. **Dry (Optional):** If desired, dry the surface with a clean, dry cloth. This will help prevent water spots.
Where to Use Your Vinegar Cleaner
This cleaner is incredibly versatile! Here are some of my favorite uses:
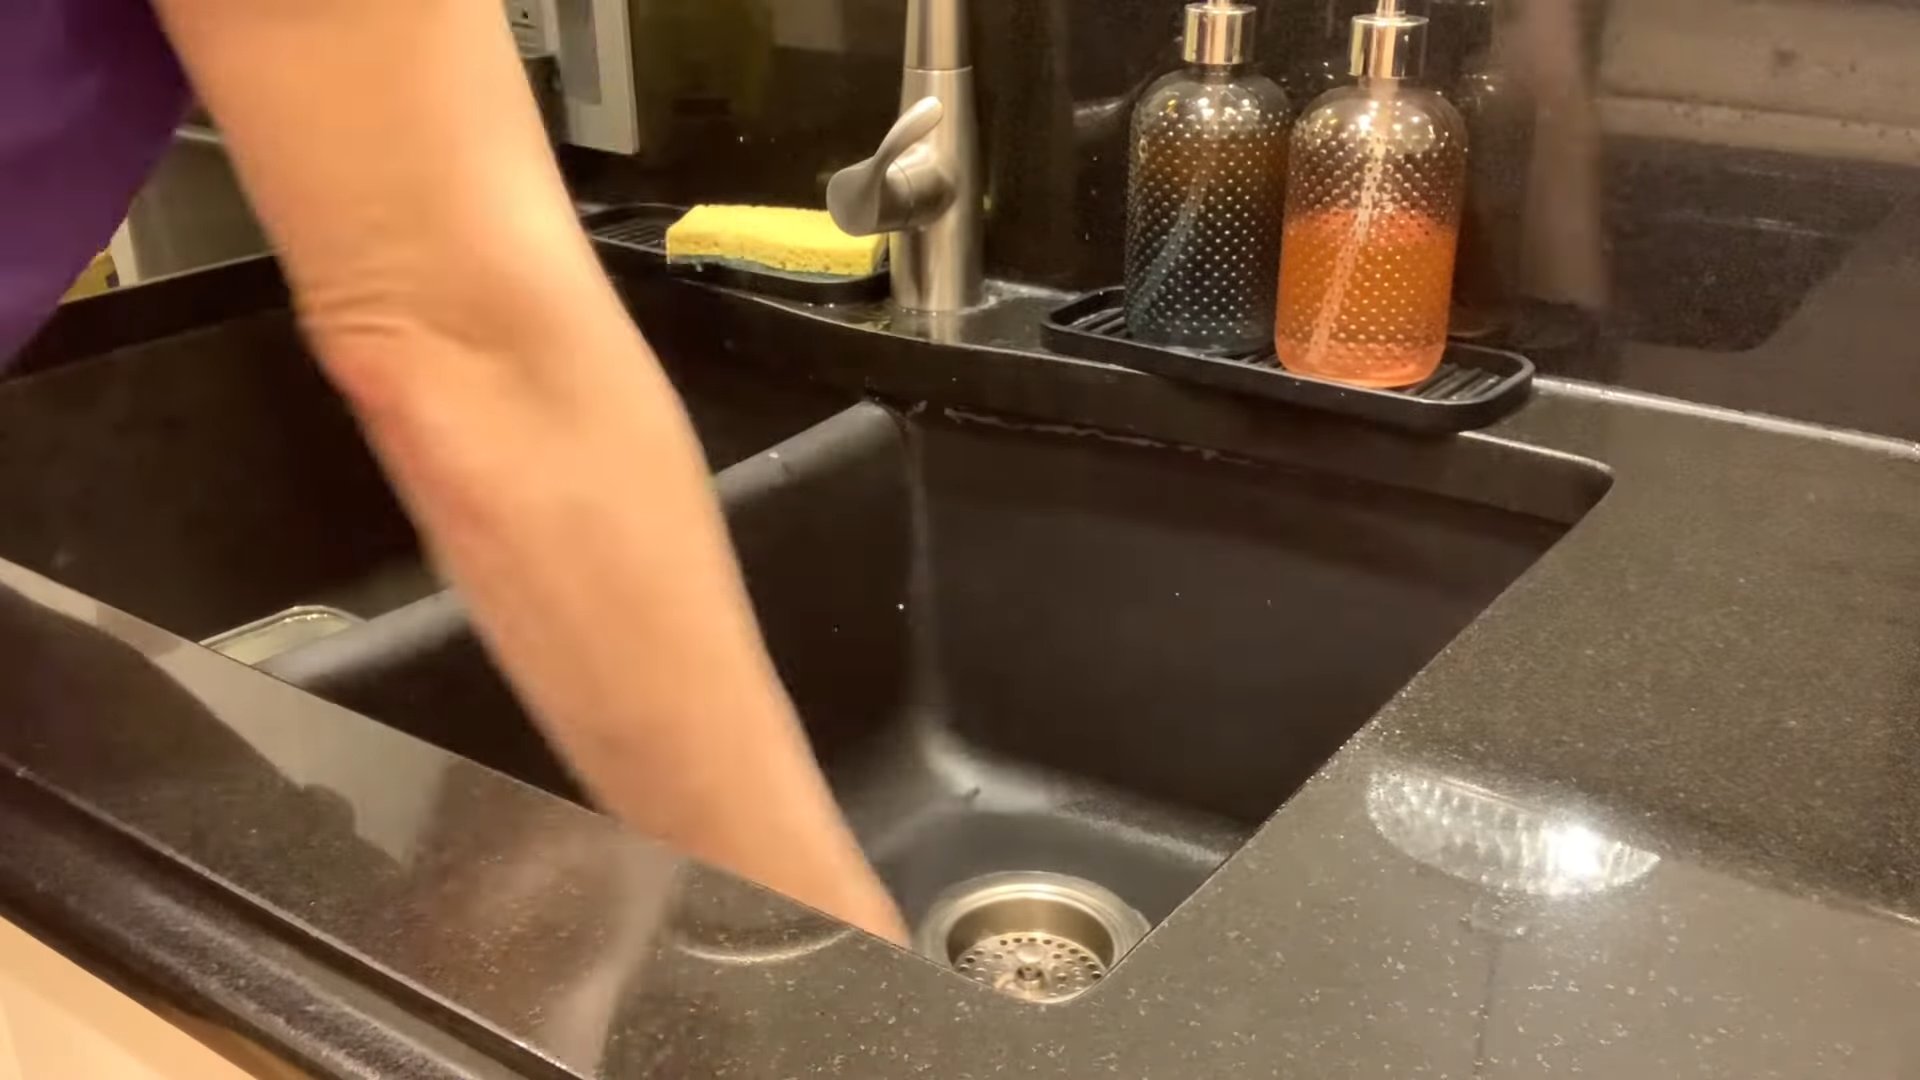
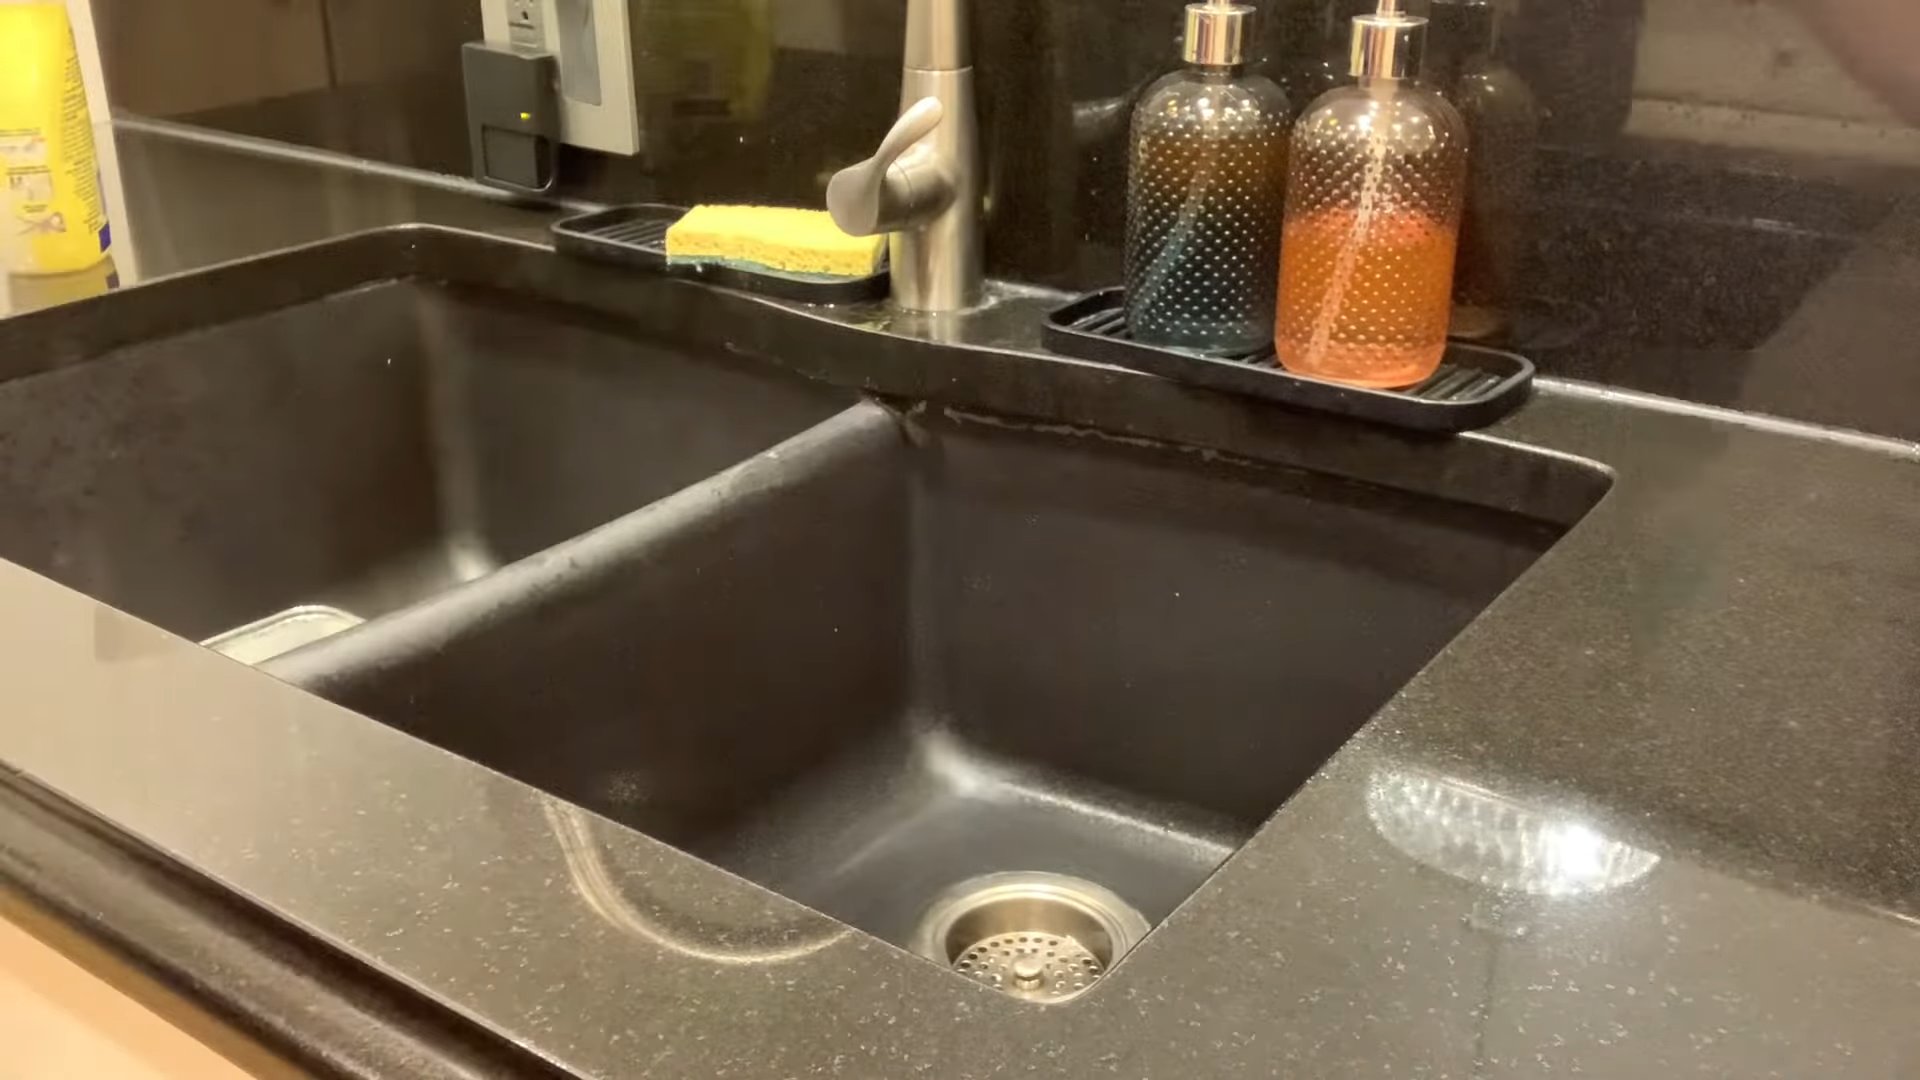
* **Kitchen Counters:** Vinegar is a great degreaser and disinfectant for kitchen counters.
* **Bathroom Surfaces:** Clean sinks, toilets, and showers with ease.
* **Floors:** Dilute the cleaner with more water for mopping floors.
* **Windows and Mirrors:** Vinegar leaves windows and mirrors streak-free.
* **Appliances:** Wipe down the exterior of appliances like refrigerators and ovens.
* **Cutting Boards:** Disinfect wooden cutting boards after use.
* **Coffee Makers:** Run a cycle with vinegar and water to descale your coffee maker.
* **Dishwashers:** Pour a cup of vinegar into the bottom of your dishwasher and run a cycle to clean and deodorize.
* **Laundry:** Add a cup of vinegar to your laundry to brighten whites and remove odors.
Areas to Avoid
While vinegar is a fantastic cleaner, there are a few surfaces you should avoid:
* **Natural Stone Surfaces:** Vinegar can etch and damage natural stone surfaces like granite, marble, and limestone.
* **Waxed Furniture:** Vinegar can strip the wax from waxed furniture.
* **Electronics Screens:** Avoid spraying vinegar directly onto electronics screens, as it can damage them.
* **Unsealed Grout:** Vinegar can erode unsealed grout over time.
Troubleshooting and Tips
* **Vinegar Smell:** Some people find the smell of vinegar unpleasant. Adding essential oils can help mask the odor. The smell also dissipates quickly after the surface dries.
* **Streaking:** If you’re experiencing streaking, try diluting the cleaner with more water or using a microfiber cloth.
* **Stubborn Stains:** For stubborn stains, try making a paste of baking soda and vinegar. Apply the paste to the stain, let it sit for a few minutes, and then scrub clean.
* **Adjusting the Ratio:** Feel free to experiment with the vinegar-to-water ratio to find what works best for your needs. For tougher cleaning jobs, you can increase the vinegar concentration.
* **Storage:** Store your vinegar cleaner in a cool, dark place. It should last for several months.
* Always test the cleaner in an inconspicuous area first, especially on delicate surfaces. This will help you ensure that it doesn’t damage the material.
* Don’t mix vinegar with bleach! This creates toxic fumes.
Making a Stronger Disinfectant
While vinegar is a good cleaner, it’s not a strong disinfectant on its own. If you need a stronger disinfectant, you can add a small amount of hydrogen peroxide to your vinegar cleaner.
1. **Add Hydrogen Peroxide:** Add 1/4 cup of 3% hydrogen peroxide to your 16-ounce spray bottle of vinegar cleaner.
2. **Shake Well:** Shake the bottle well to mix the ingredients.
3. Important Note: Never mix vinegar and bleach, as this creates toxic fumes. Hydrogen peroxide is a safer alternative.
4. Use Immediately: This mixture is best used immediately, as the hydrogen peroxide will break down over time.
5. Test First: As always, test the cleaner in an inconspicuous area first to ensure it doesn’t damage the surface.
DIY Vinegar Cleaning Paste
Sometimes, you need a little extra scrubbing power. That’s where this simple cleaning paste comes in!
1. **Gather Your Ingredients:** You’ll need baking soda and vinegar.
2. **Mix the Ingredients:** In a small bowl, mix together baking soda and vinegar until you form a paste. The ratio will vary depending on the consistency you want, but start with about 1/4 cup of baking soda and add vinegar a little at a time until you get a paste-like consistency.
3. **Apply to the Surface:** Apply the paste to the surface you want to clean.
4. **Let it Sit:** Let the paste sit for a few minutes to allow the baking soda and vinegar to work their magic.
5. **Scrub Clean:** Use a sponge or brush to scrub the surface clean.
6. **Rinse with Water:** Rinse the surface with water to remove any remaining paste.
This paste is great for cleaning grout, removing soap scum, and tackling tough stains.
Infusing Vinegar with Citrus Peels
Want to add an extra boost of cleaning power and a fresh scent to your vinegar cleaner? Try infusing your vinegar with citrus peels!
1. **Save Your Citrus Peels:** Whenever you eat oranges, lemons, limes, or grapefruits, save the peels.
2. **Place Peels in a Jar:** Place the citrus peels in a clean glass jar.
3. **Cover with Vinegar:** Pour white distilled vinegar over the peels, making sure they are completely submerged.
4. **Seal and Let Sit:** Seal the jar and let it sit for 2-4 weeks. The longer it sits, the stronger the citrus scent will be.
5. **Strain the Vinegar:** After 2-4 weeks, strain the vinegar through a cheesecloth or fine-mesh sieve to remove the peels.
6. **Use the Infused Vinegar:** Use the infused vinegar in your all-purpose cleaner recipe.
The citrus peels will add a natural fragrance and extra
Conclusion
So, there you have it! Ditching those expensive, chemical-laden cleaners and embracing the power of a simple, effective, and eco-friendly DIY vinegar cleaner is a game-changer for your home and your wallet. We’ve explored the ins and outs of crafting this cleaning powerhouse, and hopefully, you’re feeling inspired to give it a try.
Why is this a must-try? Because it’s more than just a cleaner; it’s a conscious choice. It’s a step towards a healthier home environment, free from harsh chemicals that can irritate skin, trigger allergies, and contribute to indoor air pollution. It’s a budget-friendly alternative that saves you money without compromising on cleaning power. And it’s an environmentally responsible decision that reduces your reliance on plastic bottles and harmful ingredients.
But the beauty of this DIY trick lies in its versatility. Feel free to experiment with different essential oil combinations to create your signature scent. Lavender and lemon offer a calming and refreshing aroma, while tea tree and eucalyptus provide powerful antibacterial properties. You can also adjust the vinegar-to-water ratio depending on the task at hand. For tougher stains and grime, increase the vinegar concentration. For lighter cleaning, a more diluted solution will suffice.
Consider infusing your vinegar with citrus peels for an extra boost of cleaning power and a delightful fragrance. Simply add orange, lemon, or grapefruit peels to a jar of vinegar and let it steep for a few weeks before straining and using the infused vinegar in your cleaner. This adds a natural degreasing element and a bright, citrusy scent.
Another variation is to add a small amount of dish soap to your DIY vinegar cleaner for extra cleaning power, especially when tackling greasy surfaces. Just be sure to use a natural, unscented dish soap to avoid any unwanted chemical reactions or overpowering fragrances.
Ultimately, the best way to discover the full potential of this DIY vinegar cleaner is to experiment and find what works best for you and your home. Don’t be afraid to get creative and customize your cleaner to suit your specific needs and preferences.
We are confident that once you experience the cleaning power and the peace of mind that comes with using a natural, homemade cleaner, you’ll never go back to store-bought alternatives. It’s a simple change that can make a big difference in your home, your health, and the environment.
So, what are you waiting for? Gather your ingredients, mix up a batch of this amazing DIY vinegar cleaner, and get ready to experience the joy of a sparkling clean home, naturally.
We’d love to hear about your experiences with this DIY vinegar cleaner! Share your tips, variations, and cleaning success stories in the comments below. Let’s create a community of eco-conscious cleaners and inspire others to embrace the power of homemade solutions. Happy cleaning!
Frequently Asked Questions (FAQ)
Is DIY vinegar cleaner safe to use on all surfaces?
While vinegar is a fantastic all-purpose cleaner, it’s essential to exercise caution on certain surfaces. Avoid using vinegar on natural stone surfaces like marble, granite, and limestone, as the acidity can etch and damage them. It’s also best to avoid using vinegar on waxed wood furniture, as it can strip the wax finish. Always test the cleaner on an inconspicuous area first to ensure it doesn’t cause any discoloration or damage. For delicate surfaces, consider diluting the vinegar solution further or using a different cleaning method altogether.
What type of vinegar is best for cleaning?
Plain white distilled vinegar is the most effective and economical choice for cleaning. It has a higher acidity level than other types of vinegar, making it a powerful disinfectant and degreaser. Avoid using flavored vinegars, such as apple cider vinegar or balsamic vinegar, as they may contain sugars or other additives that can leave a sticky residue. While apple cider vinegar can be used in some cleaning applications, white distilled vinegar is generally the preferred option for its superior cleaning power and neutral scent.
Can I use essential oils other than the ones mentioned in the article?
Absolutely! The beauty of DIY cleaning is the ability to customize your solutions to your liking. Feel free to experiment with different essential oil combinations to create your desired scent and cleaning properties. Some popular choices include lemon, orange, grapefruit, peppermint, tea tree, eucalyptus, and lavender. When choosing essential oils, opt for high-quality, pure oils to ensure the best results and avoid any potential irritants. Remember to use essential oils sparingly, as a little goes a long way. A few drops are usually sufficient to add fragrance and enhance the cleaning power of your DIY vinegar cleaner.
How long does DIY vinegar cleaner last?
DIY vinegar cleaner has a long shelf life due to the natural preservative properties of vinegar. When stored in a cool, dark place, it can last for several months without losing its effectiveness. However, it’s always a good idea to make a fresh batch every few months to ensure optimal cleaning power. If you notice any changes in the appearance or smell of your cleaner, such as cloudiness or a foul odor, it’s best to discard it and make a new batch.
Does the vinegar smell linger after cleaning?
The strong scent of vinegar can be a concern for some people, but the good news is that it typically dissipates quickly after cleaning. To minimize the vinegar smell, ensure proper ventilation by opening windows or using a fan. You can also add essential oils to your cleaner to mask the vinegar scent and leave behind a pleasant fragrance. Citrus essential oils, such as lemon and orange, are particularly effective at neutralizing the vinegar smell. Once the surface is dry, the vinegar scent should be barely noticeable, leaving behind a clean and fresh aroma.
Can I use DIY vinegar cleaner to clean my toilet?
Yes, DIY vinegar cleaner is an excellent choice for cleaning your toilet. Its acidic properties help to dissolve mineral deposits, remove stains, and disinfect the bowl. Simply pour a cup of vinegar into the toilet bowl and let it sit for at least 30 minutes, or even overnight for stubborn stains. Then, scrub the bowl with a toilet brush and flush. For a more thorough cleaning, you can also spray the vinegar cleaner on the exterior of the toilet and wipe it down with a cloth.
Is it safe to mix vinegar with other cleaning products?
It’s crucial to avoid mixing vinegar with certain cleaning products, especially bleach. Mixing vinegar with bleach creates chlorine gas, which is highly toxic and can cause serious respiratory problems. Never mix vinegar with ammonia-based cleaners either, as this can create harmful fumes. When using DIY vinegar cleaner, it’s best to use it on its own or with other natural ingredients like baking soda or essential oils. Always read the labels of your cleaning products carefully and avoid mixing them unless specifically instructed to do so.
Can I use DIY vinegar cleaner to clean my windows and mirrors?
Yes, DIY vinegar cleaner is a fantastic option for cleaning windows and mirrors, leaving them streak-free and sparkling. Simply mix equal parts vinegar and water in a spray bottle and spray the solution onto the surface. Wipe the window or mirror with a clean, lint-free cloth or paper towel. For best results, avoid cleaning windows and mirrors in direct sunlight, as this can cause the cleaner to dry too quickly and leave streaks.
How does DIY vinegar cleaner compare to commercial cleaners in terms of effectiveness?
DIY vinegar cleaner is surprisingly effective at cleaning a wide range of surfaces and tackling various types of grime. While it may not be as powerful as some heavy-duty commercial cleaners, it’s a safe, natural, and cost-effective alternative for everyday cleaning tasks. Vinegar’s acidity helps to dissolve mineral deposits, cut through grease, and disinfect surfaces. When combined with other natural ingredients like baking soda and essential oils, it can be even more effective. Many people find that DIY vinegar cleaner works just as well as, if not better than, commercial cleaners, without the harsh chemicals and potential health risks.

Leave a Comment