

Time Saving Cleaning Hacks – who doesn’t want more of those in their life? Let’s be honest, cleaning isn’t usually anyone’s favorite pastime. We’d all rather be spending our precious free time doing things we actually enjoy, right? That’s where these clever DIY cleaning tricks come in! For centuries, people have been searching for ways to streamline household chores. From ancient Roman bathhouses meticulously maintained by slaves to the Victorian era’s obsession with spotless homes, the desire for cleanliness has always been a part of human culture.
But unlike those bygone eras, we don’t have armies of helpers! That’s why I’m so excited to share these time saving cleaning hacks with you. Imagine reclaiming hours each week, simply by implementing a few smart strategies. No more spending entire weekends scrubbing and polishing! These DIY solutions are designed to be quick, easy, and effective, using ingredients you probably already have in your pantry.
Think about it: a sparkling clean home not only looks great, but it also contributes to a healthier and more peaceful living environment. Less clutter, less stress! So, if you’re ready to ditch the drudgery and embrace a cleaner, more relaxed lifestyle, keep reading. I’m about to reveal some game-changing DIY cleaning tricks that will transform the way you approach housework forever!
Time-Saving Cleaning Hacks: Reclaim Your Weekend!
Okay, let’s be honest, nobody *really* enjoys cleaning. But it’s a necessary evil, right? Well, what if I told you there were ways to make it less of a chore and more of a breeze? I’ve compiled some of my favorite time-saving cleaning hacks that have seriously changed my cleaning game. Get ready to reclaim your weekends!
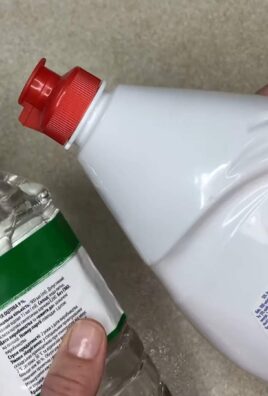
Hack 1: The Microwave Steam Clean
This is a lifesaver when your microwave looks like a Jackson Pollock painting gone wrong. No more scrubbing for hours!
What you’ll need:
* 1 cup of water
* 1/4 cup of white vinegar (or lemon juice)
* Microwave-safe bowl
* Sponge or cloth
Step-by-step instructions:
1. Mix the solution: In your microwave-safe bowl, combine the water and vinegar (or lemon juice). The vinegar helps loosen grime, and the lemon juice adds a fresh scent.
2. Microwave it: Place the bowl in the microwave and heat it on high for 5-5 minutes. You want the solution to boil and create steam. The steam is what does the magic!
3. Let it sit: Don’t open the microwave immediately! Let the steam work its magic for another 5-10 minutes. This allows the condensation to loosen all the splatters and food debris.
4. Wipe it down: Carefully remove the bowl (it will be hot!). Use your sponge or cloth to easily wipe away all the loosened grime. You’ll be amazed at how easily it comes off!
5. Dry it: Give the microwave a final wipe with a dry cloth to prevent water spots.
Hack 2: The Shower Head Soak
Hard water got you down? Is your shower head spraying in all directions except where you want it to? This hack will unclog those mineral deposits and restore your shower to its former glory.
What you’ll need:
* Plastic bag (gallon-sized works best)
* White vinegar
* Rubber band or twist tie
Step-by-step instructions:
1. Fill the bag: Pour enough white vinegar into the plastic bag to completely submerge your shower head.
2. Secure the bag: Carefully attach the bag to the shower head, making sure the shower head is fully immersed in the vinegar. Use a rubber band or twist tie to secure the bag tightly.
3. Soak overnight: Let the shower head soak in the vinegar overnight (or for at least a few hours). The vinegar will dissolve the mineral deposits that are clogging the spray nozzles.
4. Remove and rinse: Remove the bag and discard the vinegar. Run the shower for a few minutes to flush out any remaining vinegar and loosened debris.
5. Wipe clean: Use a cloth to wipe down the shower head and remove any lingering residue.
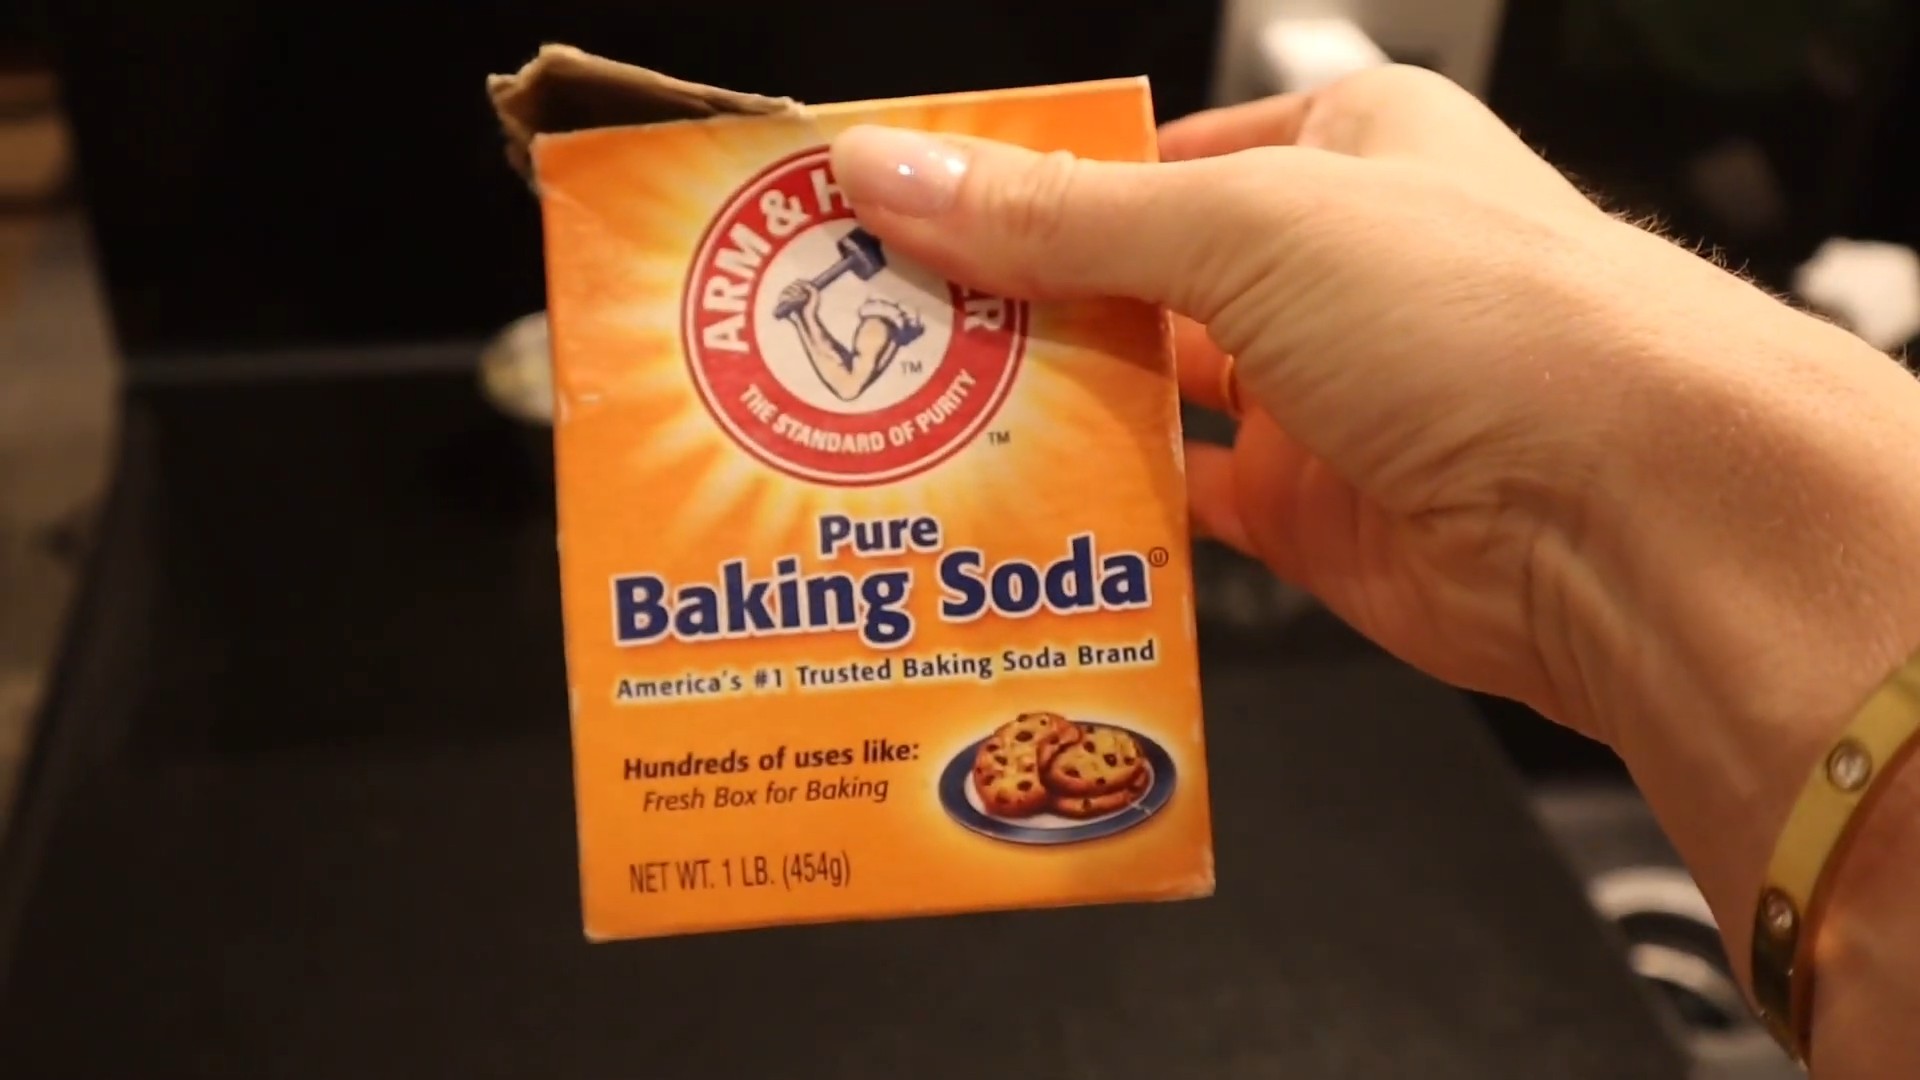
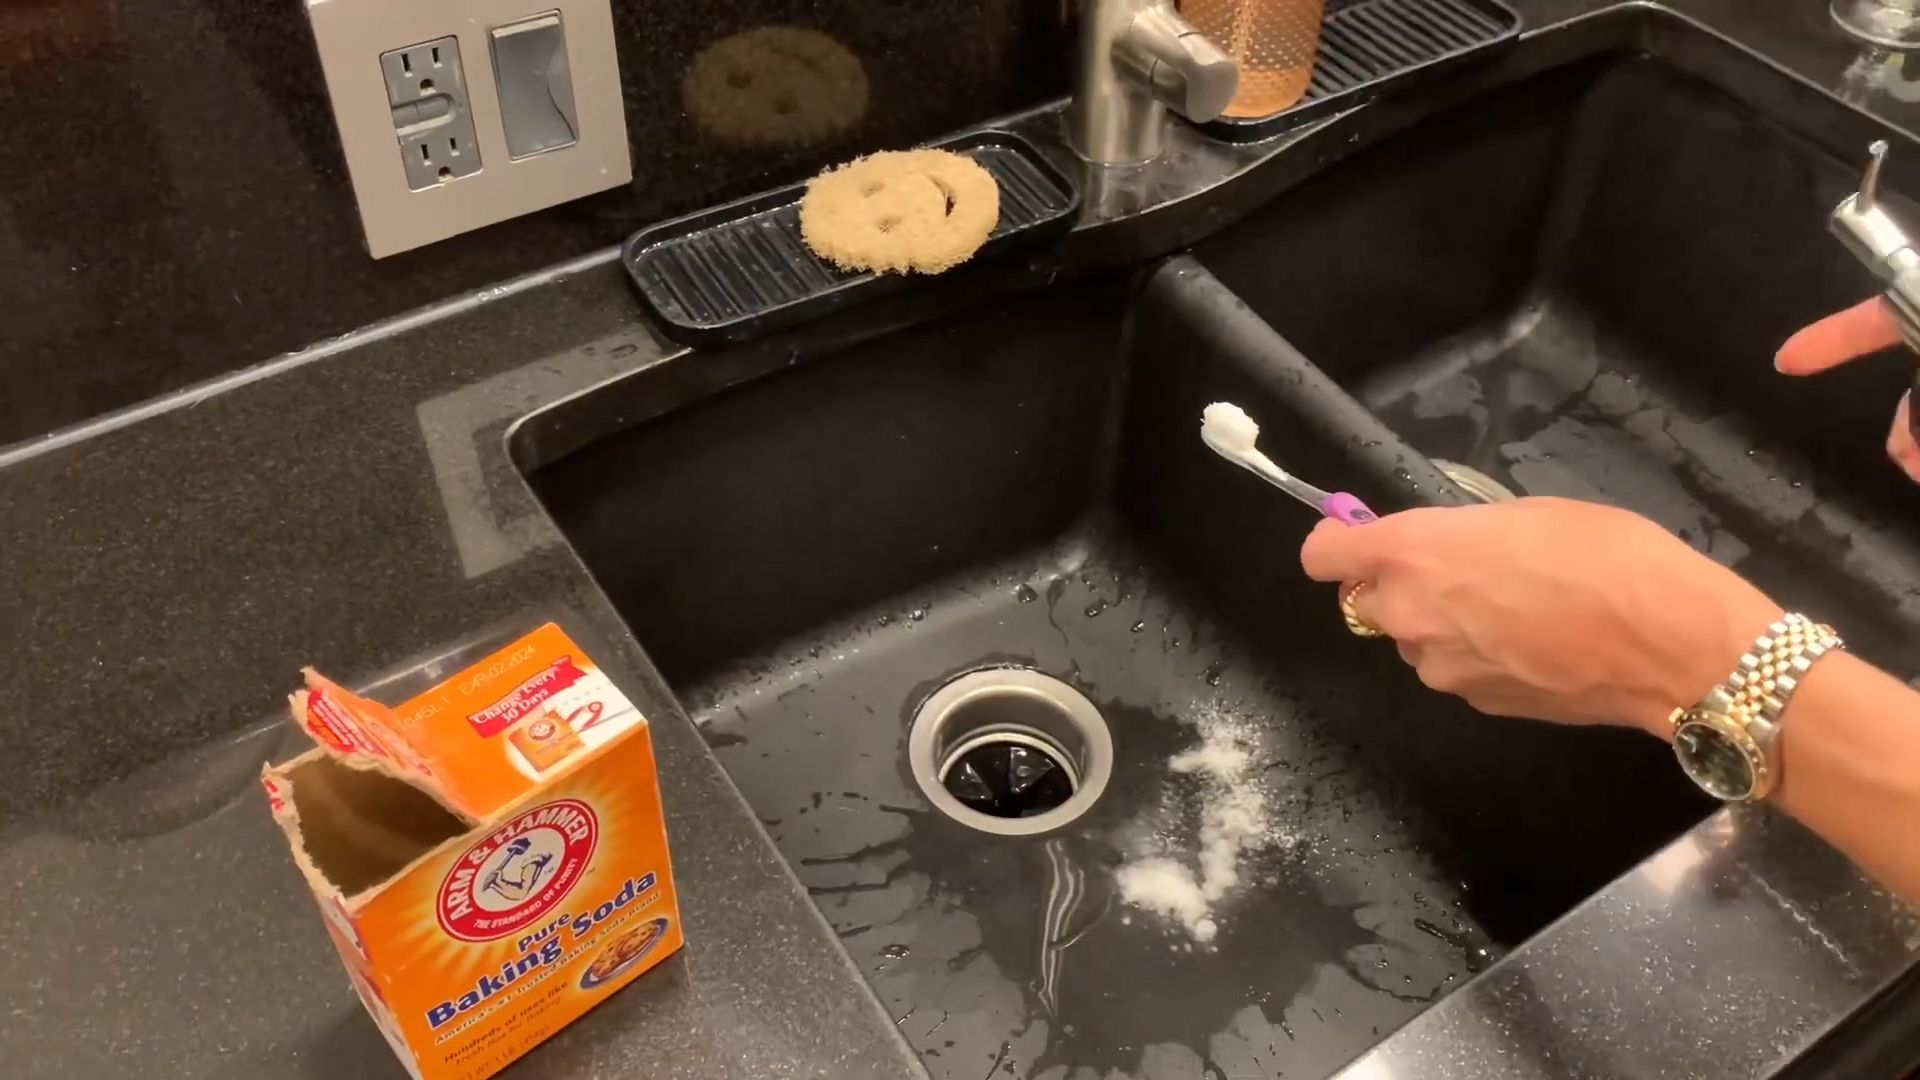
Hack 3: The Baking Soda Paste for Stubborn Stains
This is my go-to for tackling tough stains on sinks, bathtubs, and even oven doors. Baking soda is a natural abrasive that’s gentle enough not to scratch surfaces but strong enough to lift stubborn grime.
What you’ll need:
* Baking soda
* Water
* Sponge or cloth
* Old toothbrush (optional, for grout)
Step-by-step instructions:
1. Make the paste: In a small bowl, mix baking soda with a little water to form a thick paste. You want it to be spreadable but not too runny.
2. Apply the paste: Apply the baking soda paste to the stained area. For tough stains, let the paste sit for 15-20 minutes.
3. Scrub gently: Use a sponge or cloth to gently scrub the area. For grout, an old toothbrush works wonders!
4. Rinse thoroughly: Rinse the area thoroughly with water to remove all traces of the baking soda paste.
5. Dry and admire: Dry the area with a clean cloth and admire your stain-free surface!
Hack 4: The Dish Soap and Vinegar Floor Cleaner
Forget expensive floor cleaners! This simple DIY solution is effective, affordable, and safe for most floor types (always test in an inconspicuous area first!).
What you’ll need:
* Bucket
* Warm water
* Dish soap (a few drops)
* White vinegar (1/4 cup)
* Mop
Step-by-step instructions:
1. Prepare the solution: Fill your bucket with warm water. Add a few drops of dish soap and 1/4 cup of white vinegar. Don’t overdo it on the dish soap, or you’ll end up with suds everywhere!
2. Mop the floor: Dip your mop into the solution and wring out the excess water. Mop your floors as usual, rinsing the mop frequently in clean water.
3. Rinse (optional): If you’re concerned about soap residue, you can rinse the floors with clean water after mopping.
4. Dry the floor: Allow the floors to air dry, or use a clean, dry mop to speed up the process.
Hack 5: The Lint Roller Dusting Trick
This is my secret weapon for quickly removing dust and pet hair from lampshades, upholstery, and even delicate surfaces.
What you’ll need:
* Lint roller
Step-by-step instructions:
1. Roll it: Simply roll the lint roller over the dusty surface. The sticky paper will pick up dust, pet hair, and other debris.
2. Replace the sheet: When the lint roller sheet is full, peel it off and replace it with a fresh one.
3. Repeat as needed: Continue rolling until the surface is clean.
Hack 6: The Dryer Sheet Furniture Polish
This hack not only removes dust but also helps repel it, thanks to the anti-static properties of dryer sheets.
What you’ll need:
* Dryer sheets (unused)
Step-by-step instructions:
1. Dust the furniture: Simply wipe down your furniture with a dryer sheet. The dryer sheet will pick up dust and leave a light coating that helps prevent dust from settling.
2. Enjoy the shine: Enjoy your dust-free and slightly shiny furniture!
Hack 7: The Lemon Garbage Disposal Freshener
Say goodbye to stinky garbage disposals with this simple and natural deodorizer.
What you’ll need:
* Lemon peels (or orange peels)
* Ice cubes
Step-by-step instructions:
1. Gather your ingredients: Save your lemon or orange peels after using the fruit.
2. Grind the peels: Toss a few lemon or orange peels into the garbage disposal along with a handful of ice cubes.
3. Run the disposal: Turn on the cold water and run the garbage disposal until the peels and ice cubes are completely ground up. The ice helps to scrub the disposal blades, while the citrus peels release a fresh, clean scent.
Hack 8: The Pillowcase Ceiling Fan Cleaner
This hack is genius! It prevents dust from raining down on you while you’re cleaning your ceiling fan blades.
What you’ll need:
* Old pillowcase
Step-by-step instructions:
1. Slip it on: Carefully slip the pillowcase over one of the ceiling fan blades, encasing the blade inside the pillowcase.
2. Wipe and collect: Press the pillowcase against the blade and slowly pull it off, wiping the dust and grime into the pillowcase.
3. Repeat: Repeat this process for each blade of the ceiling fan.
4. Empty the pillowcase: Once you’ve cleaned all the blades, empty the pillowcase into the trash or washing machine.
Hack 9: The Vinegar and Newspaper Window Cleaner
Ditch the streaks and get sparkling clean windows with this old-school trick.
What you’ll need:
* Spray bottle
* White vinegar
* Water
* Newspaper
Step-by-step instructions:
1. Mix the solution: In a spray bottle, mix equal parts white vinegar and water.
2. Spray the windows: Spray the window with the vinegar solution.
3. Wipe with newspaper: Crumple up a sheet of newspaper and use it to wipe the window clean. The newspaper acts as a gentle abrasive and leaves a streak-free finish.
4. Admire your sparkle: Stand back and admire your sparkling clean windows!
Hack 10: The Organized Cleaning Caddy
Okay, this isn’t exactly a cleaning *hack*, but it’s a game-changer for efficiency. Having all your cleaning
Conclusion
So, there you have it! These time-saving cleaning hacks aren’t just about making your life easier; they’re about reclaiming your precious time and energy. Imagine spending less time scrubbing and more time doing the things you truly enjoy. From the effortless oven cleaning to the sparkling shower transformations, these DIY tricks are designed to be game-changers in your cleaning routine.
The beauty of these hacks lies in their simplicity and accessibility. You likely already have most, if not all, of the ingredients you need right in your pantry or bathroom cabinet. No need for expensive, harsh chemicals or complicated procedures. These are practical, effective solutions that anyone can implement, regardless of their cleaning experience.
But why are these hacks a must-try? Because they work! They’re not just theoretical ideas; they’re tried-and-tested methods that have been proven to deliver impressive results. They’re also incredibly versatile. Feel free to experiment with variations to suit your specific needs and preferences. For instance, if you’re sensitive to vinegar, you can dilute it further or substitute it with lemon juice in some applications. If you prefer a stronger scent, add a few drops of your favorite essential oil to your cleaning solutions. The possibilities are endless!
Consider these variations:
* **Citrus Power:** Infuse your vinegar cleaning solution with citrus peels (lemon, orange, grapefruit) for a naturally fresh scent and added cleaning power. Simply soak the peels in vinegar for a week or two before using.
* **Baking Soda Boost:** For extra stubborn stains, create a paste of baking soda and water and apply it to the affected area before using your chosen cleaning hack.
* **Essential Oil Enhancement:** Add a few drops of tea tree oil to your cleaning solutions for its antibacterial and antifungal properties. Lavender oil can add a calming aroma to your cleaning routine.
* **Microfiber Magic:** Always use microfiber cloths for cleaning. They are far more effective at picking up dirt and grime than traditional cloths and are reusable, making them an eco-friendly choice.
We understand that everyone’s cleaning needs and preferences are different. That’s why we encourage you to adapt these hacks to fit your own unique circumstances. Don’t be afraid to experiment and find what works best for you.
Ultimately, the goal is to make cleaning less of a chore and more of a manageable task. These **time saving cleaning hacks** are designed to do just that. They’re about working smarter, not harder, and achieving a clean and comfortable home without sacrificing your valuable time.
So, what are you waiting for? Give these DIY tricks a try and experience the difference for yourself. We’re confident that you’ll be amazed by the results. And most importantly, we want to hear about your experience! Share your before-and-after photos, your favorite variations, and any tips or tricks you’ve discovered along the way. Let’s create a community of cleaning enthusiasts who are dedicated to making life a little bit easier, one sparkling surface at a time. Share your experiences in the comments below!
Frequently Asked Questions (FAQ)
Q: Are these cleaning hacks safe for all surfaces?
A: While most of these hacks are generally safe, it’s always a good idea to test them on a small, inconspicuous area first, especially on delicate surfaces like natural stone, wood, or painted walls. Vinegar, for example, can be acidic and may damage certain materials. Always dilute vinegar with water, and avoid using it on marble or granite. Baking soda can be abrasive, so use it gently on delicate surfaces. When in doubt, consult the manufacturer’s instructions for your specific surface.
Q: How often should I use these cleaning hacks?
A: The frequency of use depends on your individual cleaning needs and habits. For daily tasks like wiping down countertops or cleaning spills, you can use these hacks as needed. For deeper cleaning tasks like oven cleaning or shower scrubbing, you can incorporate them into your regular cleaning schedule, perhaps once a week or once a month. Listen to your home and adjust the frequency accordingly.
Q: Can I use these cleaning hacks if I have allergies or sensitivities?
A: If you have allergies or sensitivities, it’s important to be cautious when using any cleaning products, including DIY solutions. Always wear gloves and a mask to protect your skin and respiratory system. Choose ingredients that are less likely to trigger your allergies, such as fragrance-free vinegar or baking soda. Consider using essential oils with caution, as some can be irritating to sensitive individuals. If you experience any adverse reactions, discontinue use immediately and consult with a healthcare professional.
Q: What are some alternatives to vinegar for cleaning?
A: If you’re sensitive to vinegar or simply prefer not to use it, there are several alternatives you can try. Lemon juice is a natural acid that can be used as a substitute for vinegar in many cleaning applications. It has a pleasant scent and is effective at removing stains and odors. Hydrogen peroxide is another good option for disinfecting and whitening surfaces. Baking soda can be used as a gentle abrasive cleaner. You can also find commercially available natural cleaning products that are free of harsh chemicals.
Q: How can I make my cleaning solutions smell better?
A: If you find the scent of vinegar or baking soda unpleasant, you can easily add essential oils to your cleaning solutions to create a more appealing aroma. Lavender, lemon, tea tree, and eucalyptus are all popular choices for cleaning. Simply add a few drops of your favorite essential oil to your cleaning solution and shake well before using. You can also infuse your vinegar with citrus peels for a naturally fresh scent.
Q: Are these cleaning hacks environmentally friendly?
A: Yes, these cleaning hacks are generally more environmentally friendly than using conventional cleaning products that contain harsh chemicals. By using natural ingredients like vinegar, baking soda, and lemon juice, you can reduce your exposure to harmful toxins and minimize your impact on the environment. These ingredients are biodegradable and less likely to pollute waterways. Additionally, by making your own cleaning solutions, you can reduce your consumption of plastic bottles and packaging.
Q: What’s the best way to store homemade cleaning solutions?
A: Store your homemade cleaning solutions in clean, airtight containers. Label each container clearly with the name of the solution and the date it was made. Store the containers in a cool, dark place away from direct sunlight and heat. Keep them out of reach of children and pets. Most homemade cleaning solutions will last for several weeks or months, but it’s always a good idea to discard them if they start to look or smell strange.
Q: Can I use these cleaning hacks to clean my appliances?
A: Yes, many of these cleaning hacks are safe and effective for cleaning appliances. For example, you can use a vinegar and water solution to clean your microwave, refrigerator, and dishwasher. Baking soda can be used to remove stains and odors from your oven and stovetop. Always unplug appliances before cleaning them, and avoid getting water or cleaning solutions inside electrical components. Consult the manufacturer’s instructions for your specific appliance before cleaning it.
Q: What if a cleaning hack doesn’t work for me?
A: If a cleaning hack doesn’t work for you, don’t be discouraged! Cleaning can be a trial-and-error process, and what works for one person may not work for another. Try adjusting the recipe or technique, or try a different cleaning hack altogether. You can also consult online resources or ask for advice from other cleaning enthusiasts. The key is to be patient and persistent, and eventually you’ll find the cleaning solutions that work best for you.
Leave a Comment