

DIY fly trap recipe: Tired of those pesky flies buzzing around your kitchen, turning your peaceful home into their personal playground? I know I am! It’s incredibly frustrating, especially when you’re trying to enjoy a meal or simply relax. But don’t worry, you don’t need to resort to harsh chemicals or expensive store-bought traps. I’m here to share a simple, effective, and budget-friendly solution: a DIY fly trap recipe that you can whip up in minutes using ingredients you probably already have in your pantry.
The concept of trapping flies has been around for ages. Think about it – even ancient civilizations dealt with these annoying insects! While they might not have had the same ingredients we do today, the underlying principle of luring and trapping flies has remained consistent throughout history. It’s a testament to the effectiveness of this approach.
Why is this DIY fly trap recipe so essential? Because flies aren’t just annoying; they can also carry harmful bacteria and contaminate your food. Creating your own fly trap is a proactive way to protect your family’s health and maintain a clean, comfortable living environment. Plus, it’s incredibly satisfying to see those little pests finally meet their match! So, let’s dive in and learn how to create this amazing solution.
DIY Fly Trap: Reclaim Your Space from Pesky Flies!
Okay, let’s face it: flies are annoying. They buzz around your head, land on your food, and generally make life unpleasant. But before you reach for those harsh chemical sprays, let’s try a simple, effective, and eco-friendly solution: a DIY fly trap! I’ve used this method for years, and it works like a charm. Plus, you probably already have most of the ingredients at home.
What You’ll Need:
* A plastic bottle (2-liter soda bottle or similar works best)
* Scissors or a utility knife
* Tape (duct tape or packing tape is ideal)
* Bait ingredients (choose one or a combination from the options below)
* Water
* Dish soap (optional, but highly recommended)
Bait Options: The Secret Weapon
The key to a successful fly trap is the bait. Flies are attracted to sweet and fermenting smells. Here are a few options I’ve found to be particularly effective:
* Apple Cider Vinegar: This is my go-to bait. Flies are drawn to the vinegar’s sweet and slightly fermented scent.
* Sugar Water: A classic choice. Mix sugar with water to create a sweet syrup.
* Overripe Fruit: Got a banana that’s past its prime? Perfect! Flies love the smell of rotting fruit.
* Honey or Maple Syrup: These sticky sweeteners are irresistible to flies.
* Wine or Beer: Leftover wine or beer can also be used as bait. The alcohol and sugars are attractive to flies.
* Molasses: This dark, thick syrup has a strong, sweet smell that flies can’t resist.
Step-by-Step Instructions: Building Your Fly Trap
Alright, let’s get down to business! Here’s how to build your own fly trap:
1. Prepare the Bottle:
* Take your empty plastic bottle and carefully cut off the top portion, right where the bottle starts to narrow into the neck. I usually cut about a third of the way down. Be careful when using scissors or a knife!
* You’ll now have two pieces: the bottom of the bottle and the top (the funnel-shaped part).
2. Invert the Top:
* Flip the top portion of the bottle upside down, so the neck of the bottle is pointing down into the bottom portion. This creates a funnel that the flies can easily enter but have a hard time escaping.
3. Secure the Funnel:
* Carefully insert the inverted top into the bottom of the bottle. Make sure the edges line up as best as possible.
* Use your tape to secure the top to the bottom. Apply tape all the way around the bottle where the two pieces meet. This will create a tight seal and prevent flies from escaping. I usually go around a couple of times with the tape to make sure it’s really secure.
4. Prepare the Bait:
* Now it’s time to make your bait! Choose one of the bait options I mentioned earlier.
* If you’re using apple cider vinegar, pour about 1-2 inches of vinegar into the bottom of the bottle.
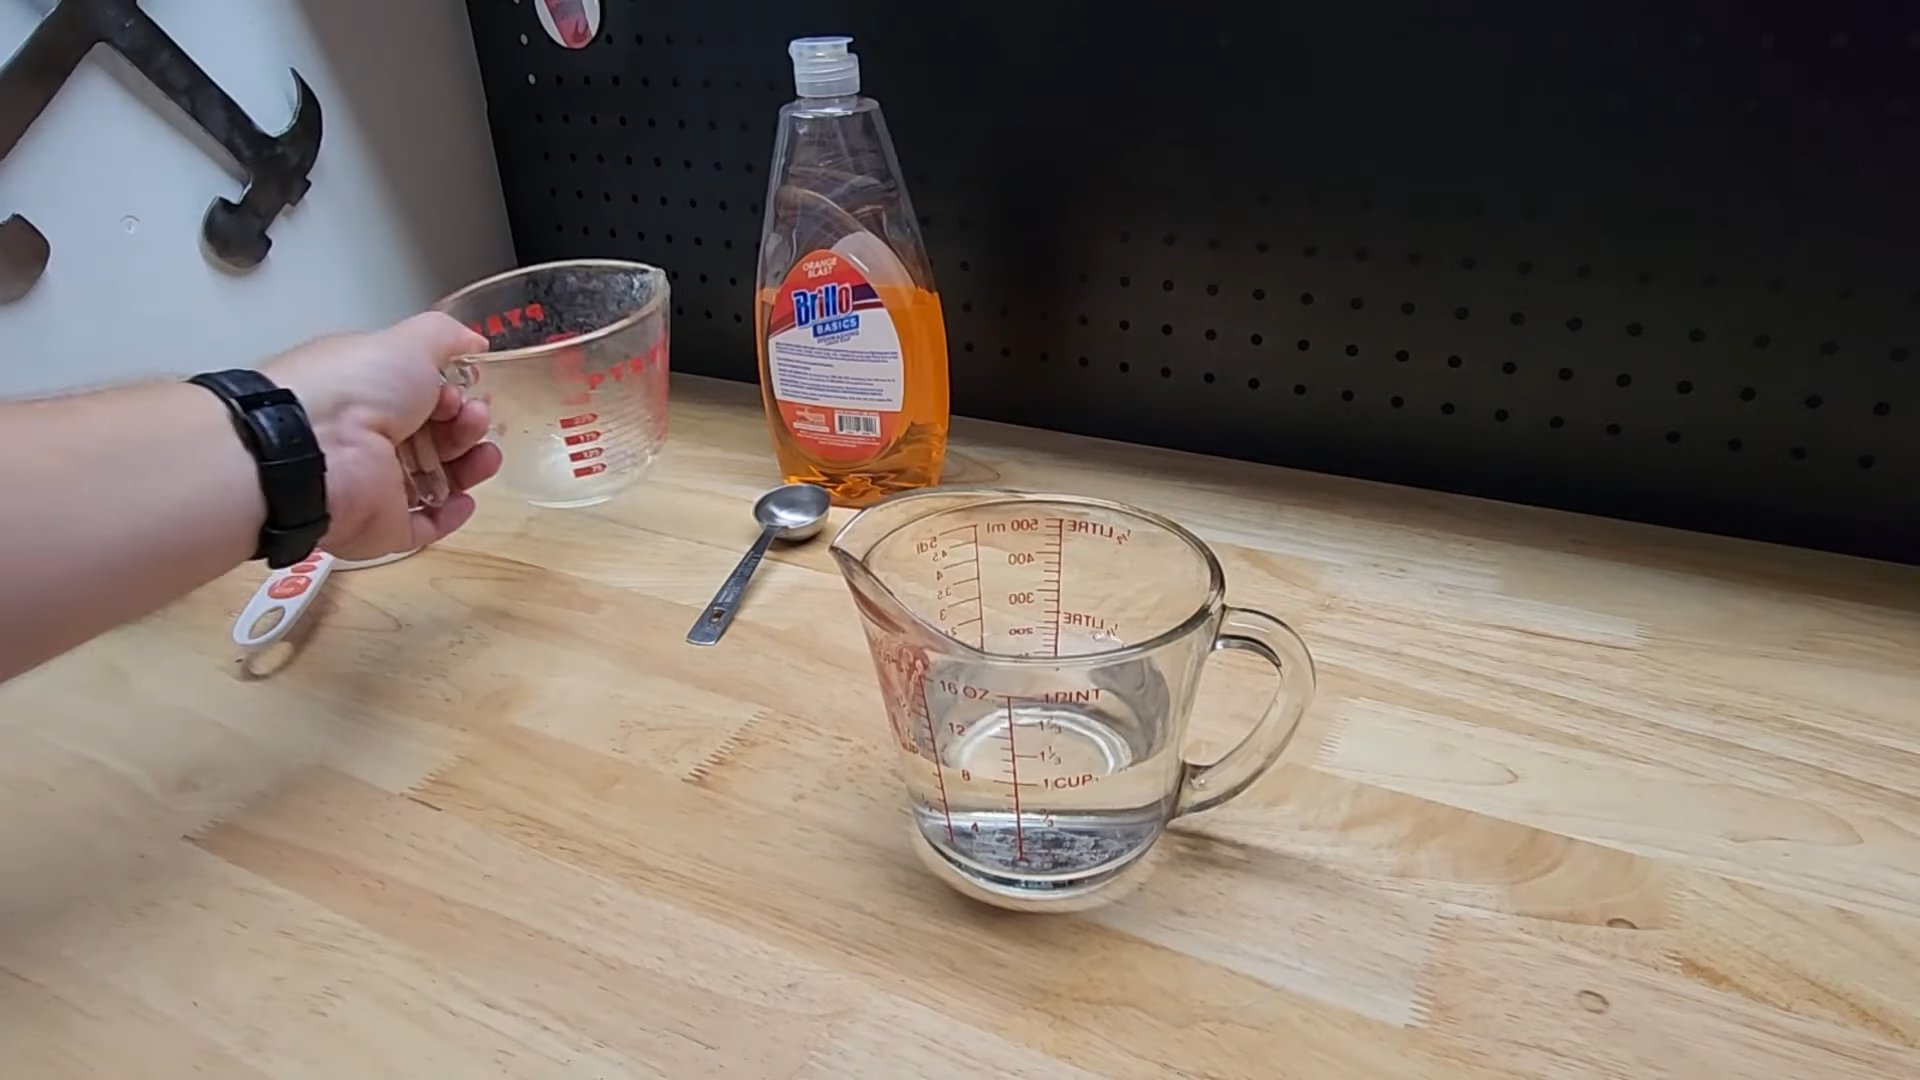
* If you’re using sugar water, mix about 1/4 cup of sugar with 1 cup of warm water until the sugar dissolves. Pour this into the bottom of the bottle.
* If you’re using overripe fruit, place a few pieces of the fruit in the bottom of the bottle.
* For honey, maple syrup, wine, beer, or molasses, use about 1-2 tablespoons and mix with a little water to thin it out.
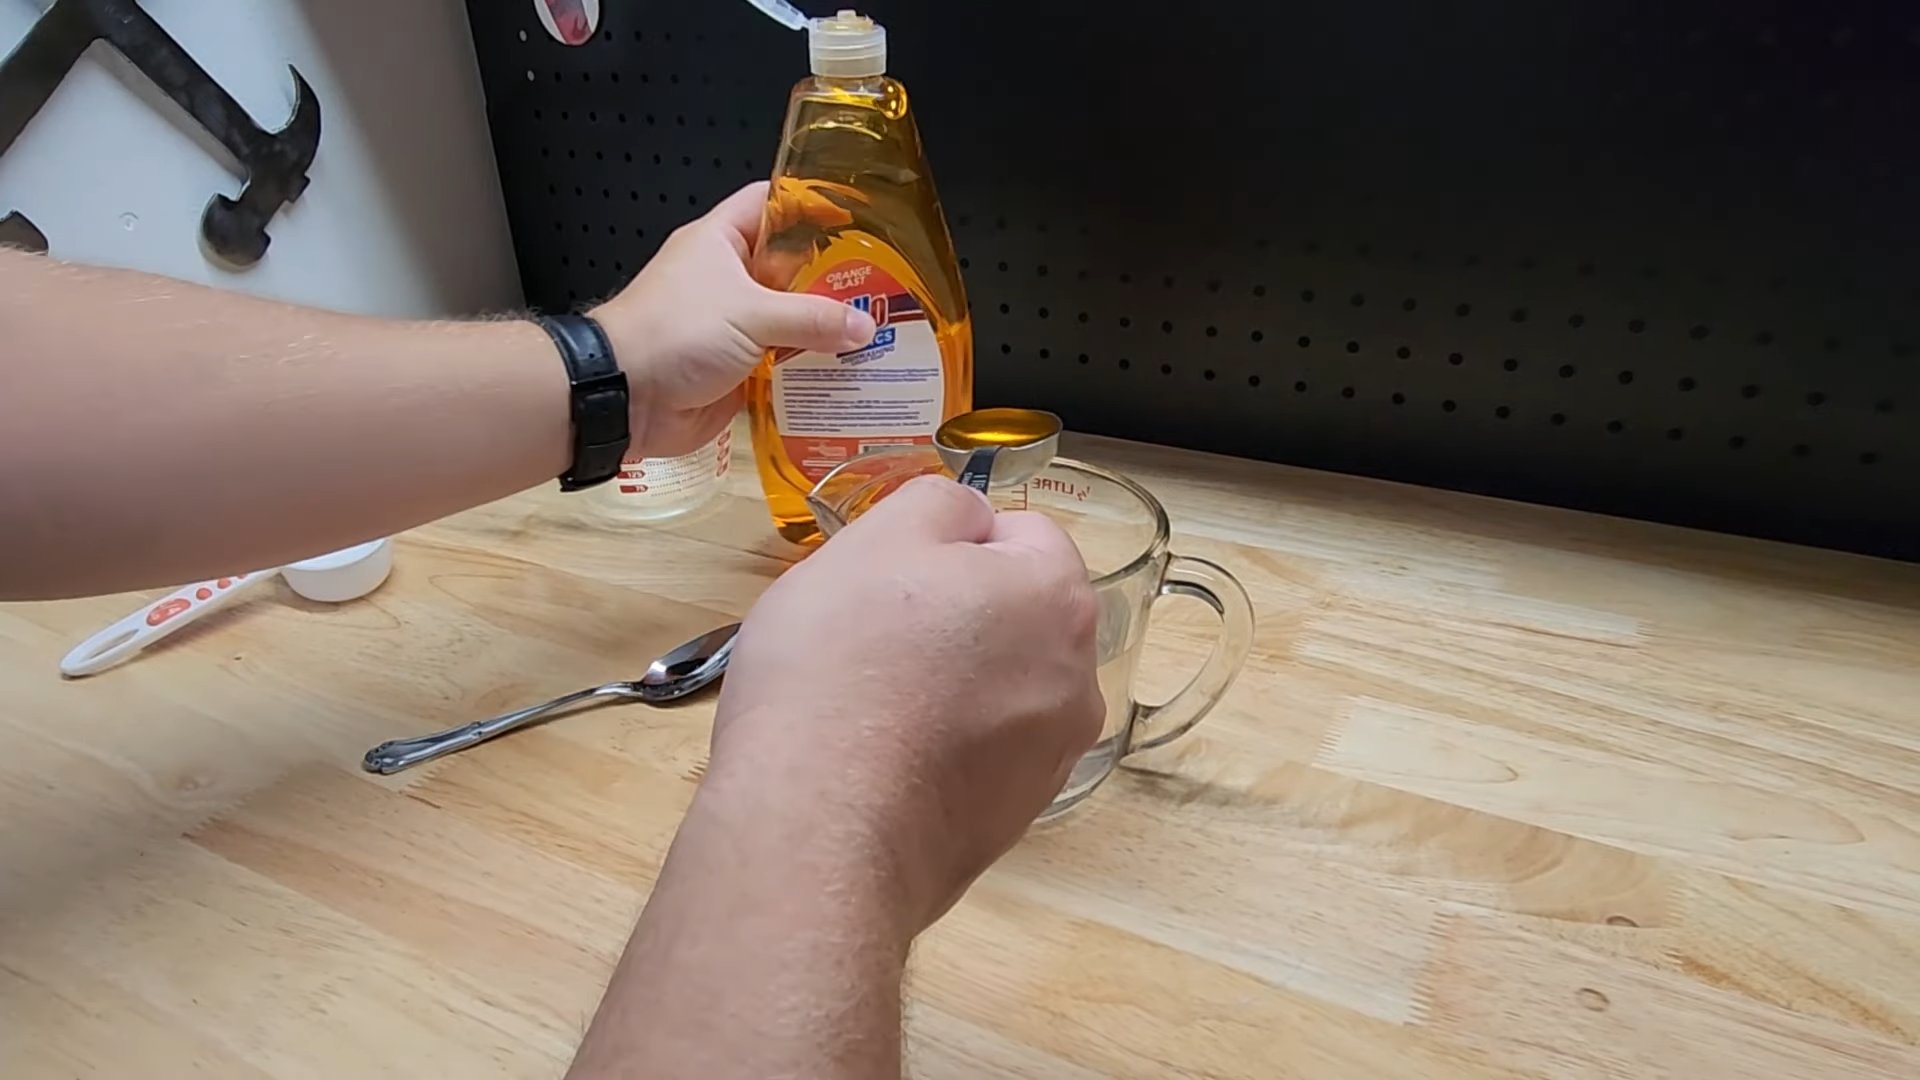
5. Add Dish Soap (Optional but Recommended):
* This is a crucial step! Add a few drops of dish soap to your bait mixture. The dish soap breaks the surface tension of the liquid, making it harder for the flies to stand on the surface. This means they’ll sink and drown. Trust me, it makes a big difference!
6. Placement is Key:
* Place your fly trap in an area where you’ve noticed a lot of fly activity. This could be near your kitchen counter, garbage can, or outdoor patio.
* If you’re using the trap outdoors, make sure it’s protected from rain, as rain can dilute the bait.
7. Maintenance:
* Check your fly trap every few days. You’ll likely be surprised (and maybe a little grossed out) by how many flies you’ve caught!
* When the trap is full of flies or the bait has evaporated, empty it out and refill it with fresh bait. You can simply pour the contents into a trash bag or flush it down the toilet.
* Rinse out the bottle before refilling it to remove any lingering fly carcasses.
Troubleshooting: Getting the Best Results
Sometimes, even with the best intentions, your fly trap might not be as effective as you’d hoped. Here are a few troubleshooting tips:
* Bait Adjustment: If you’re not catching many flies, try a different bait. Flies can be picky! Experiment with different combinations of ingredients to see what works best in your area. Maybe they prefer honey over apple cider vinegar, or vice versa.
* Location, Location, Location: The placement of your fly trap is crucial. Try moving it to different locations to see where it’s most effective. Flies tend to congregate in areas with food sources, so focus on those spots.
* Freshness Matters: Make sure your bait is fresh. Over time, the bait can lose its potency or become contaminated with mold. Replace the bait every few days to ensure it’s still attractive to flies.
* Cleanliness Counts: Keep the area around your fly trap clean. If there are other food sources available to the flies, they may not be as attracted to your trap.
* Patience is a Virtue: It may take a few days for the flies to find your trap. Don’t get discouraged if you don’t see results immediately. Just keep the bait fresh and the trap in a good location, and eventually, the flies will come.
* Consider the Fly Species: Different types of flies might be attracted to different things. If you know what kind of flies you’re dealing with (fruit flies, house flies, etc.), you can research what they’re most attracted to and tailor your bait accordingly.
Alternative Fly Trap Designs
While the plastic bottle fly trap is my favorite, there are other DIY options you can try:
* Jar Fly Trap: Use a glass jar instead of a plastic bottle. Cover the top of the jar with plastic wrap and poke small holes in the plastic wrap. The flies can enter through the holes but have a hard time finding their way out.
* Cone Fly Trap: Roll a piece of paper into a cone shape and tape it together. Place the cone inside a jar or glass, with the narrow end pointing down. The flies will fly into the cone and get trapped in the jar.
* Sticky Fly Paper: While not technically a “trap,” sticky fly paper can be effective at catching flies. You can buy fly paper at most hardware stores or make your own by coating paper with a sticky substance like honey or corn syrup.
Why This Works: The Science Behind the Trap
The beauty of this DIY fly trap lies in its simplicity and effectiveness. Here’s why it works:
* Attraction: The sweet and fermenting smells of the bait attract flies from a distance. They’re drawn to the promise of a tasty meal.
* Entry: The funnel shape of the bottle top makes it easy for flies to enter the trap. They can fly down into the bottle without much effort.
* Entrapment: Once inside the bottle, the flies have a hard time finding their way back out. They’re disoriented and confused by the smooth plastic walls.
* Drowning: The dish soap in the bait breaks the surface tension of the liquid, making it difficult for the flies to stand on the surface. They eventually sink and drown.
Safety Considerations
While this DIY fly trap is generally safe, here are a few things to keep in mind:
* Sharp Objects: Be careful when using scissors or a utility knife to cut the pl
Okay, let’s face it: flies are annoying. They buzz around your head, land on your food, and generally make life unpleasant. But before you reach for those harsh chemical sprays, let’s try a simple, effective, and eco-friendly solution: a DIY fly trap! I’ve used this method for years, and it works like a charm. Plus, you probably already have most of the ingredients at home.
What You’ll Need:
* A plastic bottle (2-liter soda bottle or similar works best)
* Scissors or a utility knife
* Tape (duct tape or packing tape is ideal)
* Bait ingredients (choose one or a combination from the options below)
* Water
* Dish soap (optional, but highly recommended)
Bait Options: The Secret Weapon
The key to a successful fly trap is the bait. Flies are attracted to sweet and fermenting smells. Here are a few options I’ve found to be particularly effective:
* Apple Cider Vinegar: This is my go-to bait. Flies are drawn to the vinegar’s sweet and slightly fermented scent.
* Sugar Water: A classic choice. Mix sugar with water to create a sweet syrup.
* Overripe Fruit: Got a banana that’s past its prime? Perfect! Flies love the smell of rotting fruit.
* Honey or Maple Syrup: These sticky sweeteners are irresistible to flies.
* Wine or Beer: Leftover wine or beer can also be used as bait. The alcohol and sugars are attractive to flies.
* Molasses: This dark, thick syrup has a strong, sweet smell that flies can’t resist.
Step-by-Step Instructions: Building Your Fly Trap
Alright, let’s get down to business! Here’s how to build your own fly trap:
1. Prepare the Bottle:
* Take your empty plastic bottle and carefully cut off the top portion, right where the bottle starts to narrow into the neck. I usually cut about a third of the way down. Be careful when using scissors or a knife!
* You’ll now have two pieces: the bottom of the bottle and the top (the funnel-shaped part).
2. Invert the Top:
* Flip the top portion of the bottle upside down, so the neck of the bottle is pointing down into the bottom portion. This creates a funnel that the flies can easily enter but have a hard time escaping.
3. Secure the Funnel:
* Carefully insert the inverted top into the bottom of the bottle. Make sure the edges line up as best as possible.
* Use your tape to secure the top to the bottom. Apply tape all the way around the bottle where the two pieces meet. This will create a tight seal and prevent flies from escaping. I usually go around a couple of times with the tape to make sure it’s really secure.
4. Prepare the Bait:
* Now it’s time to make your bait! Choose one of the bait options I mentioned earlier.
* If you’re using apple cider vinegar, pour about 1-2 inches of vinegar into the bottom of the bottle.
* If you’re using sugar water, mix about 1/4 cup of sugar with 1 cup of warm water until the sugar dissolves. Pour this into the bottom of the bottle.
* If you’re using overripe fruit, place a few pieces of the fruit in the bottom of the bottle.
* For honey, maple syrup, wine, beer, or molasses, use about 1-2 tablespoons and mix with a little water to thin it out.
5. Add Dish Soap (Optional but Recommended):
* This is a crucial step! Add a few drops of dish soap to your bait mixture. The dish soap breaks the surface tension of the liquid, making it harder for the flies to stand on the surface. This means they’ll sink and drown. Trust me, it makes a big difference!
6. Placement is Key:
* Place your fly trap in an area where you’ve noticed a lot of fly activity. This could be near your kitchen counter, garbage can, or outdoor patio.
* If you’re using the trap outdoors, make sure it’s protected from rain, as rain can dilute the bait.
7. Maintenance:
* Check your fly trap every few days. You’ll likely be surprised (and maybe a little grossed out) by how many flies you’ve caught!
* When the trap is full of flies or the bait has evaporated, empty it out and refill it with fresh bait. You can simply pour the contents into a trash bag or flush it down the toilet.
* Rinse out the bottle before refilling it to remove any lingering fly carcasses.
Troubleshooting: Getting the Best Results
Sometimes, even with the best intentions, your fly trap might not be as effective as you’d hoped. Here are a few troubleshooting tips:
* Bait Adjustment: If you’re not catching many flies, try a different bait. Flies can be picky! Experiment with different combinations of ingredients to see what works best in your area. Maybe they prefer honey over apple cider vinegar, or vice versa.
* Location, Location, Location: The placement of your fly trap is crucial. Try moving it to different locations to see where it’s most effective. Flies tend to congregate in areas with food sources, so focus on those spots.
* Freshness Matters: Make sure your bait is fresh. Over time, the bait can lose its potency or become contaminated with mold. Replace the bait every few days to ensure it’s still attractive to flies.
* Cleanliness Counts: Keep the area around your fly trap clean. If there are other food sources available to the flies, they may not be as attracted to your trap.
* Patience is a Virtue: It may take a few days for the flies to find your trap. Don’t get discouraged if you don’t see results immediately. Just keep the bait fresh and the trap in a good location, and eventually, the flies will come.
* Consider the Fly Species: Different types of flies might be attracted to different things. If you know what kind of flies you’re dealing with (fruit flies, house flies, etc.), you can research what they’re most attracted to and tailor your bait accordingly.
Alternative Fly Trap Designs
While the plastic bottle fly trap is my favorite, there are other DIY options you can try:
* Jar Fly Trap: Use a glass jar instead of a plastic bottle. Cover the top of the jar with plastic wrap and poke small holes in the plastic wrap. The flies can enter through the holes but have a hard time finding their way out.
* Cone Fly Trap: Roll a piece of paper into a cone shape and tape it together. Place the cone inside a jar or glass, with the narrow end pointing down. The flies will fly into the cone and get trapped in the jar.
* Sticky Fly Paper: While not technically a “trap,” sticky fly paper can be effective at catching flies. You can buy fly paper at most hardware stores or make your own by coating paper with a sticky substance like honey or corn syrup.
Why This Works: The Science Behind the Trap
The beauty of this DIY fly trap lies in its simplicity and effectiveness. Here’s why it works:
* Attraction: The sweet and fermenting smells of the bait attract flies from a distance. They’re drawn to the promise of a tasty meal.
* Entry: The funnel shape of the bottle top makes it easy for flies to enter the trap. They can fly down into the bottle without much effort.
* Entrapment: Once inside the bottle, the flies have a hard time finding their way back out. They’re disoriented and confused by the smooth plastic walls.
* Drowning: The dish soap in the bait breaks the surface tension of the liquid, making it difficult for the flies to stand on the surface. They eventually sink and drown.
Safety Considerations
While this DIY fly trap is generally safe, here are a few things to keep in mind:
* Sharp Objects: Be careful when using scissors or a utility knife to cut the plastic bottle. Always cut away from yourself and use a stable cutting surface.
* Bait Ingredients: Some bait ingredients, like wine or beer, may be harmful if ingested by pets or children. Keep the fly trap out of reach of children and pets.
* Hygiene: Wash your hands thoroughly after handling the fly trap or bait ingredients.
Final Thoughts
Building your own DIY fly trap is a simple, affordable, and effective way to get rid of those pesky flies. It’s also a great way to reduce your reliance on harsh chemical sprays. So, give it a try and reclaim your space from those buzzing invaders! I hope this helps you create a fly
Conclusion
So, there you have it! This simple, yet incredibly effective, DIY fly trap recipe is a game-changer for anyone battling those pesky buzzing invaders. Forget expensive, chemical-laden store-bought solutions. This method is not only budget-friendly and environmentally conscious, but it’s also surprisingly satisfying to see it work its magic.
Why is this DIY fly trap a must-try? Because it offers a powerful, non-toxic alternative to commercial fly traps. You control the ingredients, ensuring a safe environment for your family and pets. Plus, it’s incredibly easy to assemble using items you likely already have in your kitchen. No special tools or complicated instructions are required.
But the benefits don’t stop there. This DIY fly trap recipe is also incredibly versatile. Feel free to experiment with different attractants to see what works best in your specific environment. For instance, if you’re dealing with fruit flies, a splash of balsamic vinegar can significantly enhance the trap’s effectiveness. Alternatively, a few drops of dish soap can help break the surface tension of the liquid, making it even easier for the flies to get trapped. You can also try adding small pieces of overripe fruit to the mixture for an extra enticing aroma.
Consider the location of your fly trap as well. Placing it near common fly entry points, such as windows and doors, or in areas where flies tend to congregate, like near fruit bowls or garbage cans, will maximize its impact. Remember to monitor the trap regularly and replace the solution as needed, typically every few days or when it becomes saturated with flies.
Beyond the basic recipe, you can also adapt the container you use. While a simple jar or plastic bottle works perfectly well, you could also repurpose decorative containers to make your fly trap blend seamlessly with your home decor. Get creative and find a solution that works best for your needs and aesthetic preferences.
Ultimately, this DIY fly trap recipe is about taking control of your environment and creating a more comfortable and pest-free living space. It’s a simple, effective, and sustainable solution that anyone can implement.
We wholeheartedly encourage you to give this DIY fly trap a try. You’ll be amazed at how quickly and effectively it eliminates those unwanted guests. And more importantly, we want to hear about your experiences! Share your tips, variations, and success stories in the comments below. Let’s build a community of fly-fighting experts and help each other create a more pleasant and fly-free environment. Don’t let those flies win – take action today and reclaim your space with this easy and effective DIY fly trap!
FAQ
What exactly makes this DIY fly trap recipe so effective?
The effectiveness of this DIY fly trap recipe lies in its ability to lure flies in with a sweet and enticing scent, then trap them in a liquid from which they cannot escape. The combination of sugar or honey and vinegar creates an irresistible aroma that attracts flies from a distance. The dish soap, crucial to the recipe, breaks the surface tension of the liquid, preventing the flies from simply landing on the surface and flying away. Instead, they sink and drown. The funnel or inverted bottle neck design further enhances the trap’s efficiency by making it easy for flies to enter but difficult to exit. It’s a simple yet ingenious design that leverages the flies’ natural attraction to sweet smells and their inability to navigate slippery surfaces.
Is this DIY fly trap recipe safe for pets and children?
One of the biggest advantages of this DIY fly trap recipe is its safety compared to commercial insecticides. Because you control the ingredients, you can ensure that it contains no harmful chemicals. The ingredients used – sugar, vinegar, and dish soap – are generally considered safe for pets and children in small quantities. However, it’s still important to exercise caution and keep the trap out of reach of curious children and pets. While the ingredients are not highly toxic, ingestion of large amounts could cause stomach upset. Consider placing the trap on a high shelf, in a cabinet, or in an area inaccessible to pets and small children. If you have concerns about your pet’s or child’s potential exposure, consult with your veterinarian or pediatrician.
How often should I replace the solution in my DIY fly trap?
The frequency with which you need to replace the solution in your DIY fly trap depends on several factors, including the number of flies in your area, the size of the trap, and the concentration of the attractant. As a general guideline, you should replace the solution every few days to a week. You’ll know it’s time to replace the solution when it becomes saturated with flies, cloudy, or loses its effectiveness. A fresh batch of solution will always be more attractive to flies than an old, fly-filled one. Regular maintenance will ensure that your trap remains effective in controlling the fly population.
What are some variations I can try to make the DIY fly trap even more effective?
The basic DIY fly trap recipe is a great starting point, but there are several variations you can try to customize it to your specific needs and environment. Here are a few ideas:
* **Fruit Fly Focus:** If you’re primarily dealing with fruit flies, try using apple cider vinegar or balsamic vinegar instead of white vinegar. Fruit flies are particularly attracted to the scent of fermented fruit.
* **Sweeten the Deal:** Experiment with different sweeteners, such as honey, molasses, or corn syrup. Each sweetener has a slightly different aroma that may be more attractive to certain types of flies.
* **Add Fruit:** Place small pieces of overripe fruit, such as banana peels or apple cores, in the trap to enhance the aroma and attract more flies.
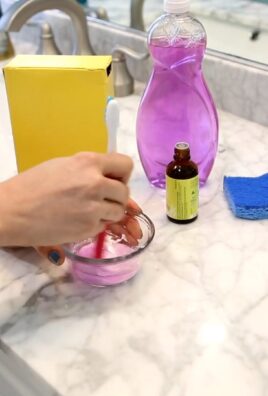
* **Essential Oil Boost:** Add a few drops of essential oils, such as lavender or peppermint, to the solution. While these oils may not directly attract flies, they can help mask unpleasant odors and create a more pleasant environment.
* **Wine Time:** Red wine is a great attractant for flies. Use leftover red wine in your trap.
Where is the best location to place my DIY fly trap for optimal results?
The placement of your DIY fly trap is crucial for maximizing its effectiveness. Consider these factors when choosing a location:
* **Fly Entry Points:** Place the trap near common fly entry points, such as windows, doors, and pet doors.
* **Fly Congregation Areas:** Identify areas where flies tend to congregate, such as near fruit bowls, garbage cans, compost bins, and pet food bowls.
* **Sunlight:** Avoid placing the trap in direct sunlight, as this can cause the solution to evaporate quickly.
* **Out of Reach:** Keep the trap out of reach of children and pets to prevent accidental ingestion.
* **Airflow:** Place the trap in an area with good airflow to help disperse the scent and attract more flies.
By strategically placing your DIY fly trap, you can significantly increase its effectiveness and create a more fly-free environment.
Can I use this DIY fly trap recipe outdoors?
Yes, this DIY fly trap recipe can be used effectively outdoors. However, there are a few considerations to keep in mind:
* **Weather Protection:** Protect the trap from rain and direct sunlight. Rain can dilute the solution, reducing its effectiveness, while direct sunlight can cause it to evaporate quickly. Consider placing the trap under a covered porch or in a sheltered area.
* **Increased Attractants:** Outdoor environments often have more competing scents, so you may need to increase the concentration of attractants in the solution.
* **Larger Trap:** Consider using a larger container for outdoor traps to accommodate a larger fly population.
* **Wildlife:** Be mindful of attracting other insects or animals to the trap. Avoid using ingredients that may be attractive to bees or other beneficial insects.
By taking these precautions, you can effectively use this DIY fly trap recipe to control fly populations in your outdoor spaces.
Leave a Comment