

Small Space French Bean Gardening: Maximize Your Harvest in a Tiny Plot
Small space French bean gardening might seem like a challenge, but it’s entirely achievable with a little know-how and some clever techniques! I’ve always loved the taste of freshly picked French beans, but living in a city apartment, I initially thought growing my own was impossible. That’s why I’m so excited to share my favorite small space French bean gardening tricks and DIY projects with you. This isn’t just about squeezing a few plants into a tiny corner; it’s about maximizing yield and enjoying the satisfaction of nurturing your own delicious harvest, no matter how limited your space.
The history of French beans is fascinating! Originally from the Americas, they quickly spread across the globe, becoming a staple in many cuisines. Their versatility and relatively easy cultivation made them popular, even in less-than-ideal growing conditions. This is precisely why mastering small space French bean gardening is so rewarding – it allows us to connect with this rich agricultural heritage, even in urban environments.
Why You Need These DIY Tricks
In today’s world, fresh, healthy food is more important than ever. Knowing where your food comes from and having the ability to grow your own, even in a small space, offers a sense of accomplishment and control. These DIY projects will help you overcome common challenges associated with limited space, such as maximizing sunlight and preventing overcrowding. You’ll learn how to create vertical gardens, utilize containers effectively, and implement companion planting strategies to boost your bean production. Get ready to transform your balcony, patio, or even a sunny windowsill into a thriving bean patch!
Unleash the Power of Vinegar: My Favorite Cleaning Hacks
Vinegar. It’s not just for salad dressings anymore! This humble kitchen staple is a cleaning powerhouse, and I’m going to share my favorite vinegar cleaning hacks with you. Get ready to ditch the harsh chemicals and embrace the natural cleaning power of vinegar.
Getting Started: Gathering Your Supplies
- White distilled vinegar (the cheapest kind works best!)
- Spray bottles (at least two – one for all-purpose cleaner and one for glass cleaner)
- Microfiber cloths (these are amazing for cleaning and leave no streaks)
- Baking soda (optional, but a great partner to vinegar)
- Rubber gloves (optional, but recommended for sensitive skin)
- Toothbrush (for scrubbing stubborn grime)
Section 1: Making Your All-Purpose Vinegar Cleaner
- Fill your spray bottle about halfway with white distilled vinegar.
- Add water to fill the bottle almost to the top. I usually leave about an inch of space.
- Add a few drops of your favorite essential oil (optional, but it makes the vinegar smell much nicer!). Lemon, tea tree, and lavender are all great choices.
- Put the lid on tightly and shake well to combine.
- Important Note: Always test your cleaner on an inconspicuous area first to make sure it doesn’t damage the surface.
This all-purpose cleaner is fantastic for wiping down countertops, sinks, and even floors (test a small area first!). It’s also great for cleaning appliances like your microwave and refrigerator.
Section 2: Tackling Tough Grime with Vinegar and Baking Soda
The combination of vinegar and baking soda creates a fizzing reaction that’s incredibly effective at loosening and lifting stubborn dirt and grime. Here’s how to use it:
- Sprinkle baking soda liberally onto the dirty surface. Don’t be shy!
- Slowly pour vinegar over the baking soda. You’ll see it start to fizz immediately.
- Let the mixture sit for a few minutes to allow it to work its magic. For really tough stains, let it sit for longer – even up to 30 minutes.
- Use a sponge or microfiber cloth to scrub the surface gently. The baking soda will act as a mild abrasive.
- Wipe clean with a damp cloth and then dry.
This method is particularly effective on burnt-on food in the oven, stubborn stains in the sink, and even cleaning grout.
Section 3: Creating a Streak-Free Glass Cleaner
Commercial glass cleaners often contain harsh chemicals. Vinegar makes a fantastic, eco-friendly alternative that leaves your windows and mirrors sparkling.
- Fill your second spray bottle about halfway with white distilled vinegar.
- Fill the rest of the bottle with water.
- Add a few drops of essential oil (optional, but again, it makes it smell much better!).
- Shake well to combine.
- Spray the solution onto your windows or mirrors.
- Wipe clean with a clean, dry microfiber cloth. Work in sections for best results, and avoid letting the solution dry on the surface.
Pro Tip: For extra streak-free results, use a clean microfiber cloth for each section you clean. This prevents smearing.
Section 4: Other Amazing Vinegar Cleaning Hacks
Beyond the basics, vinegar has a surprising number of other cleaning uses:
- Cleaning your coffee maker: Fill the reservoir with equal parts water and vinegar, run a cycle, then run a cycle with just water to rinse.
- Descaling your showerhead: Fill a plastic bag with vinegar, tie it around your showerhead, and let it soak overnight. The vinegar will dissolve mineral deposits.
- Cleaning your washing machine: Run an empty cycle with a cup of vinegar to remove soap scum and odors.
- Removing hard water stains: Soak a cloth in vinegar and apply it to the stained area. Let it sit for a few minutes before wiping clean.
- Cleaning your cutting board: Sprinkle baking soda on your cutting board, then spray with vinegar. Let it fizz, then scrub and rinse thoroughly.
- Freshening your garbage disposal: Pour a cup of vinegar down the disposal, let it sit for 30 minutes, then run cold water for a few minutes.
- Cleaning your dishwasher: Place a cup of vinegar on the top rack and run a hot cycle to remove food residue and odors.
Section 5: Important Considerations
- Never mix vinegar with bleach. This creates a dangerous and toxic gas.
- Test on an inconspicuous area first. While vinegar is generally safe, it can damage some surfaces, especially natural stone.
- Always rinse thoroughly after cleaning with vinegar. The acidic nature of vinegar can leave a residue if not rinsed properly.
- Vinegar may not be effective on all stains. For particularly stubborn stains, you may need to use a stronger cleaning agent.
With a little vinegar and elbow grease, you can keep your home sparkling clean without resorting to harsh chemicals. Happy cleaning!
Conclusion
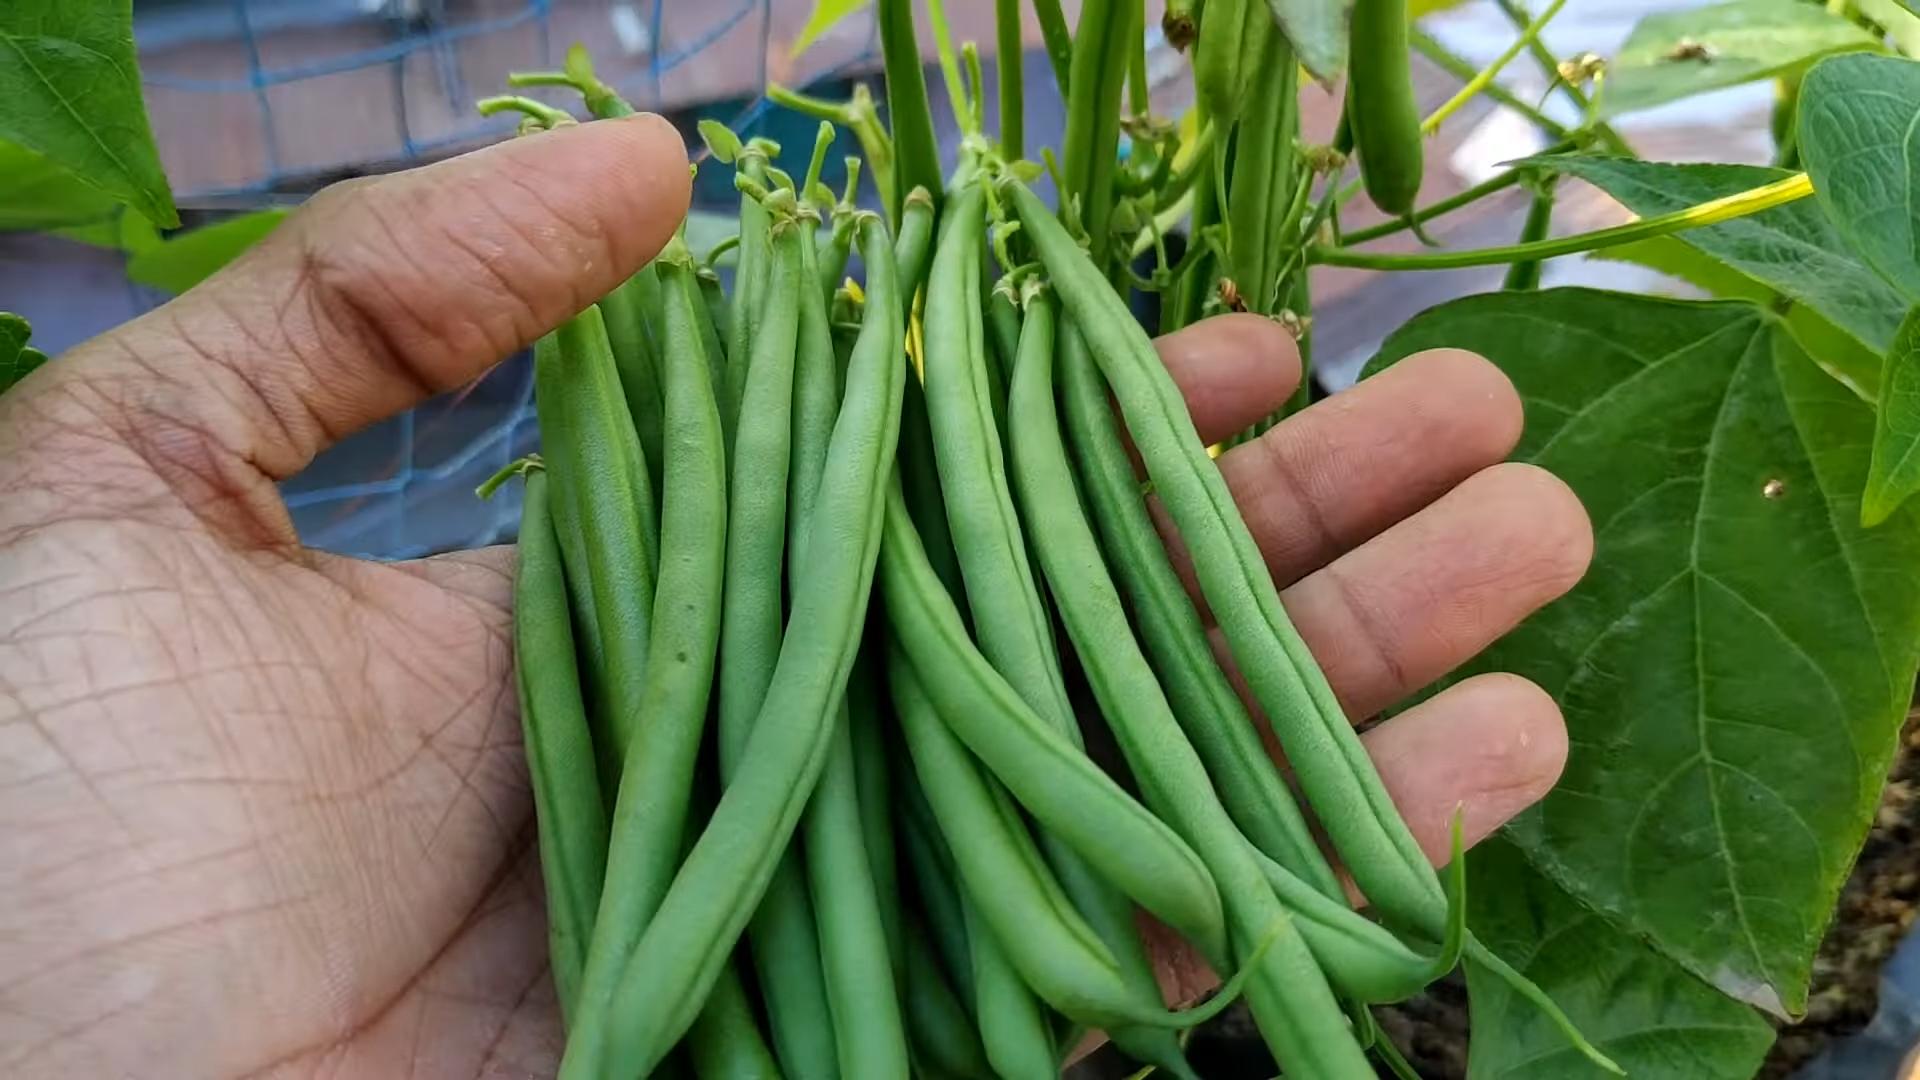
So there you have it – your guide to conquering the challenge of growing French beans, even in the smallest of spaces! This small space French bean gardening technique isn’t just about squeezing plants into tight corners; it’s about maximizing yield and minimizing space using vertical gardening and smart planting strategies. This DIY approach transforms a seemingly impossible task into a rewarding and surprisingly productive gardening experience. You’ll be amazed at the abundance of fresh, homegrown beans you can harvest, even if you only have a balcony, patio, or a tiny backyard. The satisfaction of nurturing these plants from seed to harvest is unparalleled, and the taste of those freshly picked beans? Simply unforgettable.
This method offers a fantastic opportunity to connect with nature, even in urban environments. It’s a perfect project for beginners and experienced gardeners alike, offering a flexible and adaptable system that can be tailored to your specific space and needs. Beyond the basic techniques outlined, there’s a world of possibilities for customization.
Consider experimenting with different bean varieties. Some bush beans are particularly well-suited for containers, offering a compact growth habit and a bountiful harvest. Alternatively, pole beans, trained effectively on trellises or stakes, can climb vertically, maximizing space utilization. You can also explore companion planting, incorporating herbs like basil or marigolds to deter pests and improve soil health. Remember to adjust your watering schedule based on your climate and the specific needs of your chosen bean variety. Regular fertilization with a balanced liquid feed will also contribute to a healthy and productive crop. Don’t be afraid to get creative! Experiment with different container types, trellises, and planting arrangements to find what works best for your space and personal style. The beauty of this small space French bean gardening method lies in its adaptability and potential for personalization.
We strongly encourage you to try this DIY method and experience the joy of harvesting your own delicious French beans. Share your experiences with us! Post pictures of your thriving bean plants on social media using #SmallSpaceFrenchBeanGardening and tag us – we’d love to see your success stories and learn from your innovative approaches. Let’s build a community of small-space gardeners, inspiring each other to grow our own food, no matter how limited our space may seem. Remember, even the smallest space can be transformed into a vibrant and productive garden with a little creativity and the right techniques. Embrace the challenge, and enjoy the delicious rewards!
Frequently Asked Questions
What type of containers are best for small space French bean gardening?
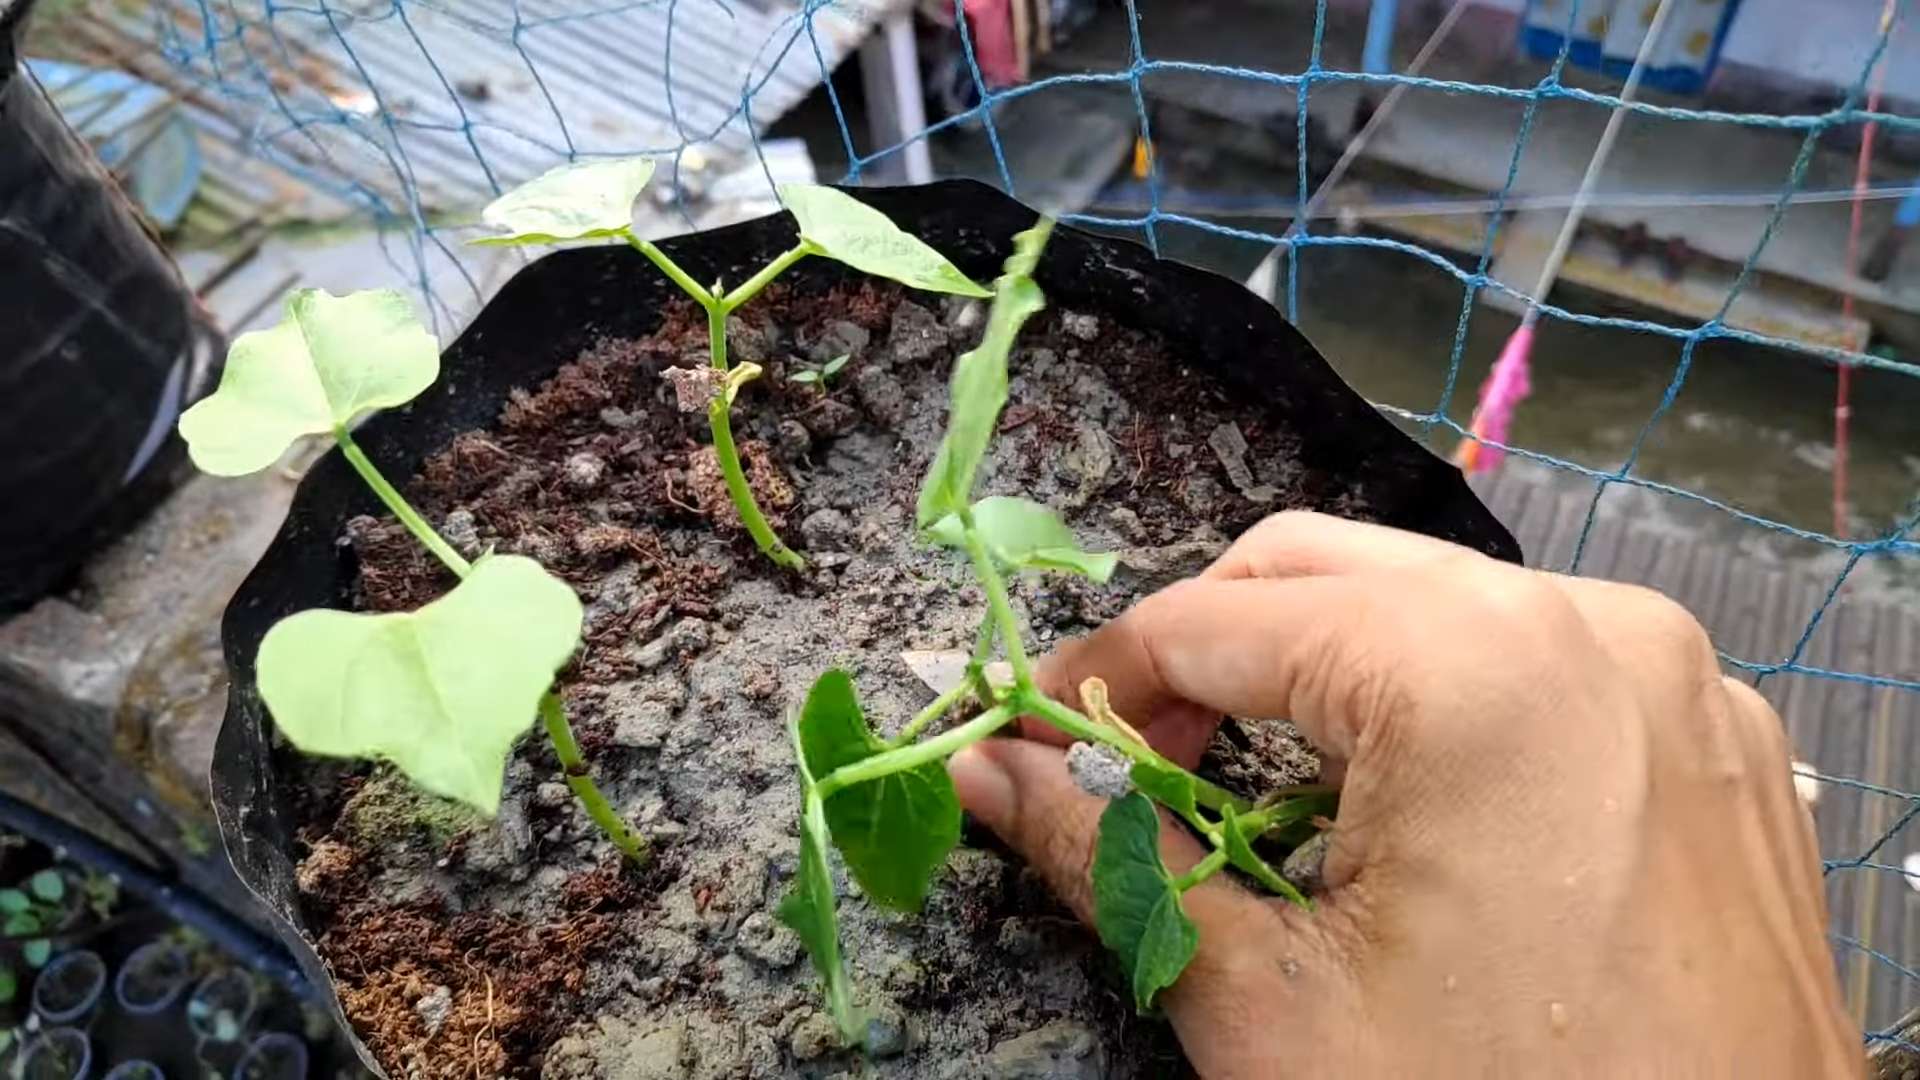
A variety of containers work well, but choose those that are at least 12 inches deep to accommodate the root system. Larger containers are better, allowing for more robust growth. Consider using pots, grow bags, or even repurposed containers like buckets or tubs. Ensure they have adequate drainage holes to prevent waterlogging.
How much sunlight do French beans need?
French beans thrive in full sun, meaning at least 6-8 hours of direct sunlight per day. Choose a location in your small space that receives ample sunlight. If sunlight is limited, consider supplementing with grow lights, especially during the early stages of growth.
What is the best soil for growing French beans in containers?
Use a well-draining potting mix specifically formulated for containers. Avoid using garden soil directly, as it can be too heavy and compact for container gardening. A good quality potting mix will provide the necessary nutrients and aeration for healthy root development.
How often should I water my French beans?
Water regularly, keeping the soil consistently moist but not waterlogged. The frequency of watering will depend on your climate, container size, and weather conditions. Check the soil moisture regularly by sticking your finger a couple of inches into the soil. Water thoroughly when the top inch or two feels dry.
What are some common problems I might encounter, and how can I address them?
Common problems include pests (like aphids or bean beetles) and diseases (like fungal leaf spots). Regularly inspect your plants for signs of pests or diseases. Use organic pest control methods, such as insecticidal soap or neem oil, if necessary. Ensure good air circulation to prevent fungal diseases. Proper spacing and watering practices can also help minimize problems.
Can I grow French beans from seed directly in containers?
Yes, you can! Start seeds directly in individual containers or peat pots to avoid disturbing the roots during transplanting. Alternatively, you can start seeds indoors a few weeks before the last expected frost and then transplant them outdoors once the danger of frost has passed.
How do I support climbing French bean varieties?
Climbing French bean varieties require support to grow vertically. Use sturdy stakes, trellises, or even a simple framework made from bamboo or other readily available materials. Train the plants to climb by gently guiding the vines as they grow.
When can I harvest my French beans?
Harvest French beans when they are young and tender, typically about 5-7 days after the flowers have faded. Harvest regularly to encourage continued production. The beans should snap easily when bent.
What should I do with my French bean plants after the harvest?
Once the growing season is over, you can compost the plants to enrich your soil for next year’s garden. Remove any diseased or pest-infested plant material before composting.
Is this small space French bean gardening method suitable for all climates?
While this method is adaptable, success depends on your climate. French beans need warm temperatures to thrive. In cooler climates, you may need to start seeds indoors or use a greenhouse to get a head start. Adjust your planting schedule and watering based on your local climate conditions. Consider using frost protection if necessary.


Leave a Comment