

Grow Iceberg Lettuce: Your Guide to Crisp, Homegrown Heads
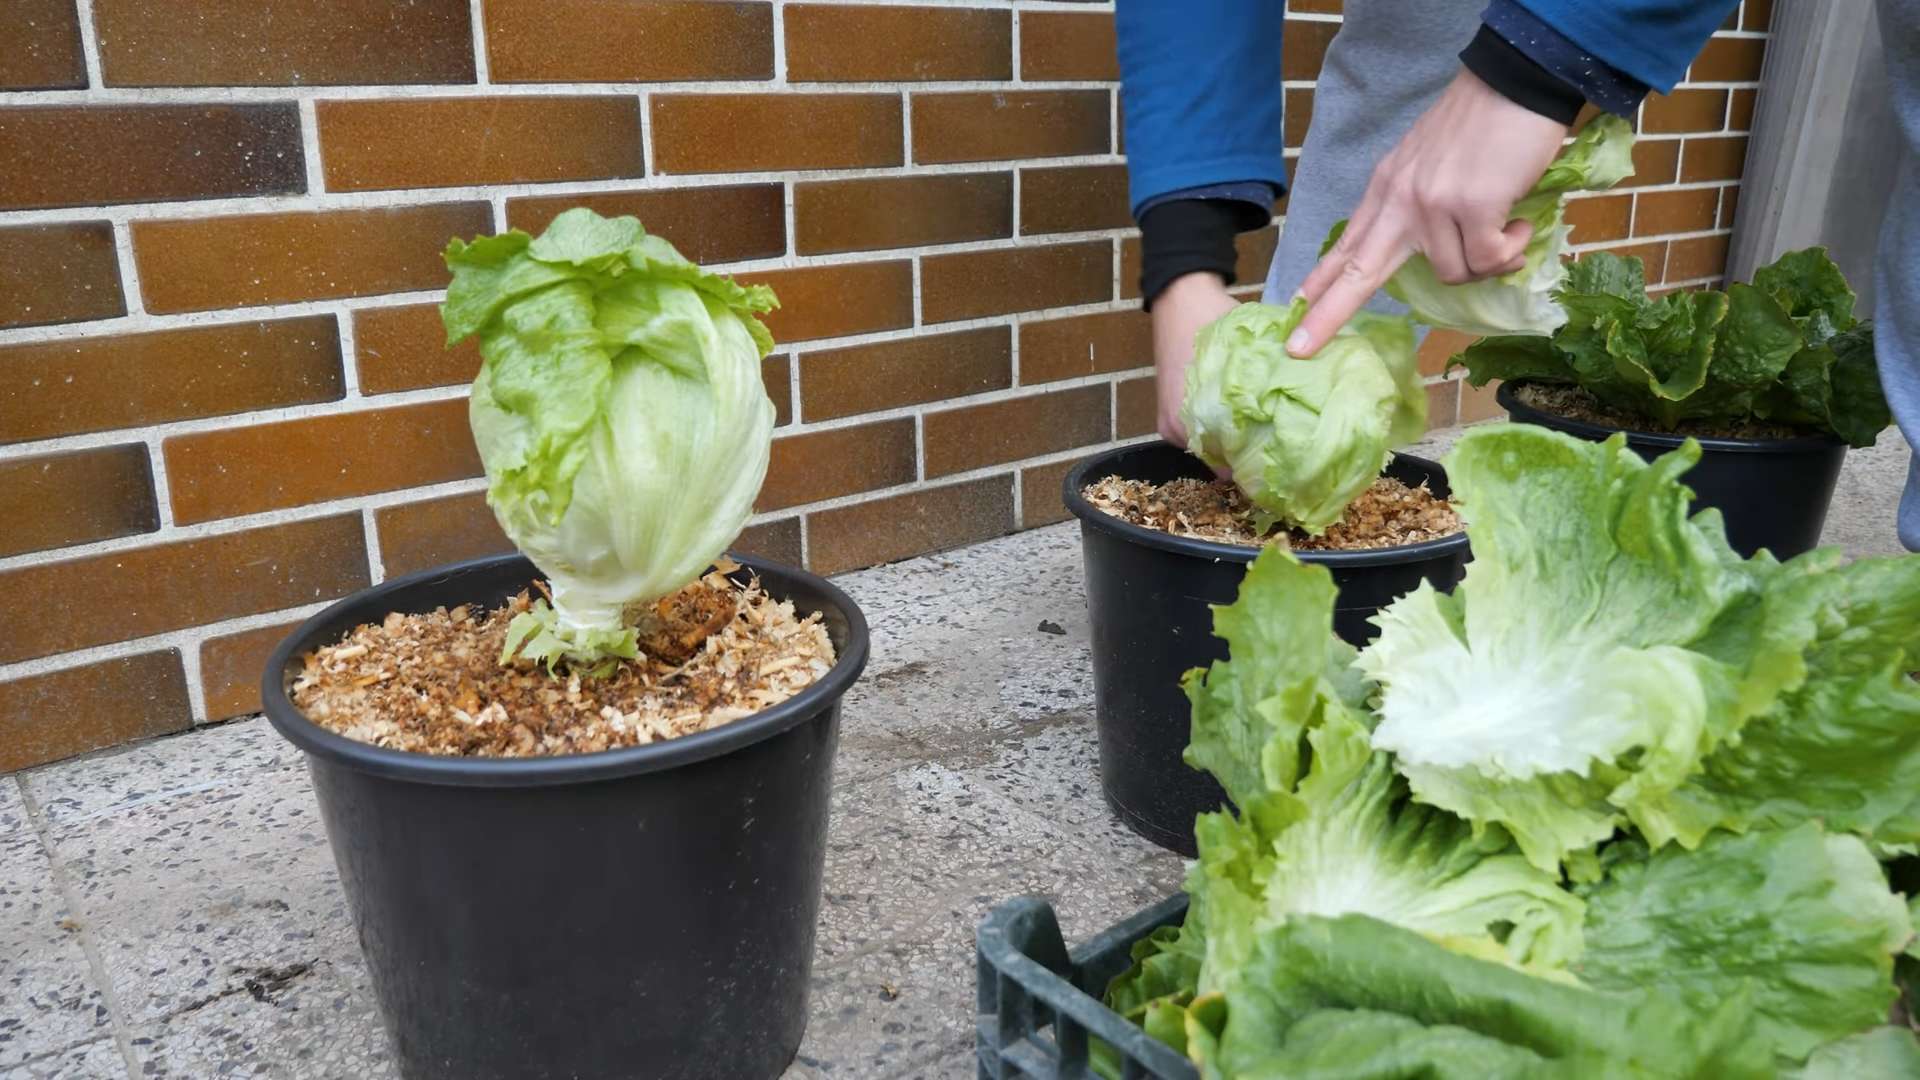
Growing your own food is incredibly rewarding, and few things are as satisfying as biting into a crisp, homegrown head of iceberg lettuce. That’s why I’m so excited to share my Grow Iceberg Lettuce guide with you today! This isn’t just about throwing some seeds in the ground; it’s about unlocking the secrets to consistently cultivating delicious, restaurant-quality lettuce right in your own backyard or even on your balcony.
Historically, iceberg lettuce, despite its sometimes-maligned reputation, has played a significant role in American cuisine, becoming a staple in salads and sandwiches for decades. But growing it yourself offers a level of freshness and flavor that store-bought varieties simply can’t match. You’ll taste the difference!
Why Grow Your Own Iceberg Lettuce?
Let’s be honest, store-bought iceberg lettuce can sometimes be disappointing. It can lack flavor and often arrives slightly wilted. With this Grow Iceberg Lettuce guide, you’ll learn how to avoid those pitfalls. You’ll have access to consistently fresh, flavorful lettuce whenever you want, reducing food miles and ensuring the highest quality ingredients for your meals. Plus, there’s something truly special about harvesting your own produce – it connects you to the land and provides a sense of accomplishment.
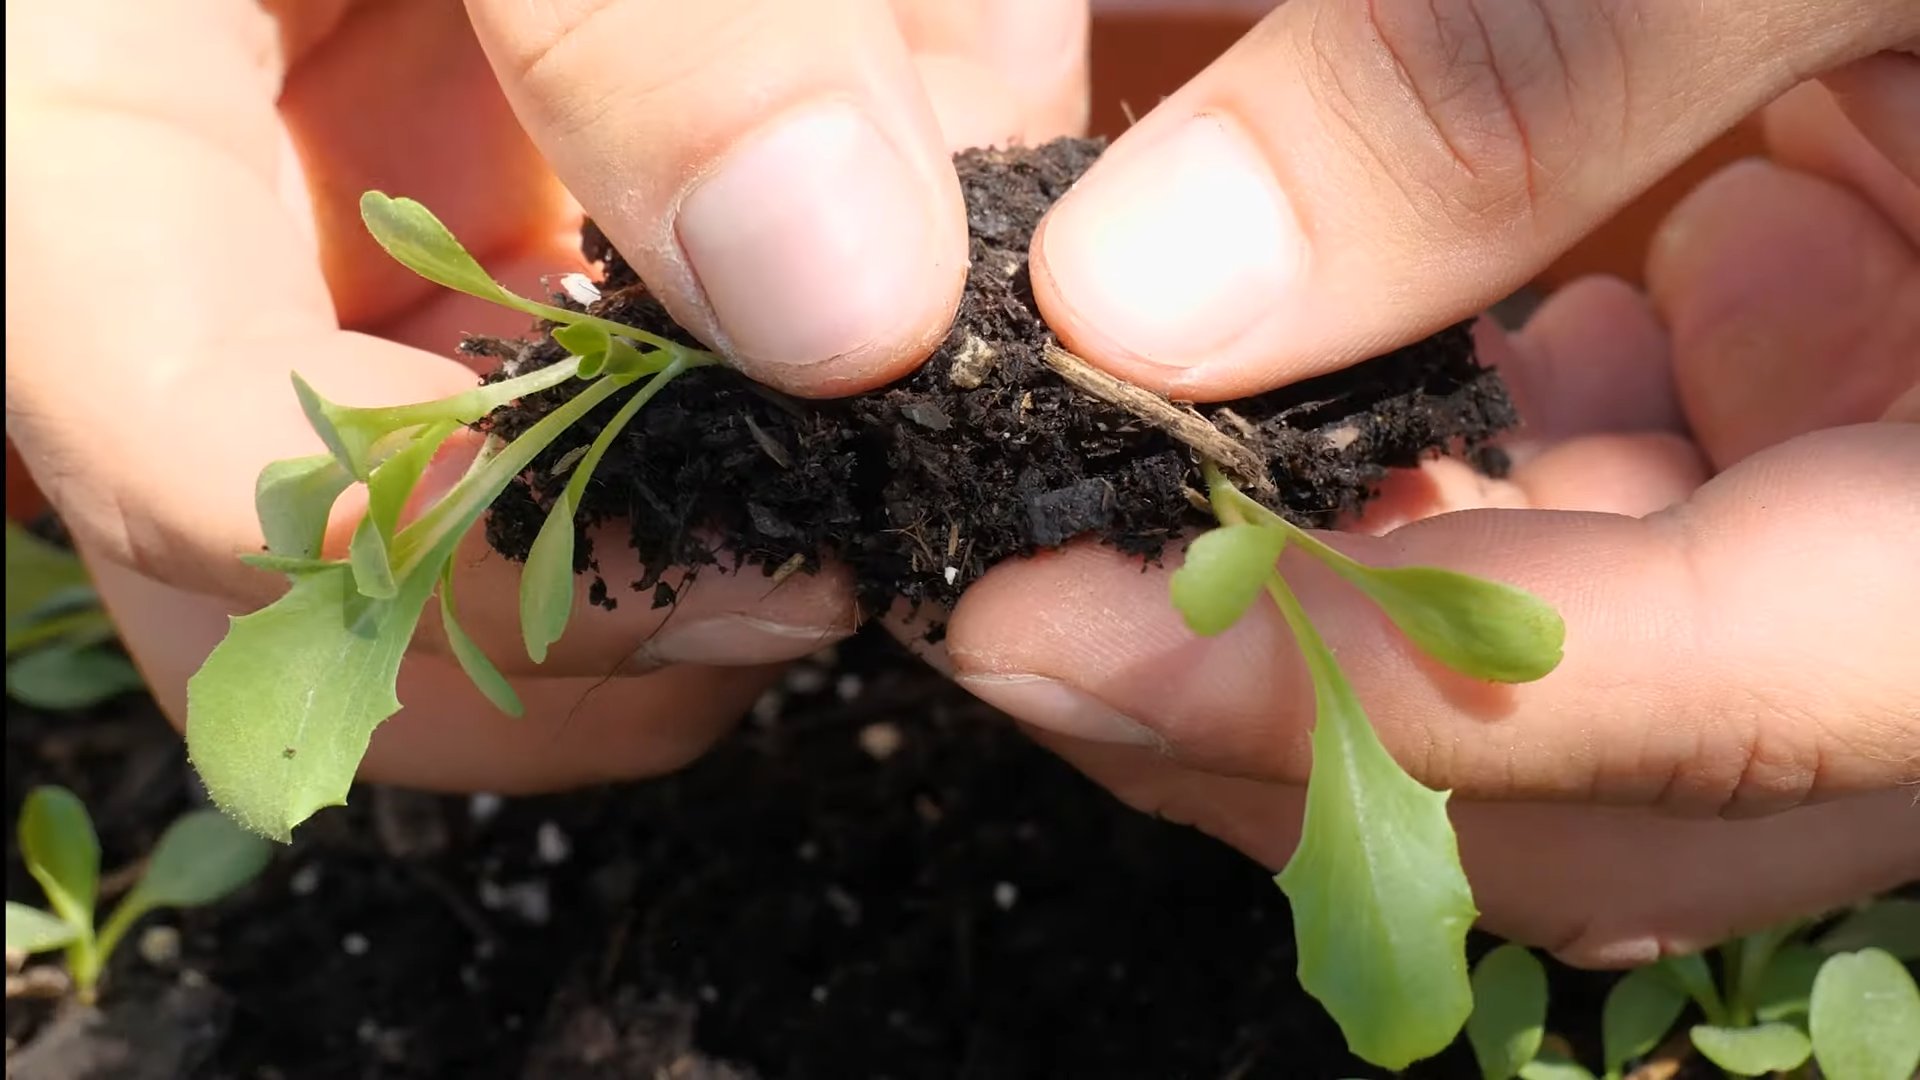
This article is packed with practical tips and tricks, from seed starting to harvesting, ensuring you’ll have a bountiful crop of crisp, delicious iceberg lettuce. Get ready to transform your garden (or even a small container) into a thriving lettuce patch! Let’s get started on your journey to growing the perfect head of iceberg lettuce.
Grow Potatoes Fast: A Speedy Spud Solution
I’ve always loved potatoes, but waiting months for a harvest felt like an eternity. So I decided to experiment and find ways to speed up the process. This guide details my successful method for growing potatoes faster than you ever thought possible!
Phase 1: Preparation – Getting Your Potatoes Ready
- Choose the right potatoes: Select seed potatoes – these are specifically grown for planting, not the ones from your grocery store. Look for firm, disease-free potatoes with multiple “eyes” (buds). Certified seed potatoes are best to ensure a healthy crop.
- Prepare your seed potatoes: About 4-6 weeks before your last expected frost, it’s time to “chit” your potatoes. This process encourages the eyes to sprout, giving your plants a head start. Place your seed potatoes in a cool, dark, and well-ventilated area. I use egg cartons, placing each potato in a separate cup. Make sure they are not stacked on top of each other to allow for good air circulation.
- Light exposure: After a week or two, once the sprouts are about half an inch long, move the potatoes to a location with indirect sunlight. This will help the sprouts grow stronger and healthier before planting.
- Watering: Keep the potatoes slightly moist but not soggy. Overwatering can lead to rot. Check the moisture level regularly and water only when the soil feels dry to the touch.
Phase 2: Planting – Getting Your Potatoes in the Ground
- Choose your location: Potatoes need at least 6-8 hours of sunlight per day. Select a sunny spot in your garden with well-drained soil. Poor drainage can lead to rotting potatoes.
- Soil preparation: Enrich your soil with compost or well-rotted manure. Potatoes are heavy feeders, so good soil is crucial for a bountiful harvest. I usually till the soil to a depth of about 12 inches to ensure proper drainage and aeration.
- Planting depth and spacing: Plant your chitting potatoes about 4 inches deep and 12-18 inches apart. The spacing allows for adequate growth and prevents overcrowding.
- Planting method: I prefer planting in rows, but you can also plant in hills or mounds. This method helps with drainage and keeps the potatoes cleaner. If you are using hills, make sure they are well-spaced.
- Covering the potatoes: After planting, cover the potatoes with soil. You can use a hoe or your hands to gently cover the potatoes. Make sure the soil is firmly packed around the potatoes.
Phase 3: Growing – Nurturing Your Potato Plants
- Watering: Water regularly, especially during dry periods. Aim for consistent moisture, but avoid overwatering. The soil should be moist but not waterlogged.
- Hilling: As the potato plants grow, you’ll need to “hill” them. This involves adding more soil around the base of the plants, burying the stems. This encourages the formation of more potatoes along the stems. I usually hill my potatoes every few weeks, depending on their growth rate.
- Weed control: Regularly remove weeds to prevent competition for nutrients and water. Weeding also improves air circulation around the plants, reducing the risk of diseases.
- Pest and disease control: Keep an eye out for pests like aphids or Colorado potato beetles. If you notice any infestations, take appropriate action. Organic pest control methods are preferable.
- Fertilizing: While good soil preparation is key, you might consider adding a balanced fertilizer a few weeks after planting. Follow the instructions on the fertilizer packaging carefully.
Phase 4: Harvesting – Enjoying Your Speedy Spuds
- Early harvesting: You can start harvesting “new potatoes” about 8-10 weeks after planting. These are smaller potatoes with thinner skins, perfect for boiling or steaming. To harvest early potatoes, gently dig around the base of the plants to find them.
- Main harvest: The main harvest typically occurs 3-4 months after planting, depending on the variety and growing conditions. The plants will start to die back, indicating it’s time to harvest. Carefully dig up the potatoes, being careful not to damage them.
- Curing: After harvesting, allow the potatoes to cure in a cool, dark, and well-ventilated area for a few weeks. This allows the skins to toughen and improves their storage life.
- Storage: Store your potatoes in a cool, dark, and dry place. Avoid storing them in direct sunlight or in temperatures below freezing.
Tips for Extra-Fast Growth:
- Use a grow bag or container: This allows for better control over soil temperature and moisture.
- Start with larger seed potatoes: Larger potatoes generally produce more sprouts and a faster yield.
- Use a fast-maturing potato variety: Check seed catalogs for varieties known for their quick growth cycles.
- Provide consistent moisture: Don’t let the soil dry out completely, especially during the early stages of growth.
Troubleshooting:
- Yellowing leaves: This could indicate nutrient deficiency, pest infestation, or overwatering. Check your soil and plants carefully.
- Wilting plants: This could be due to underwatering, pest infestation, or disease. Investigate the cause and take appropriate action.
- Small potatoes: This could be due to poor soil quality, overcrowding, or lack of nutrients. Improve soil conditions and ensure adequate spacing.
Conclusion
So there you have it – a simple, effective, and surprisingly rewarding method for growing your own crisp, delicious iceberg lettuce. This DIY approach to growing iceberg lettuce offers a level of control and freshness you simply can’t get from store-bought heads. You’ll be amazed at the taste difference, the satisfaction of nurturing your plants from seed to harvest, and the significant cost savings over time. This DIY method truly empowers you to take charge of your food source, ensuring quality and reducing your environmental impact. It’s a fantastic project for beginners and experienced gardeners alike, offering a rewarding experience for everyone involved.
Beyond the basic method outlined, there are numerous ways to personalize your iceberg lettuce growing experience. Experiment with different types of containers – from repurposed buckets to raised garden beds. Consider using different soil mixes to optimize drainage and nutrient content. You can even try starting your seeds indoors under grow lights for an earlier harvest, especially in cooler climates. For those with limited space, vertical gardening techniques can be incredibly effective. And don’t be afraid to get creative with companion planting! Certain herbs and flowers can deter pests and improve the overall health of your lettuce plants.
Perhaps you’re interested in extending the growing season. Consider using row covers or cold frames to protect your plants from frost and extend the harvest period. Alternatively, you can explore hydroponic or aquaponic systems for year-round growing, although these methods require a slightly higher level of investment and technical knowledge. The possibilities are truly endless, and the best part is that you can tailor the process to fit your specific needs and preferences. This DIY approach to growing iceberg lettuce is not just about the end result; it’s about the journey, the learning, and the connection to your food.
We strongly encourage you to try this method and experience the joy of harvesting your own homegrown iceberg lettuce. Share your experiences, tips, and photos with us – we’d love to hear about your successes and learn from any challenges you encounter. Join our growing community of DIY gardeners and let’s inspire each other to cultivate healthier, more sustainable lifestyles, one crisp head of lettuce at a time. Remember to document your progress and share your amazing results with us! The satisfaction of biting into a perfectly grown, homegrown iceberg lettuce is an unparalleled experience.
Frequently Asked Questions
We understand that you might have some questions about growing your own iceberg lettuce. Here are some of the most frequently asked questions to help you get started:
Q: What is the best time of year to grow iceberg lettuce?
A: Iceberg lettuce thrives in cool weather. The ideal time to plant is during spring or fall, when temperatures are mild and consistent. Avoid planting during the hottest summer months, as this can lead to bolting (premature flowering) and bitter-tasting leaves. In warmer climates, you might need to consider shade or grow it during the cooler months.
Q: How much sunlight does iceberg lettuce need?
A: Iceberg lettuce prefers at least six hours of sunlight per day, but it can tolerate some shade, especially during the hottest part of the day. Too much direct sunlight can cause the leaves to wilt and become bitter. Observe your plants and adjust their location as needed.
Q: What type of soil is best for growing iceberg lettuce?
A: Iceberg lettuce prefers well-drained, fertile soil with a slightly acidic pH (around 6.0-6.8). Amend heavy clay soils with organic matter like compost to improve drainage and aeration. Sandy soils may require more frequent watering to retain moisture.
Q: How often should I water my iceberg lettuce?
A: Water your iceberg lettuce regularly, keeping the soil consistently moist but not waterlogged. The frequency of watering will depend on your climate, soil type, and container size. Aim to water deeply and less frequently rather than shallowly and often. Check the soil moisture before watering; if the top inch feels dry, it’s time to water.
Q: How long does it take to grow iceberg lettuce from seed?
A: The time it takes to harvest iceberg lettuce from seed varies depending on the variety and growing conditions. Generally, it takes around 70-80 days from planting seeds to harvesting a mature head. Starting seeds indoors can shorten the overall growing time.
Q: What are some common problems when growing iceberg lettuce?
A: Common problems include pests like aphids and slugs, diseases like downy mildew, and bolting due to heat stress. Regularly inspect your plants for pests and diseases, and take appropriate measures to control them. Providing adequate shade during hot weather can help prevent bolting.
Q: Can I grow iceberg lettuce in containers?
A: Absolutely! Container gardening is a great option for growing iceberg lettuce, especially if you have limited space. Choose containers that are at least 12 inches deep and wide to allow for proper root development. Ensure good drainage by using containers with drainage holes.
Q: What should I do with my harvested iceberg lettuce?
A: Enjoy your fresh, homegrown iceberg lettuce! You can use it in salads, sandwiches, wraps, or as a side dish. For longer storage, wrap the lettuce loosely in a paper towel and store it in a plastic bag in the refrigerator. Proper storage can extend the shelf life of your iceberg lettuce for several days.


Leave a Comment