

Harvest Broccoli Garden: Your Guide to Bountiful Homegrown Broccoli
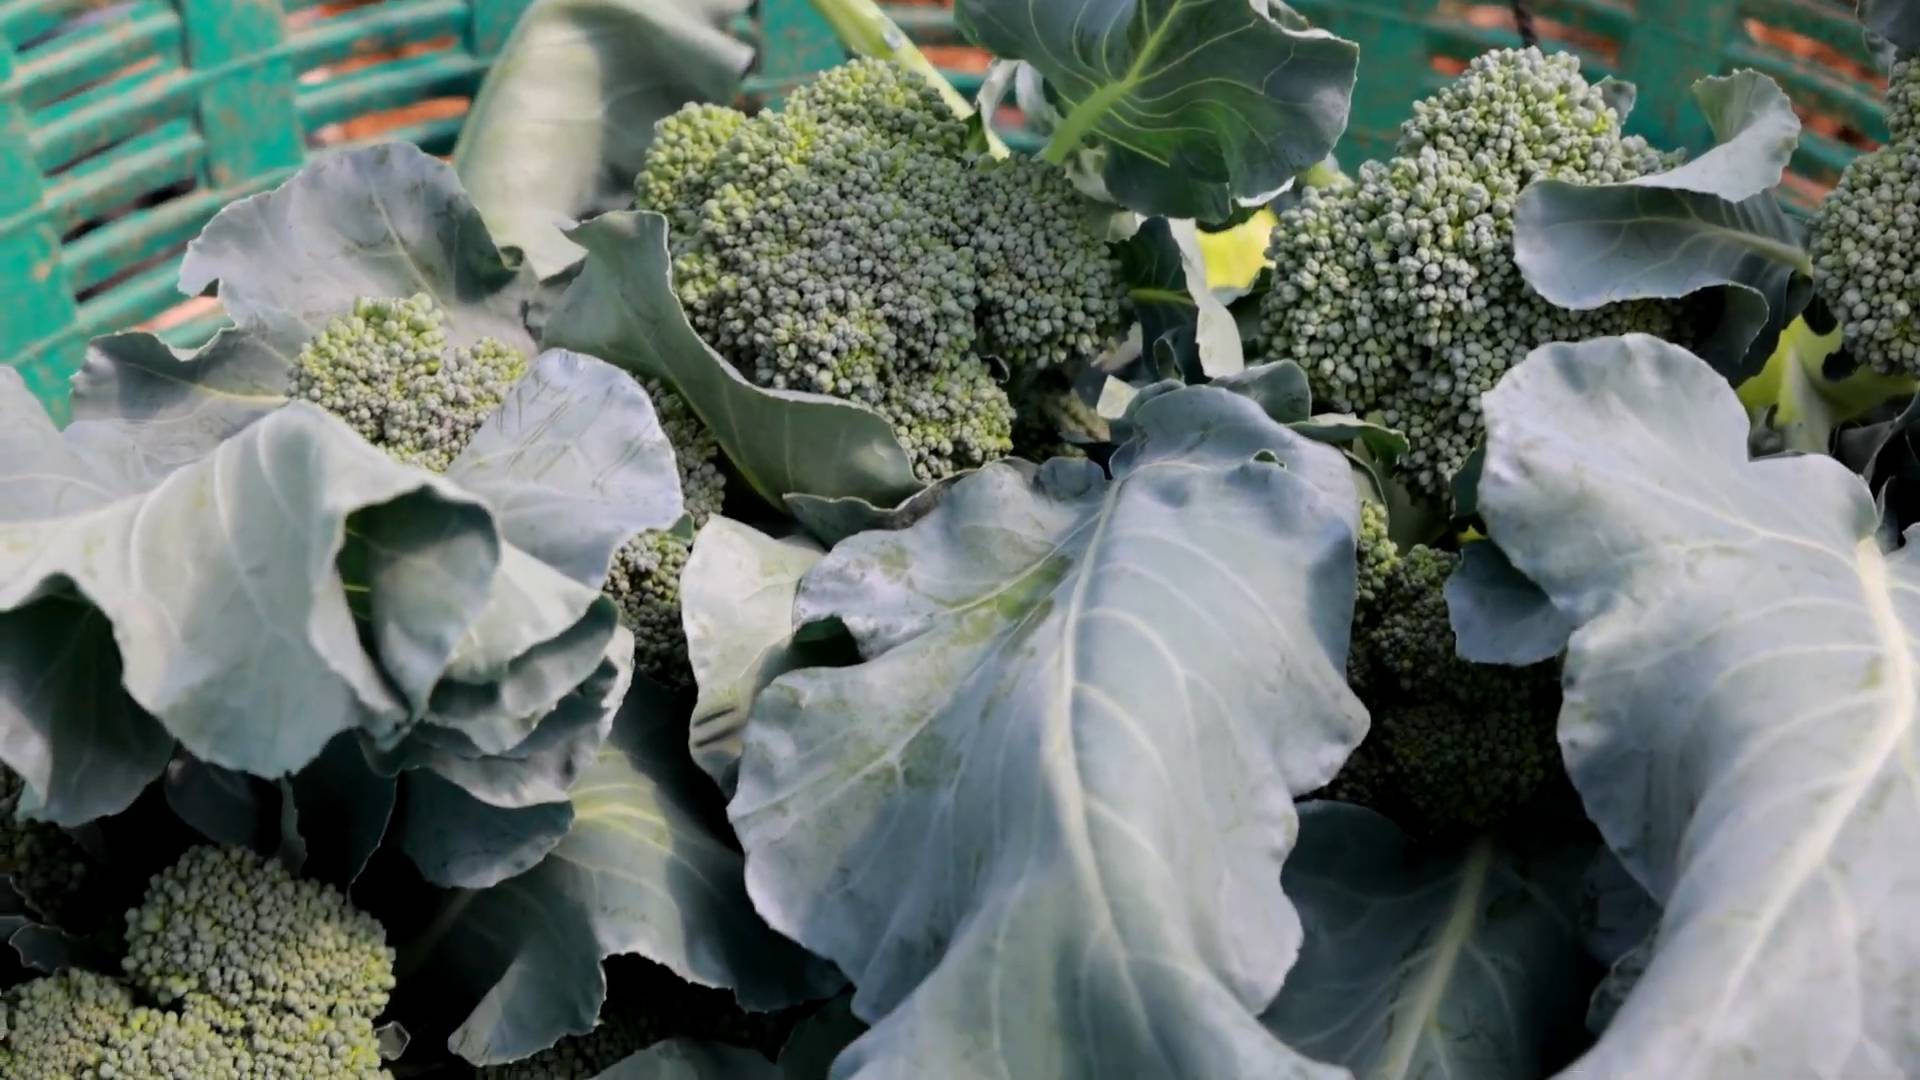
Harvesting broccoli from your own garden is incredibly rewarding! There’s nothing quite like biting into a freshly picked floret, bursting with flavor and the satisfaction of knowing you grew it yourself. This article is your complete guide to mastering the art of Harvest Broccoli Garden, from knowing when to harvest to clever storage tips. I’ll share my own tried-and-true methods, gleaned from years of home gardening, to help you maximize your yield and enjoy the delicious fruits (or rather, florets!) of your labor.
For centuries, broccoli has held a place of honor in various cultures, from its origins in the Mediterranean to its widespread popularity today. It’s a nutritional powerhouse, packed with vitamins and antioxidants, making it a staple in healthy diets worldwide. But growing your own broccoli offers more than just nutritional benefits; it connects you to the land and the process of food production in a deeply satisfying way. It’s a rewarding experience for the whole family, especially for children who can learn about where their food comes from.
Why bother with a Harvest Broccoli Garden when you can buy it at the store? Simply put: the taste! Store-bought broccoli, while convenient, often lacks the vibrant flavor and crisp texture of homegrown varieties. Plus, you have complete control over the growing process, ensuring your broccoli is free from pesticides and other chemicals. This DIY approach allows you to tailor your growing methods to your specific climate and soil conditions, leading to a more abundant and flavorful harvest.
So, whether you’re a seasoned gardener or a complete beginner, this guide will equip you with the knowledge and confidence to cultivate a thriving broccoli patch and enjoy a bountiful harvest. Let’s get started!
Unlocking the Power of the Humble Sponge: 20+ Smart Uses
Sponges. We all have them, but do we really know their full potential? Beyond the dishes, sponges are surprisingly versatile tools. Let’s explore some clever ways to use these absorbent heroes around your home!
Cleaning & Organization
- Dusting Delights: Dampen a sponge and use it to dust delicate surfaces like electronics or artwork. The dampness helps trap dust, preventing it from scattering.
- Mirror Magic: For streak-free mirrors and glass, use a clean, damp sponge followed by a dry microfiber cloth for a brilliant shine. I find this way better than paper towels!
- Scuff-Free Cleaning: A slightly damp sponge is gentle enough to clean scuff marks from walls and baseboards without damaging the paint. Just be sure to test it on an inconspicuous area first.
- Grout Guru: Tackle grimy grout with a stiff-bristled sponge and a little baking soda paste. Scrub gently, rinse, and watch the grout sparkle. For really stubborn grout, try a solution of bleach and water (always in a well-ventilated area and following safety precautions).
- Sink Savior: Keep your kitchen sink sparkling by wiping it down with a damp sponge after each use. This prevents food particles and grime from building up.
- Microwave Marvel: A damp sponge can easily clean food splatters inside your microwave. Just dampen it, microwave it for a minute to loosen the splatters, and then wipe clean.
- Oven Organizer: Use sponges to organize your oven racks. Place a damp sponge between each rack to prevent scratching and keep them from rattling during cleaning.
- Pet Hair Helper: Dampen a sponge and use it to wipe up pet hair from furniture and upholstery. It’s surprisingly effective!
DIY & Repair
- Paint Pad Pro: Cut a sponge into smaller pieces to create custom paint pads for detailed painting projects. This is great for smaller crafts or touch-ups.
- Sponge Stenciling: Cut shapes into a sponge to create unique stencils for painting walls, fabrics, or other surfaces. This is a fun way to add a personal touch to your projects.
- Watercolor Wonders: Sponges can be used as brushes for watercolor painting, creating interesting textures and effects.
- Soap Saver: Use a sponge to apply soap to your hands or body, reducing soap waste and making it easier to lather.
- Seed Starter: Cut up old sponges and use them as seed starters. The porous nature of the sponge provides excellent drainage and aeration for seedlings.
Around the House
- Ice Pack Alternative: In a pinch, a wet sponge can act as a makeshift ice pack. Just wet it thoroughly and place it in a plastic bag before applying it to a minor injury.
- Plant Watering: Use a sponge to gently water delicate seedlings or houseplants, preventing soil erosion.
- Dusting Blinds: Wrap a damp sponge around a butter knife or similar tool to easily clean between blinds. This is much faster than doing it by hand!
- Cleaning Keyboard: Use a slightly damp sponge to gently clean the crevices of your keyboard, removing dust and crumbs. Make sure to let it dry completely before using your keyboard again.
- Shoe Cleaning: A damp sponge can be used to clean dirt and scuffs from leather or canvas shoes. Always test on a hidden area first.
Step-by-Step Guide: Making a Sponge Stencil
- Gather your supplies: You’ll need a new sponge (a cellulose sponge works best), a sharp craft knife or utility knife, a pencil, paper, and your chosen paint.
- Design your stencil: Draw your desired design on a piece of paper. Keep it simple for your first attempt. Think about shapes that are easy to cut out of a sponge.
- Transfer the design: Carefully trace your design onto the sponge using a pencil. Press firmly enough to leave a visible outline.
- Cut out the design: Using your craft knife, carefully cut out the design from the sponge. Work slowly and steadily to avoid cutting yourself or damaging the sponge.
- Test your stencil: Before applying paint, test your stencil on a scrap piece of paper or fabric to ensure it works as intended. You might need to make adjustments.
- Apply the paint: Using a sponge brush or a small paint roller, apply paint to the cut-out areas of the sponge. Don’t overload the sponge with paint.
- Apply the stencil: Gently press the stencil onto your chosen surface and dab the paint onto the surface. Avoid sliding the stencil across the surface to prevent smudging.
- Remove the stencil: Carefully peel the stencil away from the surface, allowing the paint to dry completely before handling.
Step-by-Step Guide: Cleaning Grout with a Sponge
- Prepare your supplies: You’ll need a stiff-bristled sponge, baking soda, water, a bowl, and optionally, rubber gloves and a cleaning solution (bleach and water – use with caution and in a well-ventilated area).
- Make a baking soda paste: In the bowl, mix baking soda with a small amount of water to create a thick paste. The consistency should be similar to toothpaste.
- Apply the paste: Apply the baking soda paste to the grout lines using the sponge. Work in small sections at a time.
- Scrub gently: Use the sponge to gently scrub the grout, working the paste into the lines. Avoid scrubbing too hard, as this could damage the grout or surrounding tiles.
- Rinse thoroughly: Once you’ve scrubbed all the grout lines, rinse the area thoroughly with clean water. Use a clean sponge or cloth to wipe away any remaining paste.
- For stubborn grout: If the baking soda paste isn’t enough, you can try a solution of bleach and water. Always follow safety precautions and wear gloves. Mix the solution in a well-ventilated area and apply it to the grout with a sponge. Let it sit for a few minutes before scrubbing and rinsing thoroughly.
- Dry the area: After rinsing, dry the area with a clean cloth or allow it to air dry.
Important Note: Always test any cleaning solution on a small, inconspicuous area first to ensure it doesn’t damage the surface.
Conclusion
This DIY method for harvesting your broccoli garden is a game-changer, offering a significant advantage over traditional methods. By following these simple steps, you’ll not only ensure you get the most delicious and tender broccoli florets but also promote healthier plant growth and a more abundant harvest. The technique of harvesting broccoli by cutting the main stem rather than pulling the entire plant allows for continued growth and multiple harvests from the same plant, maximizing your yield and minimizing waste. This approach is incredibly rewarding, allowing you to enjoy fresh, homegrown broccoli throughout the growing season. It’s a simple yet effective way to elevate your gardening experience and enjoy the fruits – or rather, vegetables – of your labor.
Beyond the core method, there are several ways to customize your broccoli harvest. Experiment with different cutting heights to see what works best for your plants and growing conditions. Some gardeners prefer to leave a few smaller florets to develop further, ensuring a staggered harvest. Others might choose to harvest only the larger, more mature florets, leaving the smaller ones to grow larger. Consider using sharp, clean pruning shears to ensure a clean cut and prevent the spread of disease. Proper sanitation is key to maintaining a healthy broccoli garden. You can also explore companion planting, incorporating plants like chamomile or calendula to deter pests and improve soil health, further enhancing your broccoli harvest. Remember to always check your plants regularly for signs of pests or diseases and take appropriate action if necessary.
This DIY approach to harvesting your broccoli garden is not just about getting the best broccoli; it’s about connecting with nature, understanding the growth cycle of your plants, and experiencing the immense satisfaction of nurturing your own food. It’s a journey of learning and discovery, where each harvest brings a sense of accomplishment and the delicious reward of fresh, homegrown vegetables. We strongly encourage you to try this method and experience the difference for yourself. Share your experiences, tips, and photos with us – we’d love to hear about your successful broccoli harvests and any variations you’ve discovered. Join our community of home gardeners and let’s learn and grow together! Let your garden flourish and your table be filled with the bounty of your own hard work. Remember, the key to a successful harvest is consistent care and attention to detail. Happy gardening!
Frequently Asked Questions (FAQs)
How often should I harvest my broccoli?
The frequency of harvesting depends on the variety of broccoli and the growing conditions. Generally, you should harvest broccoli when the heads are firm and tightly formed, but before they start to flower. This usually occurs about 50-70 days after planting. You can harvest every 7-10 days, depending on the growth rate of your plants. Regular harvesting encourages the plant to produce more side shoots, leading to a more abundant harvest. Always check your plants regularly to ensure you don’t miss the optimal harvest time.
What should I do with the harvested broccoli?
Freshly harvested broccoli is best enjoyed immediately. You can eat it raw in salads, steam it, roast it, or stir-fry it. Broccoli can also be frozen for later use. To freeze broccoli, blanch it in boiling water for a few minutes, then plunge it into ice water to stop the cooking process. Once cooled, drain the broccoli and package it in freezer bags for long-term storage. Properly frozen broccoli retains its nutrients and flavor for several months.
What if my broccoli heads are small?
Small broccoli heads can be due to several factors, including insufficient sunlight, poor soil quality, inadequate watering, or pest infestations. Ensure your broccoli plants receive at least 6-8 hours of sunlight per day. Amend your soil with compost or other organic matter to improve its fertility. Water your plants regularly, especially during dry periods. Monitor your plants for pests and diseases and take appropriate action if necessary. Consider using a balanced fertilizer to provide your plants with the necessary nutrients for optimal growth. Sometimes, even with the best care, some plants may naturally produce smaller heads. Don’t be discouraged – even small broccoli heads are still delicious and nutritious.
Can I replant broccoli in the same spot next year?
It’s generally recommended to rotate your crops to prevent the buildup of pests and diseases. Avoid planting broccoli in the same spot for consecutive years. Instead, rotate your crops with other vegetables that have different nutrient requirements and pest susceptibility. This practice helps maintain soil health and reduces the risk of crop failure. A good crop rotation plan can significantly improve the overall health and productivity of your garden.
What are some common problems I might encounter when harvesting broccoli?
Some common problems include pest infestations (aphids, caterpillars), diseases (black rot, fusarium wilt), and improper harvesting techniques. Regularly inspect your plants for signs of pests or diseases. Use appropriate pest control methods, such as introducing beneficial insects or using organic pesticides. Ensure proper sanitation practices to prevent the spread of diseases. Harvest your broccoli at the right time and using the correct technique to avoid damaging the plants. Early detection and prompt action are crucial for maintaining a healthy and productive broccoli garden. Remember, a healthy garden is a happy garden.
My broccoli plants are bolting. What should I do?
Bolting, or premature flowering, is often caused by stress, such as heat or drought. Once a plant bolts, the florets become tough and less palatable. To prevent bolting, ensure your broccoli plants receive consistent moisture and avoid planting them in areas that experience extreme heat. Choose broccoli varieties that are known for their resistance to bolting. While you can still harvest the florets from a bolting plant, they won’t be as tender or flavorful as those harvested at the optimal time. Consider planting your broccoli during cooler months or providing shade during the hottest part of the day.
Leave a Comment