

Harvest pumpkins continuously? Yes, you read that right! Forget the one-and-done pumpkin patch visit. I’m about to let you in on a little secret that will keep your autumn spirit alive all season long, straight from your very own backyard. For centuries, pumpkins have been more than just a decorative gourd; they’ve been a symbol of abundance, harvest, and community, deeply rooted in traditions around the world. From Native American culinary staples to the jack-o’-lanterns that light up our Halloween nights, pumpkins hold a special place in our hearts and homes.
But what if you could extend that pumpkin joy beyond a single harvest? That’s where these DIY tricks come in! In today’s world, where sustainability and self-sufficiency are more important than ever, learning how to harvest pumpkins continuously is not just a fun project; it’s a way to connect with nature, reduce waste, and enjoy fresh, homegrown goodness for longer. Imagine the satisfaction of carving a jack-o’-lantern from a pumpkin you nurtured yourself, or baking a delicious pie with ingredients straight from your garden.
This article is packed with simple, effective DIY hacks that will empower you to maximize your pumpkin yield and enjoy a continuous harvest throughout the season. So, grab your gardening gloves, and let’s get started on this exciting pumpkin adventure together!
Transform Your Old T-Shirts into Stylish Reusable Shopping Bags!
Hey there, fellow DIY enthusiasts! Are you drowning in old t-shirts that you can’t bear to throw away? Do you want to reduce your plastic consumption and look good doing it? Well, you’ve come to the right place! I’m going to walk you through a super fun and easy project: turning those forgotten tees into awesome, reusable shopping bags. Trust me, it’s easier than you think, and the results are seriously rewarding. Plus, it’s a fantastic way to give your old clothes a new life and contribute to a more sustainable lifestyle. Let’s get started!
What You’ll Need
Before we dive in, let’s gather our supplies. This project is pretty low-key, so you probably already have most of these items lying around:
* **An Old T-Shirt:** The bigger the shirt, the bigger the bag! Avoid shirts with delicate fabrics or large holes in the main body. Graphic tees work great for adding some personality!
* **Sharp Scissors:** Fabric scissors are ideal, but any sharp scissors will do. Dull scissors will make the fabric fray and make the cutting process much harder.
* **Ruler or Measuring Tape:** This will help you ensure your fringe is even.
* **Fabric Marker or Chalk (Optional):** For marking your cutting lines, especially helpful if you’re a perfectionist like me!
* **Sewing Machine (Optional but Recommended):** While you *can* hand-sew this project, a sewing machine will make the bottom seam much stronger and more durable.
* **Thread (Matching or Contrasting):** If you’re using a sewing machine, you’ll need thread. Choose a color that complements your t-shirt or go bold with a contrasting shade.
* **Pins (Optional):** If you’re sewing the bottom seam, pins will help keep the fabric in place.
* **Iron and Ironing Board (Optional):** Ironing the bottom hem before sewing can make the process easier and neater.
* **A Large Book or Piece of Cardboard (Optional):** To place inside the shirt while cutting to prevent cutting through both layers at once.
Preparing Your T-Shirt
Okay, let’s get our t-shirt ready for its transformation!
1. **Wash and Dry the T-Shirt:** This is crucial! Washing the shirt will pre-shrink the fabric and remove any dirt or stains. You don’t want your bag shrinking after you’ve already made it!
2. **Iron the T-Shirt (Optional):** If your t-shirt is wrinkled, ironing it will make it easier to work with. This is especially helpful if you’re planning on sewing the bottom seam.
3. **Lay the T-Shirt Flat:** Place the t-shirt on a flat surface, like a table or the floor. Make sure the front of the shirt is facing up.
Creating the Bag Body
Now for the fun part – shaping our t-shirt into a bag!
1. **Cut Off the Sleeves:** Using your scissors, carefully cut off both sleeves of the t-shirt. Try to cut as close to the seam as possible for a clean look. Don’t worry if it’s not perfect; imperfections add character!
2. **Cut Out the Neckline (Optional):** You can leave the neckline as is for a more casual look, or you can cut it into a wider scoop neck or even a V-neck. If you choose to cut the neckline, make sure to leave enough fabric for the handles. I usually cut a wide scoop neck, leaving about 2-3 inches of fabric for the straps.
3. **Determine the Bag Depth:** Decide how deep you want your bag to be. A good rule of thumb is to leave at least 12-15 inches from the bottom of the shirt to the bottom of the armholes. This will give you a decent-sized bag.
4. **Prepare for the Fringe (or Sewing):** This is where we decide how to close the bottom of the bag. You have two options: fringe or sewing.
* **Fringe Method:** If you’re going with the fringe method, you’ll need to cut strips along the bottom of the shirt. Each strip should be about 1 inch wide and 3-4 inches long.
* **Sewing Method:** If you’re going to sew the bottom seam, skip ahead to the “Sewing the Bottom Seam” section.
Creating the Fringe (If You Choose This Method)
This is a super easy and fun way to close the bottom of your bag!
1. **Mark the Fringe Lines (Optional):** Using your ruler and fabric marker or chalk, mark lines along the bottom of the shirt, 1 inch apart and 3-4 inches long. This will help you cut even fringe.
2. **Cut the Fringe:** Carefully cut along the marked lines (or eyeball it if you’re feeling adventurous!) to create the fringe. Make sure you’re only cutting through one layer of fabric at a time. A large book or piece of cardboard inside the shirt can help with this.
3. **Tie the Fringe:** Now comes the magic! Take one strip of fringe from the front of the shirt and one strip of fringe from the back of the shirt, and tie them together in a tight knot. Repeat this process for all the fringe strips. Double-knotting is a good idea for extra security.
4. **Trim the Fringe (Optional):** If you want a more uniform look, you can trim the fringe to the same length.
Sewing the Bottom Seam (If You Choose This Method)
Sewing the bottom seam will create a stronger and more durable bag.
1. **Fold the Bottom Hem:** Fold the bottom edge of the t-shirt up about 1/2 inch and iron it in place. This will create a clean hem.
2. **Pin the Hem (Optional):** Pin the folded hem in place to keep it from shifting while you sew.
3. **Sew the Hem:** Using your sewing machine, sew along the folded hem, close to the edge. Use a straight stitch and a medium stitch length.
4. **Reinforce the Corners:** For extra strength, you can reinforce the corners of the bag by sewing a small triangle at each corner.
Finishing Touches
Almost there! Now for the final touches to make your bag truly your own.
1. **Trim Any Stray Threads:** Use your scissors to trim any stray threads or uneven edges.
2. **Stretch the Handles (Optional):** If you want the handles to be a bit longer, gently stretch them out.
3. **Add Embellishments (Optional):** Get creative! You can add fabric paint, patches, beads, or anything else you can think of to personalize your bag. I love adding a few colorful patches to mine!
4. **Test Your Bag:** Before you load it up with groceries, test the strength of your bag by putting a few heavy items inside. This will help you identify any weak spots that need reinforcement.
Tips and Tricks for Success
Here are a few extra tips to help you create the perfect t-shirt bag:
* Choose the Right T-Shirt: Thicker, more durable t-shirts will make stronger bags. Avoid thin, stretchy fabrics that are likely to tear.
* Use Sharp Scissors: Dull scissors will make the fabric fray and make the cutting process much harder.
* Take Your Time: Don’t rush the process. Take your time and pay attention to detail for the best results.
* Reinforce the Bottom Seam: Whether you’re using the fringe method or sewing the bottom seam, make sure it’s strong enough to hold the weight of your groceries.
* Get Creative with Embellishments: This is your chance to express your personal style! Don’t be afraid to experiment with different colors, patterns, and embellishments.
* Wash Your Bag Regularly: Just like any reusable shopping bag, it’s important to wash your t-shirt bag regularly to keep it clean and hygienic.
Enjoy Your New Reusable Shopping Bag!
And there you have it! You’ve successfully transformed an old t-shirt into a stylish and functional reusable shopping bag. Now you can head to the grocery store in style, knowing that you’re doing your part to reduce plastic waste. I hope you enjoyed this DIY project as much as I do. Happy crafting!
Conclusion
So, there you have it! Mastering the art of continuous pumpkin harvesting isn’t just about getting more pumpkins; it’s about maximizing your garden’s potential, extending your harvest season, and enjoying the freshest, most flavorful pumpkins possible. This DIY trick, focusing on strategic pruning, pollination management, and vigilant pest control, is a game-changer for any pumpkin enthusiast, whether you’re a seasoned gardener or just starting out.
Why is this a must-try? Because it moves beyond the traditional “plant, wait, harvest” approach. It empowers you to actively manage your pumpkin patch, ensuring a steady supply of these autumnal delights. Imagine having pumpkins ready for carving, baking, and decorating throughout the fall, instead of all at once. Think of the satisfaction of knowing you’re getting the absolute most out of your garden space and your hard work.
But don’t stop there! Experiment with different pumpkin varieties to see which respond best to continuous harvesting in your specific climate. Try companion planting with beneficial flowers like marigolds to naturally deter pests. Consider using row covers early in the season to protect young plants from insects and frost. You could even explore different pruning techniques, carefully observing how each affects fruit production.
And remember, the key to successful continuous pumpkin harvesting lies in consistent observation and proactive management. Check your plants regularly for signs of pests or disease, and address any issues promptly. Don’t be afraid to experiment and adapt your approach based on what works best for you and your garden.
We’re confident that this DIY trick will transform your pumpkin growing experience. It’s a simple, effective, and rewarding way to get the most out of your pumpkin patch. So, grab your gardening gloves, head out to your garden, and give it a try!
We can’t wait to hear about your experiences! Share your tips, tricks, and photos in the comments below. Let’s build a community of pumpkin-growing experts and help each other achieve bountiful harvests year after year. Happy harvesting!
Frequently Asked Questions (FAQs)
What exactly does “continuous pumpkin harvesting” mean?
Continuous pumpkin harvesting refers to a gardening technique where you aim to harvest pumpkins over an extended period, rather than all at once at the end of the growing season. This is achieved through careful planning, strategic pruning, pollination management, and consistent monitoring of your pumpkin plants. The goal is to encourage the plant to produce new fruits throughout the season, allowing for a more staggered and prolonged harvest.
Which pumpkin varieties are best suited for continuous harvesting?
While most pumpkin varieties can benefit from the principles of continuous harvesting, some tend to be more productive and responsive than others. Smaller to medium-sized varieties, such as Sugar Pie pumpkins (ideal for baking), Baby Boo pumpkins (perfect for decoration), and Jack Be Little pumpkins (another decorative favorite), often perform well. These varieties tend to mature more quickly and produce more fruits per plant compared to larger varieties like Atlantic Giant. However, even larger varieties can benefit from strategic pruning and pollination to encourage a more extended harvest, although the overall yield might not be as high. Experimenting with different varieties in your specific climate is always recommended.
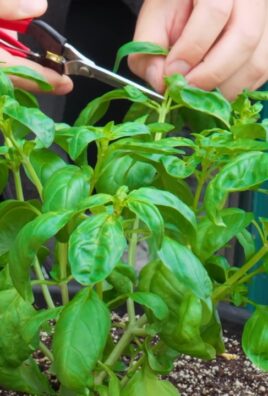
How does pruning help with continuous pumpkin harvesting?
Pruning plays a crucial role in continuous pumpkin harvesting by directing the plant’s energy towards fruit production. By removing excess foliage and non-productive vines, you can improve air circulation, reduce the risk of disease, and encourage the plant to focus its resources on developing existing pumpkins and producing new ones. Focus on removing lateral vines that don’t have any developing pumpkins. Also, prune away any yellowing or diseased leaves to prevent the spread of problems. Remember to use clean, sharp pruning shears to avoid damaging the plant.
How do I manage pollination for continuous pumpkin harvesting?
Successful pollination is essential for fruit set. Pumpkins have separate male and female flowers. The female flowers need to be pollinated by the male flowers for a pumpkin to develop. If you’re not seeing many pumpkins developing, you may need to hand-pollinate. This involves transferring pollen from the male flower to the female flower using a small brush or cotton swab. The best time to hand-pollinate is early in the morning, when the flowers are fully open. You can identify female flowers by the small, immature pumpkin at the base of the flower.
What are the most common pests and diseases that affect pumpkins, and how can I control them?
Pumpkins are susceptible to several pests and diseases, including squash bugs, squash vine borers, powdery mildew, and downy mildew. Squash bugs can be hand-picked or controlled with insecticidal soap. Squash vine borers can be difficult to control, but preventative measures like wrapping the base of the stem with foil can help. Powdery mildew and downy mildew can be prevented by ensuring good air circulation and avoiding overhead watering. Fungicides can be used to treat these diseases if they occur. Regular monitoring of your plants is crucial for early detection and control of pests and diseases.
How often should I fertilize my pumpkin plants for continuous harvesting?
Pumpkins are heavy feeders and benefit from regular fertilization, especially when you’re aiming for continuous harvesting. Use a balanced fertilizer with a ratio of 10-10-10 or 14-14-14. Apply fertilizer at planting time and then every 4-6 weeks throughout the growing season. You can also supplement with compost tea or other organic fertilizers to provide additional nutrients. Avoid over-fertilizing, as this can lead to excessive foliage growth at the expense of fruit production.
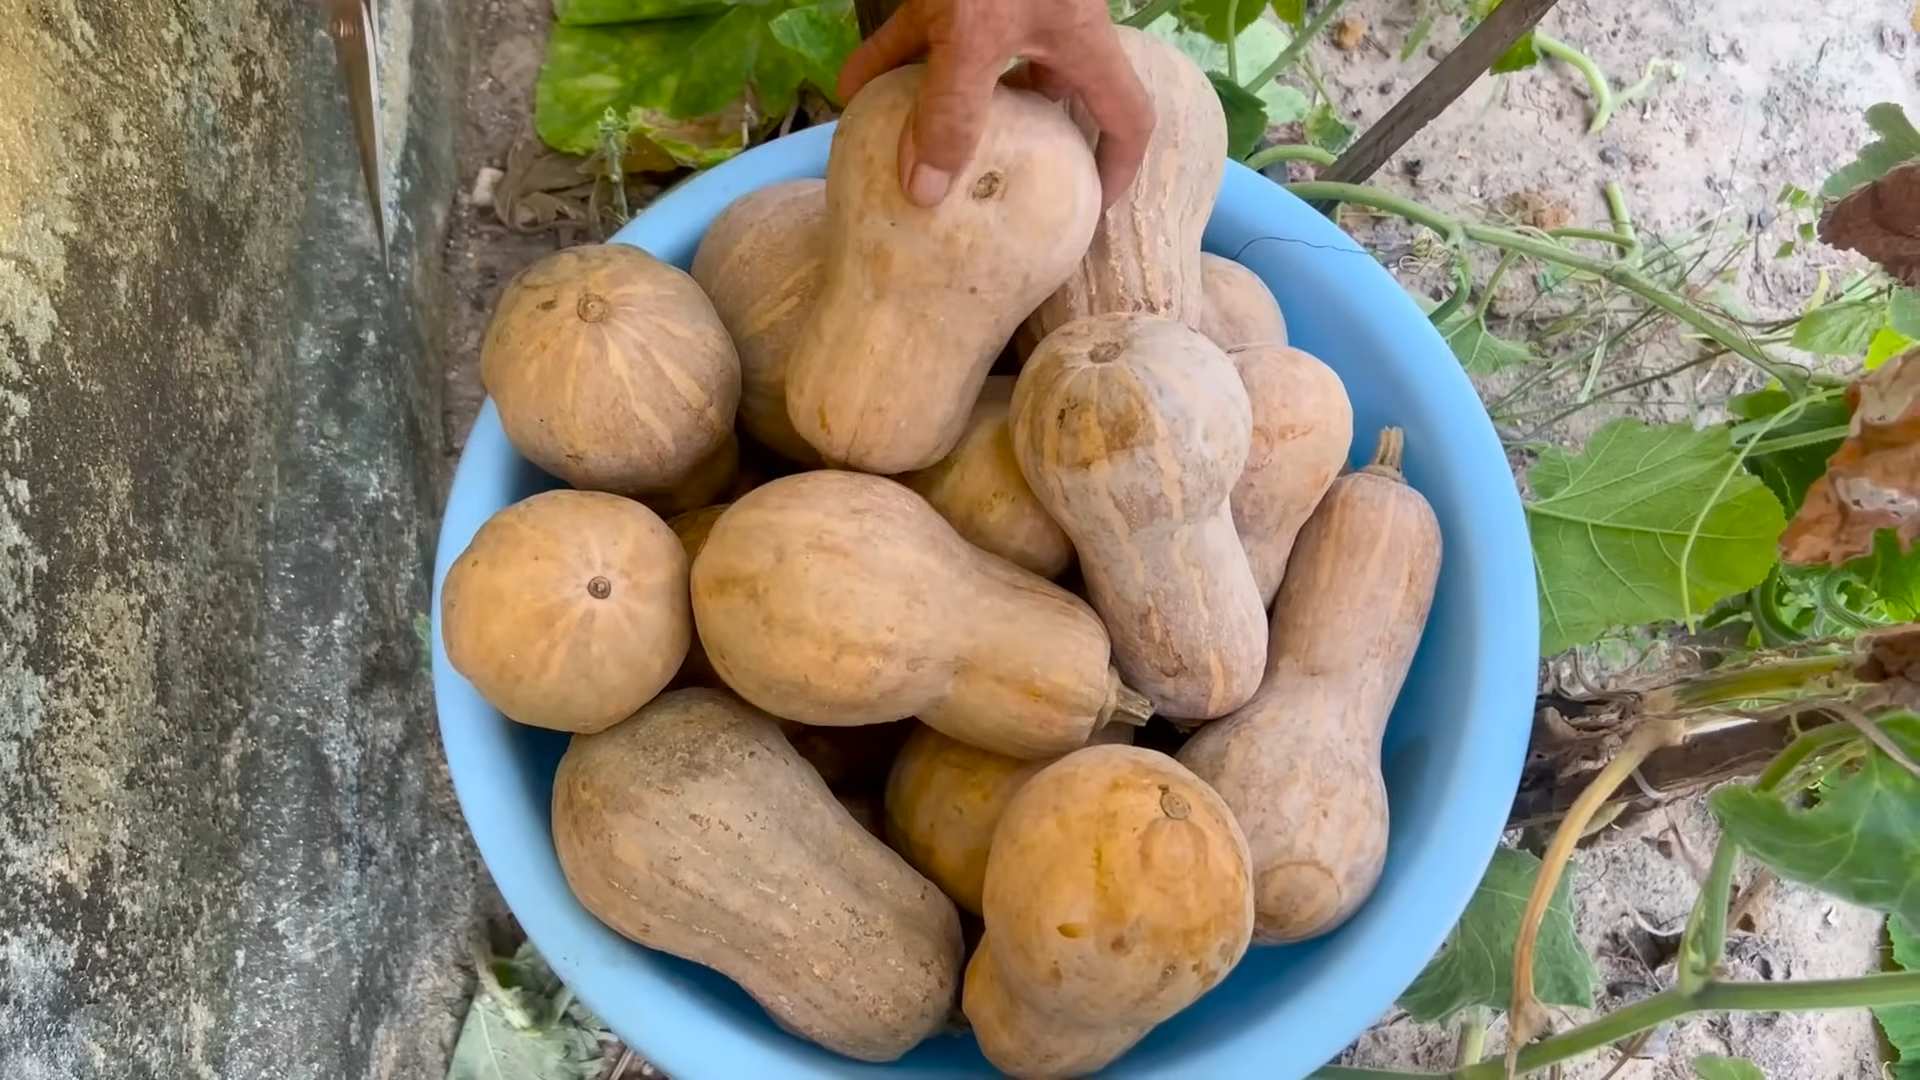
How do I know when a pumpkin is ready to harvest?
A pumpkin is ready to harvest when the skin is hard and resistant to scratching. The stem should also be dry and brown. The color of the pumpkin will depend on the variety, but it should be a deep, rich color. When harvesting, use a sharp knife or pruning shears to cut the stem a few inches from the pumpkin. Avoid lifting the pumpkin by the stem, as this can damage it.
Can I store pumpkins that I harvest continuously?
Yes, pumpkins harvested using continuous harvesting techniques can be stored, but their storage life may vary depending on the variety and maturity at harvest. Pumpkins harvested later in the season, when the weather is cooler and drier, tend to store better than those harvested earlier. Store pumpkins in a cool, dry place with good air circulation. Avoid storing them in direct sunlight or near heat sources. Check your pumpkins regularly for signs of spoilage, such as soft spots or mold.
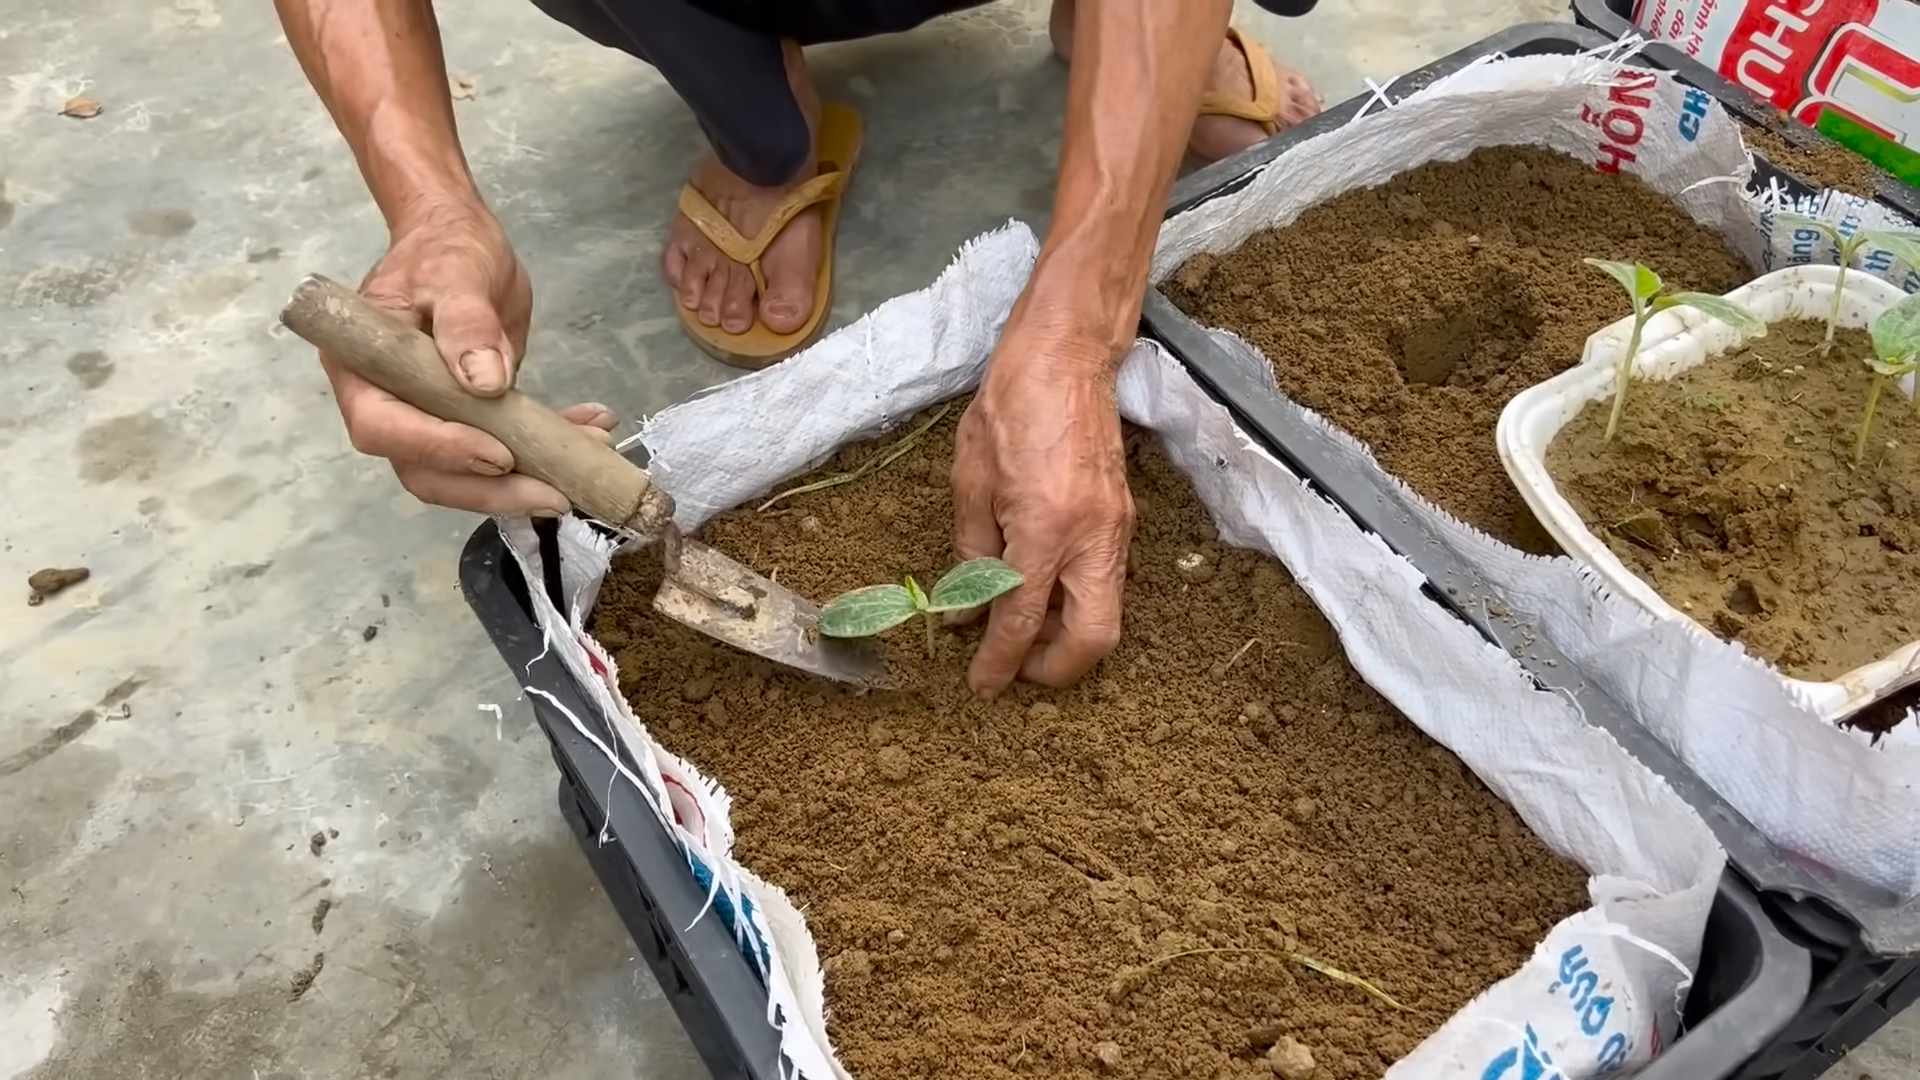
What if I live in a region with a short growing season? Can I still try continuous pumpkin harvesting?
Even in regions with short growing seasons, you can still benefit from the principles of continuous pumpkin harvesting. Start your pumpkin seeds indoors several weeks before the last expected frost to give them a head start. Choose early-maturing varieties that are well-suited to your climate. Use row covers to protect young plants from frost and extend the growing season. Focus on strategic pruning and pollination management to maximize fruit production within the available time. While you may not be able to harvest pumpkins continuously throughout the entire fall, you can still enjoy a more extended and bountiful harvest than you would with traditional methods.
Is continuous pumpkin harvesting suitable for container gardening?
Yes, continuous pumpkin harvesting can be adapted for container gardening, especially with smaller pumpkin varieties. Choose a large container with good drainage. Use a high-quality potting mix and provide regular fertilization. Prune the plants to control their size and encourage fruit production. Hand-pollinate the flowers if necessary. Container-grown pumpkins may require more frequent watering than those grown in the ground.
Leave a Comment