

Dawn dish soap hacks – who knew these three little words could unlock a world of surprisingly effective solutions around your home and garden? I’m constantly amazed by the versatility of everyday items, and Dawn dish soap is definitely a superstar in that category. Forget complicated, expensive products; sometimes the simplest solutions are the best!
For generations, dish soap has been a staple in our kitchens, primarily used for tackling greasy pots and pans. But its grease-cutting power extends far beyond the sink. Think back to the devastating oil spills that have impacted our oceans. Dawn has been a go-to for wildlife rescue organizations, gently cleaning delicate feathers and fur. This speaks volumes about its effectiveness and relative safety when used correctly.
But why should you care about Dawn dish soap hacks for your home and garden? Well, let’s face it, gardening can be tough! Pests, weeds, and stubborn stains can quickly turn your green oasis into a source of frustration. That’s where these clever DIY tricks come in. I’m going to show you how to use Dawn dish soap to combat common gardening problems, from aphids munching on your prize-winning roses to grimy patio furniture that needs a refresh. These hacks are not only budget-friendly but also offer a gentler alternative to harsh chemicals, making them a win-win for you and your plants. So, grab your bottle of Dawn, and let’s get started!
Growing Sweet Potatoes: A Beginner’s Guide to Bountiful Harvests
Hey there, fellow gardening enthusiasts! I’m so excited to share my experience with growing sweet potatoes. They’re not only delicious and nutritious, but also surprisingly easy to cultivate, even if you’re a beginner like I once was. Get ready to ditch the store-bought spuds and enjoy the satisfaction of harvesting your own homegrown goodness!
Choosing the Right Sweet Potato Variety
Before we dive into the nitty-gritty, let’s talk varieties. Sweet potatoes come in a rainbow of colors and flavors, from the classic orange Beauregard to the purple-fleshed Okinawan. Here’s a quick rundown to help you choose:
* Beauregard: This is a popular, reliable variety with orange flesh and a sweet, moist flavor. It’s a great choice for beginners.
* Jewel: Another orange-fleshed variety, Jewel sweet potatoes are known for their smooth skin and excellent storage capabilities.
* Garnet: Similar to Beauregard, Garnet sweet potatoes have a slightly deeper orange flesh and a slightly sweeter flavor.
* Okinawan: These unique sweet potatoes have purple flesh and a slightly nutty flavor. They’re also packed with antioxidants!
* White Sweet Potatoes (Bonita, Japanese): These are less sweet and have a drier texture than the orange varieties. They are often used in savory dishes.
Consider your climate and growing season when selecting your variety. Some varieties mature faster than others, so choose one that will have enough time to ripen in your area.
Starting Sweet Potato Slips
Sweet potatoes are typically grown from “slips,” which are sprouts that grow from the sweet potato itself. You can buy slips from a nursery, but it’s much more rewarding (and cheaper!) to grow your own. Here’s how:
1. Choose Your Sweet Potato: Select a healthy, organic sweet potato from the grocery store or farmer’s market. Avoid any that are bruised, damaged, or treated with sprout inhibitors.
2. Prepare the Sweet Potato: There are two main methods for sprouting sweet potatoes:
* Water Method: Suspend the sweet potato in a jar or glass of water, with the bottom half submerged. You can use toothpicks to hold it in place.
* Soil Method: Bury the sweet potato horizontally in a container filled with moist potting mix, leaving the top exposed.
3. Provide Warmth and Light: Place the jar or container in a warm, sunny location. A temperature of around 75-85°F (24-29°C) is ideal.
4. Wait for Sprouts: Be patient! It can take several weeks for sprouts to appear. Keep the water level consistent or the soil moist.
5. Harvest the Slips: Once the sprouts are 6-8 inches long, gently twist them off the sweet potato.
6. Root the Slips: Place the slips in a glass of water, with the bottom inch or two submerged. Change the water every day or two. Roots should start to form within a few days.
Preparing the Garden Bed
Sweet potatoes thrive in well-drained, sandy loam soil. Here’s how to prepare your garden bed:
1. Choose a Sunny Location: Sweet potatoes need at least 6-8 hours of sunlight per day.
2. Prepare the Soil: Till or dig the soil to a depth of at least 12 inches. Remove any rocks, weeds, or debris.
3. Amend the Soil: Incorporate plenty of organic matter, such as compost or well-rotted manure, to improve drainage and fertility. Sweet potatoes prefer slightly acidic soil with a pH of 6.0-6.5.
4. Create Ridges or Hills: Sweet potatoes grow best on raised ridges or hills, which help with drainage and allow the tubers to expand. Create ridges that are about 8-12 inches high and 3-4 feet apart.
Planting the Sweet Potato Slips
Now for the fun part – planting!
1. Harden Off the Slips: Before planting, gradually acclimate the slips to outdoor conditions by placing them outside for a few hours each day for a week.
2. Planting Time: Plant the slips after the last frost, when the soil has warmed to at least 60°F (16°C).
3. Planting Depth: Plant the slips about 4-6 inches deep, spacing them 12-18 inches apart on the ridges or hills.
4. Water Thoroughly: Water the newly planted slips thoroughly to help them establish roots.
Caring for Your Sweet Potato Plants
Sweet potatoes are relatively low-maintenance, but here are a few tips to keep them happy and healthy:
1. Watering: Water regularly, especially during dry periods. Sweet potatoes need about 1 inch of water per week. Avoid overwatering, as this can lead to root rot.
2. Weeding: Keep the garden bed free of weeds, which can compete with the sweet potatoes for nutrients and water.
3. Fertilizing: Sweet potatoes don’t need a lot of fertilizer. A side dressing of compost or a balanced organic fertilizer a few weeks after planting can be beneficial. Avoid high-nitrogen fertilizers, which can promote leafy growth at the expense of tuber development.
4. Vine Training: Sweet potato vines can spread quite a bit. You can train them to grow along the ridges or hills, or you can prune them back to keep them under control.
5. Pest and Disease Control: Sweet potatoes are generally resistant to pests and diseases. However, keep an eye out for common garden pests like aphids and flea beetles. If you notice any problems, treat them with an organic insecticide or fungicide.
Harvesting Your Sweet Potatoes
The moment we’ve all been waiting for!
1. Harvest Time: Sweet potatoes are typically ready to harvest about 90-120 days after planting, depending on the variety. A good indicator is when the leaves start to turn yellow and the vines begin to die back.
2. Digging Up the Tubers: Use a garden fork or shovel to carefully dig up the sweet potatoes. Be gentle, as they can bruise easily. Start digging a foot or so away from the plant to avoid damaging the tubers.
3. Curing the Sweet Potatoes: Curing is essential for developing the sweet flavor and improving the storage life of sweet potatoes.
* Cleaning: Gently brush off any excess soil from the sweet potatoes. Avoid washing them, as this can promote rot.
* Curing Process: Place the sweet potatoes in a warm, humid location (80-85°F or 27-29°C and 85-90% humidity) for 7-10 days. A greenhouse, garage, or shed can work well. You can also use a humidifier to increase the humidity.
* Storage: After curing, store the sweet potatoes in a cool, dry, and dark place (55-60°F or 13-16°C). They should keep for several months.
Troubleshooting Common Problems
Even with the best care, you might encounter a few challenges. Here are some common problems and how to address them:
* Slips Not Rooting: Make sure the water is clean and changed regularly. You can also add a rooting hormone to the water.
* Yellowing Leaves: This could be a sign of nutrient deficiency, overwatering, or disease. Check the soil drainage and consider adding a balanced fertilizer.
* Small Tubers: This could be due to poor soil, insufficient sunlight, or overcrowding. Make sure the soil is well-drained and fertile, and thin out the plants if necessary.
* Pest Infestation: Identify the pest and treat it with an appropriate organic insecticide.
Enjoying Your Homegrown Sweet Potatoes
Congratulations! You’ve successfully grown your own sweet potatoes. Now it’s time to enjoy the fruits (or rather, tubers) of your labor. Sweet potatoes can be baked, roasted, mashed, fried, or used in a variety of dishes. They’re also a great source of vitamins, minerals, and fiber.
Here are a few of my favorite ways to enjoy sweet potatoes:
* Baked Sweet Potatoes: Simply bake them in the oven until tender. Top with butter, cinnamon, or your favorite toppings.
* Sweet Potato Fries: Cut the sweet potatoes into fries, toss with olive oil and spices, and bake or air fry until crispy.
* Sweet Potato Casserole: A classic Thanksgiving dish made with mashed sweet potatoes, brown sugar, and pecans.
* Sweet Potato Soup: A creamy and flavorful soup made with sweet potatoes, broth, and spices.
* Sweet Potato Pie: A delicious and comforting pie made with sweet potato puree, spices, and a
Conclusion
So, there you have it! This simple yet incredibly effective Dawn dish soap hack is more than just a cleaning shortcut; it’s a game-changer for your home and beyond. We’ve explored how this readily available household staple can be transformed into a powerful solution for tackling everything from stubborn grease stains to pesky garden pests. The versatility of Dawn is truly remarkable, and its gentle formula makes it a safer alternative to many harsh chemical cleaners on the market.
Why is this a must-try? Because it saves you time, money, and effort. Imagine no longer struggling with baked-on food residue or spending a fortune on specialized cleaning products. With just a few drops of Dawn and some water, you can conquer a multitude of cleaning challenges with ease. Plus, its degreasing power extends beyond the kitchen, making it an invaluable tool for cleaning your car, removing stains from clothing, and even creating fun and safe bubble solutions for kids.
But the possibilities don’t stop there! Feel free to experiment with variations to suit your specific needs. For instance, add a few drops of essential oil, like lavender or lemon, to your Dawn solution for a refreshing scent. Or, combine Dawn with baking soda to create a powerful scrubbing paste for tough stains on countertops and sinks. You can even use it as a pre-treatment for laundry stains, applying a small amount directly to the affected area before washing.
We encourage you to embrace this Dawn dish soap hack and discover its endless potential. It’s a simple, affordable, and effective way to simplify your cleaning routine and achieve sparkling results. Don’t just take our word for it – try it out for yourself and see the difference it can make.
And most importantly, we want to hear about your experiences! Share your own tips, tricks, and variations in the comments below. Let us know how you’re using Dawn dish soap to solve everyday problems and inspire others to discover the magic of this versatile cleaning agent. Together, we can unlock even more hidden uses for this household essential and make our lives a little bit easier, one sparkling clean surface at a time. So go ahead, give it a try, and let the cleaning adventures begin!
Frequently Asked Questions (FAQ)
Is Dawn dish soap safe to use on all surfaces?
While Dawn is generally considered a gentle and safe cleaning agent, it’s always a good idea to test it on an inconspicuous area first, especially when cleaning delicate or sensitive surfaces. Avoid using it on porous materials like unfinished wood, as it may absorb the soap and leave a residue. For painted surfaces, dilute the Dawn solution with plenty of water and avoid scrubbing too vigorously. When in doubt, consult the manufacturer’s instructions for the specific surface you’re cleaning.
Can I use any brand of dish soap for these hacks?
While other dish soaps may work to some extent, Dawn is specifically formulated with powerful degreasing agents that make it particularly effective for these hacks. Its unique formula is designed to cut through grease and grime quickly and easily, making it the ideal choice for tackling tough cleaning challenges. Other brands may not have the same level of degreasing power, so you may not achieve the same results.
How much Dawn dish soap should I use for each hack?
The amount of Dawn dish soap you need will vary depending on the specific hack and the severity of the cleaning challenge. In general, a little goes a long way. Start with a small amount, such as a few drops or a teaspoon, and add more as needed. For heavily soiled areas, you may need to use a slightly more concentrated solution. Always dilute the Dawn with water to prevent it from leaving a residue.
Is Dawn dish soap safe for pets and children?
Dawn dish soap is generally considered safe for pets and children when used as directed. However, it’s important to keep it out of their reach and avoid allowing them to ingest it. If your pet or child accidentally ingests Dawn, contact your veterinarian or poison control center immediately. When using Dawn to clean pet supplies or toys, rinse them thoroughly with water to remove any soap residue.
Can I use Dawn dish soap to wash my car?
Yes, Dawn dish soap can be used to wash your car, but it’s important to use it sparingly and dilute it properly. Dawn can strip away wax and other protective coatings on your car’s paint, so it’s not recommended for regular car washes. However, it can be useful for removing stubborn grease and grime from your car’s exterior. Use a small amount of Dawn in a bucket of water and wash your car with a soft sponge or wash mitt. Rinse thoroughly with water and dry with a clean towel.
How do I remove Dawn dish soap residue from surfaces?
If you notice a soapy residue after using Dawn, simply rinse the surface thoroughly with clean water. You may need to rinse it several times to remove all of the residue. For stubborn residue, you can try wiping the surface with a damp cloth or sponge. You can also add a small amount of vinegar to the water to help dissolve the soap residue.
Can I use Dawn dish soap to kill weeds?
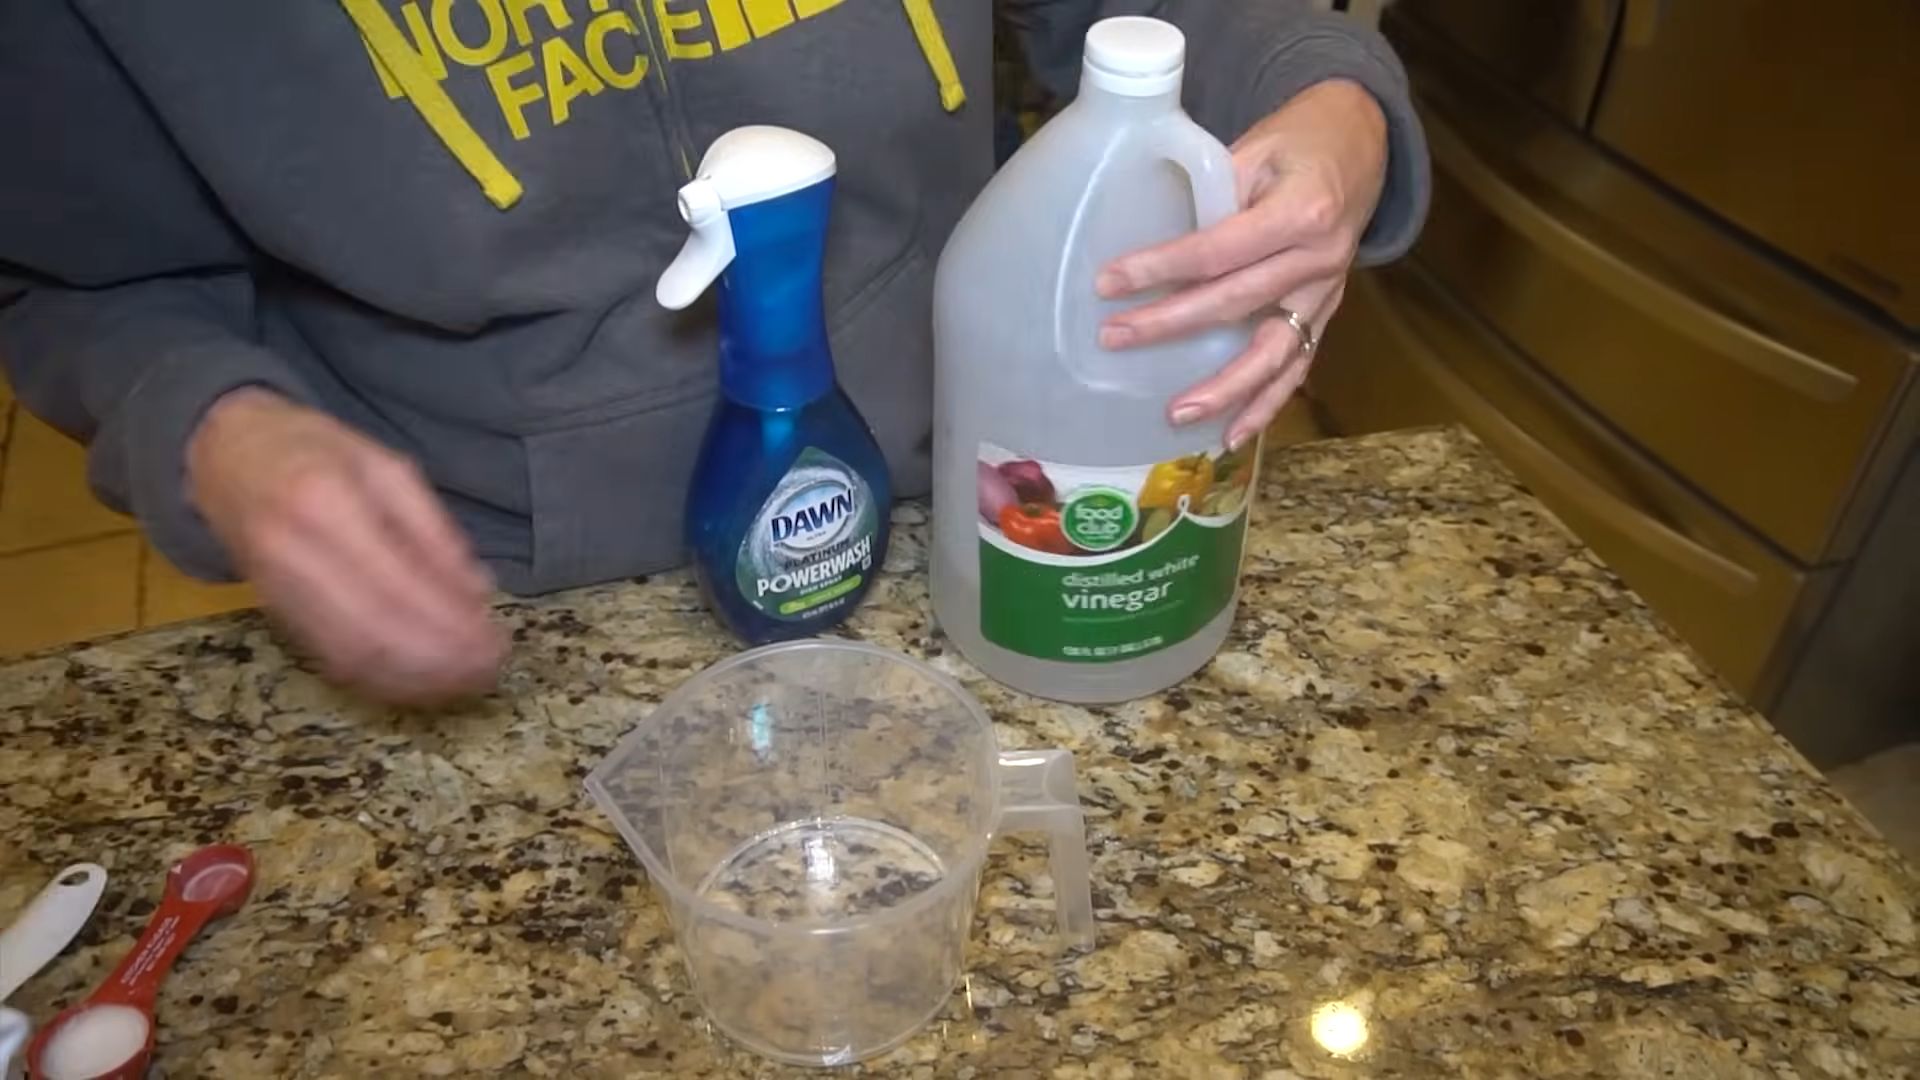
While Dawn dish soap can help to kill weeds, it’s not a selective herbicide, meaning it will kill any plant it comes into contact with. To use Dawn as a weed killer, mix it with water and vinegar in a spray bottle. Spray the solution directly onto the weeds, being careful to avoid spraying desirable plants. The Dawn will help the vinegar to stick to the weeds and penetrate their leaves, ultimately killing them.
Does Dawn dish soap expire?
Dawn dish soap does not have an expiration date, but its effectiveness may decrease over time. If you notice that your Dawn is no longer producing as much lather or cleaning as effectively, it may be time to replace it. Store Dawn in a cool, dry place away from direct sunlight to prolong its shelf life.
What are some other uses for Dawn dish soap?
The possibilities are endless! Beyond the hacks mentioned in the article, Dawn can also be used to:
* Remove oil stains from clothing
* Clean makeup brushes
* Unclog drains
* Remove sticky residue from labels
* Clean eyeglasses
* Create bubble solutions for kids
* Clean grills and outdoor furniture
Where can I buy Dawn dish soap?
Dawn dish soap is widely available at most grocery stores, drugstores, and online retailers. You can also find it at discount stores and warehouse clubs. It comes in a variety of sizes and formulas to suit your needs.


Leave a Comment