

Vinegar and Vaseline DIY Hack: Sounds a little strange, right? I know, I thought so too at first! But trust me, this unexpected combination is about to become your new secret weapon for a thriving home garden. For centuries, gardeners have been experimenting with natural remedies to combat pests, nourish plants, and generally give their green spaces a little extra love. Think of this as a modern twist on those time-tested traditions.
Why do you need this particular DIY trick? Well, let’s face it: gardening can be tough! Pests can wreak havoc, plants can struggle to absorb nutrients, and sometimes, you just need a little boost to get things growing. This Vinegar and Vaseline DIY Hack offers a simple, affordable, and surprisingly effective solution to many common gardening woes. It’s a natural alternative to harsh chemicals, gentle on your plants, and easy enough for even the most novice gardener (like me!). So, ditch the expensive store-bought products and let’s get our hands dirty with this amazing DIY solution!
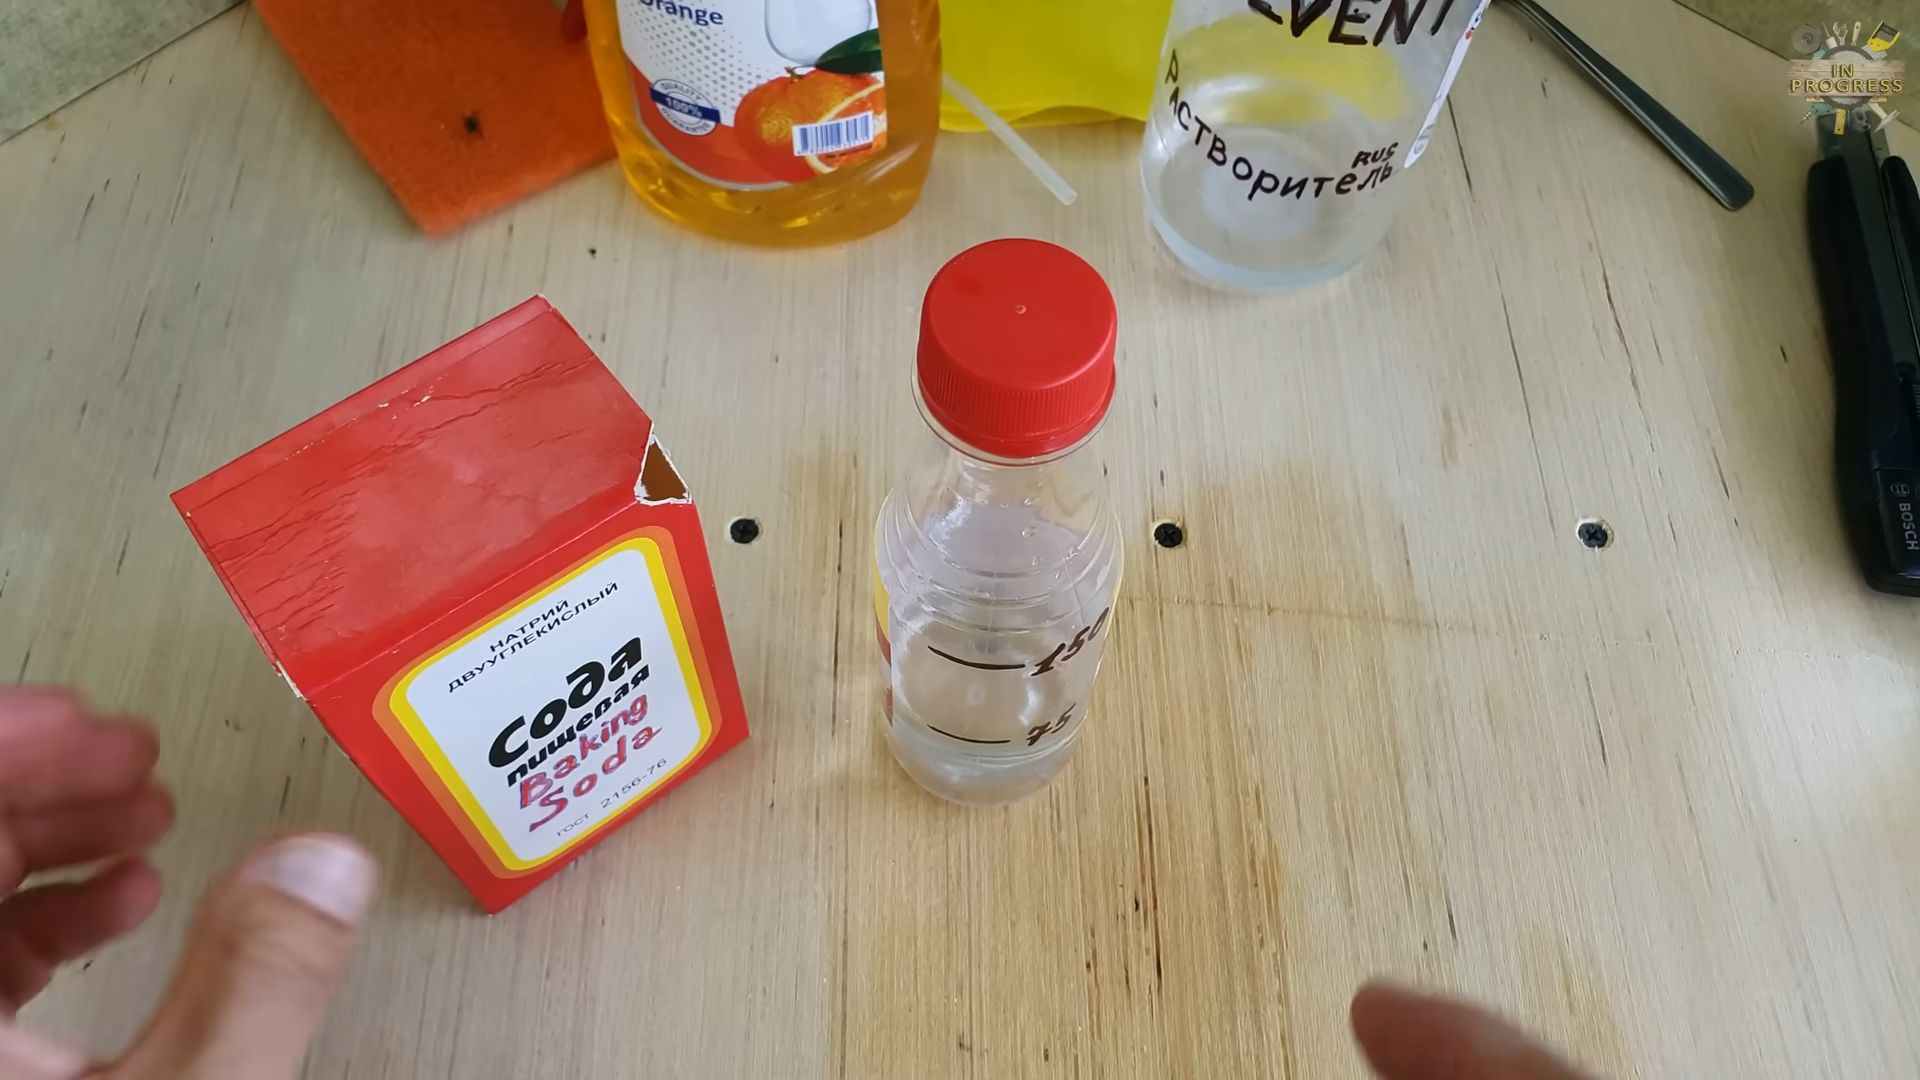
Unleash the Power of Vinegar and Baking Soda: 10 Amazing DIY Hacks!
Hey there, DIY enthusiasts! Get ready to be amazed by the dynamic duo of your pantry: vinegar and baking soda. These humble ingredients are so much more than just baking staples. They’re eco-friendly, budget-friendly, and incredibly versatile for tackling a wide range of household tasks. I’m going to show you 10 of my favorite DIY hacks using vinegar and baking soda that will simplify your life and save you money!
Hack 1: The Ultimate Drain Cleaner
Clogged drains are a common household headache. But before you reach for those harsh chemical drain cleaners, try this natural and effective solution. It’s my go-to method, and it works wonders!
What you’ll need:
* 1 cup baking soda
* 2 cups white vinegar
* Boiling water
Step-by-step instructions:
1. Pour the baking soda down the drain. Make sure to get as much of it down the drain as possible. A funnel can be helpful here.
2. Follow with the vinegar. As soon as the vinegar hits the baking soda, you’ll see some fizzing action! This is the chemical reaction that’s going to help break down the clog.
3. Let it fizz for 30 minutes. This is crucial! Give the mixture time to work its magic. The fizzing action helps to loosen the debris and grime that’s causing the blockage.
4. Flush with boiling water. After 30 minutes, carefully pour a kettle of boiling water down the drain. The hot water will help to flush away the loosened debris.
5. Repeat if necessary. For stubborn clogs, you might need to repeat the process. If the drain is still slow after the second attempt, you might need to consider other methods, but this usually does the trick for me!
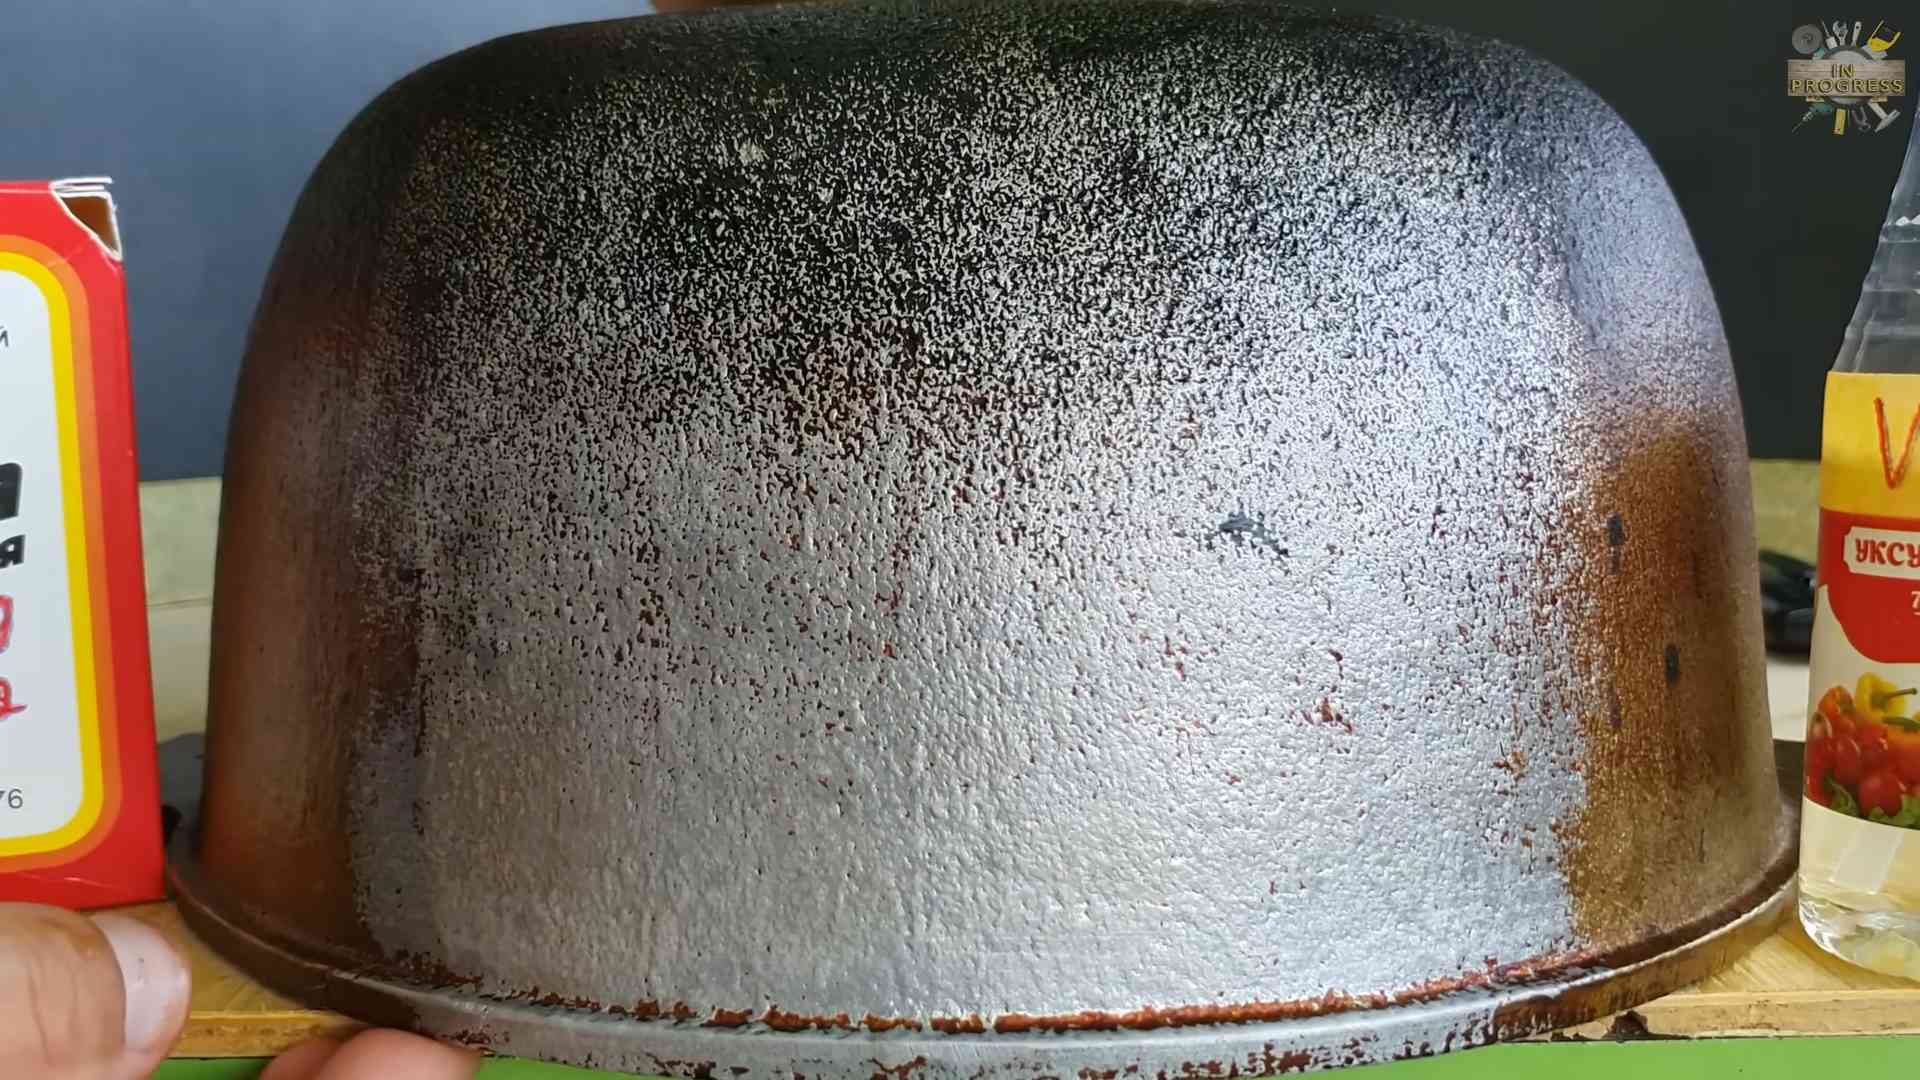
Hack 2: Sparkling Clean Oven
Cleaning the oven is one of those chores we all dread. But with vinegar and baking soda, it doesn’t have to be a nightmare. This method requires a little patience, but the results are worth it!
What you’ll need:
* Baking soda
* Water
* White vinegar
* Spray bottle
* Sponge or cloth
* Scraper (optional)
Step-by-step instructions:
1. Remove oven racks. Take out all the racks and any loose debris from the oven.
2. Make a baking soda paste. In a bowl, mix ½ cup of baking soda with enough water to form a spreadable paste.
3. Coat the oven interior. Spread the baking soda paste all over the inside of the oven, avoiding the heating elements. I usually wear gloves for this step to keep my hands clean.
4. Let it sit overnight (or for at least 12 hours). This is the key to success! The baking soda needs time to penetrate the baked-on grime.
5. Wipe away the baking soda paste. After the waiting period, use a damp sponge or cloth to wipe away the baking soda paste. You might need to use a scraper for stubborn areas.
6. Spray with vinegar. Fill a spray bottle with white vinegar and spray it all over the inside of the oven. The vinegar will react with any remaining baking soda, creating a fizzing action that helps to loosen any remaining grime.
7. Wipe clean. Wipe the oven clean with a damp sponge or cloth.
8. Replace oven racks. Put the oven racks back in place, and you’re done!
Hack 3: Freshen Up Your Mattress
Mattresses can harbor dust mites, odors, and stains. This simple hack will help you freshen up your mattress and create a healthier sleeping environment.
What you’ll need:
* Baking soda
* Essential oil (optional)
* Vacuum cleaner
Step-by-step instructions:
1. Strip the bed. Remove all bedding, including sheets, blankets, and pillows.
2. Sprinkle baking soda over the mattress. Generously sprinkle baking soda over the entire surface of the mattress.
3. Add essential oil (optional). If you want to add a pleasant scent, mix a few drops of your favorite essential oil (like lavender or eucalyptus) with the baking soda before sprinkling.
4. Let it sit for several hours (or overnight). The baking soda will absorb odors and moisture. The longer it sits, the better!
5. Vacuum thoroughly. Use the upholstery attachment on your vacuum cleaner to thoroughly vacuum the entire mattress, removing all traces of baking soda.
Hack 4: Clean Your Microwave with Ease
Microwaves can get pretty gross with splatters and spills. This hack makes cleaning them a breeze!
What you’ll need:
* ½ cup water
* 2 tablespoons white vinegar
* Microwave-safe bowl
* Sponge or cloth
Step-by-step instructions:
1. Combine water and vinegar. In a microwave-safe bowl, combine the water and vinegar.
2. Microwave for 5 minutes. Microwave the mixture on high for 5 minutes. The steam will loosen the grime and splatters inside the microwave.
3. Let it sit for 5 minutes. Don’t open the microwave door immediately! Let the steam continue to work for another 5 minutes.
4. Wipe clean. Carefully remove the bowl (it will be hot!) and wipe the inside of the microwave clean with a sponge or cloth. The grime should come off easily.
Hack 5: Remove Coffee and Tea Stains from Mugs
Those stubborn coffee and tea stains can make your mugs look old and dingy. This hack will restore them to their former glory.
What you’ll need:
* Baking soda
* Water
* Sponge or cloth
Step-by-step instructions:
1. Make a baking soda paste. Mix baking soda with a little water to form a paste.
2. Apply the paste to the stains. Apply the paste to the coffee or tea stains inside the mug.
3. Scrub gently. Use a sponge or cloth to gently scrub the stains.
4. Rinse thoroughly. Rinse the mug thoroughly with water. The stains should be gone!
Hack 6: Deodorize Your Garbage Disposal
A smelly garbage disposal can stink up your whole kitchen. This simple hack will freshen it up in no time.
What you’ll need:
* ½ cup baking soda
* 1 cup white vinegar
* Hot water
Step-by-step instructions:
1. Pour baking soda down the drain. Pour the baking soda down the garbage disposal drain.
2. Follow with vinegar. Pour the vinegar down the drain.
3. Let it fizz for 5-10 minutes. Allow the mixture to fizz and work its magic.
4. Flush with hot water. Run hot water down the drain for a minute or two to flush away the debris and odors.
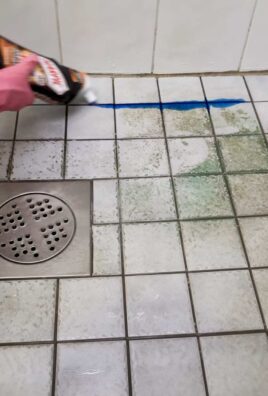
Hack 7: Clean Grout Lines
Dirty grout lines can make your tiles look dull and grimy. This hack will help you restore them to their original brightness.
What you’ll need:
* Baking soda
* Water
* White vinegar
* Spray bottle
* Old toothbrush or grout brush
Step-by-step instructions:
1. Make a baking soda paste. Mix baking soda with a little water to form a paste.
2. Apply the paste to the grout lines. Apply the paste to the grout lines.
3. Spray with vinegar. Fill a spray bottle with white vinegar and spray it over the baking soda paste.
4. Let it fizz for 5-10 minutes. Allow the mixture to fizz and work its magic.
5. Scrub the grout lines. Use an old toothbrush or grout brush to scrub the grout lines.
6. Rinse thoroughly. Rinse the tiles and grout lines thoroughly with water.
Hack 8: Remove Mildew from Shower Curtains
Mildew on shower curtains is a common problem. This hack will help you remove it and keep your shower curtain looking fresh.
What you’ll need:
* ½ cup baking soda
* Laundry detergent
* White vinegar
Step-by-step instructions:
1. Wash the shower curtain with baking soda and detergent. Place the shower curtain in the washing machine along with ½ cup of baking soda and your regular laundry detergent.
2. Add vinegar to the rinse cycle. Add 1 cup of white vinegar to the rinse cycle.
3. Hang to dry. Hang the shower curtain to dry.
Hack 9: Polish Silverware
Tarnished silverware
Conclusion
So, there you have it! The Vinegar and Vaseline DIY hack – a simple, cost-effective, and surprisingly powerful solution for achieving smoother, softer skin. We’ve walked you through the process, highlighting the benefits of each ingredient and demonstrating how easily they combine to create a potent exfoliating and moisturizing treatment.
But why is this DIY trick a must-try? It boils down to several key advantages. First, it’s incredibly gentle. Unlike harsh chemical exfoliants that can strip your skin of its natural oils and cause irritation, the vinegar and Vaseline combination offers a milder approach. The acetic acid in vinegar gently loosens dead skin cells, while the Vaseline creates a protective barrier, preventing moisture loss and promoting healing. This makes it suitable for even sensitive skin types, although a patch test is always recommended.
Second, it’s incredibly affordable. Both vinegar and Vaseline are readily available and inexpensive, making this a budget-friendly alternative to expensive spa treatments or over-the-counter products. You likely already have these ingredients in your pantry and bathroom cabinet!
Third, it’s versatile. While we’ve focused on its use for dry, cracked heels and elbows, this DIY hack can also be adapted for other areas of the body prone to dryness, such as knees, hands, and even rough patches on your face (again, with caution and a patch test).
Variations and Suggestions:
* For Enhanced Exfoliation: If you desire a more intense exfoliation, consider adding a small amount of fine sugar or salt to the mixture. This will provide a physical exfoliation alongside the chemical exfoliation from the vinegar. Be gentle and avoid scrubbing too hard, especially on sensitive skin.
* Adding Essential Oils: To personalize your treatment and add aromatherapy benefits, incorporate a few drops of your favorite essential oil. Lavender oil can promote relaxation, tea tree oil can help with blemishes, and chamomile oil can soothe irritated skin. Ensure the essential oil is skin-safe and properly diluted.
* Overnight Treatment: For maximum hydration, apply the mixture liberally to the affected area before bed, cover with socks or gloves (depending on the area treated), and leave it on overnight. This allows the ingredients to deeply penetrate the skin and work their magic while you sleep.
* Vinegar Type: While white vinegar is commonly used, you can experiment with apple cider vinegar. Apple cider vinegar contains additional nutrients and enzymes that may further benefit the skin. However, it also has a stronger scent, so keep that in mind.
We firmly believe that this Vinegar and Vaseline DIY hack is a game-changer for anyone struggling with dry, rough skin. It’s a simple, effective, and affordable way to achieve smoother, softer, and healthier-looking skin.
Now, it’s your turn! We encourage you to try this DIY trick for yourself and experience the amazing results firsthand. Don’t be afraid to experiment with the variations and find what works best for your skin. And most importantly, share your experience with us! We’d love to hear your feedback, tips, and any modifications you’ve made to the recipe. Let’s build a community of DIY skincare enthusiasts and help each other achieve our skin goals. So go ahead, give it a try, and let us know what you think! Your skin will thank you for it.
Frequently Asked Questions (FAQ)
Q: Is the Vinegar and Vaseline DIY hack safe for all skin types?
A: While generally safe, it’s crucial to perform a patch test before applying the mixture to a larger area, especially if you have sensitive skin. Apply a small amount to an inconspicuous area, such as the inside of your wrist, and wait 24 hours to check for any adverse reactions like redness, itching, or irritation. If you experience any of these symptoms, discontinue use immediately. If you have any pre-existing skin conditions, such as eczema or psoriasis, consult with a dermatologist before trying this DIY hack.
Q: How often can I use the Vinegar and Vaseline DIY hack?
A: The frequency of use depends on your skin type and the severity of dryness. For most people, using it 2-3 times per week is sufficient. If you have very dry or cracked skin, you can use it more frequently, but be mindful of any signs of irritation. If your skin becomes red, inflamed, or overly sensitive, reduce the frequency of use or discontinue altogether. Listen to your skin and adjust accordingly.
Q: Can I use any type of vinegar for this DIY hack?
A: White vinegar and apple cider vinegar are the most commonly used types. White vinegar is readily available and effective for exfoliation. Apple cider vinegar contains additional nutrients and enzymes that may offer further benefits. However, it also has a stronger scent. Avoid using other types of vinegar, such as balsamic vinegar or cleaning vinegar, as they may contain ingredients that are harmful to the skin.
Q: Can I use petroleum jelly instead of Vaseline?
A: Vaseline is a brand name for petroleum jelly, so yes, you can use any brand of petroleum jelly. Petroleum jelly is an occlusive moisturizer, meaning it creates a barrier on the skin’s surface to prevent moisture loss. This is a key component of the DIY hack, as it helps to lock in hydration and promote healing.
Q: How long should I leave the mixture on my skin?
A: For a quick treatment, you can leave the mixture on for 15-20 minutes. For a more intensive treatment, especially for very dry or cracked skin, you can leave it on overnight. If leaving it on overnight, be sure to cover the treated area with socks or gloves to prevent the mixture from rubbing off on your bedding.
Q: Will the vinegar smell linger on my skin?
A: The vinegar smell may be noticeable initially, but it should dissipate relatively quickly. You can minimize the smell by rinsing your skin thoroughly after the treatment. Adding a few drops of essential oil to the mixture can also help to mask the vinegar scent.
Q: Can I use this DIY hack on my face?
A: While some people have successfully used this DIY hack on their face, it’s important to proceed with caution, especially if you have sensitive skin. The skin on your face is generally more delicate than the skin on your body, so it’s crucial to perform a patch test and use a diluted vinegar solution. Avoid using it on areas around the eyes and mouth. If you experience any irritation, discontinue use immediately. There are many other facial exfoliants specifically formulated for the face that might be a better option.
Q: Can I store the leftover mixture for later use?
A: It’s best to prepare a fresh batch of the mixture each time you use it. This ensures that the ingredients are at their most potent and reduces the risk of contamination. Storing the mixture may also alter its consistency and effectiveness.
Q: I have open wounds or sores on my skin. Can I still use this DIY hack?
A: No, you should not use this DIY hack on open wounds or sores. The vinegar can irritate the skin and delay healing. Wait until the wounds or sores have completely healed before using this treatment.
Q: What if I don’t see results after using the Vinegar and Vaseline DIY hack?
A: Results may vary depending on your skin type and the severity of dryness. It may take several applications to see noticeable improvements. Be patient and consistent with your treatment. If you don’t see any improvement after a few weeks, consult with a dermatologist to rule out any underlying skin conditions.
Leave a Comment