

Butternut Squash Gardening Tips: Unlock the secrets to a bountiful harvest right in your backyard! Have you ever dreamed of serving up a delicious, homegrown butternut squash soup or a creamy roasted butternut squash side dish, knowing you nurtured it from seed to table? It’s an incredibly rewarding experience, and trust me, it’s easier than you think! For centuries, butternut squash has been a staple in indigenous diets across the Americas, prized for its nutritional value and versatility. Today, it remains a beloved ingredient worldwide, and with these simple DIY tricks, you can cultivate your own supply.
Many gardeners shy away from growing butternut squash, believing it requires vast amounts of space and expert knowledge. But that’s simply not true! I’m here to debunk those myths and share some easy-to-follow butternut squash gardening tips that will have you harvesting plump, flavorful squash in no time. Whether you’re a seasoned gardener or just starting out, these hacks will help you overcome common challenges, maximize your yield, and enjoy the satisfaction of growing your own food. So, grab your gardening gloves, and let’s get started on this exciting journey to a butternut squash bonanza!
Supercharge Your Scrub Daddy: Genius Cleaning Hacks You Need to Know!
Okay, so you’ve got a Scrub Daddy. Awesome! These smiley-faced sponges are already pretty amazing, but trust me, you’re only scratching the surface of their potential. I’ve been experimenting with my Scrub Daddy for ages, and I’ve discovered some seriously game-changing hacks that will make your cleaning life so much easier. Get ready to unlock the full power of your favorite sponge!
Hack #1: The Microwave Sanitization Power-Up
Let’s be honest, sponges can get pretty gross. But don’t worry, you don’t have to throw your Scrub Daddy away every week! This microwave trick will zap those germs and keep your sponge fresh.
Why this works: Microwaving kills bacteria and sanitizes the sponge, extending its lifespan and preventing the spread of germs.
What you’ll need:
* Your Scrub Daddy
* A microwave-safe bowl
* Water
* Optional: A squirt of lemon juice or vinegar
Step-by-step instructions:
1. Rinse your Scrub Daddy: Give your Scrub Daddy a good rinse under running water to remove any loose food particles.
2. Fill the bowl: Fill the microwave-safe bowl with about a cup of water. Make sure the bowl is large enough to fully submerge the sponge.
3. Add the Scrub Daddy: Place the Scrub Daddy in the bowl, ensuring it’s completely submerged in the water.
4. Optional: Add a cleaning agent: If you want to give your sponge an extra boost of freshness, add a squirt of lemon juice or vinegar to the water. These natural cleaners will help to deodorize and further sanitize the sponge.
5. Microwave: Microwave the bowl with the Scrub Daddy inside for 1-2 minutes on high. Be careful when removing the bowl, as it will be hot!
6. Cool and rinse: Let the bowl cool slightly before carefully removing the Scrub Daddy. Rinse it thoroughly under running water to remove any lingering residue.
7. Squeeze and dry: Squeeze out as much excess water as possible and allow the Scrub Daddy to air dry.
Hack #2: The Freezer Freshness Trick
Did you know you can freeze your Scrub Daddy? This is a fantastic way to prevent odors and kill bacteria, especially if you’re not using it every day.
Why this works: Freezing temperatures inhibit bacterial growth and prevent the development of unpleasant odors.
What you’ll need:
* Your Scrub Daddy
* A freezer-safe bag or container (optional)
Step-by-step instructions:
1. Rinse your Scrub Daddy: As always, start by rinsing your Scrub Daddy thoroughly under running water.
2. Squeeze out excess water: Squeeze out as much water as possible from the sponge. This will prevent ice crystals from damaging the material.
3. Place in freezer bag (optional): For extra protection against freezer burn and odors, place the Scrub Daddy in a freezer-safe bag or container. This step is optional, but I highly recommend it.
4. Freeze: Place the Scrub Daddy in the freezer for at least a few hours, or even overnight.
5. Thaw and use: When you’re ready to use the Scrub Daddy again, simply remove it from the freezer and let it thaw for a few minutes. You can also run it under warm water to speed up the thawing process.
Hack #3: The Dishwasher Deep Clean
Your dishwasher isn’t just for dishes! It’s also a great way to deep clean your Scrub Daddy.
Why this works: The high heat and powerful detergents in your dishwasher will effectively sanitize and clean the sponge.
What you’ll need:
* Your Scrub Daddy
* Your dishwasher
Step-by-step instructions:
1. Rinse your Scrub Daddy: Rinse the Scrub Daddy to remove any large food particles.
2. Place in dishwasher: Place the Scrub Daddy on the top rack of your dishwasher. Make sure it’s secure and won’t fall through during the wash cycle. I usually put it in the silverware basket or wedge it between some dishes.
3. Run a normal cycle: Run your dishwasher on a normal cycle with your regular detergent.
4. Dry thoroughly: Once the cycle is complete, remove the Scrub Daddy and allow it to air dry completely.
Hack #4: The Stubborn Stain Scrubber
The Scrub Daddy’s unique texture makes it perfect for tackling stubborn stains on various surfaces.
Why this works: The FlexTexture material changes texture based on water temperature, becoming firm in cold water for scrubbing and soft in warm water for gentle cleaning.
What you’ll need:
* Your Scrub Daddy
* Water (hot and cold)
* Cleaning solution (dish soap, baking soda paste, etc., depending on the stain)
Step-by-step instructions:
1. Identify the stain: Determine the type of stain you’re dealing with (grease, food residue, hard water stains, etc.). This will help you choose the appropriate cleaning solution.
2. Apply cleaning solution: Apply your chosen cleaning solution to the stained surface. For example, for grease stains, you might use dish soap. For hard water stains, you could use a baking soda paste.
3. Adjust water temperature: Depending on the stain and surface, adjust the water temperature to achieve the desired scrubbing texture. For tough stains, use cold water to make the Scrub Daddy firmer. For delicate surfaces, use warm water to soften the sponge.
4. Scrub: Scrub the stained area with the Scrub Daddy, using firm, circular motions. Apply pressure as needed, but be careful not to scratch delicate surfaces.
5. Rinse: Rinse the surface thoroughly with clean water to remove any remaining cleaning solution and loosened stain particles.
6. Repeat if necessary: If the stain is particularly stubborn, repeat the process until it’s completely removed.
Hack #5: The Grout Guru
Cleaning grout can be a real pain, but the Scrub Daddy’s shape and texture make it surprisingly effective.
Why this works: The edges and corners of the Scrub Daddy can easily reach into grout lines, and the firm texture helps to scrub away dirt and grime.
What you’ll need:
* Your Scrub Daddy
* Grout cleaner (commercial or homemade)
* Water
* Old toothbrush (optional, for extra stubborn areas)
Step-by-step instructions:
1. Apply grout cleaner: Apply your chosen grout cleaner to the grout lines. You can use a commercial grout cleaner or make your own by mixing baking soda and water into a paste.
2. Let it sit: Allow the grout cleaner to sit on the grout lines for a few minutes to loosen the dirt and grime. Follow the instructions on your commercial grout cleaner for recommended dwell time.
3. Scrub with Scrub Daddy: Use the edges and corners of the Scrub Daddy to scrub the grout lines. Apply firm pressure and work in small sections.
4. Use a toothbrush (optional): For extra stubborn areas, use an old toothbrush to scrub the grout lines after using the Scrub Daddy. The toothbrush bristles can reach into even the smallest crevices.
5. Rinse: Rinse the area thoroughly with clean water to remove any remaining grout cleaner and loosened dirt.
6. Dry: Dry the area with a clean towel.
Hack #6: The Vegetable Prep Pal
Believe it or not, your Scrub Daddy can also be used to clean vegetables! Just make sure it’s a separate Scrub Daddy that you only use for this purpose.
Why this works: The Scrub Daddy’s texture is gentle enough to remove dirt and debris from vegetables without damaging them.
What you’ll need:
* A dedicated Scrub Daddy (for vegetables only!)
* Water
* Vegetables
Step-by-step instructions:
1. Rinse vegetables: Rinse the vegetables under running water to remove any loose dirt.
2. Scrub gently: Gently scrub the vegetables with the dedicated Scrub Daddy to remove any remaining dirt and debris. Pay special attention to areas where dirt tends to accumulate, such as the crevices of potatoes or the stems of carrots.
3. Rinse again: Rinse the vegetables again under running water to remove any loosened dirt and debris.
4. Dry: Dry the vegetables with a clean towel or paper towel.
Hack #7: The Car Cleaning Companion
Your Scrub Daddy can even help you keep your car clean! Use it to scrub away bugs, dirt, and grime from your car’s exterior.
Why this works: The FlexTexture material is gentle enough to use on car paint without scratching, while still being effective at removing dirt and grime.
What you’ll need:
* Your Scrub Daddy
* Car wash
Conclusion
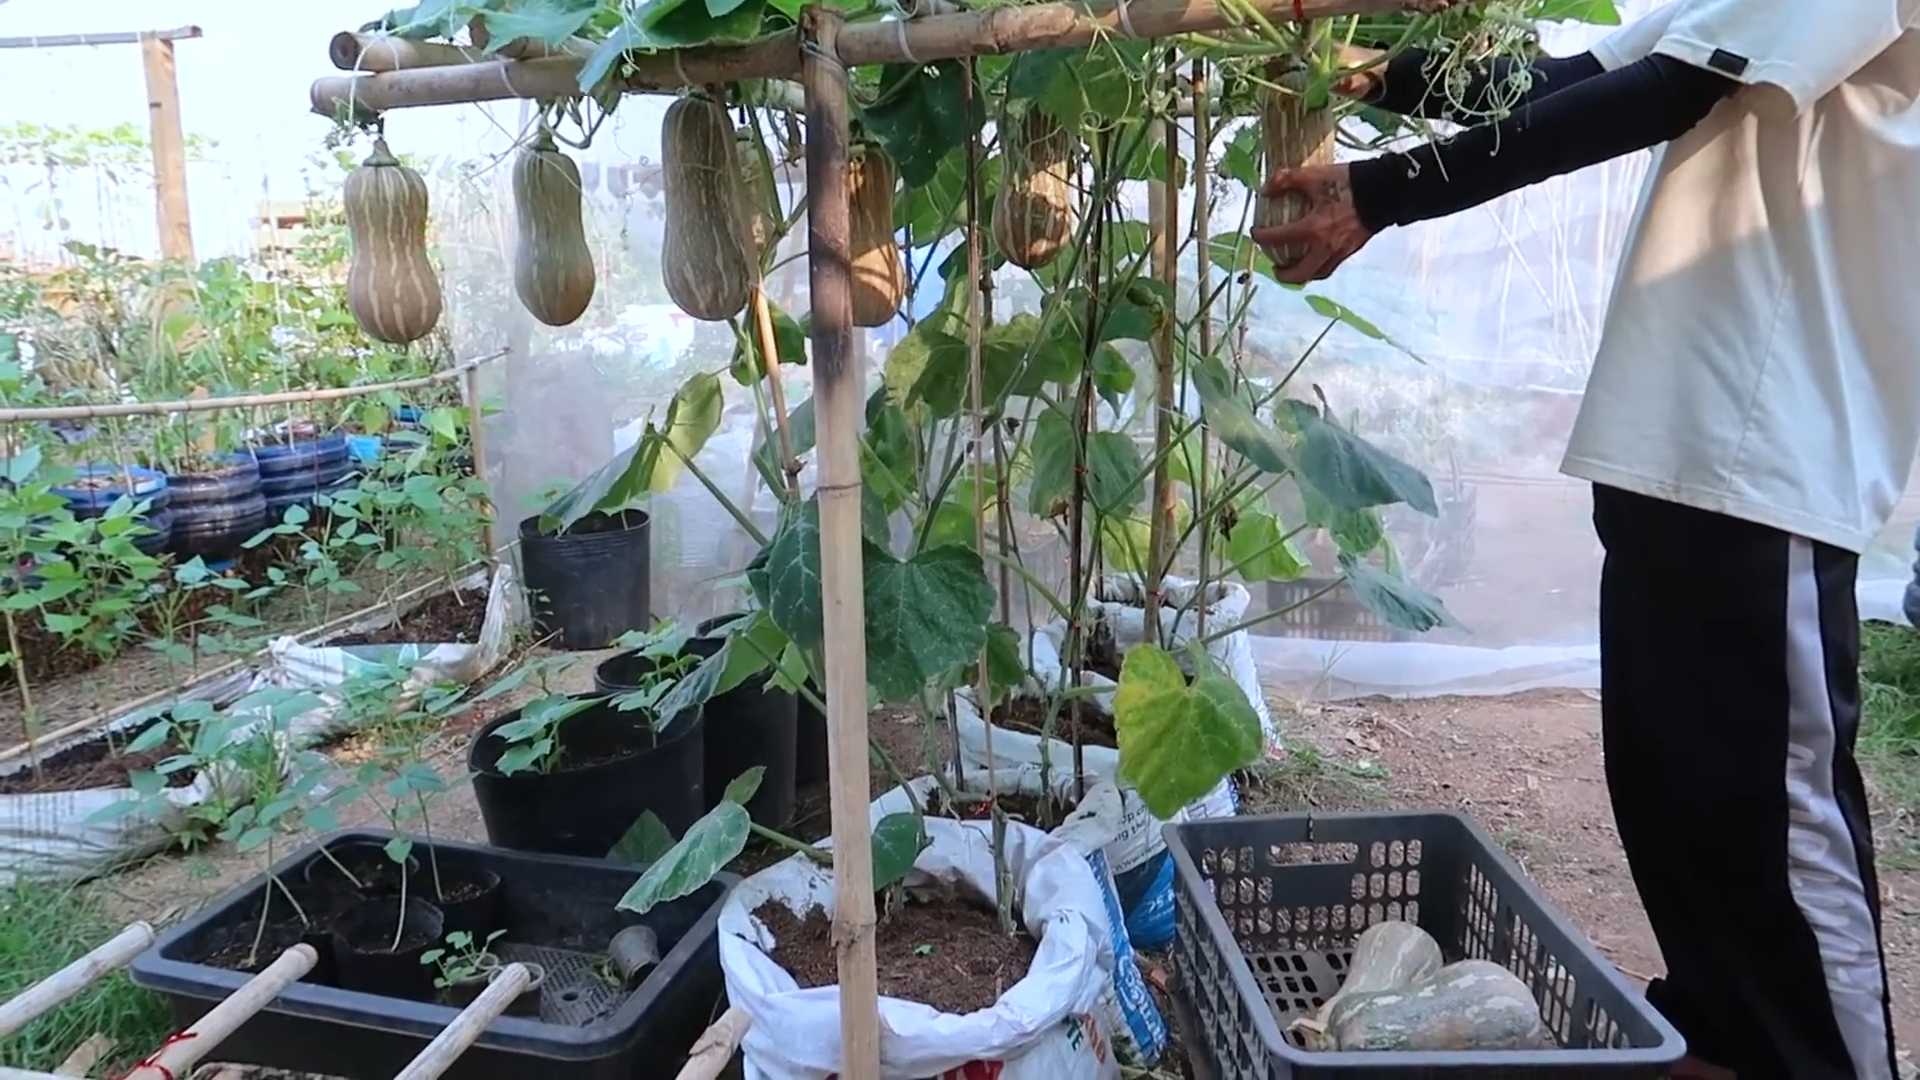
So, there you have it! Mastering butternut squash gardening doesn’t have to be a daunting task. By implementing these simple yet effective DIY tricks, you’re setting yourself up for a bountiful harvest of delicious, homegrown butternut squash. We’ve covered everything from optimizing soil conditions and providing adequate support to warding off pests and diseases with natural solutions. These aren’t just theoretical concepts; they’re practical, hands-on techniques that can significantly improve your squash yield and the overall health of your plants.
Why is this a must-try? Because store-bought butternut squash simply can’t compare to the flavor and satisfaction of harvesting your own. Plus, you have complete control over the growing process, ensuring your squash is free from harmful chemicals and pesticides. Imagine the pride you’ll feel serving a creamy butternut squash soup made entirely from ingredients you nurtured yourself!
But don’t stop there! Experiment with different varieties of butternut squash. Try growing ‘Waltham Butternut’ for its classic flavor and reliable yields, or explore ‘Honey Nut’ for a smaller, sweeter option. Consider companion planting to further enhance your garden’s ecosystem. Marigolds can deter pests, while beans can fix nitrogen in the soil, benefiting your squash plants. You can also try different trellising methods to see what works best for your garden space and the specific variety you’re growing. Perhaps a sturdy A-frame trellis or a simple netting system will be the perfect solution.
Remember, gardening is a journey of learning and discovery. Don’t be afraid to make mistakes and adapt your approach as needed. The most important thing is to get your hands dirty and enjoy the process.
We are confident that these butternut squash gardening tips will empower you to cultivate a thriving garden and enjoy the fruits (or rather, vegetables!) of your labor. Now, it’s your turn! Grab your gardening gloves, prepare your soil, and get ready to experience the joy of growing your own butternut squash.
We’d love to hear about your experiences! Share your successes, challenges, and any additional tips you’ve discovered in the comments below. Let’s create a community of butternut squash enthusiasts and learn from each other. Happy gardening!
Frequently Asked Questions (FAQ)
Q: How much sunlight does butternut squash need?
A: Butternut squash thrives in full sun, requiring at least 6-8 hours of direct sunlight per day. Insufficient sunlight can lead to weak plants, reduced yields, and increased susceptibility to diseases. Choose a planting location that receives ample sunlight throughout the day. If you live in a particularly hot climate, some afternoon shade may be beneficial to prevent scorching.
Q: What kind of soil is best for butternut squash?
A: Butternut squash prefers well-drained, fertile soil that is rich in organic matter. The ideal soil pH is between 6.0 and 7.0. Before planting, amend your soil with compost, aged manure, or other organic materials to improve its structure, drainage, and nutrient content. Avoid heavy clay soils, as they can become waterlogged and hinder root development. If you have clay soil, consider adding sand and organic matter to improve drainage.
Q: How often should I water my butternut squash plants?
A: Butternut squash plants need consistent moisture, especially during fruit development. Water deeply and regularly, aiming for about 1-2 inches of water per week. Water at the base of the plants to avoid wetting the foliage, which can increase the risk of fungal diseases. Check the soil moisture regularly and adjust your watering schedule accordingly. During hot, dry weather, you may need to water more frequently.
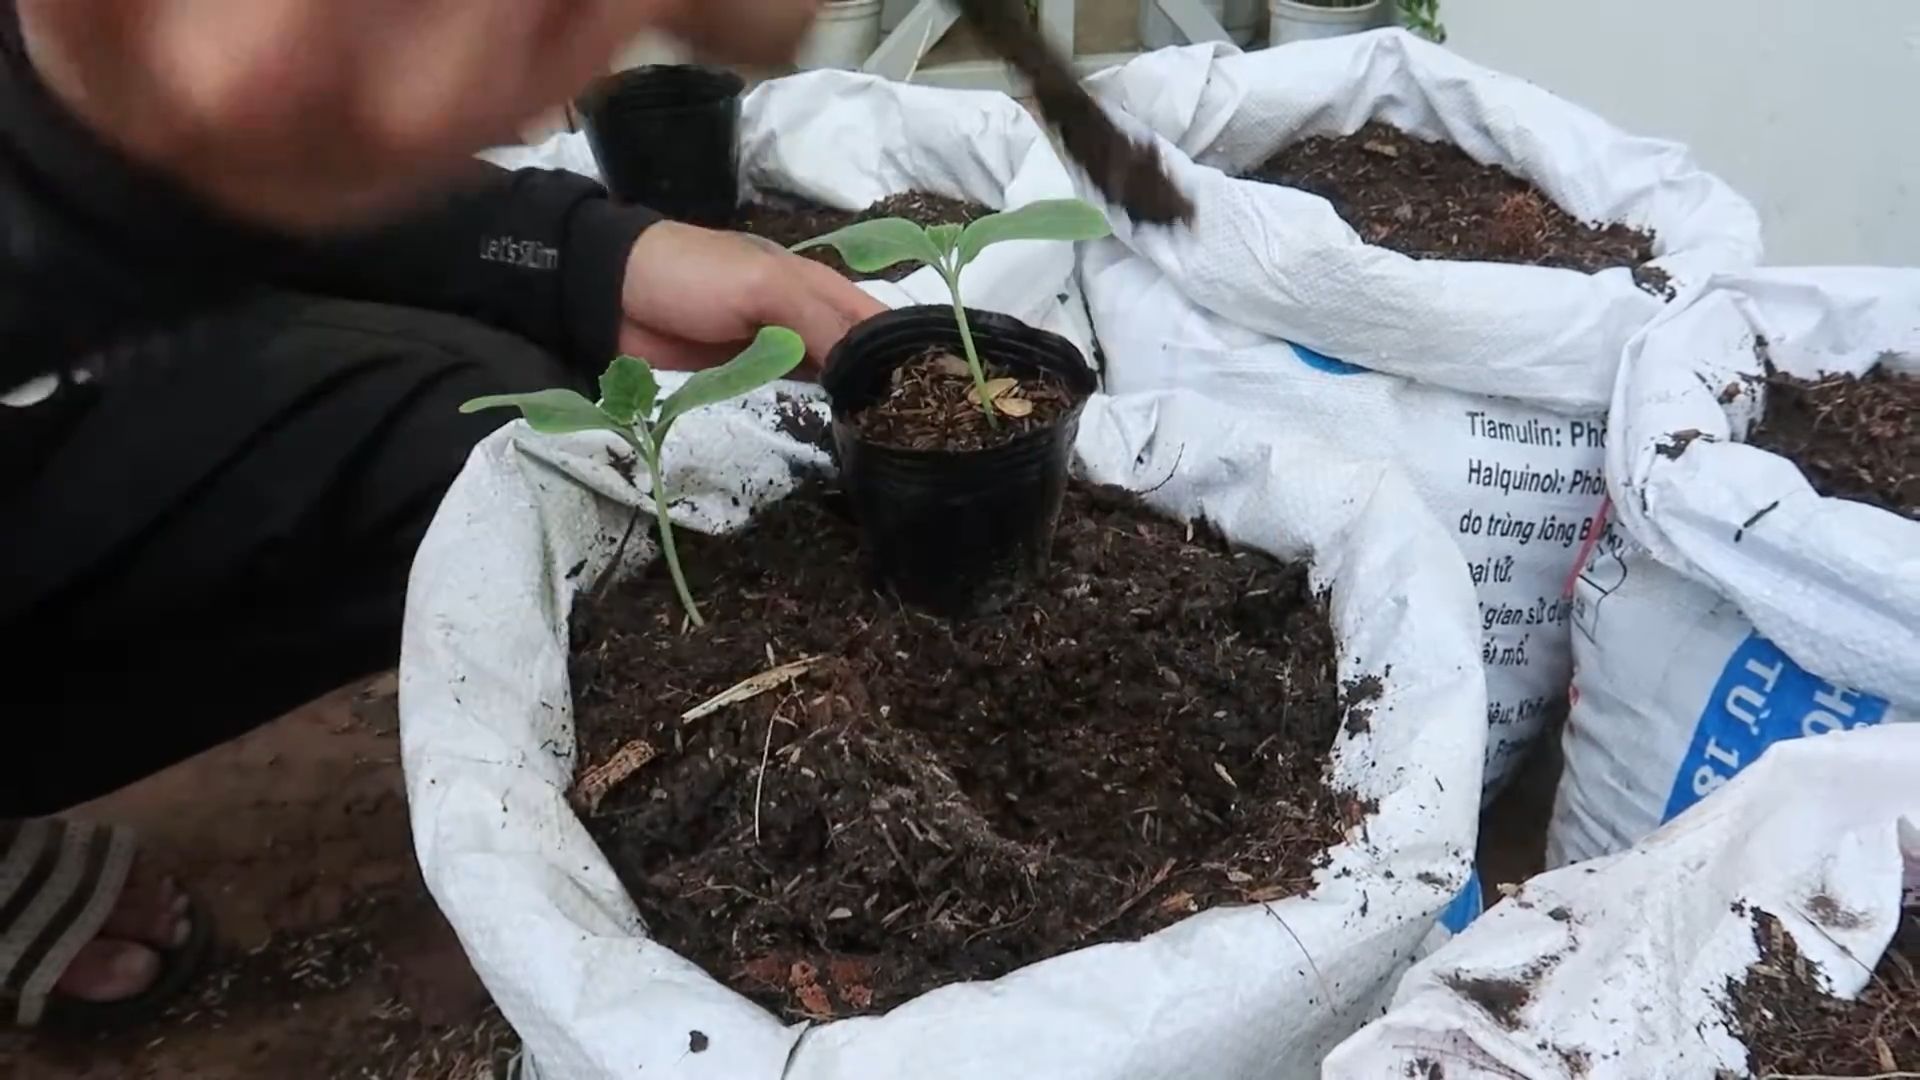
Q: When is the best time to plant butternut squash?
A: Butternut squash is a warm-season crop and should be planted after the last frost when the soil has warmed to at least 60°F (15°C). You can start seeds indoors 3-4 weeks before the last frost and transplant them outdoors once the weather is suitable. Alternatively, you can direct sow seeds into the garden after the last frost. Check your local frost dates to determine the best planting time for your region.
Q: How do I know when my butternut squash is ripe?
A: Butternut squash is typically ready to harvest in the fall, about 90-100 days after planting. The skin should be hard and tough, and the color should be a deep tan or beige. The stem should be dry and corky. You can also test for ripeness by pressing your fingernail into the skin; if it’s difficult to puncture, the squash is likely ripe. Harvest before the first frost, as frost can damage the squash.
Q: What are some common pests and diseases that affect butternut squash?
A: Common pests that affect butternut squash include squash bugs, squash vine borers, and aphids. Diseases include powdery mildew, downy mildew, and blossom-end rot. Regularly inspect your plants for signs of pests or diseases and take appropriate action. Use organic pest control methods such as insecticidal soap, neem oil, or handpicking pests. Ensure good air circulation to prevent fungal diseases.
Q: How do I prevent squash vine borers from attacking my plants?
A: Squash vine borers are a common and destructive pest of butternut squash. To prevent them, you can wrap the base of the stems with aluminum foil or nylon stockings to prevent the borers from laying their eggs. You can also monitor your plants for signs of borer activity, such as small holes in the stems or wilting leaves. If you find borers, you can carefully remove them by slitting the stem and extracting the larvae.
Q: Can I save seeds from my butternut squash to plant next year?
A: Yes, you can save seeds from your butternut squash to plant next year, but keep in mind that if your squash cross-pollinated with other squash varieties, the resulting plants may not be true to type. To save seeds, allow the squash to fully mature on the vine. Then, cut it open and scoop out the seeds. Rinse the seeds thoroughly and spread them out on a paper towel to dry completely. Store the dried seeds in an airtight container in a cool, dry place.
Q: How do I store butternut squash after harvesting?
A: Butternut squash can be stored for several months if properly cured and stored. To cure the squash, leave it in a warm, sunny location for about 1-2 weeks. This will help to harden the skin and improve its storage life. After curing, store the squash in a cool, dry place with good ventilation, such as a basement or pantry. Avoid storing squash in a refrigerator, as it can cause chilling injury.
Q: What are some creative ways to use my homegrown butternut squash?
A: The possibilities are endless! Butternut squash can be roasted, pureed, added to soups and stews, or used in baked goods. Try making butternut squash soup, roasted butternut squash with herbs, butternut squash risotto, or butternut squash pie. You can also use butternut squash in savory dishes like butternut squash and sage pasta or butternut squash tacos. Don’t forget to roast the seeds for a healthy and delicious snack!

Leave a Comment